Oh my gosh, are you ready to bring a little holiday magic right into your dog’s treat jar? Because I absolutely had to share this idea! Every year I try to bake something totally Pinterest-worthy for my golden retriever, Gus, and this year, the winners are these gorgeous Snow Globe Cookies Dog treats. Trust me, they look way harder than they actually are!
We aren’t talking about fussy frosting or complicated dough here. The entire trick is using crushed hard candies to create that stunning, clear ‘snow globe’ window that melts perfectly in the oven. Gus goes absolutely wild for the peanut butter base, and frankly, I love how festive they look. If you’re looking for easy, decorative holiday dog treats, stop searching right now. This is the one!
Why You Will Make These Snow Globe Cookies Dog Treats Often
Honestly, some holiday bakes make you want to throw your apron across the room, but not these! I keep coming back to this specific recipe because it delivers major wow-factor without any actual kitchen drama. You need these in your rotation because:
- They look like fancy bakery items, which is perfect for gifting to dog-loving friends!
- The dough comes together so fast—we’re talking stiff and easy to handle in minutes.
- The ingredients are all stuff you probably already have, besides the clear candies, which are easy to order. Link to a great resource for other DIY Christmas dog treats if you want more ideas!
- The cleanup? Surprisingly quick, especially if you use parchment paper like I do.
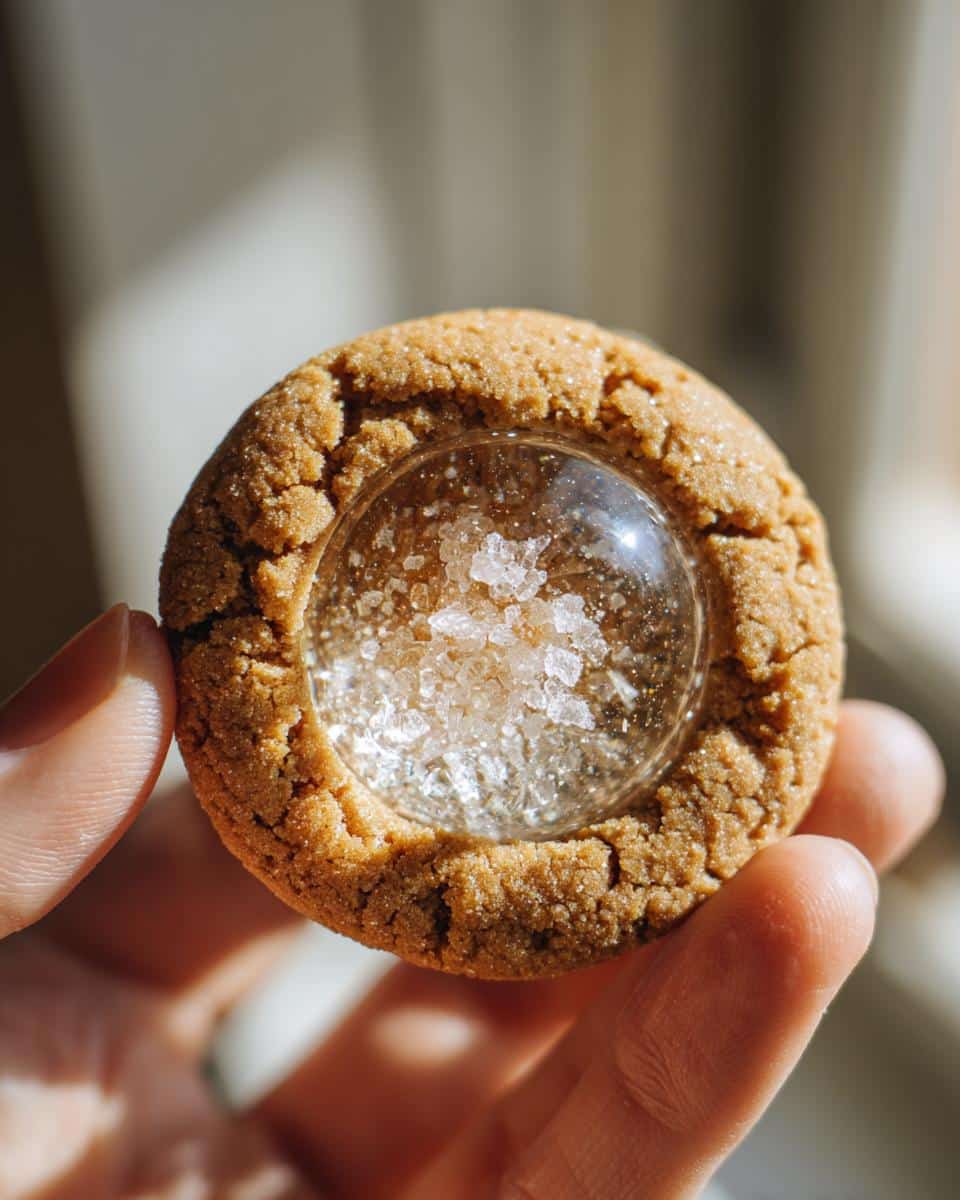
- The candy center melts beautifully but holds its shape once cooled. It’s the ultimate visual payoff!
- Most importantly, the dogs actually adore the peanut butter and whole wheat flavor. Win-win!
Essential Ingredients for Your Snow Globe Cookies Dog Treats
Okay, let’s talk what actually goes into these beauties. We only need a few core things, but the quality of two specific ingredients really makes these Snow Globe Cookies Dog treats shine. Don’t skip the notes here, especially that peanut butter warning—we are serious about keeping our pups safe!
If you’re looking for other great peanut butter recipes, I highly recommend checking out these peanut butter oat biscuits later!
For the Cookie Dough
For the base, it’s sturdy and rich enough to hold that melted candy window. Grab your mixing bowl and let’s get these measured out:
- Whole wheat flour: 2 cups (I sometimes swap in all-purpose if I run out, no biggie).
- Unsweetened applesauce: 1/2 cup. This keeps our dough from getting crumbly.
- Peanut butter: 1/4 cup. Crucial note: Make sure this is xylitol-free! That sweetener is dangerous for dogs.
- Egg: 1 large one to bind everything nice and tight.
For the Snow Globe Filling
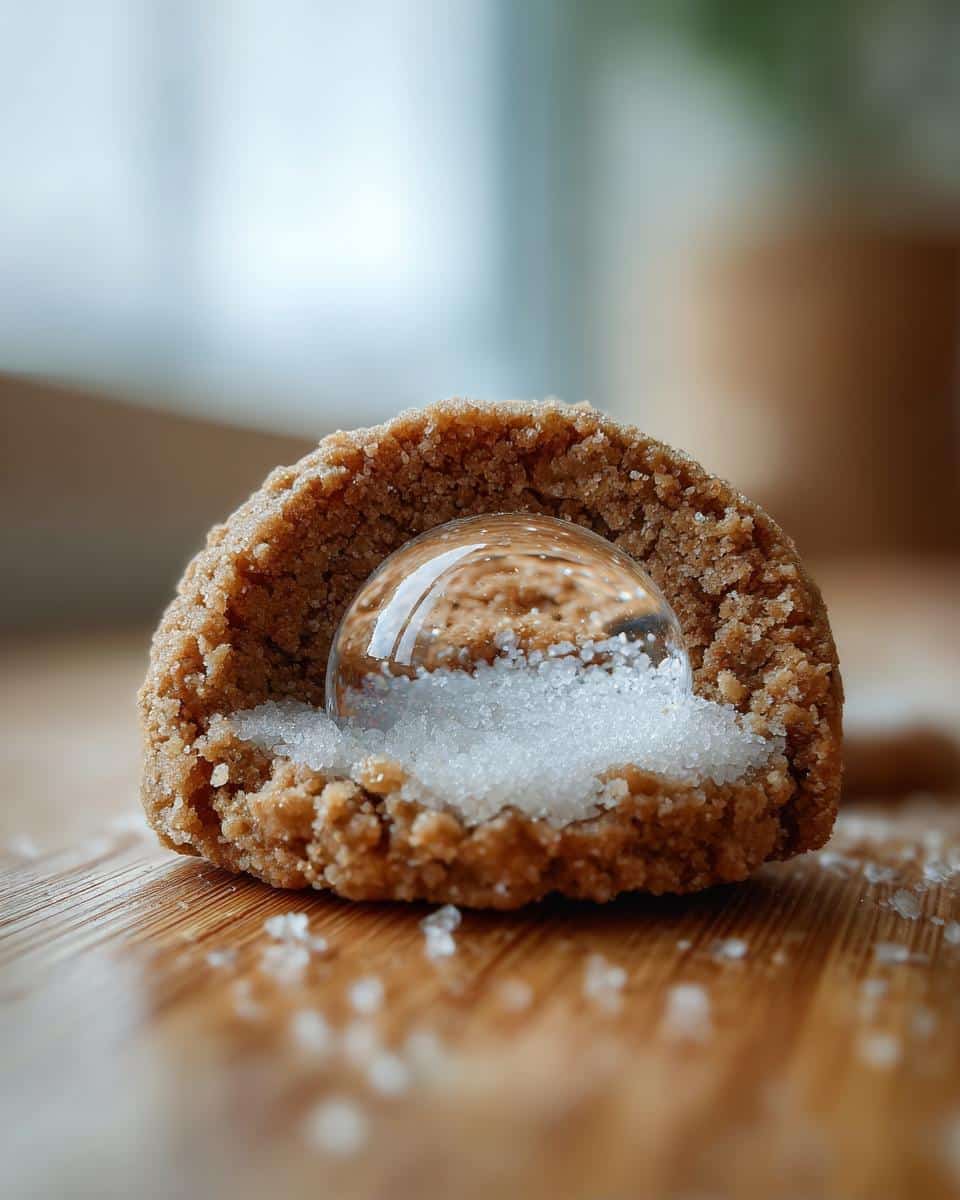
This part is where the magic happens, but you have to prep your candy correctly. We don’t want giant chunks in our globe, we want a clear, smooth surface!
- Clear hard candies: 1/2 cup. Please, please, please crush these up as finely as you can! A mortar and pestle or even just putting them in a Ziploc bag and hitting them hard with a rolling pin works wonders.
Step-by-Step Guide to Perfect Snow Globe Cookies Dog Treats
Now for the fun part! These Snow Globe Cookies Dog treats move really fast once you get rolling, literally and figuratively! Make sure your oven is preheated to 350 degrees Fahrenheit (175 degrees Celsius) and those baking sheets have parchment paper ready to go. We want zero sticking drama here!
Preparing the Dough and Cutting Shapes
First things first: mix! Get your flour, applesauce, peanut butter, and that one egg into your biggest mixing bowl. Stir it up until it finally calms down and forms a nice, stiff dough. If it feels a little sticky, don’t panic and dump in more flour—just dust your counter lightly.
Time to roll! I aim for about 1/4 inch thick. This is super important; too thin and the candy melts right through, too thick and it won’t bake evenly. Grab your large cutter and stamp out your base shapes. Then, grab that smaller cutter and punch out the clear window right out of the middle of each base piece. It takes a little finesse, but you’ll see how it works instantly. Place those dollhouse bases onto your waiting sheets.
Filling and Baking Your Snow Globe Cookies Dog Treats
This is the moment of truth for that candy—take your finely crushed hard candies and sprinkle just a little bit into the hole of each cookie base. Be gentle! If you pile it too high, it will spread out everywhere when it melts, and we just want it to fill that little window, not drown the cookie. If you want to check out some other great Christmas cookies for dogs, I’ve got some links for inspiring shapes!
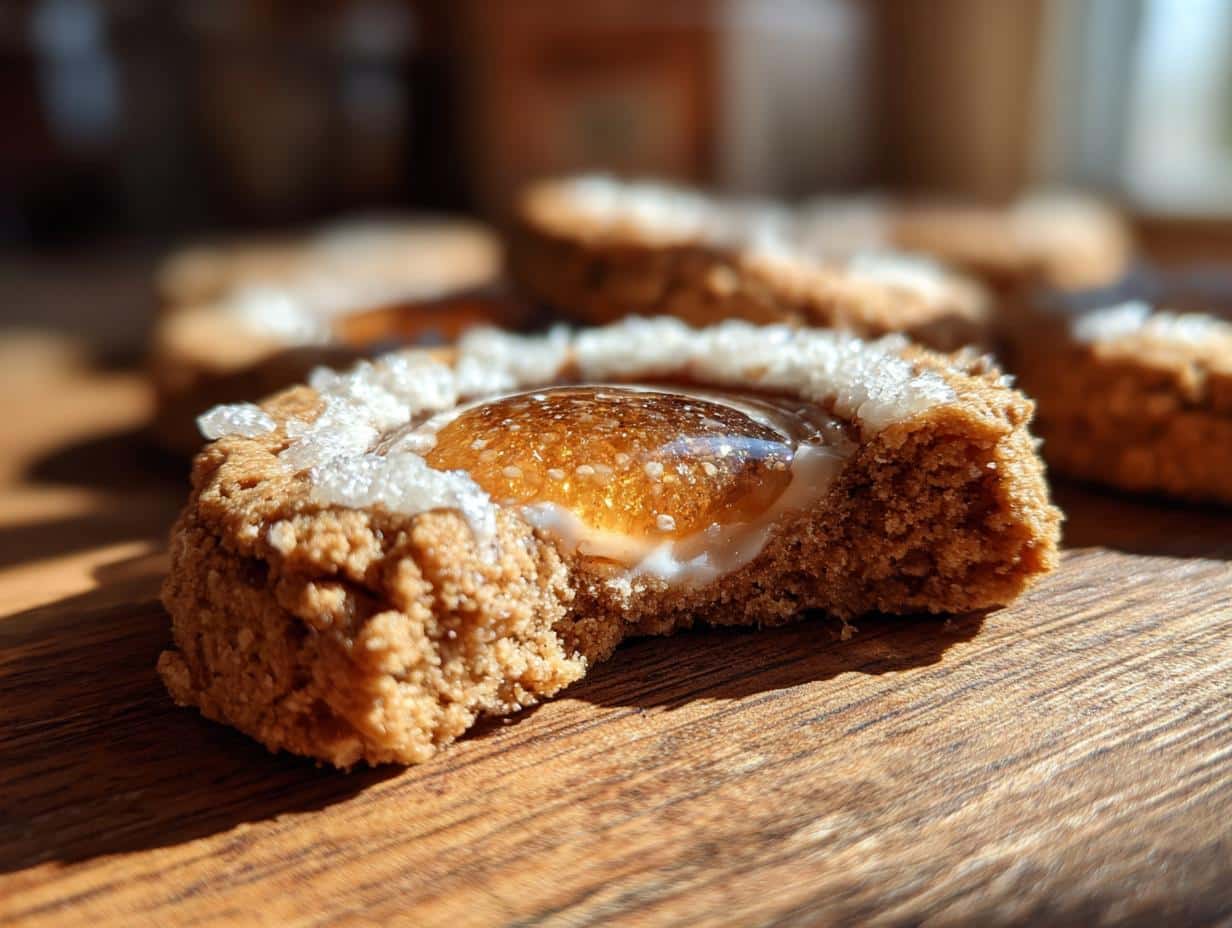
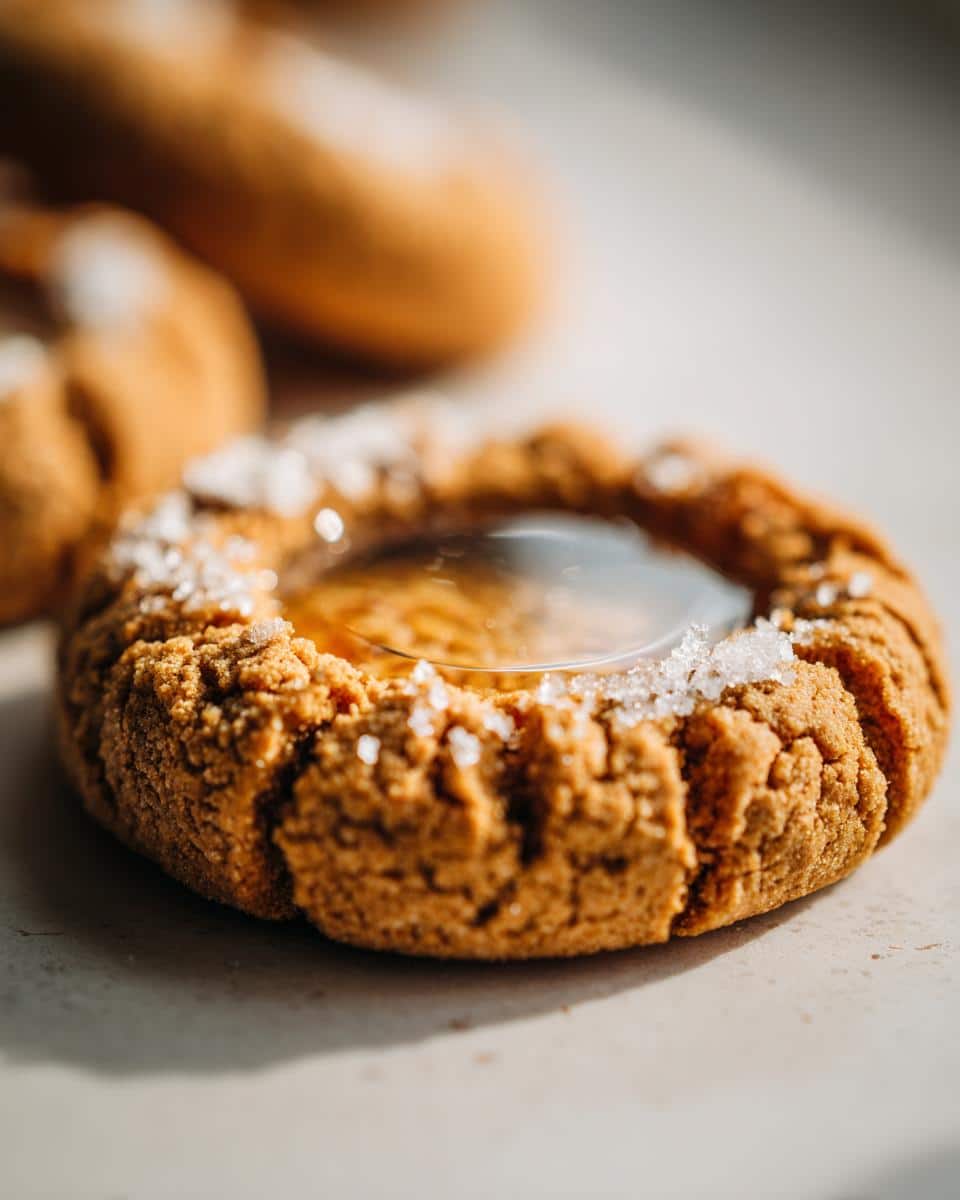
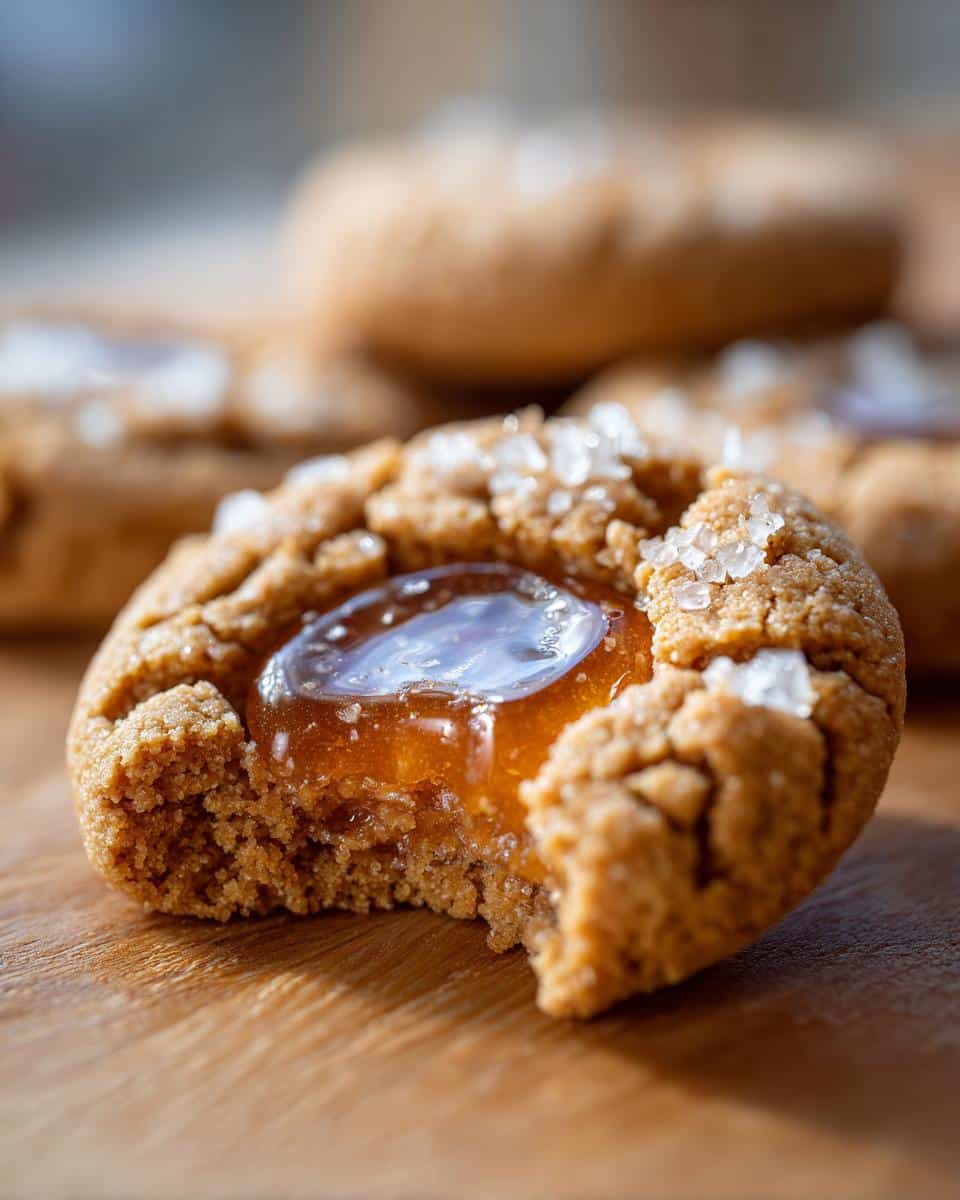
Into the oven they go! Bake them for about 12 to 15 minutes. You know they are done when the edges of the cookie dough look lightly golden brown—that’s the visual cue! When you pull them out, you’ll see the candy has melted into a smooth, beautiful clear glass.
Cooling and Hardening the Candy Center
Do *not* touch them immediately! This is where patience comes in. Let the cookies sit right there on the hot baking sheet for about five full minutes. This lets the melted candy set up just enough so it doesn’t slop everywhere when you move it. After those five minutes, gently transfer each one onto a wire rack to cool completely. As they cool down to room temperature, that sweet, clear center hardens up, locking everything into place. That’s how you get your perfect globe effect!
Tips for Success Making Snow Globe Cookies Dog Treats
Even though these Snow Globe Cookies Dog treats are super straightforward, there are a couple of little tricks I’ve picked up over the years that make them perfect every single time. First off, when you roll your dough, try to keep it nice and even. If one spot is way thinner than another, that thin spot will cook faster and potentially let the candy bleed out while you’re baking. Don’t worry about imperfections though; Gus loves the slightly misshapen ones!
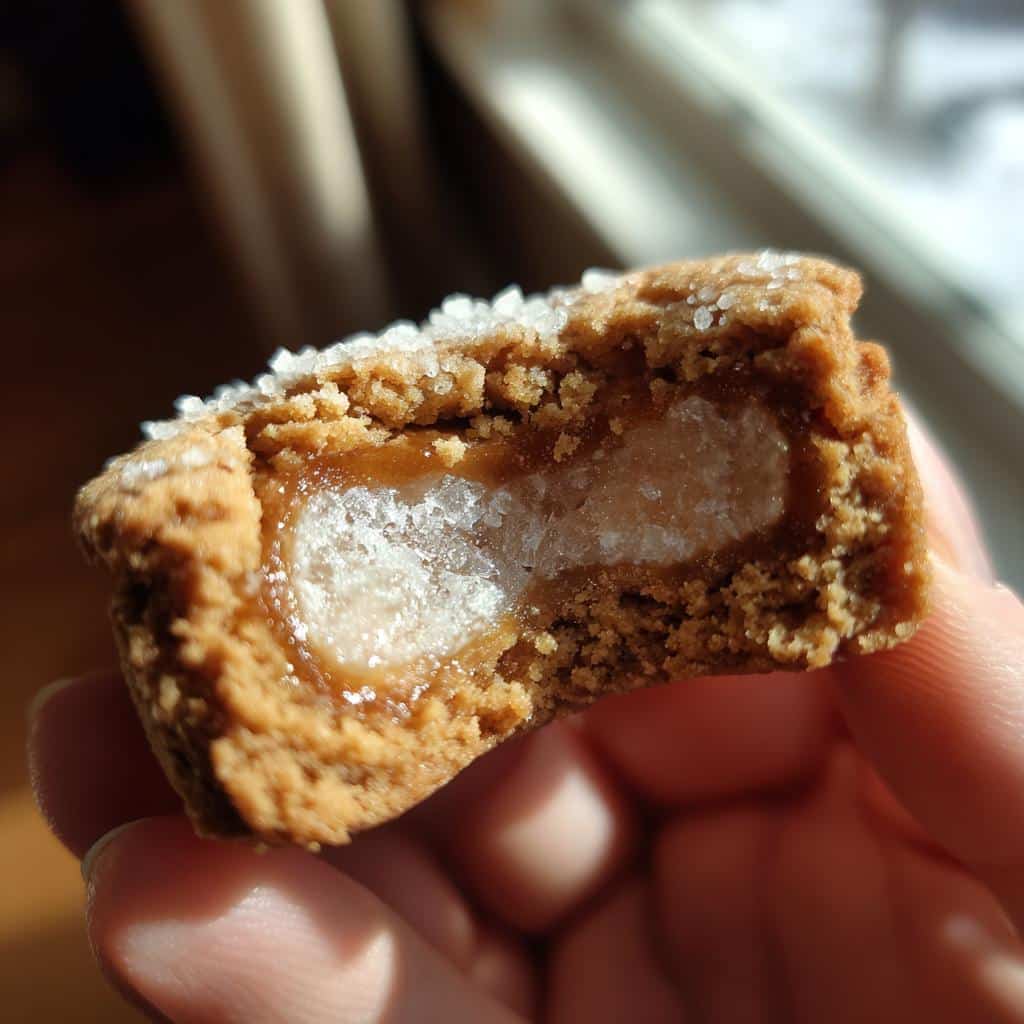
For the candy filling, you absolutely must use finely crushed pieces. If you leave chunks, the melted candy won’t level out properly, and you’ll end up with a bumpy, uneven snow globe. If you are feeling ambitious and want to seal the top layer—which I often do for my niece’s spoiled Labrador—you have to work fast! As soon as the hot cookies come out of the oven, press that matching top cookie piece right onto the still-gooey candy before it completely sets. If you wait even thirty seconds too long, the top cookie won’t stick! Check out the best easy dog cookies recipes if you want simpler options for busy days!
Storage and Keeping Your Snow Globe Cookies Dog Treats Fresh
So, you’ve made the most adorable Snow Globe Cookies Dog treats ever, and now you need to keep them perfect for your pup! The good news is, storage is super easy, which is a huge plus when you’re busy during the holidays.
These cookies are great because they are shelf-stable, unlike soft, fresh-baked bread or cakes that need the fridge. You just need to make sure they stay dry! Pop them into a good, airtight container. I use those big, sturdy plastic tubs myself. They should stay perfectly fresh at room temperature for up to a week. That’s plenty of time for Gus to demolish them, which is usually what happens here!
The key thing to remember is to make sure the candy center is completely hard before you seal them up. If there is any moisture left, the candy might get sticky, and you’ll lose that beautiful globe effect. If you want even more straightforward options for your furry best friend, take a peek at these 14 easy homemade dog treats for inspiration!
Ingredient Substitutions for Snow Globe Cookies Dog Treats
It happens to all of us—we’re ready to bake, and one staple is missing! Since these Snow Globe Cookies Dog treats are fairly sturdy, we have a little wiggle room, but safety first! For the flour, if you absolutely must skip the whole wheat, using plain all-purpose flour is the easiest swap. It might make the dough a touch softer, so just chill it a bit longer before rolling the 1/4 inch thickness.
Now, about the peanut butter—I’ve seen people ask about swapping it out, maybe for almond butter or sun butter. While other butters might work in a pinch, please, please check the label! If it has xylitol, it’s a hard no. For a completely different flavor profile, you could try the blueberry dog biscuit recipe sometime, but for this snow globe design, we really need that nutty fat content to hold the shape.
Frequently Asked Questions About These Dog Treats
I know you might have a few little questions swirling around after making something this fun! It’s always better to ask than to guess, especially when it comes to our furry family members. Here are the ones I get asked the most about perfecting these beautiful **Snow Globe Cookies Dog treats**.
Are the crushed candies safe for my dog?
That’s such an important question! Yes, once the hard candy melts and then cools completely, it becomes basically glass-like sugar candy. It’s perfectly safe! Since that clear center is pure sugar, though, just remember we are making these as special occasion **holiday dog treats**, not an everyday snack. Everything in moderation, right? Gus sure gets excited, but I limit him to one a day!
Can I use different cookie cutters for these Snow Globe Cookies Dog Treats?
Absolutely! The snow globe effect doesn’t care if you use stars, hearts, or plain circles, as long as you use the two-cutter system. You need one cutter for the outside base and a slightly smaller one to punch out the center window. That smaller cut has to happen *before* the candy goes in. Any shape will look fabulous hanging on the tree or sitting next to your own holiday cookies!
How do I make these holiday dog treats grain-free?
If your pup is sensitive to wheat, you can totally adapt this! I’ve had success replacing the whole wheat flour with an equal amount of chickpea flour or even oat flour—just make sure your oat flour is finely ground! The dough might be a little softer when you go to cut it, so chilling it back down for an extra 15 minutes helps keep that dough stiff enough to handle the candy filling. If you need more specific recipe advice for younger pups, check out these best puppy treat recipes!
Estimated Nutritional Breakdown for Snow Globe Cookies Dog Treats
Okay, listen, I’m a baker, not a chemist, so treat these numbers as fun estimations for your ultra-cute dog biscuits health benefits guide rather than strict medical advice! Because we are using whole wheat flour and applesauce, these Snow Globe Cookies Dog treats are pretty wholesome, but remember that candy center adds a little sugar, even if it looks clear.
Per cookie, you’re looking at roughly:
- Calories: 150
- Protein: 5g
- Fat: 6g
- Carbs: 20g
Please remember these are just gorgeous estimates! The type of peanut butter you use makes a huge difference, so adjust your expectations accordingly. Mostly, they are for looks and happy tails!
Share Your Snow Globe Cookies Dog Treats Creations
Wow, we made it! You’ve successfully navigated making the prettiest, most fun Snow Globe Cookies Dog treats ever. Now comes the best part: seeing your pups react!
I truly want to know how everything went for you. Did your dog, Buster, give them the official sniff test and approve? Did you try making the sealed top layer? Head down to the comments below and tell me all about it. Seriously, don’t be shy!
If you took a gorgeous photo of Gus modeling his new holiday cookie, I would absolutely love to see it! Tag me on social media so I can share the fun on my own feed. Seeing your wonderful creations always keeps my baking energy up for the next project. If you’re looking for more inspiration or just want to chat about dog baking, feel free to explore my full recipe blog!
Happy baking, and enjoy watching your dog happily munch on these spectacular holiday creations!
Snow Globe Cookies Dog Treats
Ingredients
Equipment
Method
- Preheat your oven to 350 degrees Fahrenheit (175 degrees Celsius). Line baking sheets with parchment paper.
- In a large bowl, mix the flour, applesauce, peanut butter, and egg until a stiff dough forms.
- Roll the dough out on a lightly floured surface to about 1/4 inch thickness.
- Use a large cookie cutter to cut out the base shapes for your cookies. Then, use a smaller cutter to cut a window out of the center of each base piece.
- Place the base cookies onto the prepared baking sheets.
- Place a small amount of the crushed hard candies into the center window of each cookie base. Do not overfill.
- Bake for 12 to 15 minutes, or until the edges are lightly golden. The candy should melt and fill the window.
- Remove the cookies from the oven and let them cool on the baking sheet for 5 minutes before transferring them to a wire rack to cool completely. The candy center will harden as it cools.


