You know me, I love sharing ways to make life cleaner and tastier, and that absolutely includes our furry family members! When I started making homemade dog biscuits, I realized finding a topping that was both beautiful and genuinely clean was a huge headache. So much store-bought stuff is packed with weird colorings and sneaky fillers. That’s why I perfected this recipe for Silky Peanut Butter Icing. Seriously, it comes together in ten minutes with just a few pantry staples, and the texture is just dreamy—smooth, spreadable, and totally safe. It was essential for me to ditch the shady labels and create this wonderful, natural glaze!
Why You Will Want This Silky Peanut Butter Icing
Honestly, this is the little icing recipe that changed my topping game, especially since clean eating applies to pup treats too! If you’re looking for brilliance without the bother, this is it. Forget complicated buttercreams; this recipe is so much better for quick decorating sessions. Check out why this glaze is my go-to:
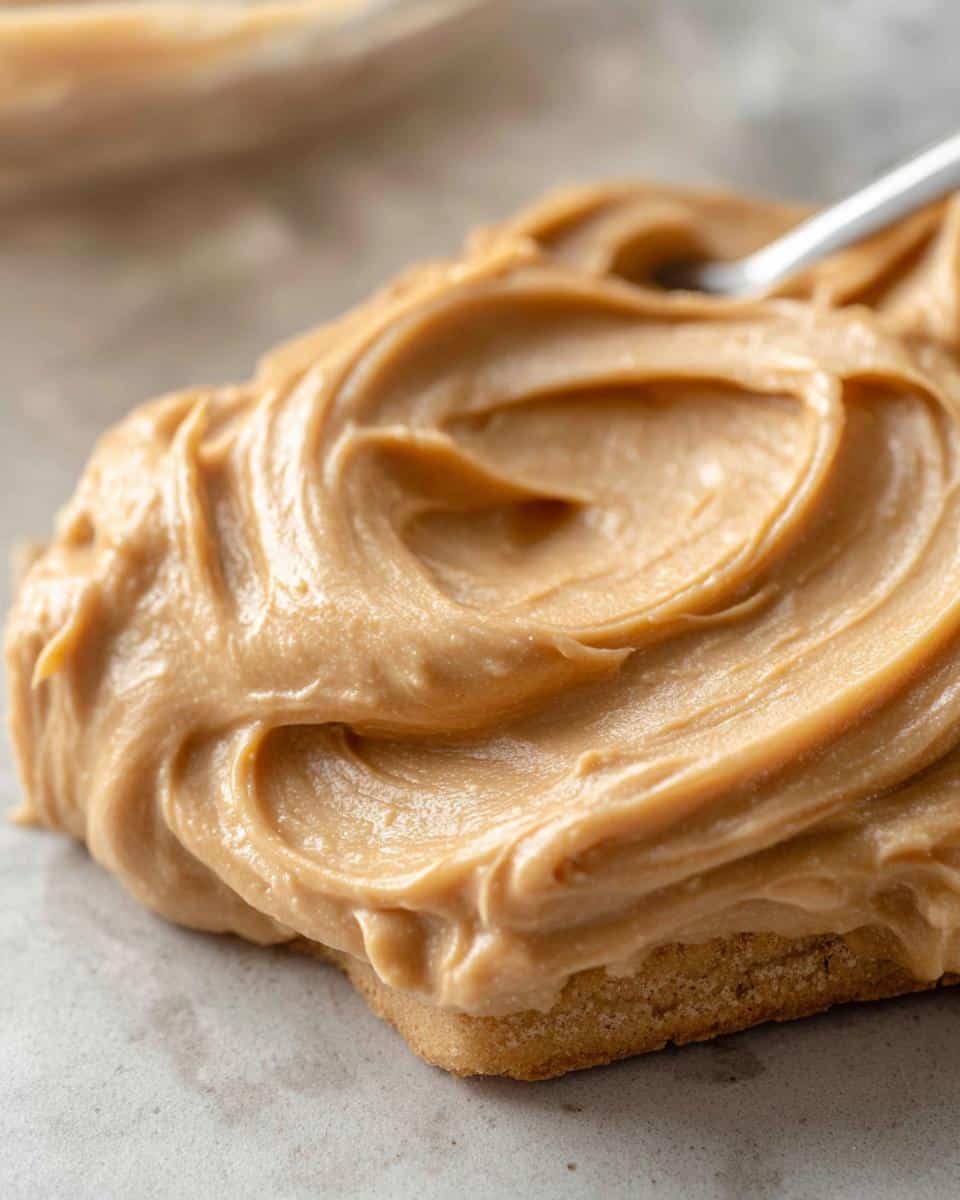
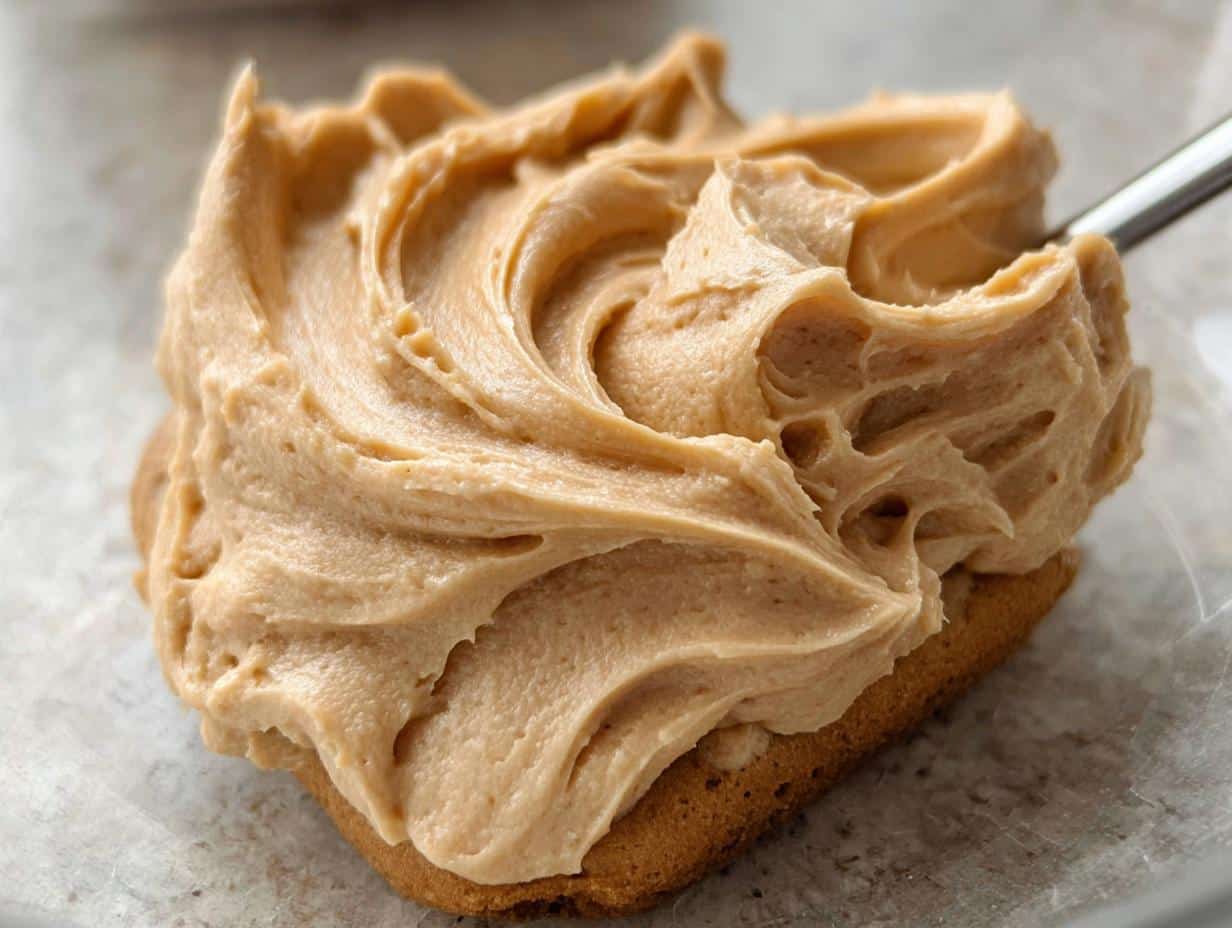
- Pure Silky Texture: It spreads like a dream and holds its shape just enough for pretty swirls, thanks to the cornstarch magic.
- Minimal Ingredients: Seriously, only four things stand between you and this amazing topping. Super easy when you’re already busy baking!
- Pet Safety First: We are militant about keeping xylitol out of the house, so this recipe keeps things wonderfully clean and worry-free for our best friends. If you want more quick ideas for safe bakes, check out some of my favorite easy pup kitchen creations!
Essential Ingredients For Silky Peanut Butter Icing
This recipe is fantastic because you probably have everything you need right now. We aren’t messing around with tons of sugar or weird stabilizers here. Nope! We are keeping it real, which is how you get that beautiful, naturally smooth finish. Just look at these core items—we only need four things to get this going.
The most important thing? Make sure you grab the right peanut butter. I always list this as a non-negotiable warning—you absolutely must use natural peanut butter that is completely xylitol-free. If you need help finding safe recipes, take a look at some of these easy peanut butter dog treats ideas I’ve compiled. Nobody wants unnecessary worry when treating their pals!
- Natural Peanut Butter: 2 tablespoons. Remember, this has to be xylitol-free! That’s our safety rule number one.
- Honey: Just 1 tablespoon. It adds a touch of binding sweetness.
- Cornstarch: 1/3 cup. This is the key to the silkiness; don’t skip it! Potato starch works too if that’s all you have on hand.
- Hot Water: Start with 3 to 4 tablespoons. We add this slowly to get that perfect pipeable texture.
How to Make Silky Peanut Butter Icing Step-by-Step
Okay, putting this together is truly lightning-fast. I wish I had known about this simple method years ago when I was wasting time trying to whip butter for a smooth finish! The amazing thing about using cornstarch here is that it transforms the sticky peanut butter into something velvety without needing tons of powdered sugar or shortening. It takes maybe 10 minutes start to finish, but trust me, the results look professional. Before you start, make sure you have your no-bake peanut butter dog treats completely cooled down!
Combining the Base Ingredients
First things first, grab your mixing bowl. We’re starting with the two sticky guys: your 2 tablespoons of natural peanut butter and the 1 tablespoon of honey. You need to mix these together first until they look like one single, gorgeous, caramel-colored paste. Don’t rush this part—you want them totally incorporated before we start adding the powder.
Thickening with Cornstarch
Now for the magic dust! Slowly start adding that 1/3 cup of cornstarch right into your peanut butter-honey base. You have to stir this continuously. If you dump it all in at once, you’ll end up with a clumpy mess that defeats the whole purpose of getting this icing silky. Keep working it in until it looks thick and a little crumbly. This is the foundation of that smooth texture hitting the baked goods later on.
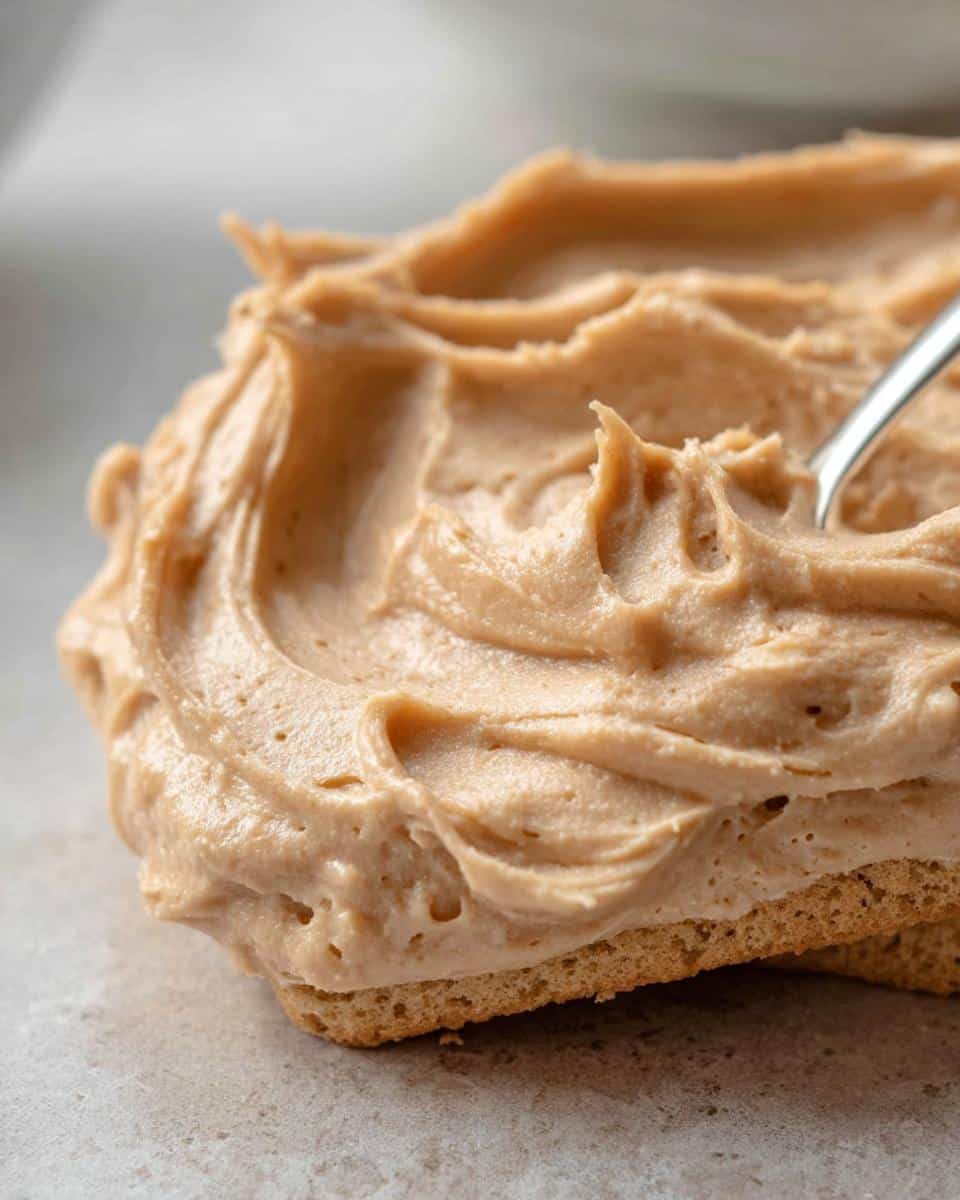
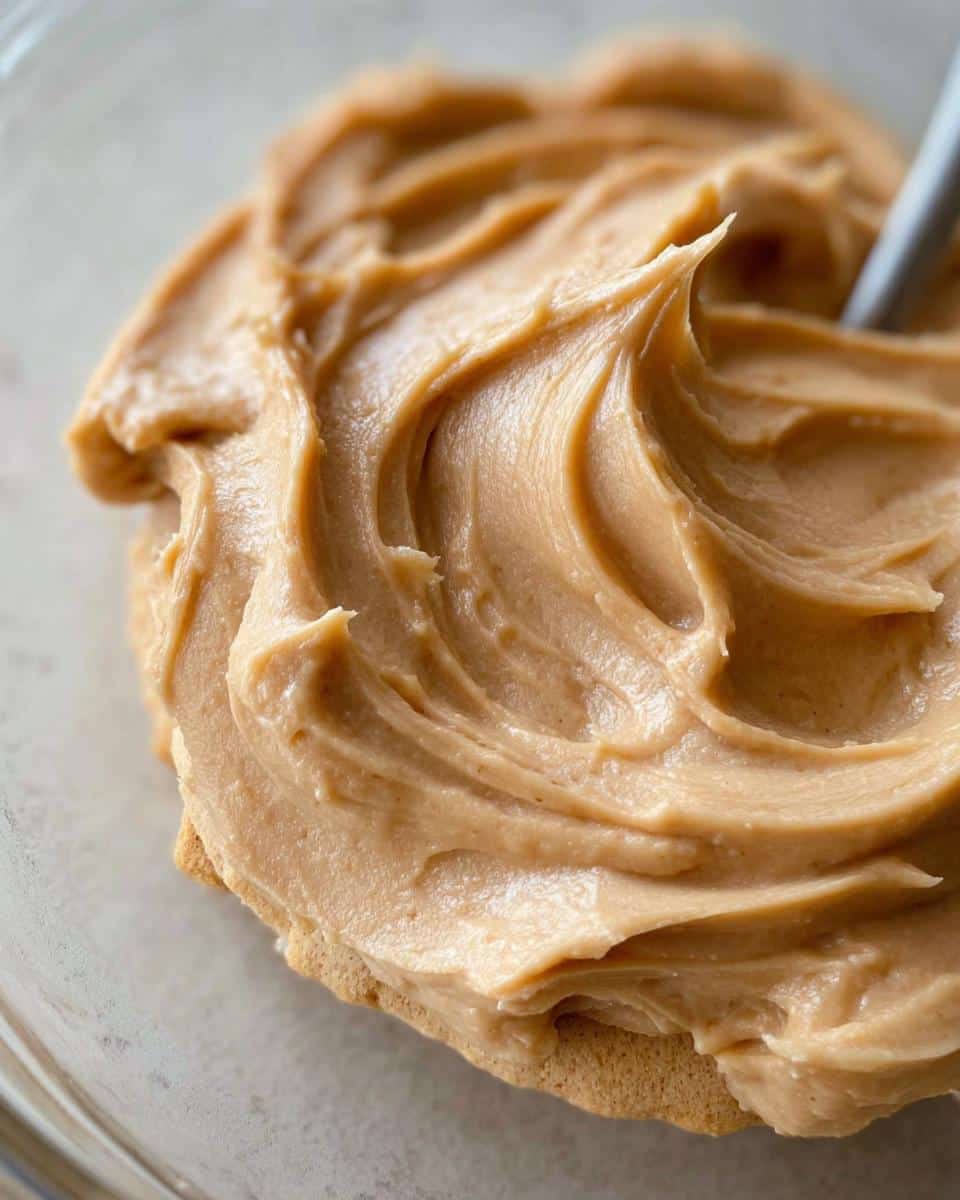
Achieving the Perfect Silky Peanut Butter Icing Consistency
This is where you bring it all home! Take your hot water and start adding it one tablespoon at a time—maybe start with 3 tablespoons total. Mix hard after each addition. You are looking for a mixture that finally becomes smooth, soft, and pipeable. It should move easily but still coat the back of a spoon nicely.
Expert tip: Natural peanut butter varies SO much! If your mix still seems too stiff after that third spoonful of water, add the fourth, mixing well between each addition. If, somehow, it gets too loose (which is rare if you measure carefully), just whisk in literally a tiny pinch more cornstarch. This tiny adjustment based on your specific peanut butter means your **Silky Peanut Butter Icing** will be flawless every single time.
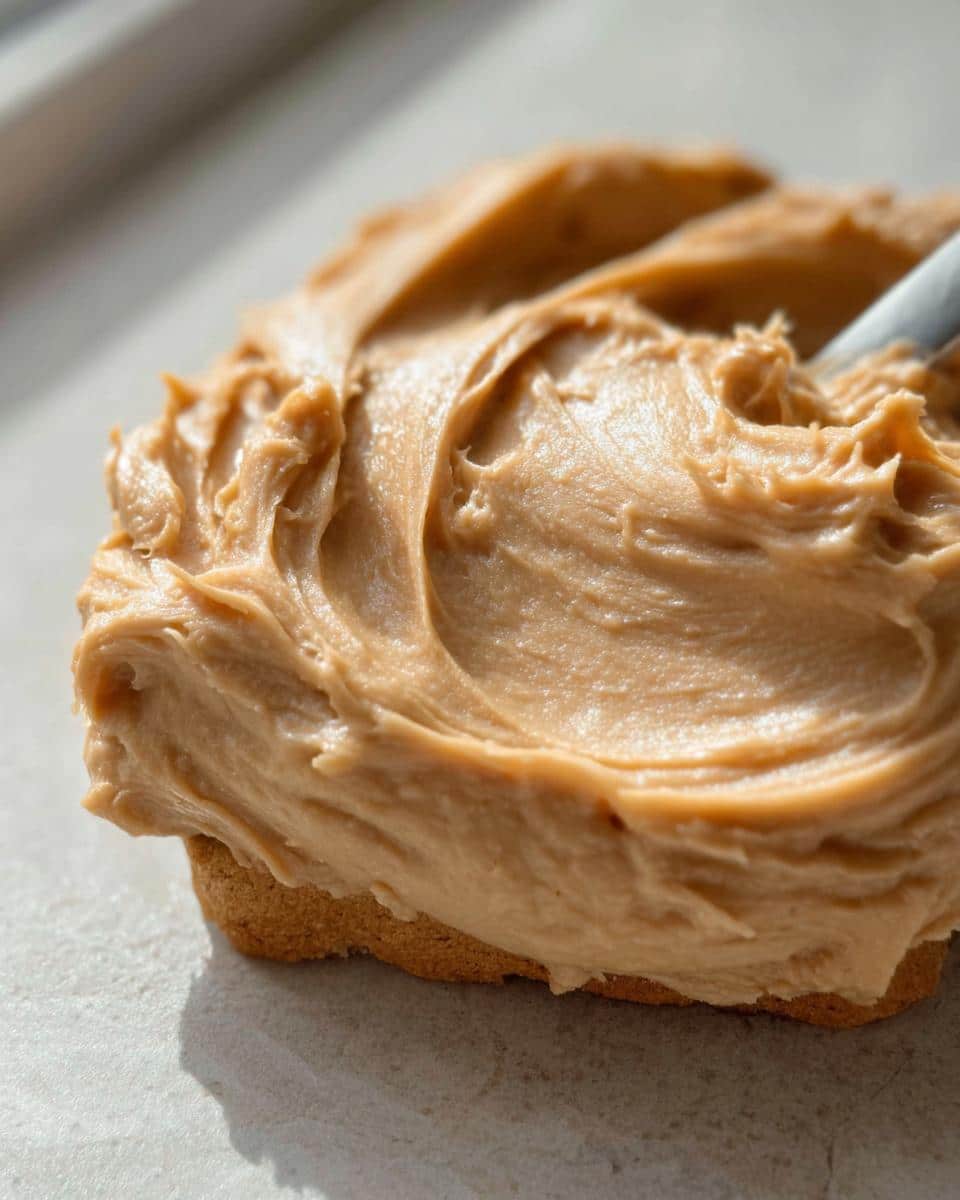
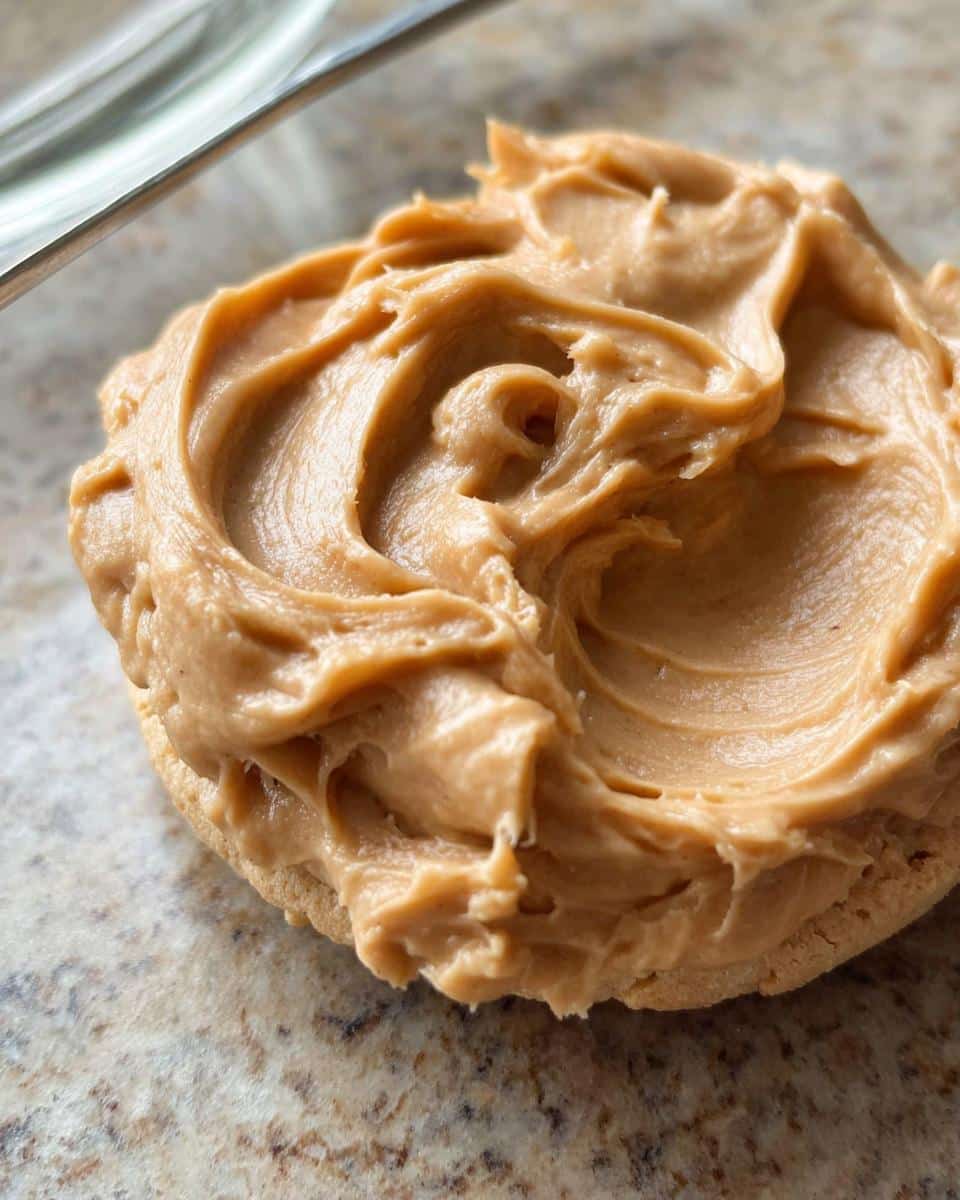
Decorating Your Baked Goods
Once you hit that perfect consistency—smooth, glossy, and easy to drizzle—you are ready to decorate! If you’re using a piping bag, load it up gently. If you’re just spooning it on, make sure your biscuits or treats are completely cool first. Applying icing to a warm treat just creates a melted, sad puddle, and we are aiming for gorgeous swirls and designs here!
Tips for Perfect Silky Peanut Butter Icing Results
Even when a recipe seems simple, the small details make the difference between good and truly spectacular, right? Because we aren’t using refined sugars or stabilizers, a couple of small habits will ensure your **Silky Peanut Butter Icing** looks amazing and sets up nicely. Trust me, I learned these little secrets the hard way!
For example, don’t even *think* about using peanut butter straight from the fridge. If it’s cold, it fights the honey, and you get clumps instead of smooth mixing. Always let your natural peanut butter sit out for about 15 minutes—just long enough to soften up slightly. It should be easily stirred with a spoon, but not oily.
When you are cutting the hot water into the starch and peanut butter, you need high energy! I use a small balloon whisk for this final mixing stage. You want to incorporate a little bit of air, which helps suspend the starch particles evenly and keeps that silky bubble texture suspended throughout. It’s all about the fast whisking action!
If you find your icing is setting up too fast—maybe you live somewhere super dry—don’t panic! You don’t need more water right away. Try setting the bowl over a bowl of warm (not hot!) water for about 30 seconds, and gently stir. This slight warmth reactivates the ingredients and loosens the consistency without making it runny. It’s my absolute favorite trick for mid-batch adjustments, especially if you’re using it for decorating intricate designs like peanut butter oatmeal cookies!
Ingredient Spotlight: Why Xylitol-Free Peanut Butter Matters
Oh, we need to talk about this for a second because when I first started researching clean toppings, I stumbled across something truly scary. If you are making this **Silky Peanut Butter Icing** for dog treats—and I know many of you are—you absolutely must pay attention to the peanut butter label. This isn’t about flavor complexity; this is about keeping our best friends safe!
That sneaky ingredient is called xylitol. It’s a natural sugar substitute, which sounds harmless, right? Wrong! For dogs, even a tiny amount of xylitol is incredibly toxic. It causes a rapid drop in their blood sugar that can lead to seizures, liver failure, and severe emergencies. It’s terrifying.
This is why, in my clean-living philosophy for pets and people, we are strict. Whenever you see peanut butter recommended, you must actively check the ingredients list. If xylitol shows up anywhere, put that jar down immediately. It’s just not worth the risk.
I always steer people toward simple, two-ingredient natural peanut butters—just peanuts and maybe salt. If you’re looking for more vet-approved safety tips and great recipe ideas that keep your pets healthy, you should definitely explore these vet-approved recipes. When you’re feeding your pets, knowledge is totally your superpower!
Storage and Reheating Instructions for Silky Peanut Butter Icing
So, what happens when you inevitably make too much of this amazing **Silky Peanut Butter Icing**? Don’t stress! Since this recipe skips the heavy butter and loads up on honey and starch, it stores surprisingly well. But because we aren’t using refined sugars, we need to treat it a little differently than a standard buttercream.
Keeping Your Icing Fresh
You must keep this icing airtight. If you leave it out on the counter, it’ll get dry really fast, especially the cornstarch component. Slide any leftovers into a small, sealable container—a glass jar works perfectly for me. Pop that jar right into the refrigerator. It honestly stays perfectly usable for about five to seven days, which is great for decorating throughout the week!
When you pull it out of the fridge, though, I have to warn you: it will be stiff. Remember, we kept the sugar low and used cornstarch as the primary thickener. Don’t panic thinking you ruined it! That stiffness is normal.
Restoring That Silky Smoothness
This is the crucial part. You can’t just start frosting with ice-cold icing; it will tear up your treats! To bring back that beautiful **Silky Peanut Butter Icing** texture, you need gentle warmth. Do NOT microwave this in big chunks; the honey can superheat fast.
Instead, scoop out what you need—maybe a tablespoon or two—and let it sit on the counter for about 15 to 20 minutes until it softens up a bit. If you’re in a real hurry, place the small amount you need in a tiny microwave-safe bowl and blast it for just 5 seconds. Stir it really well after those 5 seconds. You might need to repeat that *once*, maybe twice, until it loosens up enough to spread easily with a spoon or fill a piping bag again. It should return to that luscious, dreamy texture in no time!
Variations for Your Peanut Butter Topping
One of the best things about keeping recipes clean and simple is how easily you can play around with them once you know the core structure works! This **Silky Peanut Butter Icing** is designed to be a beautiful, safe base, but if you want to jazz it up for different occasions (or if you’re making human-grade snacks alongside the dog treats), you can totally switch things up.
The key rule here is to only change things that don’t compromise the texture or safety rules we already established. Since we rely on honey for that initial stickiness and cornstarch for body, we have to be a little careful what we substitute!
Sweetener Swaps
The easiest variation is swapping the sweetener. Honey is wonderful because it mixes beautifully with the peanut butter, but if you’re looking for a pure vegan option for your human baking, you can try swapping it out for maple syrup. Maple syrup is a bit thinner than honey, so here’s what you do: Use the same 1 tablespoon of maple syrup, but be ready to add slightly less hot water later on, maybe starting with only 2 1/2 tablespoons. You might need a tiny extra pinch of cornstarch to make up for the thinner liquid!
Adding a Hint of Flavor
Sometimes I like a little extra warmth in the background, especially if I’m putting this on a pumpkin or sweet potato-based treat. If you are creating this batch strictly for people—not pets!—you can beat in about 1/4 teaspoon of pure vanilla extract right along with the peanut butter and honey base. It just deepens the whole flavor profile.
Another fun human variation is adding a tiny pinch of spice. Cinnamon works beautifully with peanut butter, but remember, too much can be harsh on sensitive tummies, so use it sparingly! A little goes a long way.
Making it Brighter
If you’re using this **Silky Peanut Butter Icing** on something a little less sweet and want that brightness you get from citrus—again, only for human consumption!—you can whisk in just half a teaspoon of fresh orange zest right at the end with your hot water. The tartness cuts through the richness of the peanut butter perfectly. It’s a fantastic way to lift the flavor when you are having guests over. If you’re looking for other fun recipes that pair well, you have to check out the banana carrot logs recipe; this icing would be dynamite on those!
Common Questions About How To Make Silky Peanut Butter Icing
When I first started playing around with this recipe, I had a million little doubts, which I’m sure you do too! It’s always those tiny questions that end up making or breaking a recipe, especially when you are trying to keep the ingredients clean. So, let’s tackle some of the most common things I get asked about getting that perfect consistency for your Silky Peanut Butter Icing.
Can I use regular, heavily processed peanut butter here?
You certainly *can*, but I really, really advise against it if you want that true silky outcome. The highly processed, shelf-stable peanut butters usually have added sugar and oils that separate differently than natural kinds. Because we are relying on the natural oils in the peanut butter and the starch to create that beautiful texture, the extra stabilizers in processed jars can make the final product feel greasy or grainy instead of smooth and velvety. For the best results and the cleanest ingredients, stick to natural, stirred peanut butter!
How long does it take for the icing to set once applied?
One of the *best* things about this recipe is how quickly it firms up! Since it doesn’t have tons of butter or powdered sugar, it doesn’t need days to dry. If you apply it to completely cooled treats, you should see a nice firm set—where it’s no longer tacky to the touch—in about 20 to 30 minutes at room temperature. If you are in a rush, popping the decorated treats in the fridge for 10 minutes will definitely speed things up. They won’t be rock hard, but they’ll be stable enough to stack or safely transport!
Can I adapt this recipe to be vegan?
Absolutely, yes, and this is a total game-changer if you need a vegan-friendly topping! Since honey is the one non-vegan item here, you can easily swap it out. I mentioned maple syrup earlier, but you could also use agave nectar. Remember what I said about consistency? Since maple syrup is usually a bit thinner than honey, just start with a little less hot water when you get to that step, and have your cornstarch measurement ready just in case you need that extra pinch to thicken things up. It works beautifully!
What if my batch is too thick to pipe?
This is the most common fix needed! If you can’t seem to push the icing through your piping tip—or it’s just stubbornly stiff—don’t reach for a second cup of water! That will make it runny fast. Instead, take just one teaspoon of hot water, stir it into the stiff batch vigorously, and wait 30 seconds. Then test it again. You’ll find that tiny addition just loosens the starch enough to become pliable again without ruining the whole consistency. It’s like magic, I promise!
If you decide to skip the piping and just use a spoon, you technically have more leeway for stiffness, and you don’t need that perfectly smooth, flowable state. For more great tips and discussions about keeping your kitchen intentional and clean, feel free to browse my blog archives here!
Share Your Silky Peanut Butter Icing Creations
Now that you know the secret to getting that perfectly smooth, clean **Silky Peanut Butter Icing**, I really want to see what you create! Honestly, getting feedback from you all helps me keep refining these recipes and figuring out what works best in different kitchens. Don’t be shy about sharing your decorating skills!
If you made a batch of this topping, I would be thrilled if you could take a quick second to let me know what you thought. Did you use it on dog biscuits? Did you try the maple syrup swap I mentioned? Seeing your success stories is seriously the best part of running Melt It Clean!
Please jump down to the comments section below and give the recipe a star rating. Even just a quick note about how easy it was to work with is super helpful for other readers trying to gain confidence in the kitchen.
And please, please share photos! If you set up a fun little frosting station or decorated some treats using silicone molds—which are fantastic, by the way, check out some cool ideas for using dog treats using silicone mold if you need inspiration—tag me on social media! Seeing my clean recipes out in the real world truly fuels my passion for making wellness fit *your* life.
By EMILIA, Founder of MeltItClean.com
Hi, I’m EMILIA, the founder of MeltItClean.com – your digital space for natural weight loss, real wellness habits, and clean-living inspiration that actually fits your life.
For years, I struggled with the ups and downs of dieting. I tried everything — juice cleanses, low-carb crazes, fitness challenges — but I always ended up back where I started: tired, bloated, and frustrated. I didn’t just want to “lose weight” — I wanted energy, mental clarity, glowing skin, and confidence without sacrificing my joy or sanity.
After years of experimenting, learning, and unlearning, I discovered a simple truth: your body is already powerful — it just needs support, not restriction. That’s when I created Melt It Clean — a site dedicated to real transformation through clean, intentional, and nourishing daily habits that anyone can follow.
My goal was simple: build a place where people could feel informed, supported, and empowered without being overwhelmed by wellness fads.
Silky Peanut Butter Icing
Ingredients
Equipment
Method
- In a mixing bowl, combine 2 tablespoons of natural peanut butter with 1 tablespoon of honey. Stir until the mixture is smooth and well-blended.
- Gradually add 1/3 cup of cornstarch to the peanut butter and honey mixture. Stir continuously to prevent clumping. The cornstarch will help thicken the icing to the desired consistency.
- Slowly add 3-4 tablespoons of hot water to the mixture, starting with 3 tablespoons. Mix until the icing reaches a smooth, pipeable consistency. If it’s too thick, add a bit more water; if it’s too runny, add a touch more cornstarch.
- Once your dog biscuits have cooled completely, use a piping bag or a spoon to apply the peanut butter icing. Get creative with designs—zigzags, paw prints, or even your dog’s name!