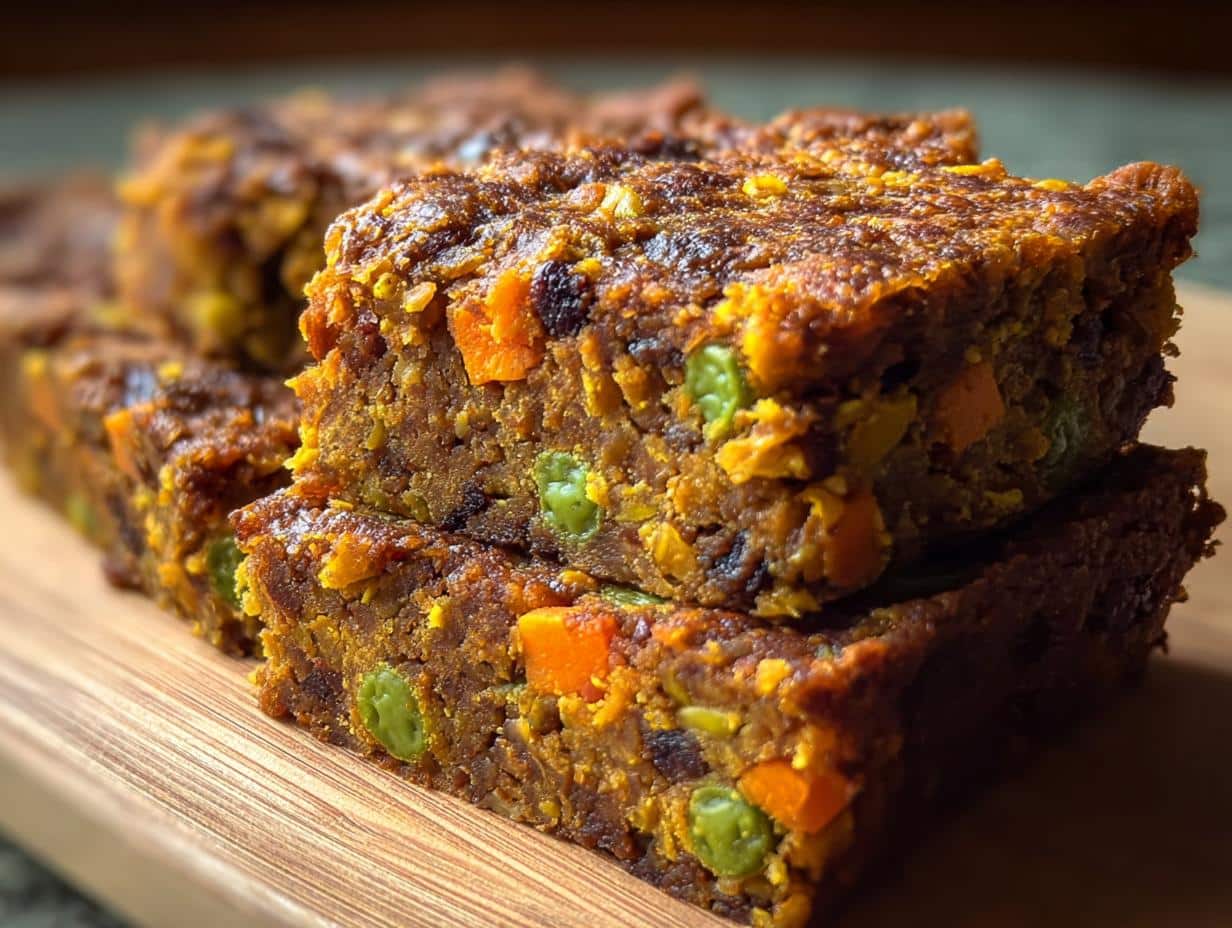
If you’re anything like me, you look at your dog and think, “You deserve the absolute best!” That’s who this recipe is for—the loving pet owner who spends time researching ingredients, even for snacks, because you want to avoid all those mysterious fillers and artificial colors found in store-bought bags. You want treats that are nourishing, not just empty calories. This recipe for Pear Crunch Gift Dog Cookies is perfect for you, whether you’re making a batch for your own pup or spoiling a dog best friend for their birthday. We’re keeping it clean, simple, and utterly delicious for the one who deserves a special homemade gesture!
Tone and Style for Crafting [Pear Crunch Gift Dog Cookies]
When we whip up tasty treats around here, the vibe is always super friendly and genuinely encouraging. I want you to feel totally supported, never judged if your dough spreads a little bit!
We’re sticking to clean habits, which means this recipe for Pear Crunch Gift Dog Cookies will be educational, showing you *why* good ingredients matter, but never restrictive. It should feel easy, like a simple step toward nourishing your dog, not another complicated diet rule.
My goal is to make sure you feel empowered every step of the way!
My Personal Journey with [Pear Crunch Gift Dog Cookies]
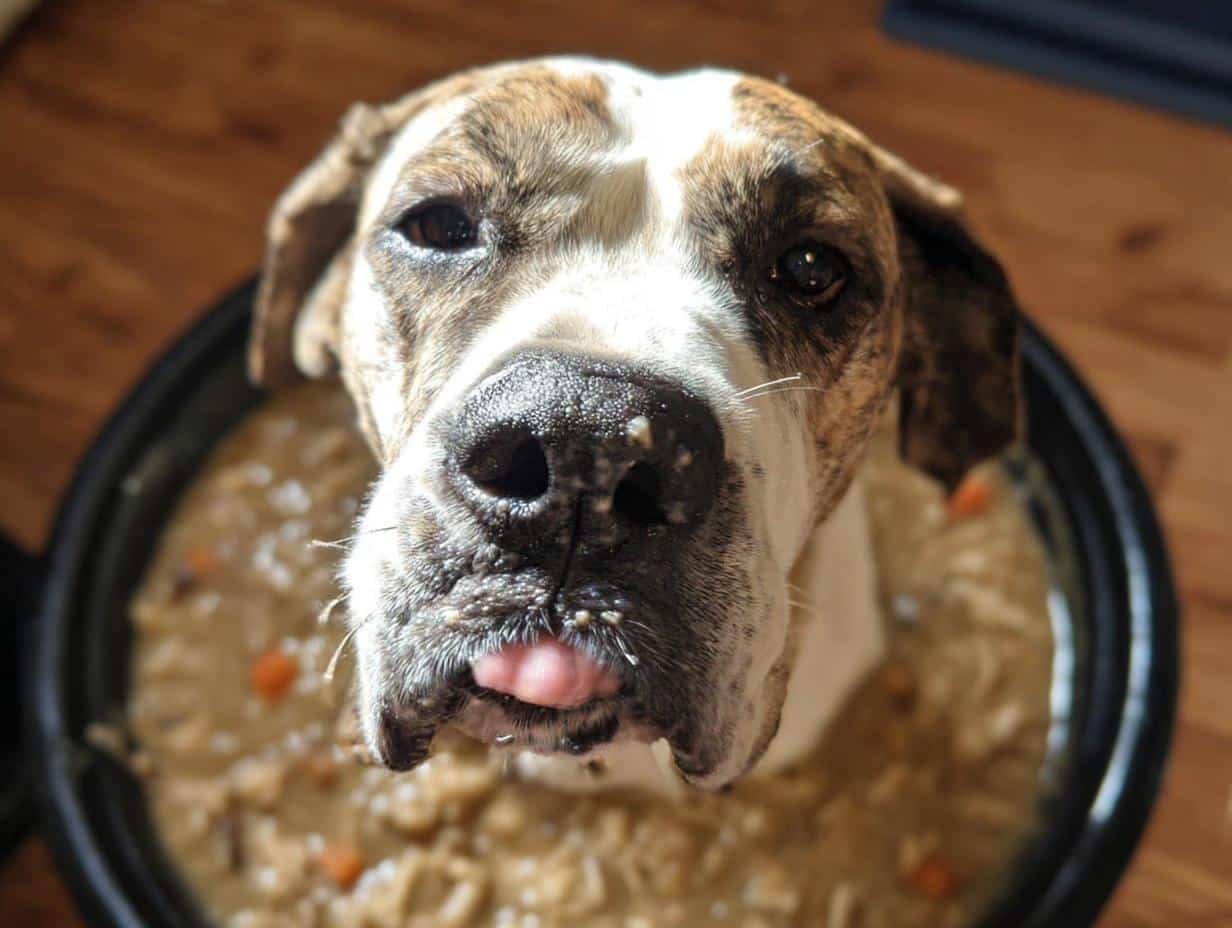
You know, when I first started trying to clean up my own diet years ago—all those cleanses and low-carb things—I was often tired and restricting myself so much. It hit me one day that I was treating myself like a project, and I didn’t want to treat my amazing dog, Gus, like he needed an overly complicated diet just for a snack!
He’s my loyal companion after a long day of recipe testing, and he deserves clean fuel. I remember scrambling to find him something special for his birthday, feeling frustrated that most store-bought options were packed with junk. It seemed like everything was either too rich or full of things Gus didn’t need.
That’s when I started experimenting with fruit-based baking, just like trying to find real wellness for myself. I wanted a treat that tasted amazing to him but was genuinely nourishing—no weird fillers allowed. That persistence led me straight to developing the Pear Crunch Gift Dog Cookies recipe. It’s my way of showing unconditional love without any of the guilt or worry about what I’m feeding my best friend.
Essential Ingredients for Your [Pear Crunch Gift Dog Cookies]
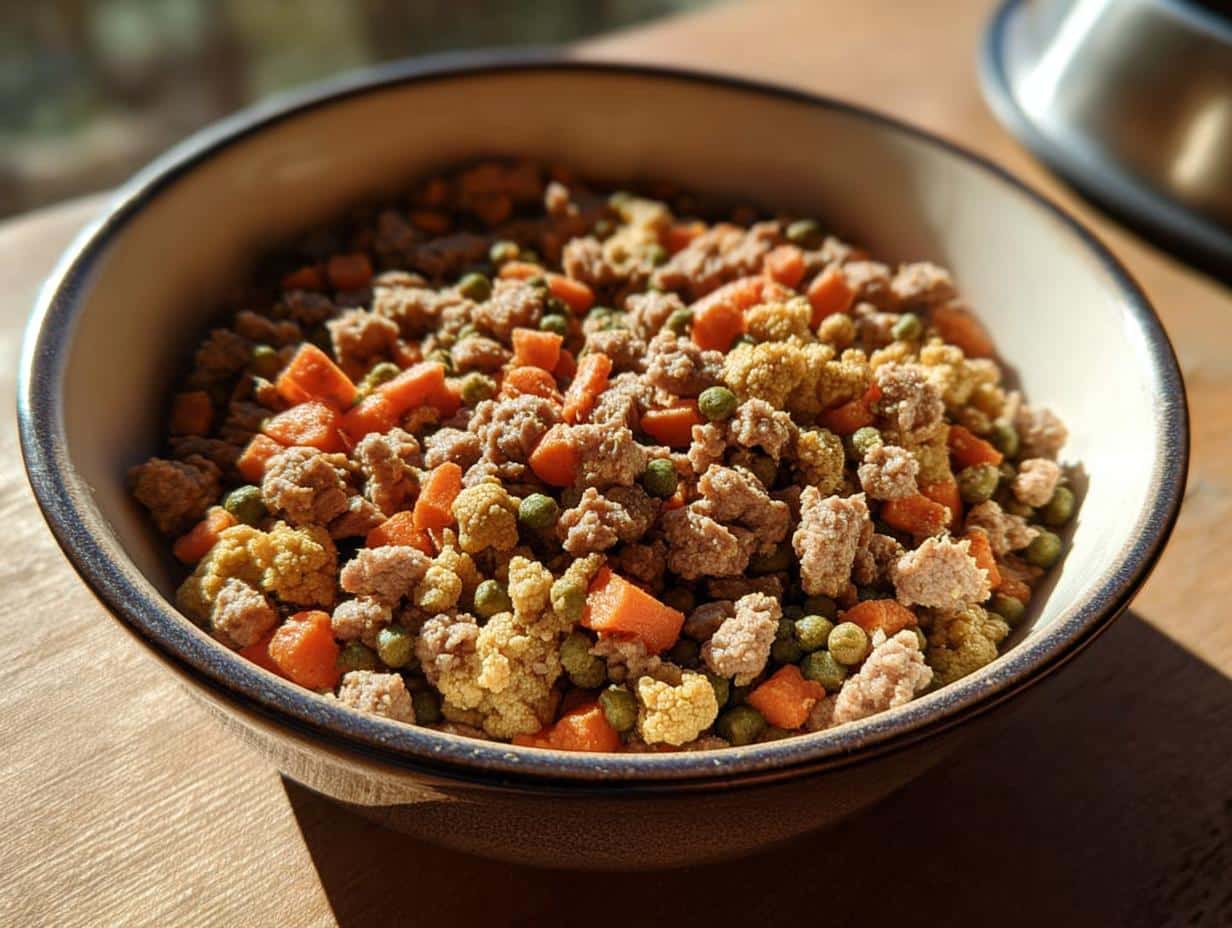
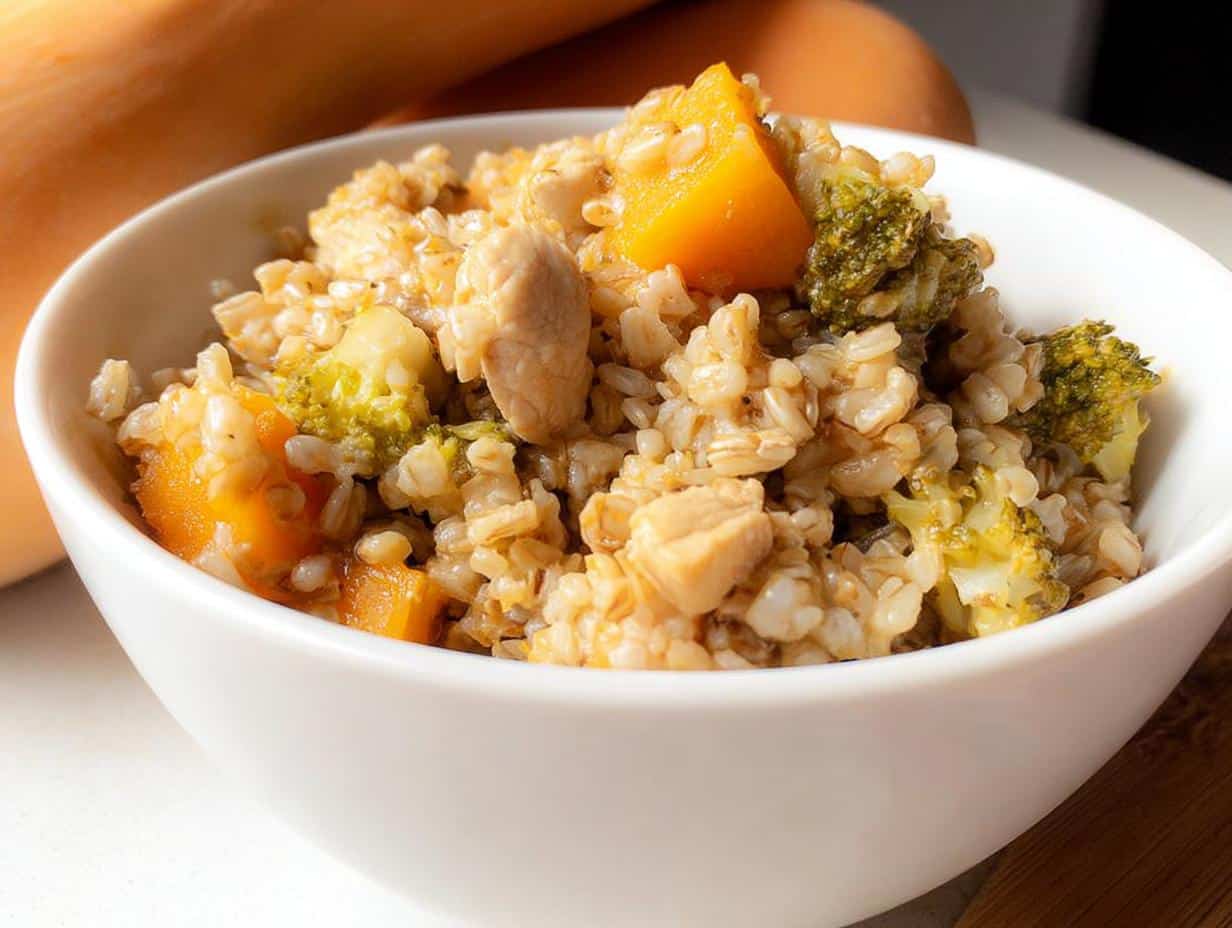
Okay, the beauty of making treats for your dog is that you get to control every single thing that goes into that happy tummy! When we talk about the core of these Pear Crunch Gift Dog Cookies, we are focusing on whole foods. Remember, my whole mission is about clean eating that actually sticks—and that applies to Gus, too!
Forget those strange powders and preservatives. We are going straight back to basics here. You’ll need fresh pears, of course, and some kind of whole grain flour. The flour choice is where you can really lean into clean living, depending on if your dog has sensitivities. Every ingredient is chosen with quality and nourishment first. It’s so satisfying knowing exactly what your dog is eating!
Ingredient Specifics and Substitutions for [Pear Crunch Gift Dog Cookies]
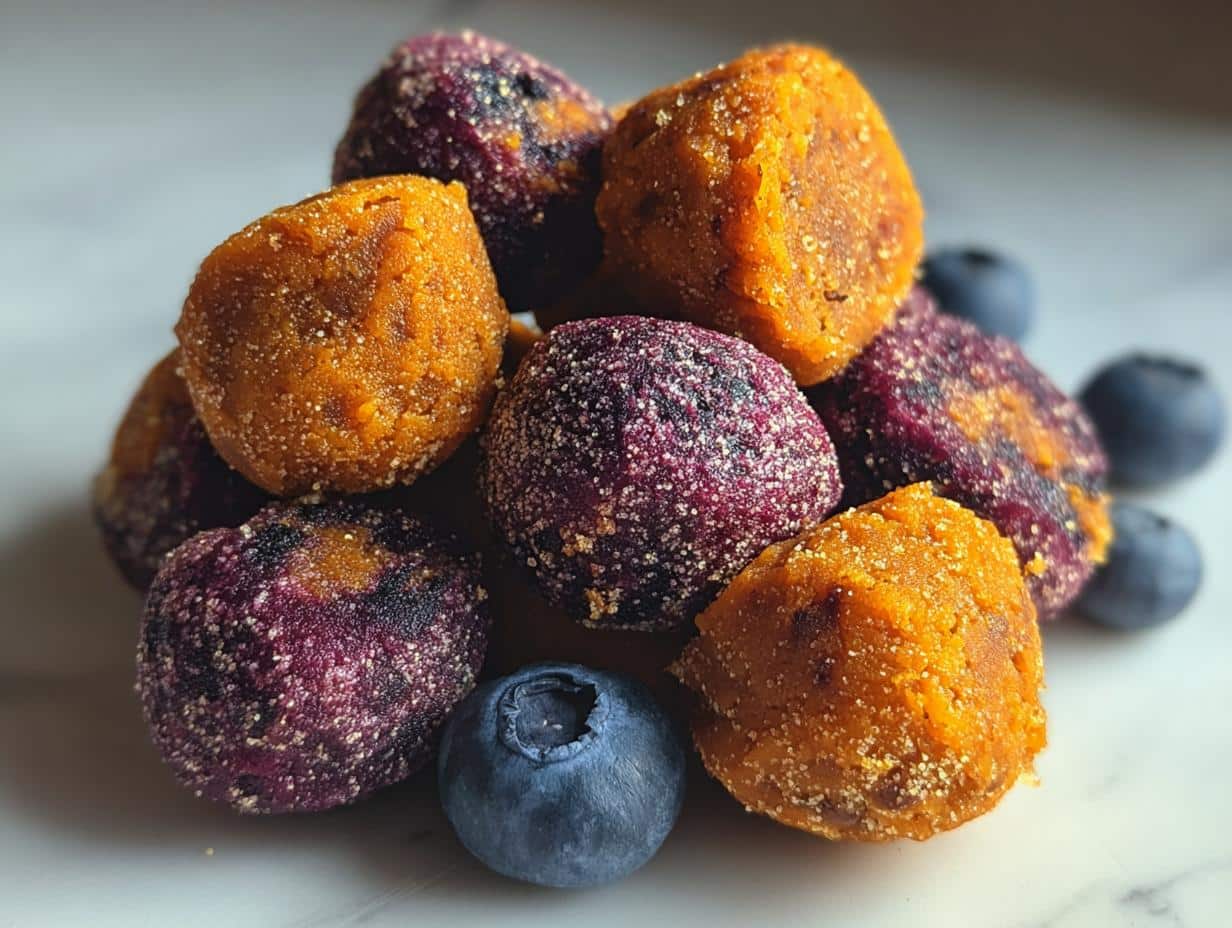
For the pears, please use ripe but firm ones; they grate up better that way. You don’t want them mushy! I usually default to whole wheat flour because it’s readily available, but if your pup is gluten-sensitive, oat flour works like a dream as a substitute—it keeps the Pear Crunch Gift Dog Cookies very tender.
A little bit of unsweetened applesauce can sometimes replace an egg if you need a binder swap, but try to stick to the main recipe the first time. Trust me, keeping the ingredients simple is the secret to success!
Step-by-Step Instructions for Perfect [Pear Crunch Gift Dog Cookies]
Alright, let’s get messy! This part is fast, which is what I love—we don’t want complicated processes when we’re aiming for clean living, right? First up, preheat your oven to 350 degrees Fahrenheit. You want it fully warmed before anything goes in. We are ditching the restriction here and just focusing on making something happy for our pups!
Grab your mixing bowls. In one, whisk together all your dry ingredients—the flour, maybe some spices, and baking powder. In the other, we’re combining the wet stuff. This usually means creaming your fat, the sweetener, and then mixing in the mashed pear and any egg binder you are using. If you need inspiration on different doughs, check out my guide on easy dog cookies recipes.
- Combine Gently: Slowly add the dry mixture into the wet mixture. I always do this in two batches. You only want to mix until *just* combined. If you overmix, your Pear Crunch Gift Dog Cookies get tough, and nobody wants that sad experience!
- Dough Time: If the dough seems too sticky to handle, chill it for about 15 minutes—pops of chill time help enormously!
- Shape and Cut: Roll the dough out on a lightly floured surface to about a quarter-inch thickness. Use fun cookie cutters, or honestly, just use the side of a butter knife to cut simple squares!
- Bake it Through: Place them on your lined baking sheet. They usually bake for about 12 to 15 minutes. Remember, we are looking for lightly golden edges, not burnt ones!
- Cool Completely: This is critical! Let them cool on the sheet for 5 minutes before moving them to a wire rack. They firm up a lot during that cooling period.
Baking Tips for Chewy vs. Crispy [Pear Crunch Gift Dog Cookies]
Texture is all about heat control! If you want a chewy Pear Crunch Gift Dog Cookies, pull them out right around the 12-minute mark when the edges are just set. For maximum crunch, keep them in for an extra 3 to 5 minutes until they look significantly drier.
Bigger cookies take longer to crisp up, so keep that in mind. Don’t stack them while warm, or they’ll steam themselves soft again!
Equipment Needed for Making [Pear Crunch Gift Dog Cookies]
You don’t need a fancy pro kitchen for these, which is perfect for keeping things stress-free! Grab a couple of sturdy mixing bowls—one for your dry stuff and one for mixing the wet ingredients for your Pear Crunch Gift Dog Cookies.
You will definitely need a baking sheet lined with parchment paper. That parchment is my secret weapon against sticking, seriously. And of course, you need your rolling pin and whatever fun cookie cutters you have on hand. Simple tools make simple, clean treats!

Storage and Freezing Instructions for Your [Pear Crunch Gift Dog Cookies]
Now that you’ve made these amazing, clean Pear Crunch Gift Dog Cookies, we have to keep them fresh! Since we aren’t using any weird preservatives, they won’t last forever on the counter.
If you keep them in an airtight container at room temperature, they should be good for about a week. If you baked them thin and crispy, they’ll last longer, but chewy ones need watching.
For long-term storage, freezing is your best friend! Lay your cooled cookies in a single layer on a tray, pop that tray in the deep freeze for an hour until they’re hard, and *then* toss them all into a heavy-duty freezer bag. They are perfect for up to three months!
Troubleshooting Common Issues with [Pear Crunch Gift Dog Cookies]
Even with the cleanest ingredients, baking can throw you a curveball! Don’t panic if things don’t look perfect immediately. That overwhelming feeling when dieting just doesn’t help with baking, right?
The biggest stumble I see with Pear Crunch Gift Dog Cookies is the dough spreading too much in the oven. This almost always means the dough was too warm when it hit the heat. If this happens, don’t worry! Just scoop up the messy cookies, gently re-form the dough, wrap it tightly, and give it at least 30 minutes in the fridge for the fats to firm up again before cutting and baking that second batch.
If your Pear Crunch Gift Dog Cookies seem crumbly when cutting, they likely need a tiny bit more liquid binder—maybe a teaspoon of water or a few extra drops of pear puree.
Frequently Asked Questions About Dog Treats
I get so many questions when people start baking cleaner treats for their pups! It’s wonderful that you’re reaching out to make sure everything is just right. Just remember, when we’re feeding our furry family, we want to support their bodies, not overwhelm them with stuff they don’t need.
Here are some things I hear all the time when folks are dipping their toes into homemade snacks:
Are these treats safe if my dog is a puppy and still teething?
For young puppies, you might want to slightly reduce the baking time to keep these softer. Hard, crunchy treats might be a little much for brand new teeth. If you find the cookies are too hard after cooling, you can actually soak them in just a tiny bit of plain water for a minute to soften them up before serving. They love the extra moisture!
What about dogs with sensitive stomachs—can I swap the flour?
Absolutely! Since we are avoiding restriction and focusing on support, swapping flours is a great idea if you have a sensitive pup. If the recipe calls for wheat flour, switching to finely ground oat flour or even chickpea flour often works beautifully and is easier on digestion. Always introduce one new ingredient slowly, though, just to watch for any reactions.
How long can I leave these treats out before they go bad?
Since we skip the preservatives, they definitely have a shorter shelf life than store-bought stuff. If they are baked until crispy, they usually handle room temperature well for about a week in an airtight container. If they are softer or chewier, it’s much safer to refrigerate them after the first couple of days. For anything longer than that, pop them in the freezer! If you need more in-depth guidelines on overall clean feeding for your dog, I always recommend checking out my list of vet-approved homemade dog food recipes for broader knowledge.
Share Your [Pear Crunch Gift Dog Cookies] Success
Now that you’ve baked a batch of these wonderful Pear Crunch Gift Dog Cookies, I honestly can’t wait to hear how your pup reacted!
Did they demolish the whole tray in five minutes flat? Let me know in the comments below! Rating these treats helps others see how easy building clean habits for our pets can be for everyone.
Nutritional Disclaimer for Homemade Dog Food
Since we are keeping things real and simple here, just know that any nutritional information for homemade treats is an estimate. The exact values change a bit based on the specific brand of flour or the exact size of the pear you use in your batch.
We aren’t running lab tests on these! This recipe provides nourishing habits, not exact macronutrient counts, so please feed these wonderful snacks to your dog in moderation.
By EMILIA, Founder of MeltItClean.com
Hi, I’m EMILIA, the founder of MeltItClean.com – your digital space for natural weight loss, real wellness habits, and clean-living inspiration that actually fits your life.
For years, I struggled with the ups and downs of dieting. I tried everything — juice cleanses, low-carb crazes, fitness challenges — but I always ended up back where I started: tired, bloated, and frustrated. I didn’t just want to “lose weight” — I wanted energy, mental clarity, glowing skin, and confidence without sacrificing my joy or sanity.
After years of experimenting, learning, and unlearning, I discovered a simple truth: your body is already powerful — it just needs support, not restriction. That’s when I created Melt It Clean — a site dedicated to real transformation through clean, intentional, and nourishing daily habits that anyone can follow.
My goal was simple: build a place where people could feel informed, supported, and empowered without being overwhelmed by wellness fads.
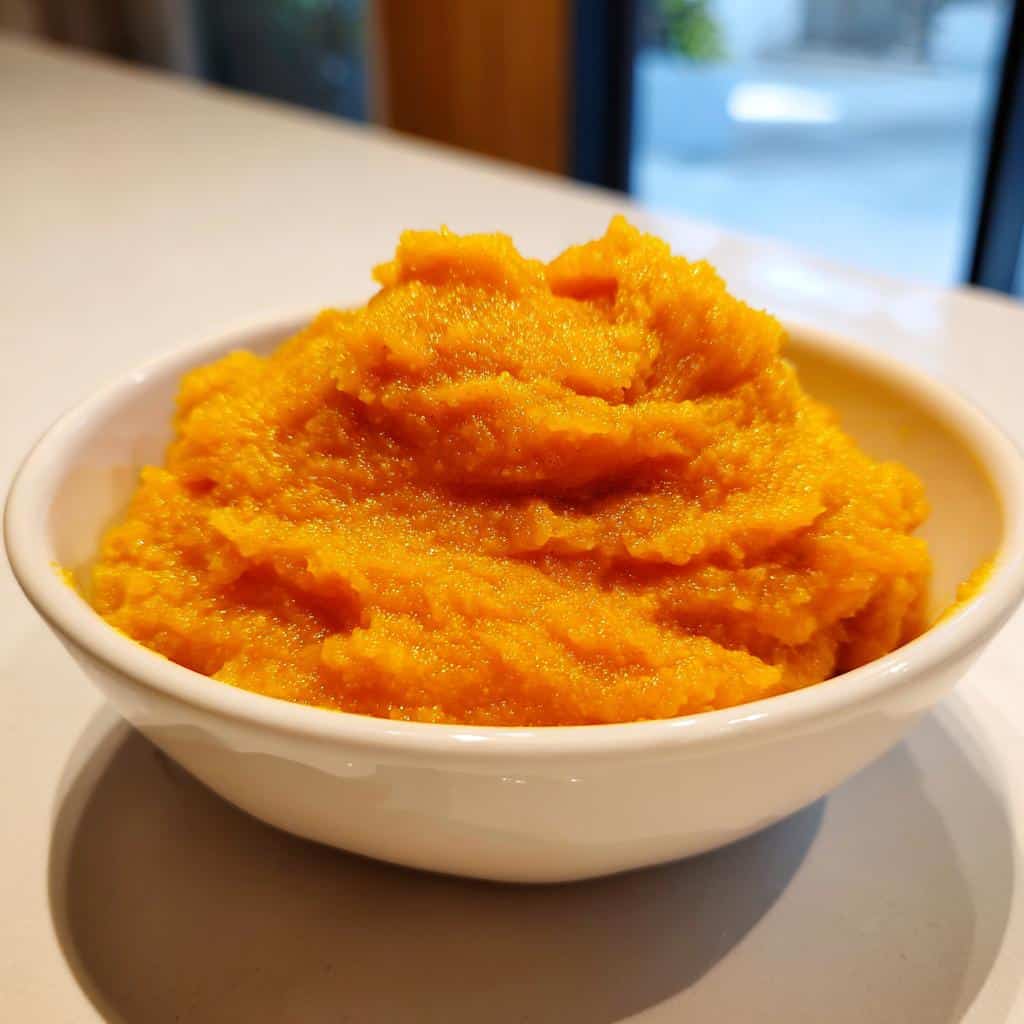
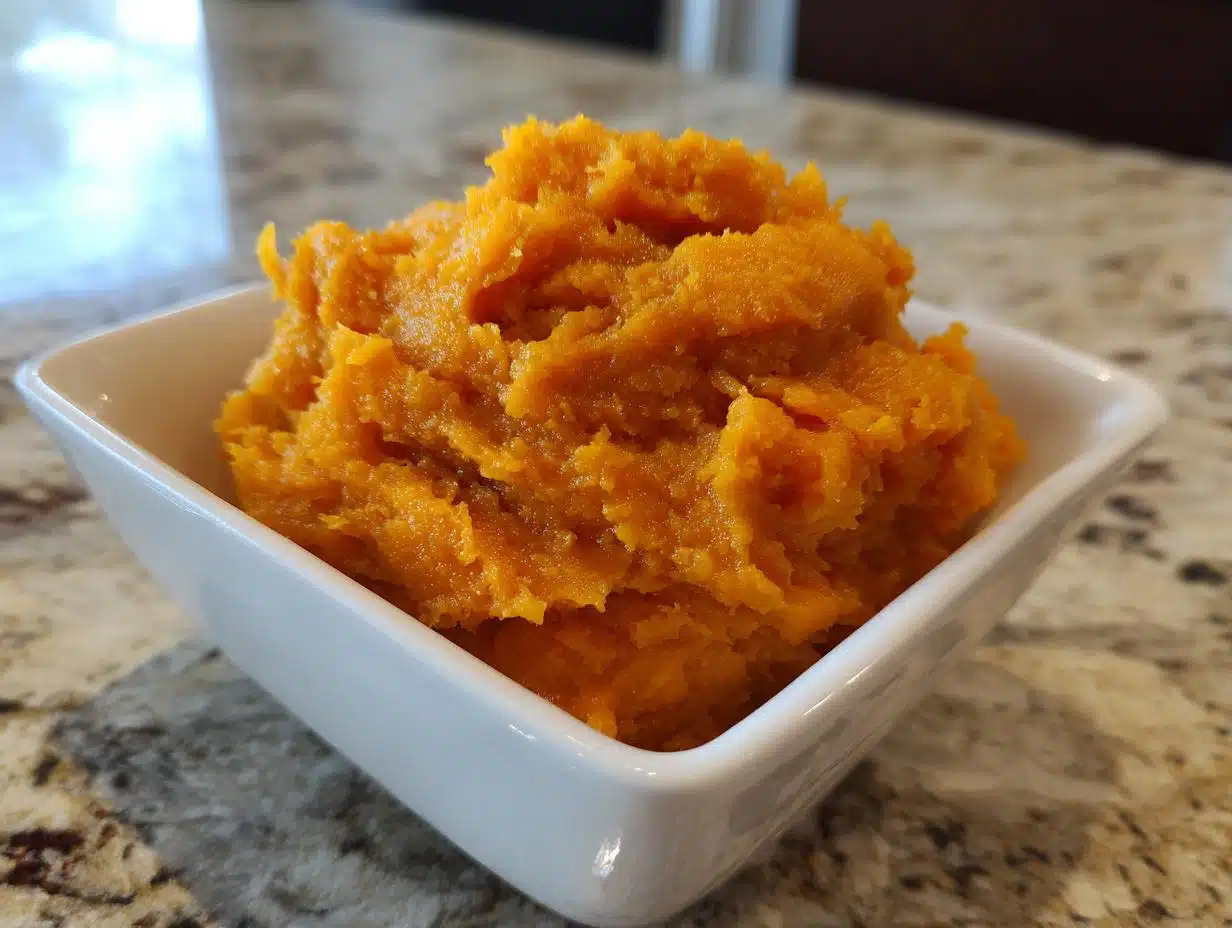
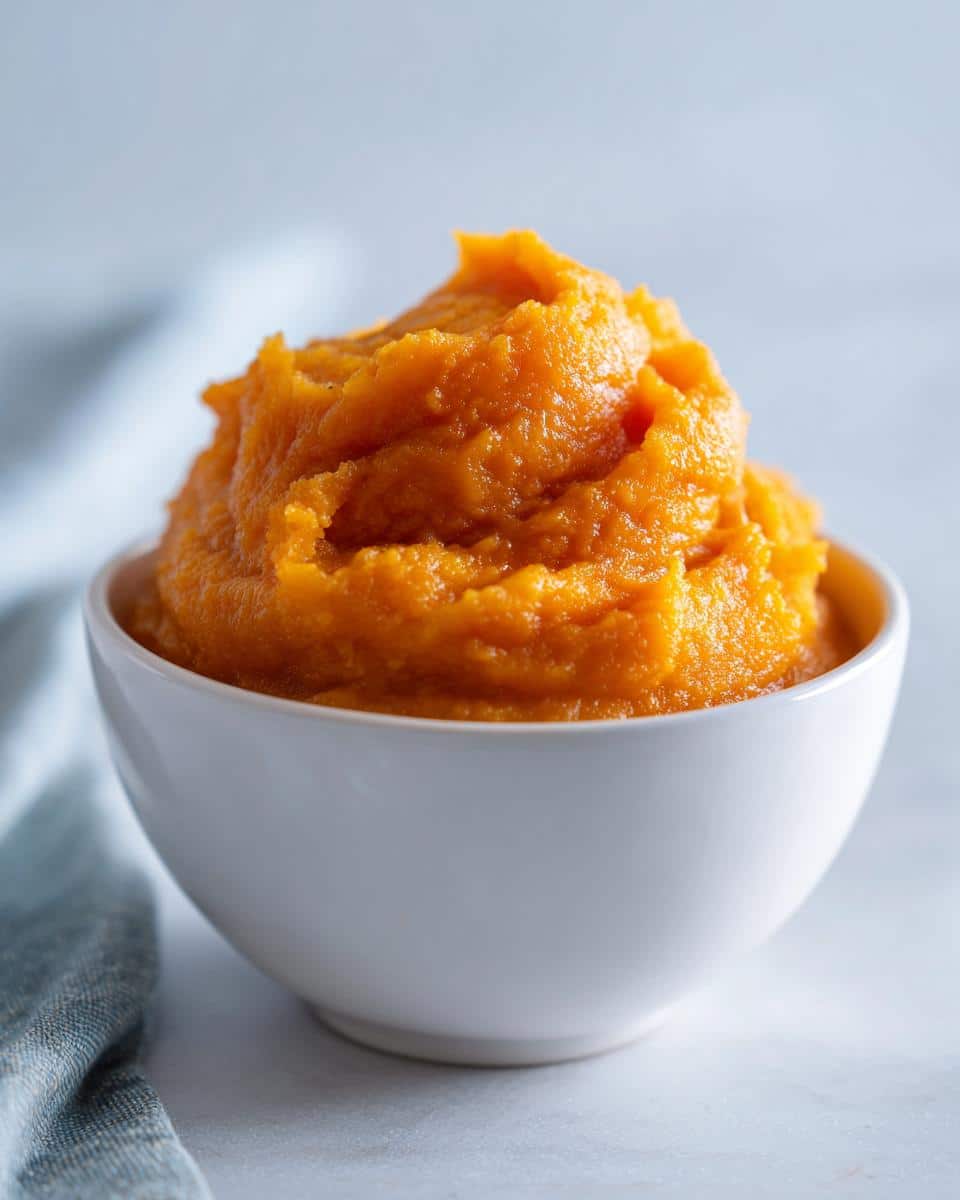
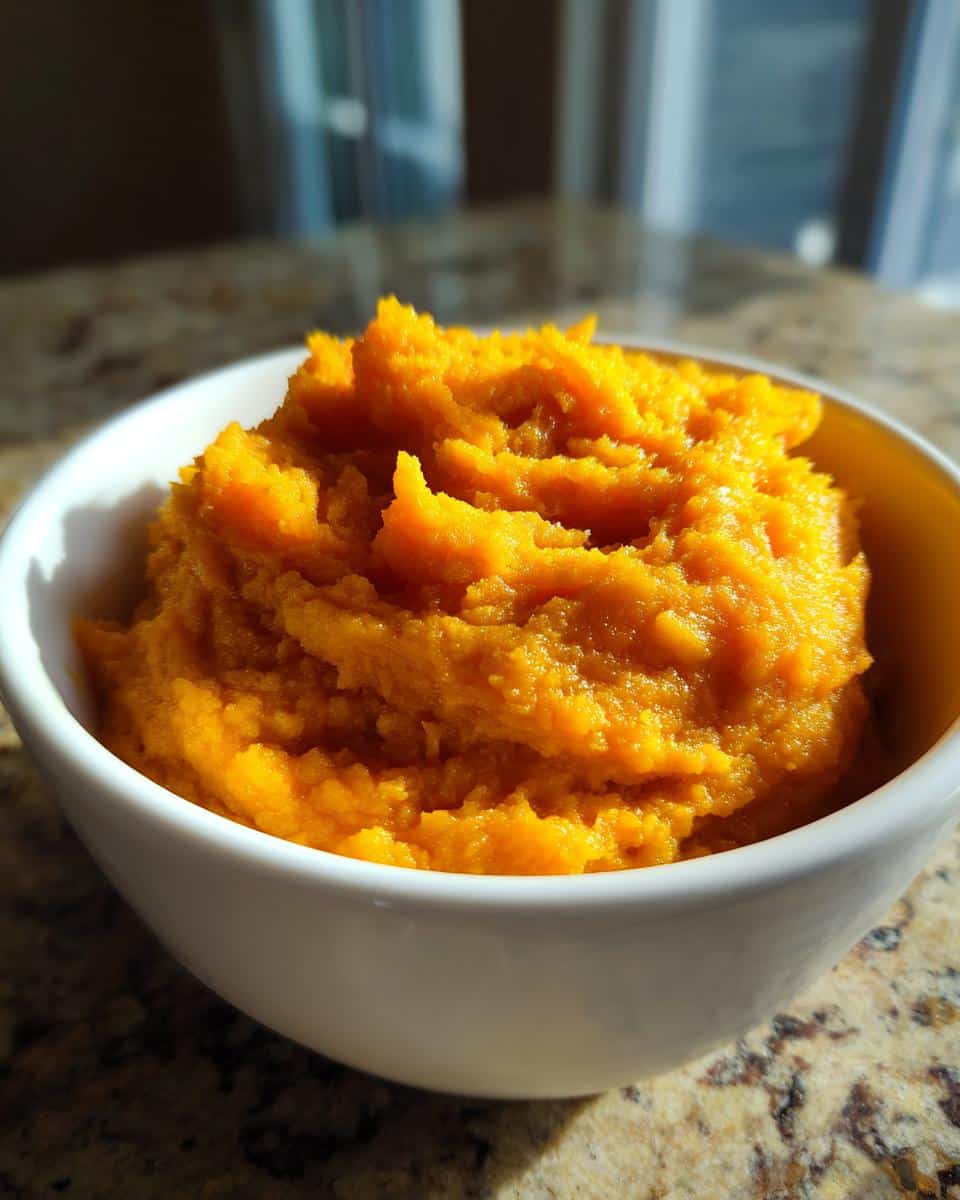
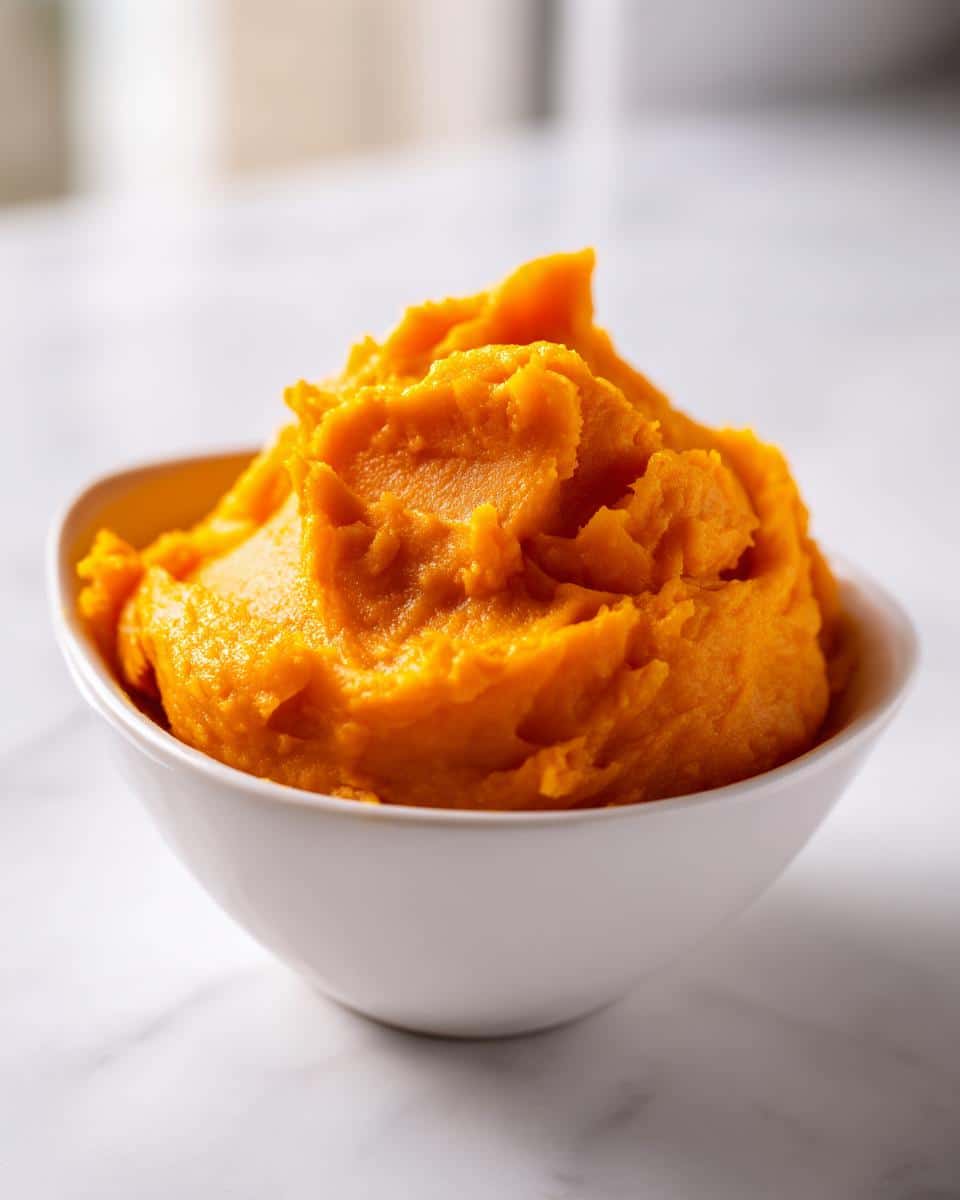
Simple Pumpkin Puree
Ingredients
Equipment
Method
- Preheat your oven to 400 degrees Fahrenheit (200 degrees Celsius). Line a baking sheet with parchment paper.
- Wash the pumpkin. Cut the pumpkin in half from top to bottom. Scoop out the seeds and stringy pulp using a spoon.
- Place the pumpkin halves cut-side down on the prepared baking sheet. Add about 1/4 cup of water to the baking sheet to create steam.
- Roast for 40 to 50 minutes, or until the pumpkin is very tender when pierced with a fork.
- Remove the pumpkin from the oven and let it cool slightly until you can handle it safely.
- Scoop the soft pumpkin flesh away from the skin and place it into a blender or food processor.
- Process the pumpkin until it is completely smooth. If the puree seems too thick, add a small amount of water (one tablespoon at a time) until you reach your desired consistency.
- Use the puree immediately or store it in an airtight container in the refrigerator for up to one week.