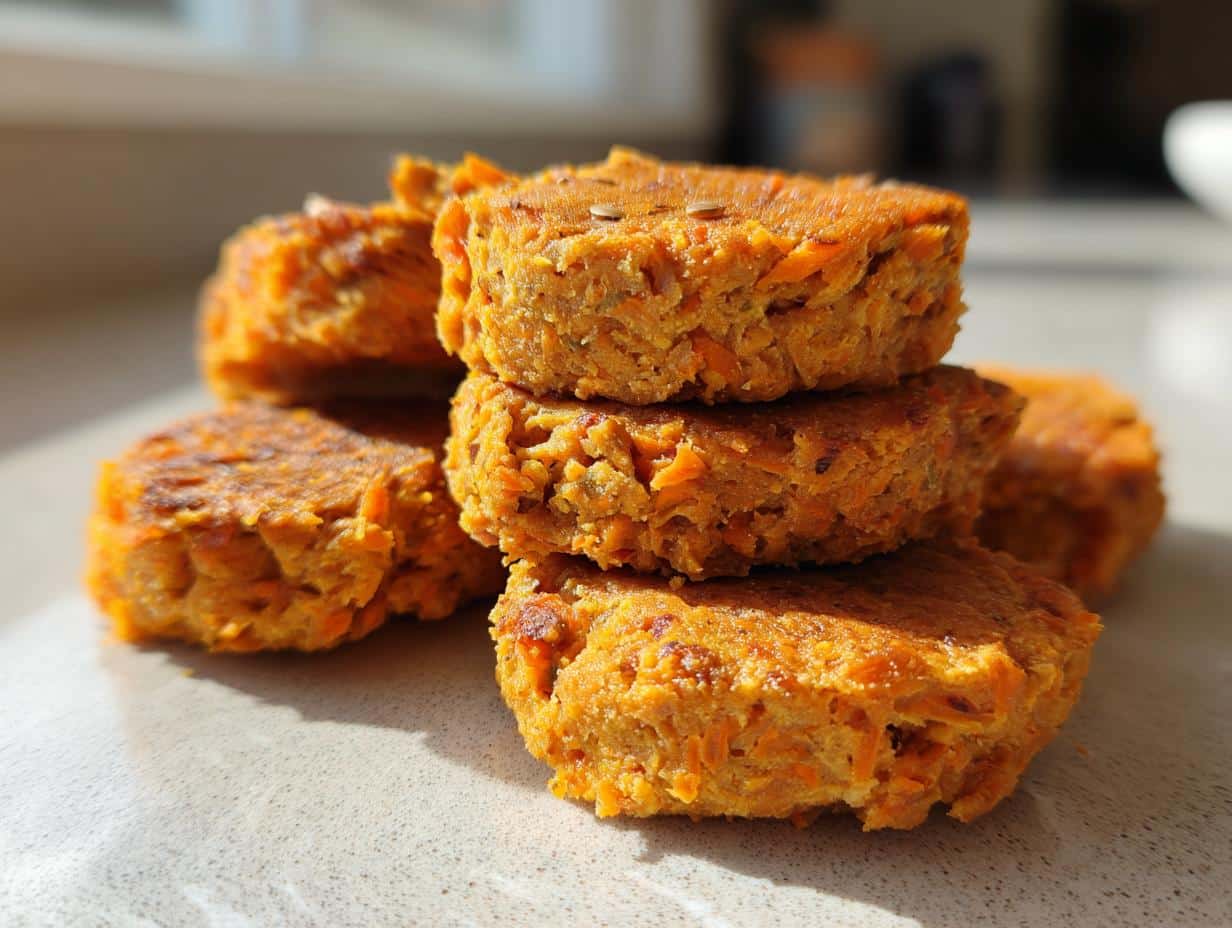
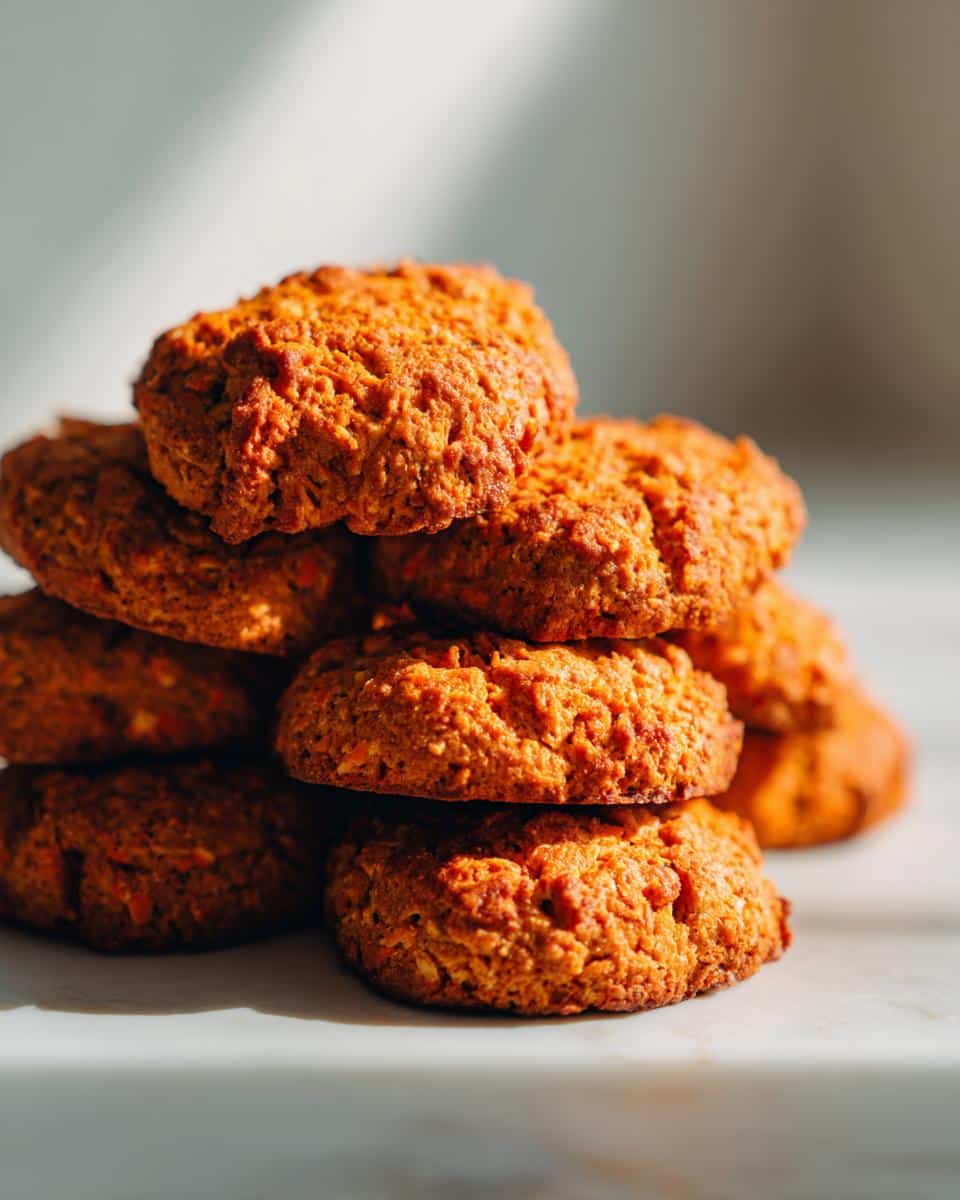
Do you ever look at your fuzzy best friend and think, “They deserve something better than plastic-wrapped junk”? I totally do! That’s exactly why I perfected these Pumpkin & Carrot Dog Biscuits. Seriously, my dog, Gus, goes absolutely wild for these; he starts pacing by the oven door the second I mix the dough!
These aren’t fancy human cookies—they are straightforward, wholesome snacks packed with the good stuff your pup needs. We’re talking about real pumpkin and actual grated carrots, which bring so much natural fiber and vitamins to the table. If you want to see all the things I’m learning about healthy dog baking, check out my latest musings on the blog right here!
Making healthy treats shouldn’t be complicated. Forget the weird chemicals you can’t pronounce on store-bought bags. With just a few pantry staples, you’re whipping up something your dog will adore, and you’ll feel great knowing exactly what went into every bite. Trust me, once you start baking these, you’ll never go back to the store!
Why These Pumpkin & Carrot Dog Biscuits Are a Top Choice
I get asked all the time why I bother making dog treats when you can just buy them everywhere. Honestly? Because Gus has a bit of a sensitive tummy, and I needed to control what he was eating! These Pumpkin & Carrot Dog Biscuits cut out all the nonsense.
You’ll want to keep this recipe handy because it’s a winner for so many reasons. It’s incredibly hard to mess up, which is perfect for chaotic weeknights. Here’s the quick rundown on why these are our go-to snacks:
- They use super simple, whole ingredients—stuff you already have for your own kitchen!
- Absolutely zero additives, preservatives, or weird fillers. Pure goodness, straight from the oven.
- Pumpkin is amazing for settling those tummies, and dogs seem to genuinely adore the earthy, slightly sweet flavor.
- I even wrote a whole piece about the general benefits of giving your pup homemade biscuits; you can read all about that here if you’re curious!
Gathering Ingredients for Your Pumpkin & Carrot Dog Biscuits
The best part about baking for your dog is that you don’t need a specialized pantry. We are keeping this straightforward, just focusing on real food that dogs love and digest easily. Before you even look at the oven temperature, let’s make sure you have everything gathered up. Having everything measured out beforehand makes the whole process so much smoother!
I always keep a few extra jars of pumpkin puree on hand because it’s such a lifesaver for sensitive pups. If you have any questions about why pumpkin is so fantastic for their energy levels, I cover that in this piece about boosting dog energy with pumpkin!
Dry Components
This is the foundation of the biscuit, nothing fancy, just good structure builders. We’re keeping the dry stuff to a minimum!
- Two cups of whole wheat flour. Now, if your dog is a little sensitive to wheat, don’t sweat it! You can totally swap this out for oat flour or even brown rice flour instead. They bake up just as nicely.
- One teaspoon of baking powder. This gives them just a tiny bit of lift so they aren’t rock hard.
Wet Components for Perfect Pumpkin & Carrot Dog Biscuits
The wet stuff is where all the color and moisture comes from. This is what makes them irresistible to the canine critics!
- Half a cup of pumpkin puree. You absolutely must use plain pumpkin puree. Don’t grab the pie filling; that has sugar and probably some nutmeg, which we definitely don’t want for our pups!
- A quarter cup of carrot, and I mean grated carrot—make sure it’s fine so it blends right in.
- One large egg to hold everything together.
- A quarter cup of water, but be ready to add a splash more if your dough seems too dry when you mix it all up. Add it slowly, okay? We don’t want soup!
Step-by-Step Instructions for Baking Pumpkin & Carrot Dog Biscuits
Alright, time to put those ingredients to work and make some tasty Pumpkin & Carrot Dog Biscuits! Baking for our pups is so rewarding, especially when you see those cute little shapes coming together. If you want a few fun ideas on different ways to cut and shape your dog chews, I shared some tips in this post about carrot and pumpkin combinations.
Preparing the Oven and Dry Mix
First things first, let’s get the environment ready. You need to preheat your oven right now to 350 degrees Fahrenheit, which is about 175 Celsius. While that’s kicking up to temp, grab your baking sheet and line it with parchment paper. This makes cleanup a dream, seriously! Then, take your large mixing bowl and gently whisk together your flour and the baking powder. You just want them loosely combined for now.
Creating the Dough for Your Pumpkin & Carrot Dog Biscuits
Now for the fun color! In a separate bowl, mix up that lovely pumpkin puree, your finely grated carrot, and the egg until things look thoroughly blended. Once that’s smooth, dump those wet ingredients right into your dry mix. Start stirring it all together. It’s going to look stiff, which is exactly what we want for firm Pumpkin & Carrot Dog Biscuits. If it seems like it’s crumbling too much, add that water one tablespoon at a time until you can smoosh it into a solid dough ball.
Cutting and Baking the Biscuits
Dust your counter lightly with flour—a little goes a long way. Take your dough ball and start rolling it out. I aim for about 1/4 inch thickness. My favorite part is using Gus’s little bone-shaped cookie cutter, but whatever shape you like is perfect! Place those shapes onto your prepared baking sheet, leaving a little space between them so they bake evenly.
Pop them into that hot oven for about 25 to 30 minutes. You’re looking for the edges to look firm and maybe just starting to look a little bit lighter brown.
The Essential Drying Step for Crunchy Pumpkin & Carrot Dog Biscuits
This step is non-negotiable if you want truly crunchy Pumpkin & Carrot Dog Biscuits, and nobody wants a floppy dog treat, right? Once the baking time is up, turn the actual heat completely off. Then, prop the oven door open just a tiny bit—a wooden spoon works great for this! You leave them resting inside for a full 15 minutes. This slow drying process pulls out the last bit of moisture. After that, let them cool completely on a rack before giving any away!
Tips for Perfect Pumpkin & Carrot Dog Biscuits Every Time
Even though this recipe is super simple, there are a couple of little secrets that can take your Pumpkin & Carrot Dog Biscuits from good to absolutely ‘best ever’ in Gus’s book. It’s all about feel, really, just like when I bake my favorite banana bread!
First, let’s talk about that dough consistency. When you’re mixing, it should feel stiff—almost like handling playdough that’s been sitting out for a minute. If you add too much water early on, you’ll end up with sad, flat discs instead of proper biscuits. If the dough is just crumbling in the bowl and won’t come together even after you’ve pressed it, add water just a teaspoon at a time. Patience here prevents runny biscuits!
When you roll it out, try to keep your thickness consistent across the whole surface. If one end is super thin and another is huge, the thin part will burn before the thick part is cooked through. I usually chill the rolled-out dough for about ten minutes before cutting, which helps the shapes hold their form when they hit the hot baking dish.
And please, please, remember that final drying stage! That 15 minutes with the warm oven off is crucial. If you skip it, your biscuits might seem fine out of the oven, but they’ll soften up overnight. We want crunch so they last longer, right? If you want to see some other tasty ideas for your pup, I posted a great blueberry biscuit recipe that Gus also loves right here!
Finally, make sure they are completely and totally cool before you put them in any container. If there’s even the slightest bit of warmth held inside, that condensation will turn your crunchy treats soft and maybe even a little moldy faster than we want. Cooling them on a wire rack helps air circulate all around them!
Ingredient Notes and Substitutions for Pumpkin & Carrot Dog Biscuits
When we talk about making Pumpkin & Carrot Dog Biscuits, the ingredients are the stars! Unlike human baking where we stress over precise protein content in flour, here we focus on what’s safe and what gives the best texture. I love using whole wheat flour as the base. Why? Well, it gives a nice, sturdy structure to these biscuits, and it sneaks in a good dose of fiber for Gus, which keeps things running smoothly!
But I know not every dog (or kitchen) is the same, so substitutions are totally fair game here. We aren’t baking for a blue ribbon; we’re baking for happy tummies!
If you’re out of whole wheat or your dog has a different sensitivity, don’t panic. Remember that note I put next to the flour? You can easily swap in oat flour or brown rice flour, and they work beautifully. They give a slightly different crumb, maybe a touch more tender, but they hold up just fine to the rolling process.
Now, let’s talk about flavor pairings while we’re swapping things out. If you ever decide to change up the pumpkin and use something like sweet potato—which is another dog favorite—you should check out the great recipe I have pinned for sweet potato versions. Sometimes a little swap makes those biscuits taste totally new!
The main thing to watch is that pumpkin/carrot ratio. Those two ingredients are key for that perfect density and moisture that prevents crumbling. If you go too light on the puree, you’ll be wrestling with dust rather than dough!
Storage and Freezing Instructions for Your Homemade Biscuits
Now that you’ve created these amazing, healthy Pumpkin & Carrot Dog Biscuits, the next big question is how to keep them fresh so Gus doesn’t demolish the whole batch in one sitting! Since we didn’t use any preservatives, storing them right is super important for maintaining that perfect crunch we worked so hard to achieve.
The rule here is airtightness. You must use an airtight container—like a sturdy Tupperware or a glass jar with a tight-fitting lid. If air gets in, moisture gets in, and BOOM, soft biscuits!
At room temperature, these treats will stay good for about a week. I usually make a double batch and keep one half out for Gus’s daily training rewards. If you’re already looking for your next batch idea, I have a fantastic pumpkin yogurt treat recipe that’s perfect for warmer weather, which you can find over here!
If you’re like me and you hate wasting a good bake, freezing is your best friend. Seriously, these things freeze beautifully! Once they are completely cool—and I mean stone cold—toss them into a freezer-safe bag or container. You can easily keep them frozen solid for up to two or three months. Then, when you need a snack, just pull out a few and let them thaw on the counter for about an hour. They taste just as good as the day you baked them!
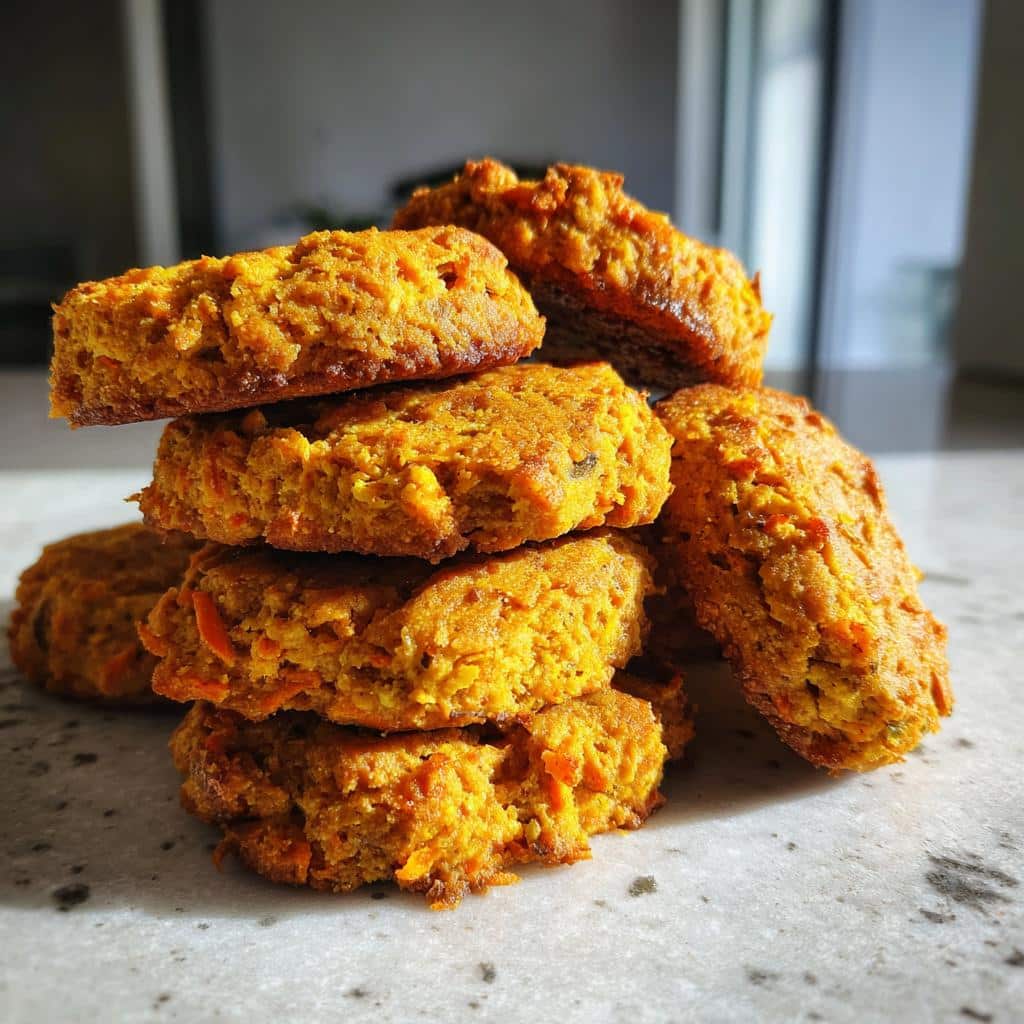
Serving Suggestions for These Healthy Dog Treats
Okay, now that you have a beautiful stack of homemade Pumpkin & Carrot Dog Biscuits, the real fun begins: giving them away! Remember, these are treats, not meal replacements. They need to be served as part of a balanced diet, mostly used to reward good behavior or just for fun!
Gus treats these biscuits like they are gold bullion. I find they work absolutely perfectly for immediate rewards. If he sits instantly when I ask, BAM! A biscuit immediately follows. They are the perfect size for a quick, satisfying reward during training sessions—not so big that he fills up before dinner, but big enough that he knows he earned something special.
If you are looking for some general inspiration on what sorts of treats work best for little ones just starting their training journey, I did a whole rundown on the ten best recipes for puppies that you might find useful!
For a special occasion, like our weekly ‘Good Boy’ anniversary (that’s when Gus successfully made it through the week without chewing my shoes), I like to serve them slightly warmed—not hot, just slightly warm from a few seconds in the microwave—but remember dogs don’t taste things the way we do, so that’s mostly for me!
Don’t just save these for big moments, though. A simple mid-afternoon surprise break really makes their day. It’s all about positive reinforcement using something healthy that you know is good for them. Enjoy watching your pup sneak a delightful, natural bite!
Frequently Asked Questions About Pumpkin & Carrot Dog Biscuits
I get so many marvelous messages from people wondering about adjustments or little details for their Pumpkin & Carrot Dog Biscuits! It’s wonderful that you care so much about what you’re feeding your fur baby, and that shows you’re already thinking like a great pet parent. Ask away!
Since we kept this recipe so simple, a lot of the questions usually revolve around tweaks—like adding extra flavor boosters or modifying the texture. It’s important to remember we aren’t baking for ourselves here! I actually just wrote a whole post about using pumpkin and applesauce together in other treats, which you can peek at here if you’re interested!
Can I add dog-safe spices like cinnamon to these Pumpkin & Carrot Dog Biscuits?
That’s a tricky one! While some people think a tiny pinch of cinnamon is okay, I honestly recommend skipping it entirely when making Pumpkin & Carrot Dog Biscuits for your dog. Dogs have very different systems than we do, and even small amounts of spices that seem innocent to us can sometimes upset their stomachs.
Since this recipe is designed to be ultra-safe and clean—relying just on the natural sweetness of the pumpkin and carrot—it’s best to stick to the base ingredients. We are aiming for zero risk here, so when in doubt, leave the spice shaker in the cupboard!
How do I make sure my Pumpkin & Carrot Dog Biscuits are crunchy, not soft?
Girl, this is the MOST important question! Nobody wants a soggy biscuit. The crunch comes almost entirely from that final step. You absolutely have to do the cooling-down rest period.
Remember when I insisted you turn the oven *off* and leave the door *ajar* for 15 minutes? That’s not optional; that’s the secret sauce. That low, slow residual heat actually dehydrates the biscuits deeply after the main bake is done. If you skip that, they might feel firm out of the oven, but they’ll soften up overnight as they sit on the counter. Make sure they are totally cool on a rack before boxing them up, too!
What is the shelf life of these homemade dog treats?
Because these Pumpkin & Carrot Dog Biscuits are made without any artificial preservatives, their shelf life is shorter than the store-bought stuff, which is a good thing because it means they are real food! If you store them properly in a truly airtight container at room temperature, they should stay fresh and crunchy for about one week. Seriously, make sure that lid seals tight!
For longer storage—like if you make a giant batch because Gus is bringing some to his doggy daycare friends—definitely freeze them! Pop the cooled biscuits into a freezer bag, squeeze out the air, and they’ll last for months. It’s the easiest way to keep a huge supply ready to go!
Estimated Nutritional Data for One Pumpkin & Carrot Dog Biscuit
Now, before you start comparing this to the nutrition label on a chew toy, remember that these specific values are purely estimates! They calculate based on the weights and averages of the simple ingredients we used—whole wheat flour, natural pumpkin, etc. The exact brands you buy for your Pumpkin & Carrot Dog Biscuits will always change the final numbers slightly.
But looking at the stats, you can see these are low on sugar and fat, which is exactly what we want for a healthy, everyday treat. We’re giving them goodness, not empty calories!
Here’s a quick peek at the estimated breakdown for just one biscuit:
- Calories: 100
- Fat: 2g
- Protein: 3g
- Carbohydrates: 18g
- Fiber: 2g
If finding low-calorie, healthy cookie recipes is your jam, I actually have another oat cookie recipe you might love that has a slightly different profile. Happy baking!
Pumpkin and Carrot Dog Biscuits
Ingredients
Equipment
Method
- Preheat your oven to 350°F (175°C). Line a baking sheet with parchment paper.
- In a large bowl, whisk together the whole wheat flour and baking powder.
- In a separate bowl, mix the pumpkin puree, grated carrot, and egg until combined.
- Add the wet ingredients to the dry ingredients. Mix until a stiff dough forms. Add water one tablespoon at a time if the dough is too crumbly.
- On a lightly floured surface, roll the dough out to about 1/4 inch thickness.
- Use cookie cutters to cut out desired shapes. Place the cutouts onto the prepared baking sheet.
- Bake for 25 to 30 minutes, or until the edges are firm and lightly browned.
- Turn off the oven and leave the biscuits inside with the door slightly ajar for 15 minutes to dry them out further. This helps them stay crisp.
- Let the biscuits cool completely before serving or storing.


