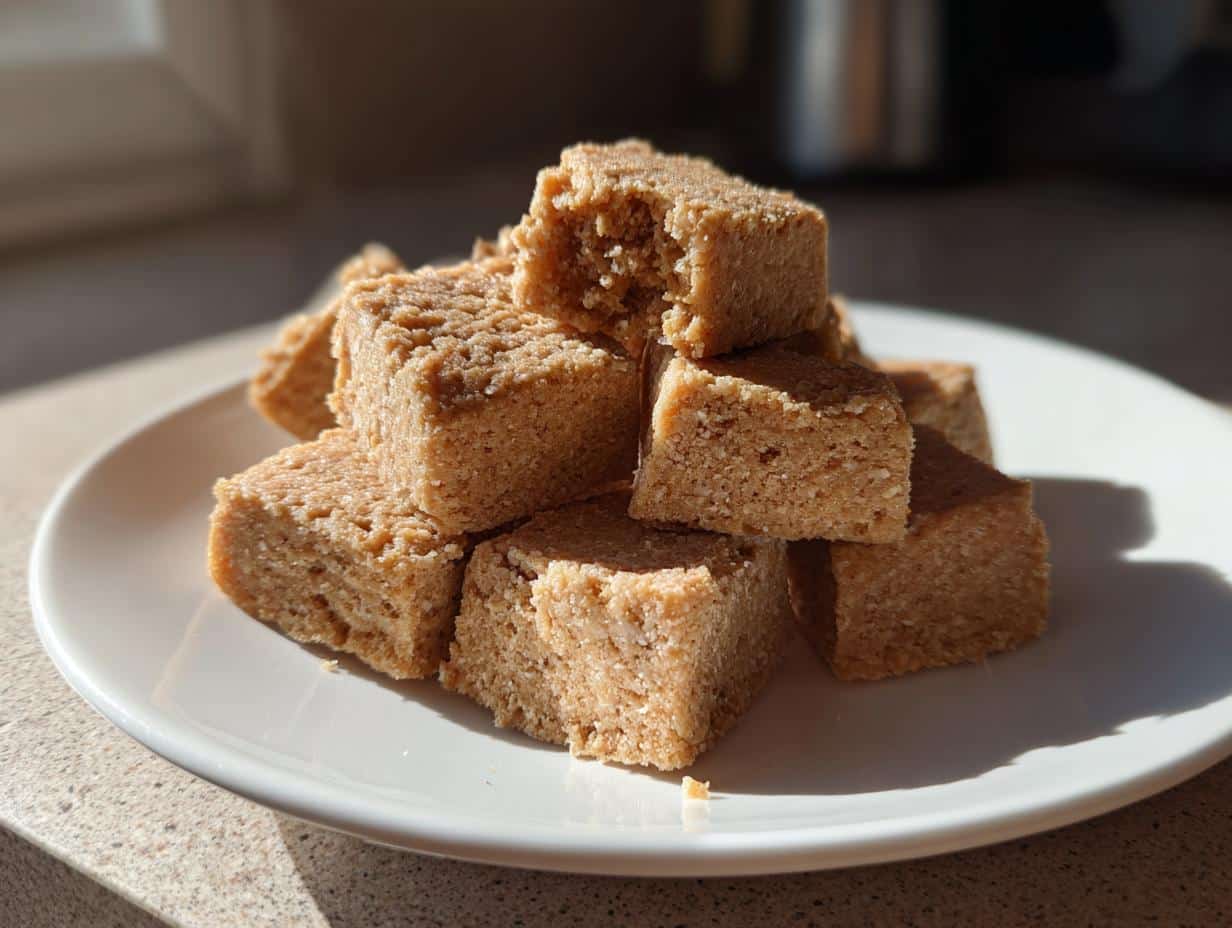
Oh my gosh, do you ever have those moments when you look at your dog and realize they deserve a fantastic treat *right now*? I swear, my pup, Buster, has this built-in timer for snack time, and sometimes I just can’t face turning the oven on! That’s why I am so unbelievably excited to share these **No-Bake Peanut Butter Dog Treats** with you. Seriously, these are the easiest dog treats you will ever make—zero oven time means we go from craving to canine happiness in about fifteen minutes flat.
I developed this recipe out of pure necessity for Buster, who demands instant satisfaction! The best part? Since we skip the baking, we really lock in that pure peanut butter flavor, but we have to be so careful about the ingredients we use. Trust me on this one: make sure your peanut butter is completely xylitol-free. It’s worth the extra check in the pantry to guarantee our treats are safe and sound. You won’t believe how quickly these firm up, and your dog will think you spent hours slaving away!
If you’re looking for more super quick ways to spoil your best friend, you should definitely check out my roundup of twelve easy peanut butter dog treats, but this no-bake version is the champion when time is short.
Why You Need These No-Bake Peanut Butter Dog Treats Today
Listen, sometimes life is just too hectic for a big baking project, but our pups don’t care about our schedule, right? They just want delicious snacks! That’s where this recipe shines. You seriously won’t find a faster, simpler way to make something your dog will drool over.
- Total prep time is under fifteen minutes—it’s practically instant gratification!
- We’re talking about the shortest ingredient list imaginable; minimal shopping, maximum reward.
- No oven required! This is perfect for keeping the kitchen cool, especially in the summer months.
- They firm up perfectly just chilling in the fridge, which is a baker’s dream invention.
If you loved how quick these were, you might want to check out these three-ingredient no-bake dog treats too—sometimes simple is just the best way to go!
Essential Ingredients for Perfect No-Bake Peanut Butter Dog Treats
Okay, when you’re making something this simple, every single ingredient counts double! We aren’t relying on fancy baking powders or long rest times to give us structure; we are relying on the pure quality of our three core items. This is where people sometimes rush, and honestly, those small details are probably the most important part of this entire recipe. If you get the right peanut butter and measure carefully, you are already winning!
We need to make absolutely sure everyone reads the fine print on that peanut butter jar. I cannot stress this enough: you *must* ensure your peanut butter is xylitol-free. That sweetener is toxic to dogs, and since we are featuring peanut butter so heavily in these **No-Bake Peanut Butter Dog Treats**, that note is non-negotiable. For those who want to check out other great peanut butter options, I have a whole list you should peek at on my peanut butter oatmeal no-bake dog treats page.
Ingredient Breakdown and Preparation Notes
Since we only have three things going into this dough, let’s talk about them individually. We are aiming for this stiff, rollable texture, and these three components let us get there without the oven. Remember, the water amount is what we use to bring it all together, so start slow!
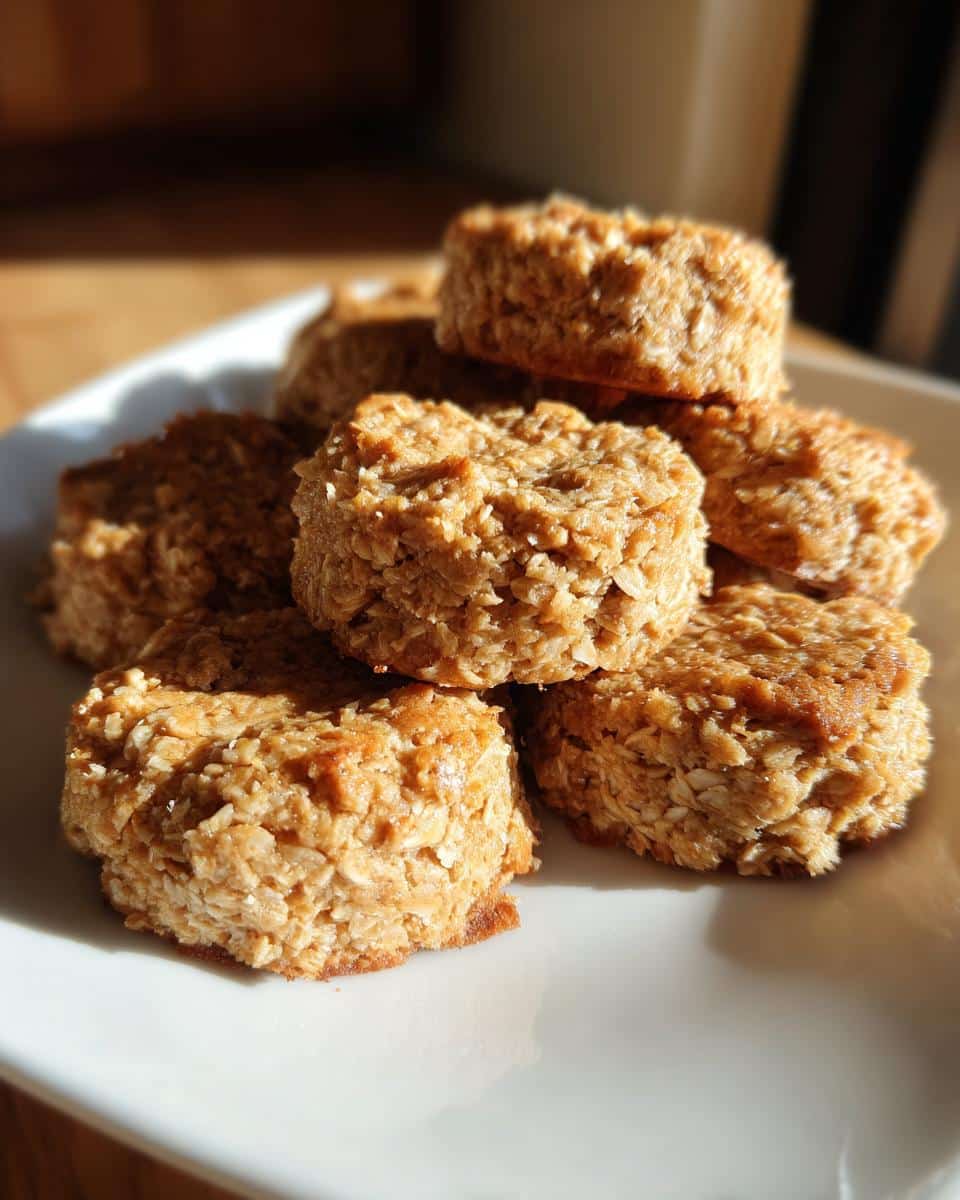
First up is your binder, the base of everything: you need 1 cup of Whole Wheat Flour. Now, if you have a pup who is sensitive to wheat, the recipe notes suggest using oat flour instead for a lovely grain-free option, which works just as beautifully.
Next is the star: 1/2 cup of Peanut Butter. Please, please, please double-check that label! We only use peanut butter that is guaranteed to be xylitol-free for our furry friends.
Finally, we have 1/4 cup of Water. This is just a guideline—it’s Approximately how much you need to get the dough right. You might use a splash more or a tiny bit less, depending on how dry your flour is that day. It’s all about feel here!
Step-by-Step Instructions for No-Bake Peanut Butter Dog Treats
I know you’re itching to get these made, so let’s jump right into the action! Getting that firm, rollable dough is everything here. Since we aren’t baking these **No-Bake Peanut Butter Dog Treats**, the dough consistency determines how they look and hold up when Buster gets his paws on them. The entire process moves incredibly fast, so have your parchment paper ready to go before you start mixing!
For extra fast recipe guidance, you can look over my tips for easy dog treats no-bake recipes, but these steps are super straightforward.
Mixing the Dough for Your No-Bake Peanut Butter Dog Treats
First up, grab your mixing bowl and toss in the whole wheat flour—that’s your dry base. Then, scoop in that wonderful, dog-approved peanut butter. Gently combine these two until they are just starting to come together. Don’t stir too long yet!
Now comes the part where you need to pay close attention: the water. Start by slowly adding the water while mixing. We are aiming for a stiff dough—think of playdough that’s just slightly soft. Here’s my expert tip: if you see it crumbling too much and it looks dry, add water just one teaspoon at a time until it finally clumps up. If you accidentally add too much water and it gets sticky, just add a single tablespoon of flour to balance it out. You want it firm enough to handle!
Cutting and Chilling Your No-Bake Peanut Butter Dog Treats
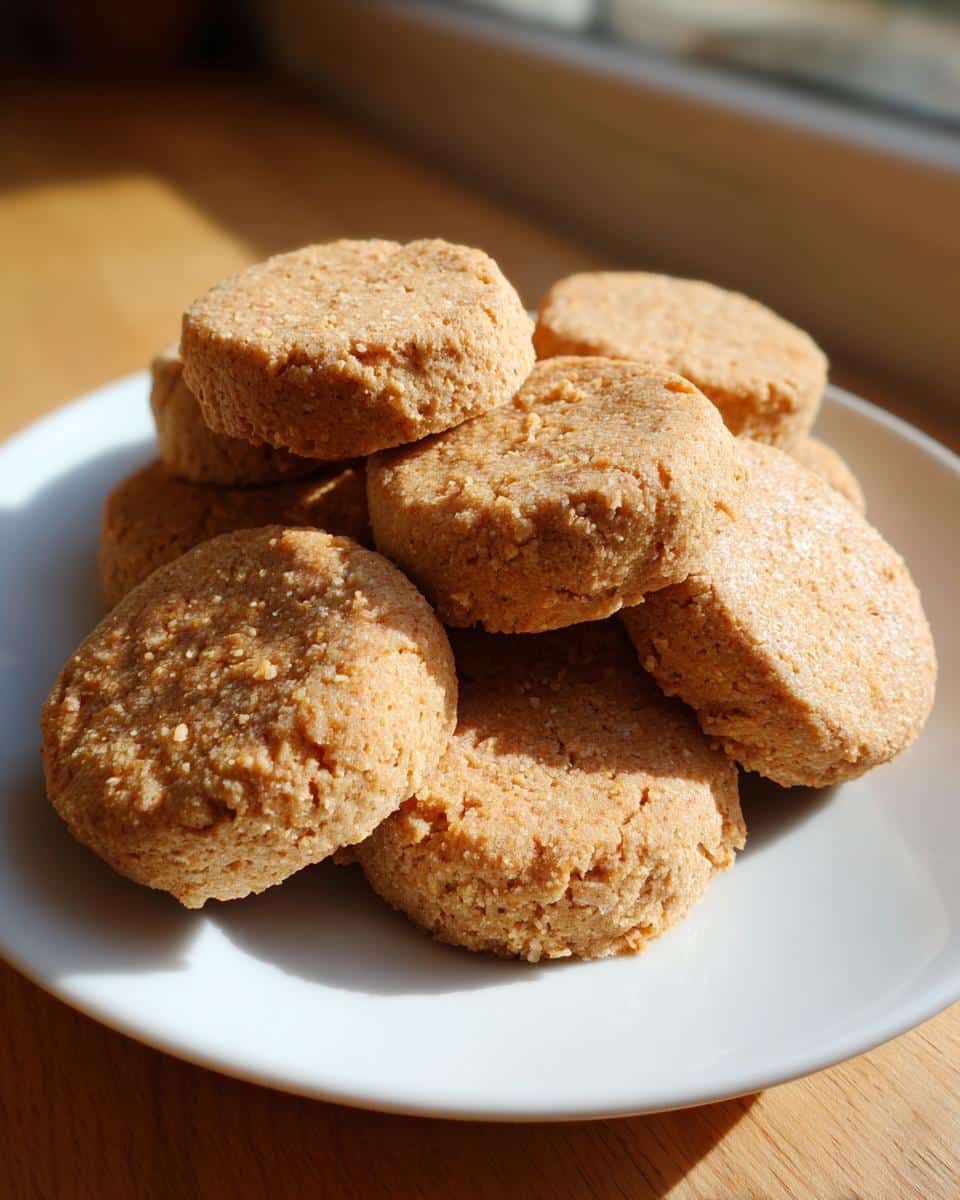
Once that perfect dough ball is formed, lightly flour a clean surface. Take your dough and roll it out evenly. Make sure you get it down to about 1/4 inch thickness. If it’s too thick, it won’t firm up right in the fridge, and if it’s too thin, it might crumble when your dog chews it.
Grab your favorite cookie cutters—Buster loves the bone shapes—and press them firmly into the dough. Carefully place all those cute cutouts onto a baking sheet that you’ve already lined with parchment paper. That paper is a lifesaver for easy cleanup later! The final, and arguably most important, step is patience: cover that sheet and pop it straight into the refrigerator for a minimum of one full hour. This chilling time is what gives these no-bake treats their necessary structure!
Tips for Success When Making No-Bake Peanut Butter Dog Treats
I want you to have the best experience making these for your dog, so let me share a few little secrets I learned while perfecting this recipe for Buster. Sometimes when you skip the oven, you have to work a little smarter with the chilling and mixing to get that perfect texture. Don’t worry, these aren’t complicated fixes!
First, let’s talk about handling the dough. Because there’s no heat to set the structure, if the dough gets too warm while you’re cutting out shapes, it will get soft and start sticking everywhere. If that happens, don’t panic! Just scrape the dough back together, form a small disc, wrap it tightly in plastic wrap, and pop it back in the fridge for ten minutes. A quick chill makes all the difference in getting those crisp edges on your cutouts. You can check out other great ideas on my peanut butter dog treats page for general inspiration.
Secondly, really focus on that dough consistency before you reach for the water bottle. That instruction to aim for “stiff dough” is crucial. If you stop mixing when it still looks kind of soft and easily mushy, those treats will melt back into a puddle when they sit in the fridge too long. It needs to feel firm, almost like you have to work a little to mix the last bits of flour in. That resistance means it has the body to hold its shape without any baking!
Finally, let’s circle back to that peanut butter, because this is where trust comes in. You simply have to use a brand that explicitly confirms it has zero xylitol. Read the ingredients list every single time, no matter how familiar you are with the brand. A quick scan ensures that your wonderful gesture of spoiling your dog stays a happy one. A contaminated treat is never worth saving a minute!
Ingredient Notes and Substitutions for No-Bake Peanut Butter Dog Treats
When we make these quick **No-Bake Peanut Butter Dog Treats**, we don’t use a ton of stuff, so what we *do* use needs to be perfect, or we need a good backup plan. I want everyone to feel confident, whether their dog is sensitive to grains or maybe you just ran out of whole wheat flour mid-recipe.
The biggest thing, of course, is reiterating that xylitol warning on the peanut butter. Seriously, read that label like your dog’s life depends on it—because it does! But if you are looking to swap out the main flour, I’ve got you covered.
If you are trying to keep things grain-free, simply swap that 1 cup of whole wheat flour for 1 cup of oat flour. It works like a charm! I wrote a whole guide over on my grain-free dog treat recipes post if you need more ideas for that route. Just remember, even with substitutes, that peanut butter safety check is the golden rule for these no-bake snacks!
Storage and Serving Suggestions for No-Bake Peanut Butter Dog Treats
Now that you’ve successfully made a batch of these easy, no-bake masterpieces, you might be wondering how long they last. Since we skipped the oven, these **No-Bake Peanut Butter Dog Treats** behave a little differently than store-bought biscuits. They are super fresh, but that also means we need to keep them nice and cool to maintain their texture.
The best place for them is definitely the refrigerator. Pop those treats into an airtight container, and they will stay perfectly fresh and firm for up to two weeks. That’s two whole weeks of instant rewards ready to go! If you’re like me and you sometimes make double batches because Buster eats them faster than you can replenish, you can absolutely freeze them.
When freezing, just arrange the cut treats on a baking sheet first, let them flash-freeze for an hour or so, and then transfer them to a truly airtight freezer bag. They keep great in the deep freeze for a few months, too! I always love reaching into the freezer for a quick, cold reward after a good training session.

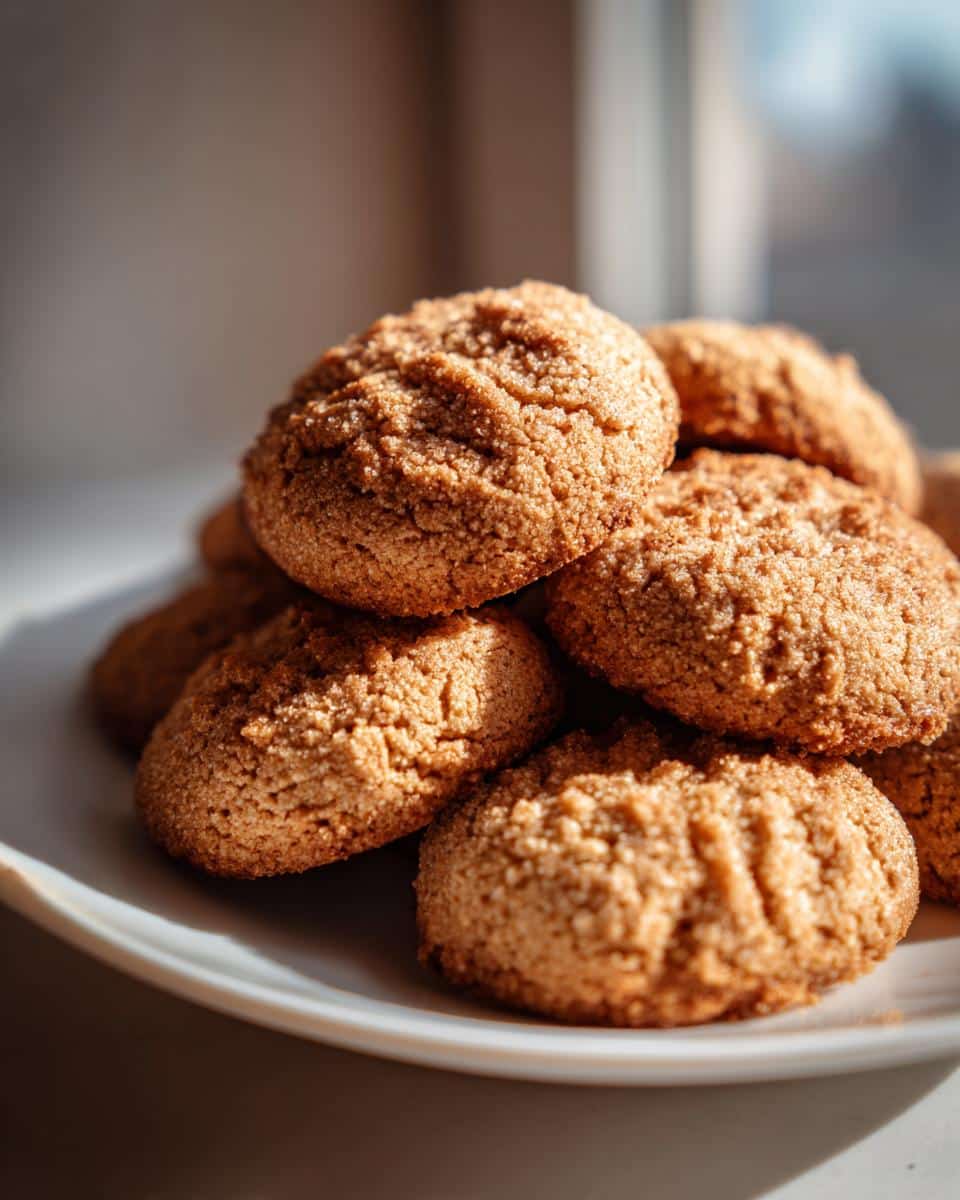
Speaking of training, these little peanut butter bites are the ultimate high-value reward. Because they are smaller and softer than a lot of crunchy biscuits, they are perfect for rapid-fire training sessions where you might give your dog three or four treats in a row. They’re easy to break in half again if you need tiny training morsels, and since they are so quick to make, you never feel guilty about giving an extra one!
If you are trying to find other super-fast options for those training moments, you have to check out my guide on homemade dog treats that only require three ingredients. Seriously, convenience is king when you have a hungry dog demanding snacks!
Frequently Asked Questions About No-Bake Peanut Butter Dog Treats
I get so many fantastic messages asking about these **No-Bake Peanut Butter Dog Treats**, and honestly, I love hearing from you! Since these are a little different from standard baked biscuits, I compiled a few of the most common questions I see pop up about them. Don’t hesitate to drop your own questions in the comments if yours didn’t make the list—I’ll try my best to answer!
How long do these No-Bake Peanut Butter Dog Treats last?
This is a big one since we aren’t baking them! Because they rely on refrigeration rather than heat to set, they simply don’t have the same shelf life as crunchy, store-bought things. You must store them in an airtight container in the refrigerator. I find they stay perfectly fresh and firm for up to two weeks. If you made a huge batch and know you won’t get through them by then, pop them in a freezer bag! They freeze beautifully and thaw out fast. If you are stocking up for a new puppy, check out my guide on the ten best puppy treat recipes for long-term ideas.
Can I use any kind of peanut butter for these easy dog treats?
No, absolutely not! This is the most critical ingredient safety check you have to make. You cannot use regular peanut butter unless you have personally verified that it contains absolutely no xylitol or any sugar alcohols ending in ‘-ol.’ Xylitol is extremely toxic for dogs, even in small amounts, so if you’re in a hurry, grab a jar you already know is safe. If you aren’t 100% sure about the label, don’t use it! Stick to natural brands or even pure roasted peanuts if you have a grinder.
What if my dog is allergic to wheat—can I still make these?
That’s a great question for those of you with dogs managing sensitivities! The recipe as written uses whole wheat flour, but we designed it to be adaptable. For a grain-free option that dogs love just as much, you can easily substitute the 1 cup of whole wheat flour with 1 cup of oat flour. It mixes up nearly identically and results in delicious, soft treats perfect for sensitive tummies. You can read more about safe grain swaps on my baking blog if you need other ideas!
Why didn’t my dough firm up correctly for my no-bake treats?
Usually, this means the dough was too warm when you put it into the fridge, or maybe you didn’t add quite enough water to bind that flour properly. If the mixture felt crumbly instead of like stiff playdough before chilling, it needed just a few more drops of water to hold together. If it was too soft after chilling for an hour, it means you rushed the chilling process or the original dough was too wet. Next time, be patient and make sure it feels quite firm—almost stiff—before tucking it away!
Estimated Nutritional Information for No-Bake Peanut Butter Dog Treats
If you’re anything like me, you’re already worried about moderation, even with homemade snacks! We want our dogs to be happy, but we also want them healthy, right? Since these **No-Bake Peanut Butter Dog Treats** are made with simple, whole ingredients, they are generally a much better choice than those mystery biscuits from the store shelves.
Now, here’s the thing: since this is a no-bake recipe and we make ingredient substitutions all the time—maybe you use oat flour instead of wheat, or maybe your brand of peanut butter is super oily—it’s impossible for me to give you an exact chart of numbers that applies perfectly to everyone’s batch.
The actual nutritional value for the 24 treats you make is going to vary based on exactly what brand of peanut butter you use (xylitol-free, hopefully!) and whether you swap out that whole wheat flour. These numbers are just estimates, but generally, you can expect them to break down into the basic four categories:
- Calories
- Protein Content
- Fat Levels
- Carbohydrate Percentage
My best advice is to check the nutrition facts on the specific jar of peanut butter you buy, as that will be your single biggest variable in the whole recipe. You’re doing great just by making these at home, so don’t stress too much on the exact decimals!
Share Your Experience Making No-Bake Peanut Butter Dog Treats
Well, I sure hope you and your lucky pup had a wonderful time making these lightning-fast **No-Bake Peanut Butter Dog Treats**! Seriously, Buster goes bonkers every time I pull that tray out of the fridge. Now that you’ve experienced the magic of zero-bake goodness, I really, really want to hear about it!
Did your dough consistency turn out perfectly on the first try? Did your dog manage to sit still while you cut out the shapes, or did they start drooling all over the counter the second they smelled that peanut butter? Tell me everything!
I always love seeing your creations pop up online! If you snap a picture of your dog enjoying their fresh, homemade snack, please tag me! If you made any small swaps—like using almond flour or sweet potato puree instead of water—let us all know how that affected the final texture in the comments below. Someone else reading this might be wondering the exact same thing!
If these treats earned five stars from your canine companion, please take a quick second to click on the rating system right here on the page. It really helps other busy dog parents find these super-easy recipes!
And hey, if you’re looking for another incredibly easy treat that requires no heat, you have to check out my recipe for pumpkin yogurt dog treats. They are another winner in the healthy, fast-snack category!
Thanks so much for baking (or, well, *not-baking*) with me today. Happy treating!

No-Bake Peanut Butter Dog Treats
Ingredients
Equipment
Method
- Combine the flour and peanut butter in a mixing bowl.
- Slowly add the water, mixing until a stiff dough forms. You may need slightly more or less water depending on your flour.
- Roll the dough out on a lightly floured surface to about 1/4 inch thickness.
- Use cookie cutters to cut the dough into desired shapes.
- Place the cut treats on a baking sheet lined with parchment paper.
- Refrigerate the treats for at least 1 hour to firm them up before serving.


