If you own a power chewer, you know the pain. You buy that expensive, “guaranteed tough” bone, you settle in for a relaxing evening, and BAM! Thirty minutes later, you’re sweeping up plastic dust or wondering where that ten-dollar elk antler went. It’s honestly exhausting trying to find something safe that lasts more than an afternoon. Well, stop wasting your money on questionable store-bought items! I’m thrilled to share my solution: this homemade Meat Roll for Aggressive Chewers recipe. It’s packed with simple, whole ingredients and baked low and slow to give you the most durable, natural chew stick you can imagine. My own pup, Buster, destroyed everything until we cracked this formula. Trust me, this is the game-changer you’ve been searching for.
Defining the Audience for a Meat Roll for Aggressive Chewers
If you’re here, you definitely have a dog in the ‘demolition crew’ category. This isn’t for the casual nibbler! We are talking about owners who need maximum durability, something that requires real commitment from their pup. You value whole ingredients, so you want to skip the mystery fillers found in commercial products. Safety is a huge concern when chews break apart too quickly. This recipe is specifically designed for those powerful jaws needing a long-lasting, natural workout. For other simple recipes, check out these simple natural treats!
The Tone and Style of Creating Your Meat Roll for Aggressive Chewers
When you’re making something this functional, the tone has to be super practical and trustworthy, right? I want you to feel confident that this recipe works. So, we skip the fancy cooking talk. This is direct advice for making a super-durable Meat Roll for Aggressive Chewers. It’s less about a delicate snack and more about creating a reliable, long-lasting chew that’s completely natural. Think of it as honest instructions from one dog owner to another. For more DIY inspiration, you can look at these DIY natural dog treats!
My Personal Journey to the Perfect Meat Roll for Aggressive Chewers
My motivation for this recipe came from absolute desperation with my dog, Buster. I swear, this dog could chew through concrete if you let him! I remember buying him one of those rawhide twists, thinking, “This will last him the whole afternoon.” Wrong! I came back to find he’d shredded it into tiny, gooey pieces in under an hour, and I spent the next ten minutes frantically making sure he hadn’t swallowed anything dangerous. It worried me sick.
That’s when I decided enough was enough. Commercial chews just weren’t cutting it for my little destroyer. I needed something dense, all-natural, and baked hard enough to actually last. Trial and error led me straight to developing this specific Meat Roll for Aggressive Chewers recipe. It’s all about that low-and-slow dehydration so it holds up! You can read more about my journey over on my about page.
Essential Ingredients for a Durable Meat Roll for Aggressive Chewers
When you’re aiming for serious durability, every ingredient has a job! We aren’t making light, crumbly snacks here; we are building a brick that your dog can gnaw on for ages. The foundation is obviously the meat, and that needs to be good quality. We use lean ground beef because too much fat slows down the drying process, and we need this chew to dry out completely to become hard.
The vegetables—carrot and zucchini—are our secret weapons for texture and binding. They hold everything together when we shape the rolls. You aren’t just tossing them in; they have to integrate perfectly so the roll doesn’t split during the long bake time. You can see a similar concept in my beef and carrot roll recipe, but this one is just more intense!
Ingredient Clarity and Preparation Notes
Listen, if you skip the grating step, this won’t work. The carrot and zucchini must be finely grated. We need that vegetable matter to meld right into the ground beef fibers to create one solid block. Don’t try to chop them! Also, make sure you are using lean ground beef—I can’t stress that enough. Extra fat means a softer chew, and we are aiming for the hardest Meat Roll for Aggressive Chewers possible!
Step-by-Step Instructions for Making the Meat Roll for Aggressive Chewers
Okay, let’s get rolling! The first thing you absolutely must do is get your oven ready for a long haul. We aren’t trying to cook this quickly; we are dehydrating it into a tough chewable stick! Go ahead and preheat your oven way down low to just 200°F (that’s 95°C). While that’s warming up, grab your baking sheet and line it up perfectly with parchment paper. Don’t skip the paper, or you’ll be scraping cooked-on meat forever!
Next, it’s time for the assembly line. Dump that ground beef, all your grated carrot, and the zucchini right into a big mixing bowl. Use your hands—you really need to feel it coming together! Squish everything until you have a uniform, slightly mushy mixture. Forget whisks on this one!
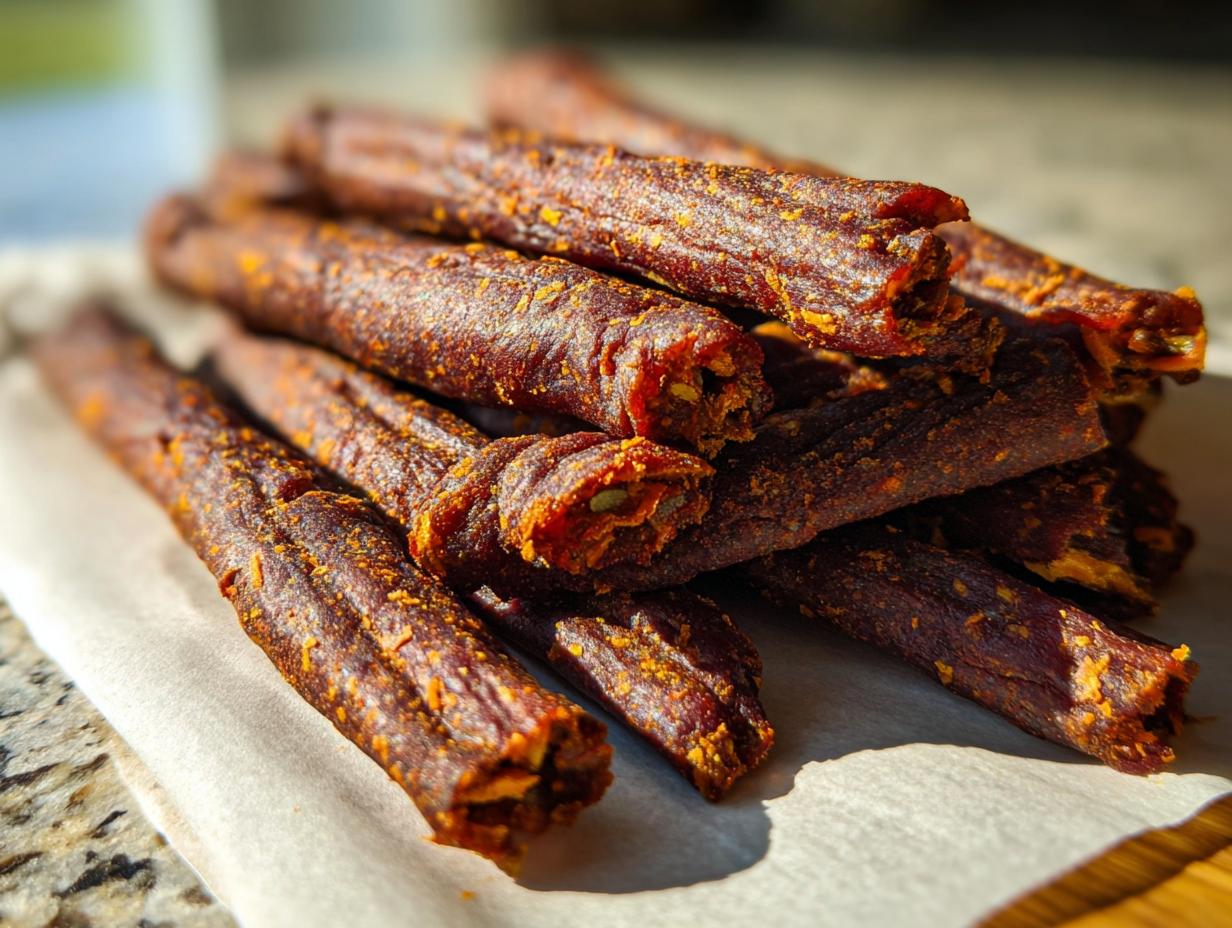
Now, we shape. Divide the meat evenly into 12 portions. Roll each portion into a stick about 4 inches long and remember to keep them about an inch thick. We want density! Place these 12 little meat logs onto your prepared sheet. If they are too thin, they’ll dry out into crunchy jerky instead of a hard-chew Meat Roll for Aggressive Chewers.

Finally, they go in for the marathon bake: 3 full hours, no peeking if you can help it! Check out the full instructions for similar beef rolls here: beef and vegetable roll for dog. Once they look firm and incredibly dry, pull them out. They’ll still feel slightly soft right out of the oven, so be patient!
Baking Technique for Maximum Durability
The reason this bake time is so long and the temperature so low is crucial for durability. We aren’t cooking it like a meatloaf; we are slowly dehydrating the moisture out of every single bit. That low, slow heat hardens the protein structure. This process is what transforms a soft meat mixture into a true Meat Roll for Aggressive Chewers. Remember, the tougher it is now, the longer it lasts later! Always let them cool completely on the counter before testing their hardness.

Tips for Success When Preparing Your Meat Roll for Aggressive Chewers
Don’t you hate it when you put in the work and the sticks just crumble apart as soon as you touch them? That usually means the veggies weren’t grated fine enough, or maybe they weren’t integrated well enough with the meat. You want a cohesive stick, not ground meat falling off a carrot core. When shaping, press down hard on the ends to seal them up – this prevents those jagged edges that tend to break off first.

If you’re worried about sticking, even with parchment paper, you can lightly spray the paper with a tiny bit of cooking spray before placing the rolls down. Seriously, just a fine mist! This helps create a non-stick barrier perfect for low-temp baking. For more advice on getting perfect results when baking dog treats, take a peek at my guide on dog treats machine baking tips.
Storage and Reheating Instructions for Meat Roll for Aggressive Chewers
Because we bake these Meat Roll for Aggressive Chewers low and slow to dry them out, they actually store really well! Since they contain fresh vegetables, you absolutely must keep them refrigerated if you want them to last more than a couple of days. Pop them into a good, clean, airtight container first. Don’t just leave them sitting on the counter in a plastic bag; that traps any residual moisture and encourages mold, which we definitely don’t want.

They stay perfectly good in the fridge for up to two weeks. Seriously, they stay firm the whole time! I haven’t even bothered trying to freeze them because they are so easy to make in batches that we just cycle through them quickly. If you notice any condensation in the container, just leave the lid slightly ajar for an hour to let things breathe before securing it again.
Frequently Asked Questions About Meat Roll for Aggressive Chewers
I know you must have questions when you’re investing time into making specialized chews for your super-chewer! Honestly, I had tons when I first started experimenting with this durable dog chew recipe. The biggest concern is always texture: how do we ensure this Meat Roll for Aggressive Chewers actually stands up to a determined dog?
Because we bake these treats low and slow, they get incredibly firm, which is exactly what aggressive chewers need. If you’re looking for more quick, simple ideas for your pup, check out my list of 10 easy pup kitchen creations! Also, remember that refrigeration is key to keeping them fresh.
Can I use poultry instead of beef in this Meat Roll for Aggressive Chewers?
Yes, you certainly can swap out the beef for ground turkey or chicken! Just keep in mind that poultry is often leaner than ground beef, so the texture might come out slightly drier or harder from the start. You might want to start checking them around the 2.5-hour mark just to make sure they don’t get *too* hard for your pup.
How long will these meat chews last?
Since we are baking out so much moisture, they last quite well, but because they’re all-natural, refrigeration is essential. Stored properly in an airtight container in the fridge, they should stay fresh and firm for up to two weeks. Always check for any strange smells or mold before giving one to your dog, just to be safe!
Will the vegetables make this chew too soft?
That’s the beauty of the 3-hour bake time! If you just mixed raw zucchini and carrot into soft ground meat and baked it fast, yes, it would be squishy. But the long, low bake time pulls almost all the environmental moisture out of the veggies too, binding them firmly into the meat structure. They add bulk but end up being just as hard as the surrounding meat after dehydration.
What to Do Next After Making This Durable Dog Chew
Congratulations! You’ve done it—you’ve conquered that chewer phase and made a treat that actually lasts! Now the fun part begins: quality control testing. I absolutely live for hearing how long these sticks held up for your power chewer. Seriously, drop a comment below and tell me if your dog finished it in 30 minutes or a whole afternoon!
If you made some amazing batches, snap a picture and share it! Seeing those happy, determined faces struggling (in a good way!) with their new survival chew makes all the baking time worth it. And hey, if you have any questions about storage tweaks or ingredient swaps we didn’t cover, hit me up in the comments section. Let’s keep supporting each other on the blog here: Check out the main blog!
By EMILIA, the founder of MeltItClean.com – your digital space for natural weight loss, real wellness habits, and clean-living inspiration that actually fits your life.
For years, I struggled with the ups and downs of dieting. I tried everything — juice cleanses, low-carb crazes, fitness challenges — but I always ended up back where I started: tired, bloated, and frustrated. I didn’t just want to “lose weight” — I wanted energy, mental clarity, glowing skin, and confidence without sacrificing my joy or sanity.
After years of experimenting, learning, and unlearning, I discovered a simple truth: your body is already powerful — it just needs support, not restriction. That’s when I created Melt It Clean — a site dedicated to real transformation through clean, intentional, and nourishing daily habits that anyone can follow.
My goal was simple: build a place where people could feel informed, supported, and empowered without being overwhelmed by wellness fads.

Meat Roll for Aggressive Chewers
Ingredients
Equipment
Method
- Preheat your oven to 200°F (95°C). Line a baking sheet with parchment paper.
- In a mixing bowl, combine the ground beef, grated carrot, and grated zucchini.
- Shape the mixture into 12 sticks, about 1 inch thick and 4 inches long.
- Place the sticks on the prepared baking sheet and bake for 3 hours, or until firm and dry.
- Let the chew sticks cool completely before giving them to your dog.


