Oh, you know the drill, right? You pull out the bag of gorgeous, expensive dog treats, you give your best friend one, and *poof*—it’s gone before you can even say “good boy!” It’s frustrating! I used to get so annoyed watching my energetic pup devour those store-bought favorites in literally three seconds flat. That’s what finally pushed me over the edge to create my own super-durable recipe for homemade Long Lasting Dog Biscuits.
Trust me, these aren’t fussy or complicated. We’re using simple ingredients like whole wheat flour, oats, and broth to create something genuinely tough that satisfies that deep-down need your dog has to really *crunch* something. I perfected these simple, durable biscuits in my kitchen until I found the perfect ratio that guaranteed longer chewing satisfaction. Say goodbye to treats that vanish instantly!
Why Making Long Lasting Dog Biscuits Matters for Your Pet
Honestly, investing time in baking treats that actually last feels like a win-win situation. When you make your own Long Lasting Dog Biscuits, you aren’t just saving money in refills, you’re giving your dog something that truly satisfies that powerful desire to chew. My pup gets so much happier when he has a biscuit that lasts longer than a sneeze!
Plus, let’s talk about ingredients—this is huge for me. When you bake at home, you have total control. No weird fillers or mystery powders making it into your dog’s snack time. If you’re looking for more general reasons why treating your best friend well nutrition-wise is so important, you might want to check out some helpful tips over at this great resource.
Understanding the Benefits Of Long Lasting Dog Biscuits
- They cut down on constant treat waste because they don’t disappear immediately.
- You know exactly what your dog is eating—oats, butter, broth—pure and simple!
- They keep those jaws busy! Good, solid chewing is great for keeping teeth clean.
Gathering Ingredients for Your Long Lasting Dog Biscuits
Okay, now for the fun part: grabbing the goods! The secret to making these treats last isn’t some exotic spice; it’s leaning into sturdy, whole ingredients. We need two and a half cups of good whole wheat flour and one hearty cup of rolled oats. These two staples are what give our Long Lasting Dog Biscuits their satisfying density!
Next up, you’ll need half a cup of unsalted butter, and please make sure it’s softened—we have to treat that butter right for the initial mixing stage. The final core ingredient is one cup of chicken or beef broth. This brings everything together into that perfect, rollable dough. It’s amazing how few things you actually need!
If you’re feeling creative or need a little substitution trick, you can peek at some of my favorite simple recipes right over here at this link; it might give you some ideas for next time.
Ingredient Notes and Substitutions for Durable Treats
Listen, the reason these stay durable is the texture provided by the whole wheat flour mixed with the oats. White flour just doesn’t give you that necessary sturdy bite; it tends to crumble too fast. Keep those oats in there! They act like little anchors in the dough.
If you happen to be out of chicken or beef broth, don’t panic and run to the store! You can substitute it with plain water, though the broth does add a little flavor boost that my dogs always seem to appreciate. Remember, simple, clean ingredients mean a healthier, longer-lasting snack!
Essential Equipment for Making Long Lasting Dog Biscuits
You don’t need a fancy stand mixer or a thousand gadgets to whip up a batch of these super sturdy treats, which is just how I like it! The ingredient list is short, and luckily, so is the equipment list. You really just need two foundational items.
First, grab a big mixing bowl. You need enough space to really get in there and work that butter into the dry stuff until it looks nice and crumbly. Don’t skimp on the bowl size—you don’t want flour dust flying everywhere when you start mixing!
Second, you absolutely must have a sturdy baking sheet ready to go. That’s where our beautiful dough will transform into perfect Long Lasting Dog Biscuits. I usually line mine with parchment paper just to make cleanup smoother, leaning into that clean-living habit even for my dog’s snacks!
Now, here’s my favorite little tip for making the process fun: cookie cutters! If you have them, use them! Cutting shapes into the dough is way more satisfying than just slicing squares, and the fun shapes make the Long Lasting Dog Biscuits feel extra special for our furry friends.
Step-by-Step Instructions to Bake Perfect Long Lasting Dog Biscuits
Alright, time to get baking! This is where the magic happens, and I promise, it’s super straightforward. First thing—and don’t skip this, it matters for proper texture—you need to get your oven cranking up to 350°F (175°C). I always have to put a note by my oven to stop it from timing out while I’m wrestling with the dough!
In your big bowl, whisk together your dry team: the whole wheat flour and the rolled oats. Next, bring in the softened butter. You want to use your hands or a pastry cutter to work that butter in until the mix looks beautifully crumbly, like coarse sand. That’s the butter getting evenly distributed, which is key for a solid biscuit!
Then, pour in that cup of flavorful broth. Start mixing, and you’ll feel it start to come together into a firm dough. Once it’s all combined—no dry patches left—turn it out onto a lightly floured surface. Roll it nice and flat, maybe about a quarter inch thick, and get those shapes cut out! Pop them onto your prepared baking sheet.
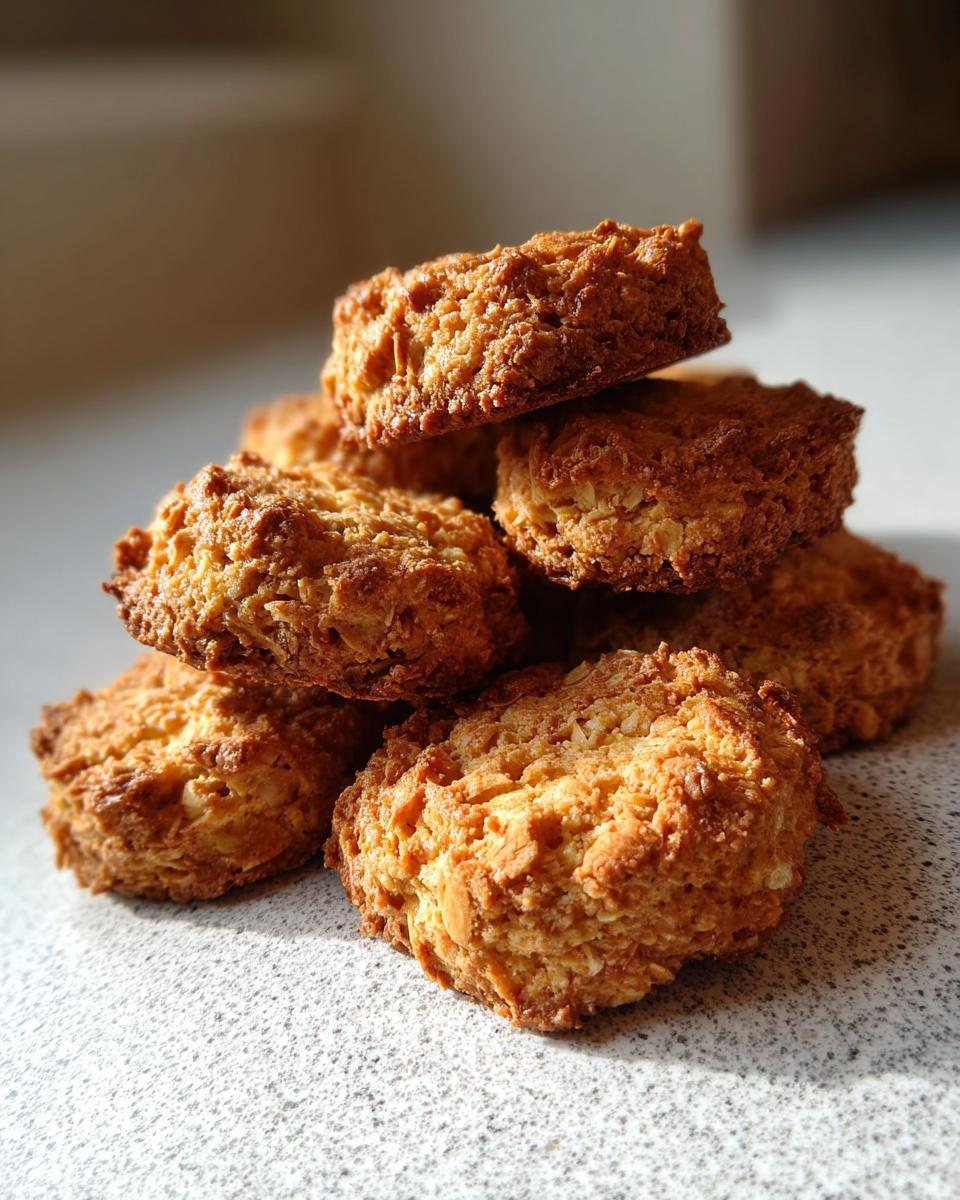
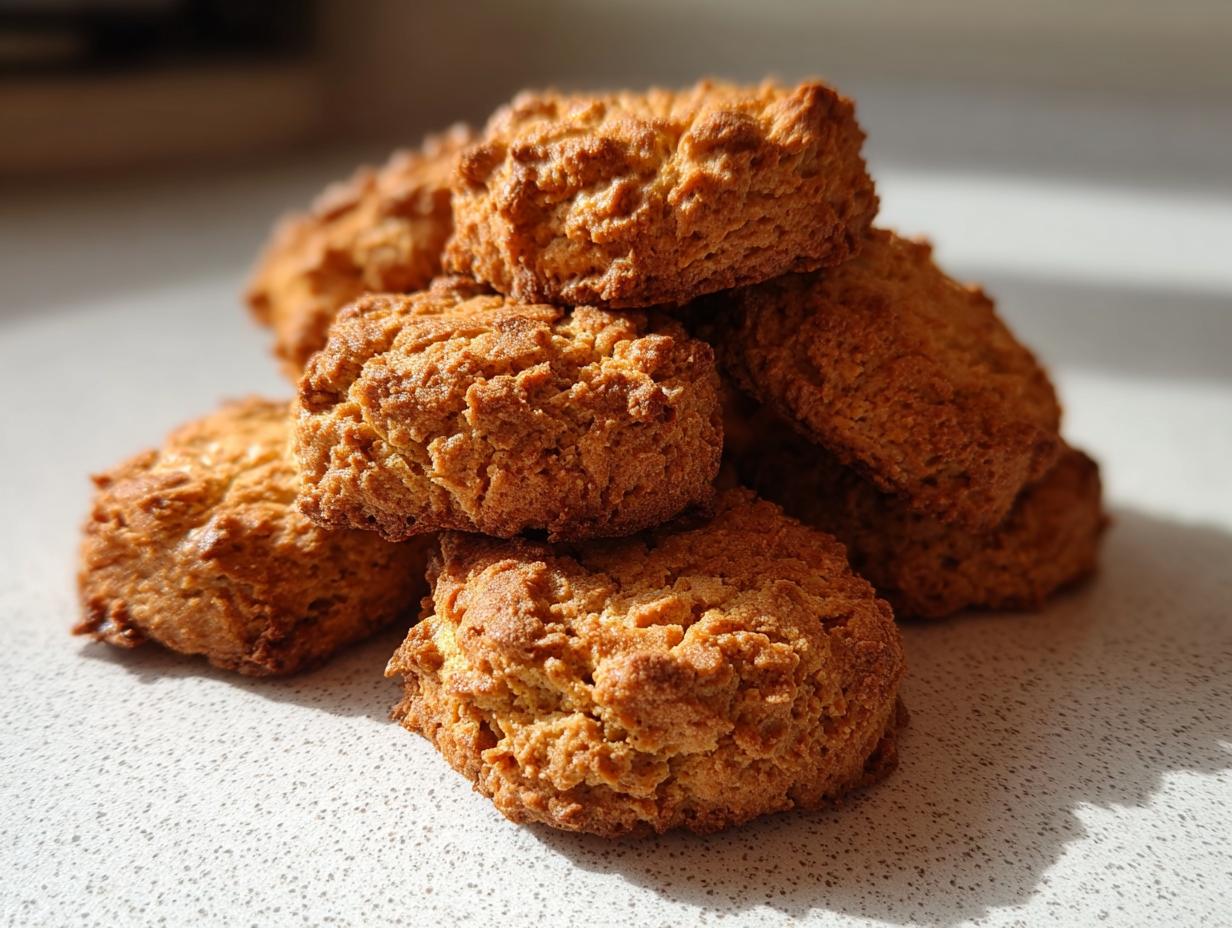
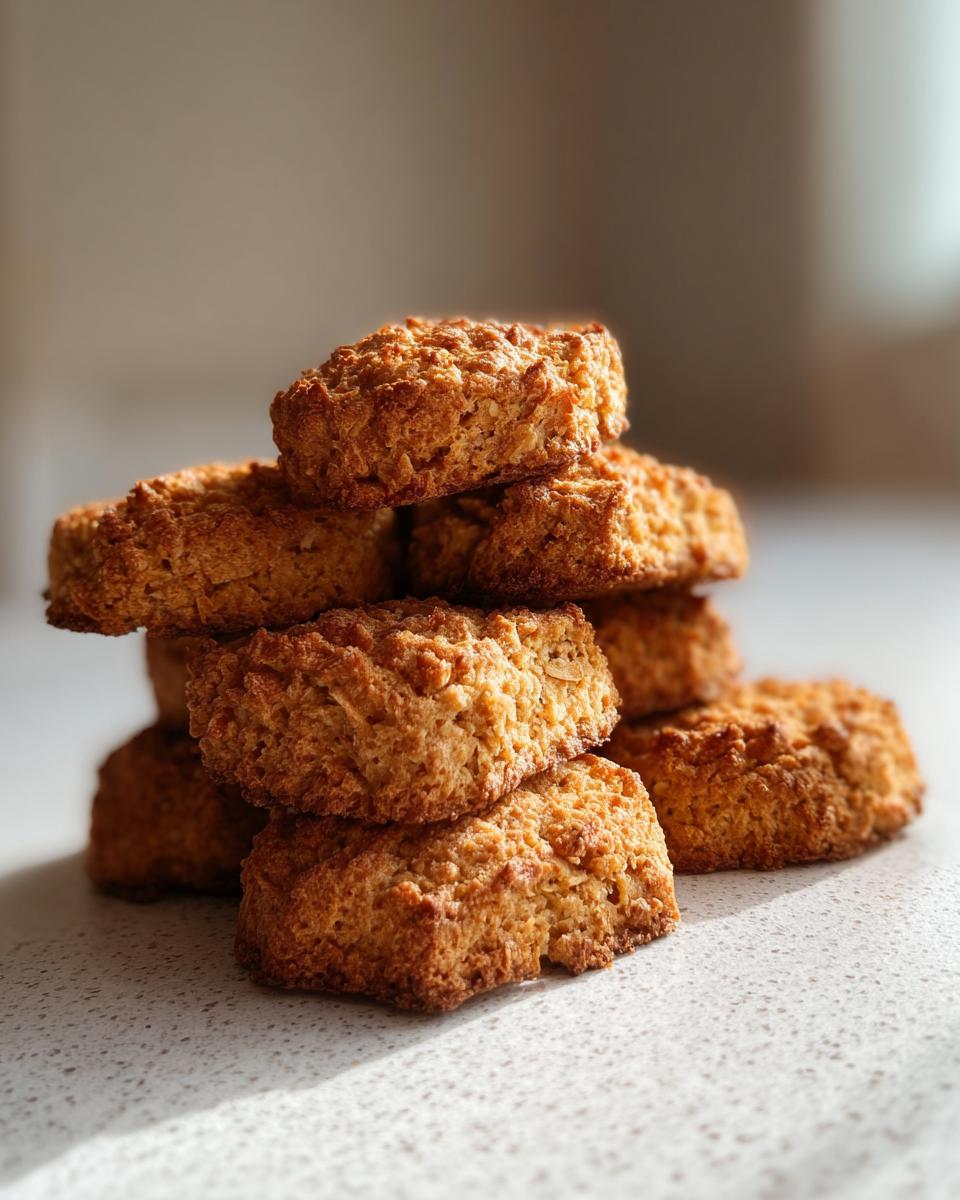
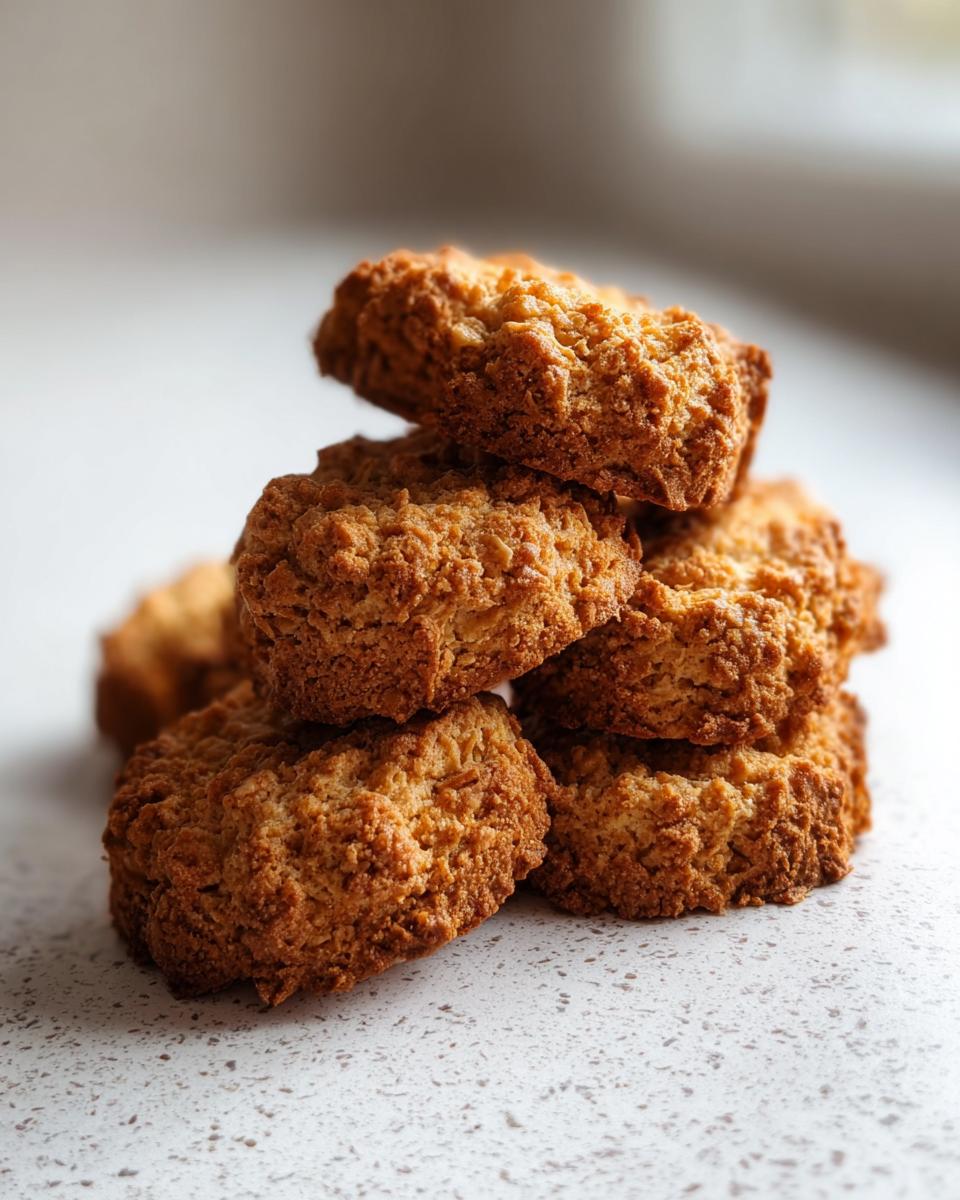
They bake for about 20 to 25 minutes. And here’s the absolute most important safety and quality step: let them cool completely on a rack before your dog gets his paws on them. Baking them until they are fully firm guarantees those satisfyingly Long Lasting Dog Biscuits. You can find some extra tips for DIY treats over at this link if you want to explore more homemade ideas.
Baking Tips for Maximizing Chew Time in Long Lasting Dog Biscuits
If you want truly durable biscuits—ones that really fight back a little when chewed—you need to focus on that bake time. Don’t just pull them out when 20 minutes is up if they still feel slightly soft in the very center, especially if you cut them thick. The goal is hard, not soft-baked!
If you take a batch out and they seem a little softer than you hoped once cooled, don’t stress! Just pop them back into the 350°F oven for another 5 to 10 minutes. Seriously, that little bit of extra time dries them out just enough to make them truly long-lasting. You want a firm snap, not a gentle bend!
Storage and Shelf Life for Your Long Lasting Dog Biscuits
You worked hard to make these durable, so don’t ruin the longevity by storing them in a flimsy plastic bag! Since these Long Lasting Dog Biscuits are baked until dry, they are much safer to store than softer chews. My absolute number one rule is to make sure they are 100% cool to the touch—and I mean *totally* cool—before they ever go into a container.
Once cool, grab an airtight container. Glass jars with clamp lids are my favorite for keeping things fresh, but a good Tupperware works great too. Stored this way, at cool room temperature, they are fantastic for up to three weeks. That’s why I love this recipe so much; I can make a huge batch and not worry about throwing half of them out!
If you want to keep them even longer, or if your house is usually quite warm, popping them in the freezer is a wonderful idea. They freeze beautifully for up to three months. Just thaw them out on the counter for an hour before giving one to your buddy.

When you’re checking them before serving, trust your nose! If they start to smell even slightly musty or off, it’s time to toss them. Since these are made with real, clean ingredients, they don’t have the preservatives that keep store-bought ones shelf-stable forever. But honestly, between you and me, my dog usually finishes them long before they ever reach the three-week mark!
If you’re whipping up a double batch and need more inspiration on other safe treats, check out these ideas at this link.
Troubleshooting Common Issues with Long Lasting Dog Biscuits
So, even the best intentions sometimes lead to slightly wonky treats, right? That happens to me too! The goal here is durability, so let’s talk about the three common hiccups you might run into when trying to make those perfect Long Lasting Dog Biscuits.
First pitfall: your biscuits seem too soft after they cool down. Don’t panic and don’t toss the batch! This just means they needed a little more drying time. Simply pop them right back onto the baking sheet and return them to the 350°F oven for another 5 to 10 minutes. Watch them closely this time!
What if they’re crumbling too fast when you try to handle them? That usually means you need a bit more binder next time, usually more broth or perhaps you didn’t mix the butter in quite enough. For this batch, try rolling the dough a tiny bit thicker before cutting.
The other issue is burning, especially around the edges. This just means the oven temperature was a bit too high, or maybe your baking sheet is dark metal. Stick them on the middle rack next time, or even consider popping a piece of parchment paper underneath to diffuse the heat!
Frequently Asked Questions About DIY Long Lasting Dog Biscuits
Can I freeze these Long Lasting Dog Biscuits?
Yes, absolutely! Freezing is one of the best ways to maximize the shelf life we are aiming for with these durable treats. Once they are completely cool, just seal them in a heavy-duty freezer bag or an airtight container. They keep beautifully for about three months this way. It’s perfect because it means you can bake a huge batch and always have high-quality snacks ready without worrying about them going stale.
What if my dog has a wheat sensitivity, can I substitute the flour?
That’s a really important question! Whole wheat flour is key to the texture of these specific Long Lasting Dog Biscuits, but if your pup is wheat-sensitive, you do have options. You can try substituting the whole wheat flour with an equal amount of oat flour (just blitz the oats in a blender until fine) or even brown rice flour. Just keep in mind that you might need to add a tiny splash more broth to get the dough to hold together, and they might not be *quite* as rock-hard, but they’ll still be fantastic!
Are these Long Lasting Dog Biscuits safe for puppies?
Generally, yes—the ingredients are very tame, but you have to use common sense around puppies. Since this recipe is designed to be dense and durable, which is great for adult teeth, make sure any puppy you serve one to is old enough to handle harder chews. If you have a very young puppy, I would suggest baking them for the shorter time (around 20 minutes) so they are a bit softer, or breaking them into smaller pieces. Always introduce new foods slowly!
How long do I need to bake them if I cut them really small?
That’s the beauty of customizing your biscuit size! If you cut smaller shapes, they will definitely bake quicker, which is great when you’re in a rush. If you cut them significantly smaller than quarter-inch thickness, start checking them around the 15-minute mark. You still want that dry, hard texture, so look for them to be deeply golden brown on the edges. You can find some more cutting tips in this great guide on homemade creations.
Estimated Nutritional Snapshot for Homemade Long Lasting Dog Biscuits
Since I’m all about knowing what I’m feeding my best friend, I always try to ballpark the nutrition, even for treats. Now, listen closely: you know I’m a cook, not a chemist, so please take these numbers as a general estimate! Since we used whole wheat flour and oats, the nutritional profile skews toward fiber and complex carbs, which is great for keeping energy steady and digestion regular.
Based on the standard ingredient amounts for 20 biscuits, here is a rough idea of what you can expect in *one* of these homemade Long Lasting Dog Biscuits. If you want to dig deeper into vetting homemade dog food choices, this vet-approved resource here is excellent!
Keep in mind that the exact values can shift based on the brand of broth or butter you use, but this gives you a solid baseline for these durable snacks:
- Calories: Approximately 75-85 kcal per biscuit.
- Protein: Around 2-3 grams per biscuit.
- Fat: About 3-4 grams per biscuit (thanks to that necessary butter!).
- Carbohydrates: Roughly 10-12 grams per biscuit (from the flour and oats).
What I love most is that these values are based on whole, recognizable ingredients—you’re getting wholesome energy, not just empty calories from sugar or fillers. They are perfect for satisfying that mid-day crunch!
Share Your Success with These Long Lasting Dog Biscuits
I am just so excited for you and your dog to try these! Honestly, seeing my pup happily munching away on a treat that I made with simple, good ingredients is one of my greatest joys. These durable snacks make me feel like I’m doing something really positive for his wellness, which is exactly what Melt It Clean is all about—small, intentional habits!
Once you’ve tried this recipe and you see how long your pup has to work for his reward, please come back here and let me know how it went! It means the world to me when you share your experience. Did your dog love the chicken broth version best?
Take a moment when you get a chance to rate these Long Lasting Dog Biscuits using the star rating system below. It really helps other people looking for trustworthy, simple homemade treats find their way here. We all need real inspiration, not just overhyped fads!
And if you managed to snap a picture of your happy dog destroying—I mean, *enjoying*—his freshly baked, durable biscuit, share it in the comments! I love seeing your furry friends enjoying the clean-living inspiration. Tell me how long yours lasted!
By EMILIA, founder of MeltItClean.com – your digital space for natural weight loss, real wellness habits, and clean-living inspiration that actually fits your life. For years, I struggled with the ups and downs of dieting. I tried everything — juice cleanses, low-carb crazes, fitness challenges — but I always ended up back where I started: tired, bloated, and frustrated. I didn’t just want to “lose weight” — I wanted energy, mental clarity, glowing skin, and confidence without sacrificing my joy or sanity. After years of experimenting, learning, and unlearning, I discovered a simple truth: your body is already powerful — it just needs support, not restriction. That’s when I created Melt It Clean — a site dedicated to real transformation through clean, intentional, and nourishing daily habits that anyone can follow. My goal was simple: build a place where people could feel informed, supported, and empowered without being overwhelmed by wellness fads.
You can find more resources about my approach here: About Me.
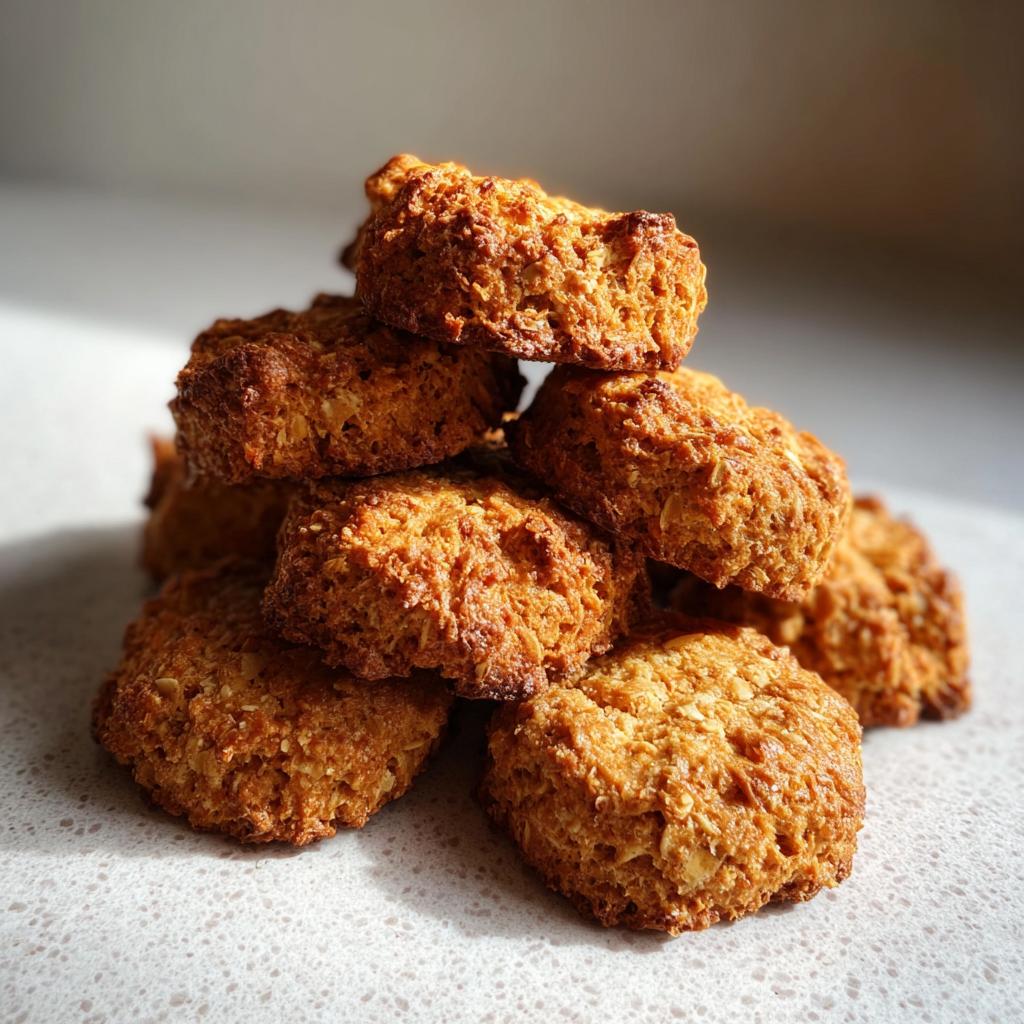
Homemade Long Lasting Dog Biscuits
Ingredients
Equipment
Method
- Preheat your oven to 350°F (175°C). Prevent your screen from going dark.
- In a bowl, mix flour and oats.
- Add softened butter and mix until crumbly.
- Pour in broth and mix until a dough forms.
- Roll out the dough and cut into shapes.
- Place biscuits on a baking sheet.
- Bake for 20-25 minutes.
- Let cool completely before giving to your dog.


