
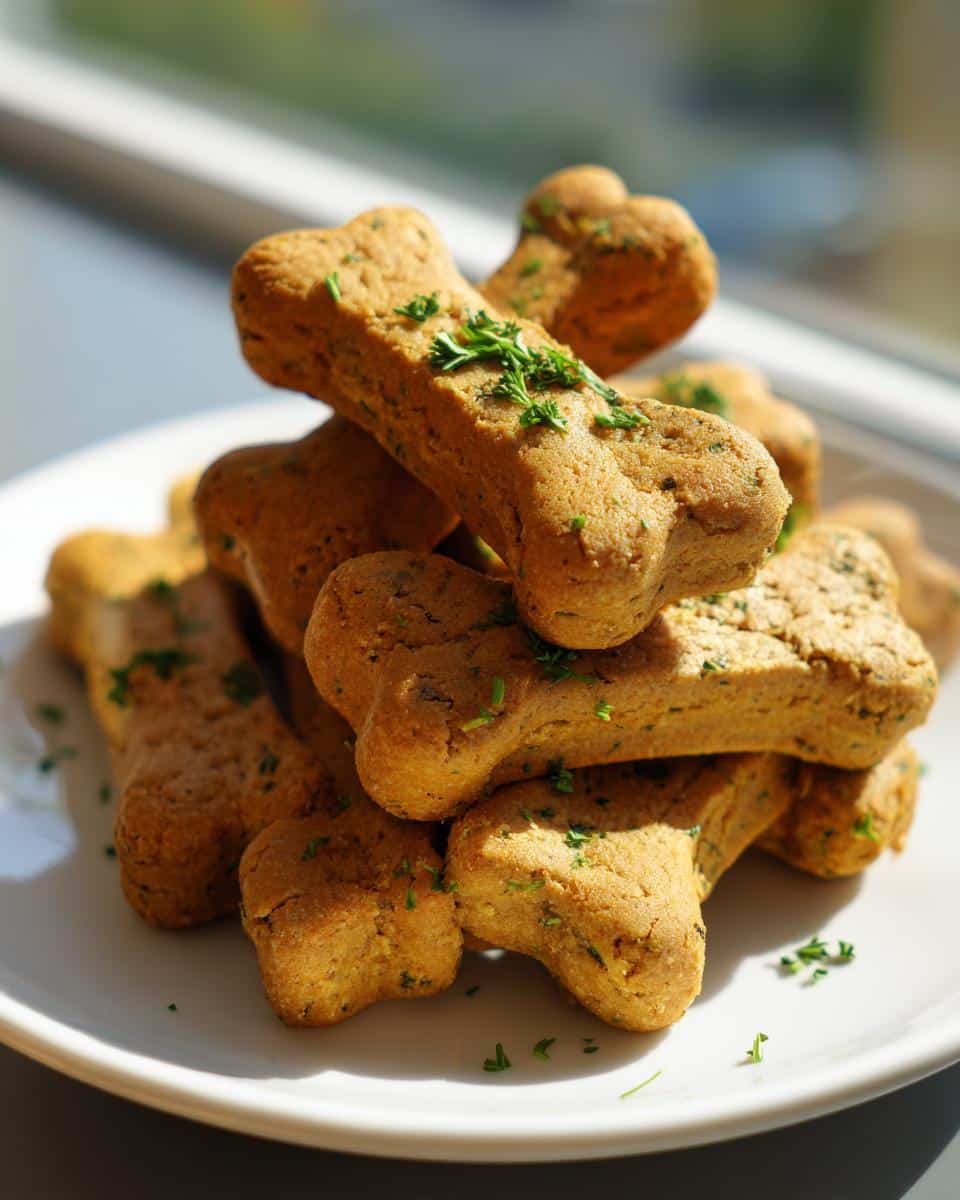
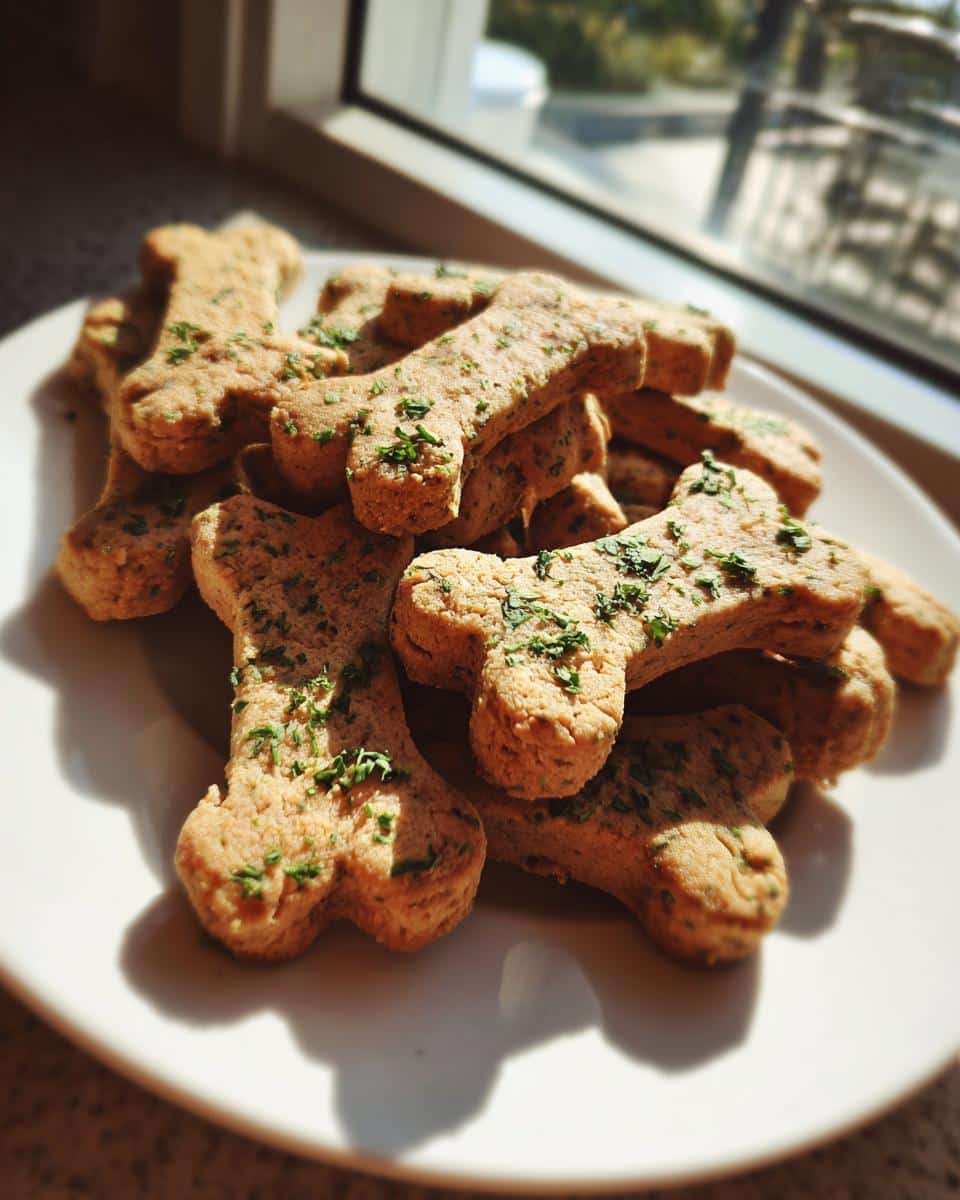
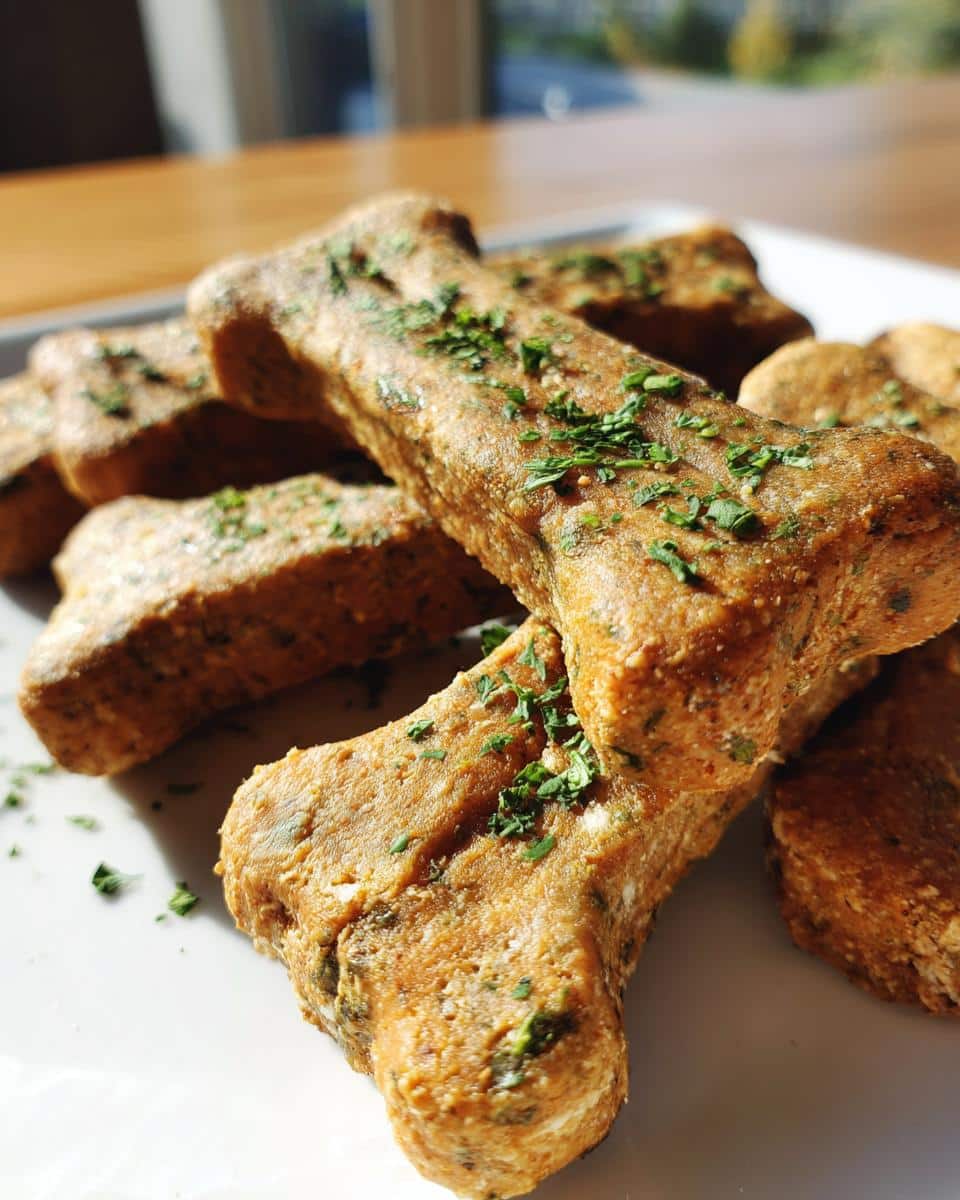
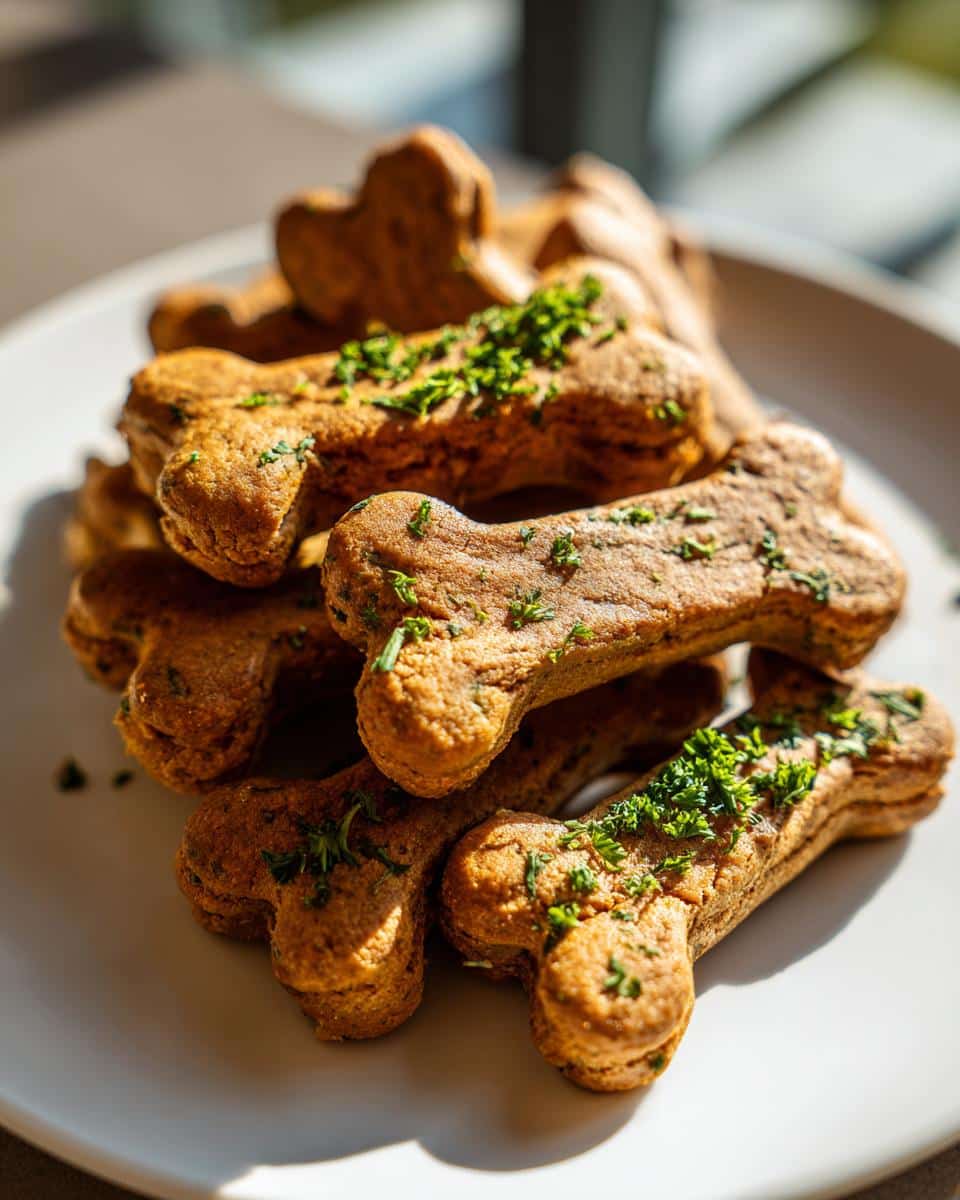
Oh, my goodness, trying to keep up with a dog’s dental hygiene can feel like a full-time job, right? I swear, my little terrier, Buster, could smell bacon from three counties away, and his breath followed suit! That’s what finally pushed me over the edge to start crafting my own solutions. Forget constantly buying those expensive bags; I needed something reliable at home. That’s how I landed on this recipe for homemade dental chews—they’re my absolute cheat code for keeping up with Greenies for dogs : Fresh Breath & Clean Teeth.
After years of trying different flours and natural fresheners, I’ve perfected this formula. Trust me, I’ve tested dozens of batches until I found the perfect crunch that actually helps scrub those pearly whites. These aren’t just tasty snacks; they are genuinely effective tools for your dog’s clean teeth goals. It’s so satisfying watching them chew away happily knowing I control every single ingredient that goes into their mouth.
Why These Homemade Greenies for Dogs : Fresh Breath & Clean Teeth Work
I get asked all the time why I bother making these when you can just buy them. Honestly, it’s because I want maximum cleaning power without all the mystery fillers. These treats are designed to work hard on your dog’s mouth while tasting amazing to them. They aren’t just soft snacks; we are aiming for that satisfying, slightly abrasive crunch! If you’re looking at store-bought options, you can check out some other great recipes, like my chicken biscuit recipe for variety.
- The base of the dough gets firm when baked, creating the resistance needed for mechanical scrubbing.
- The peanut butter acts as a binder but also makes them irresistible.
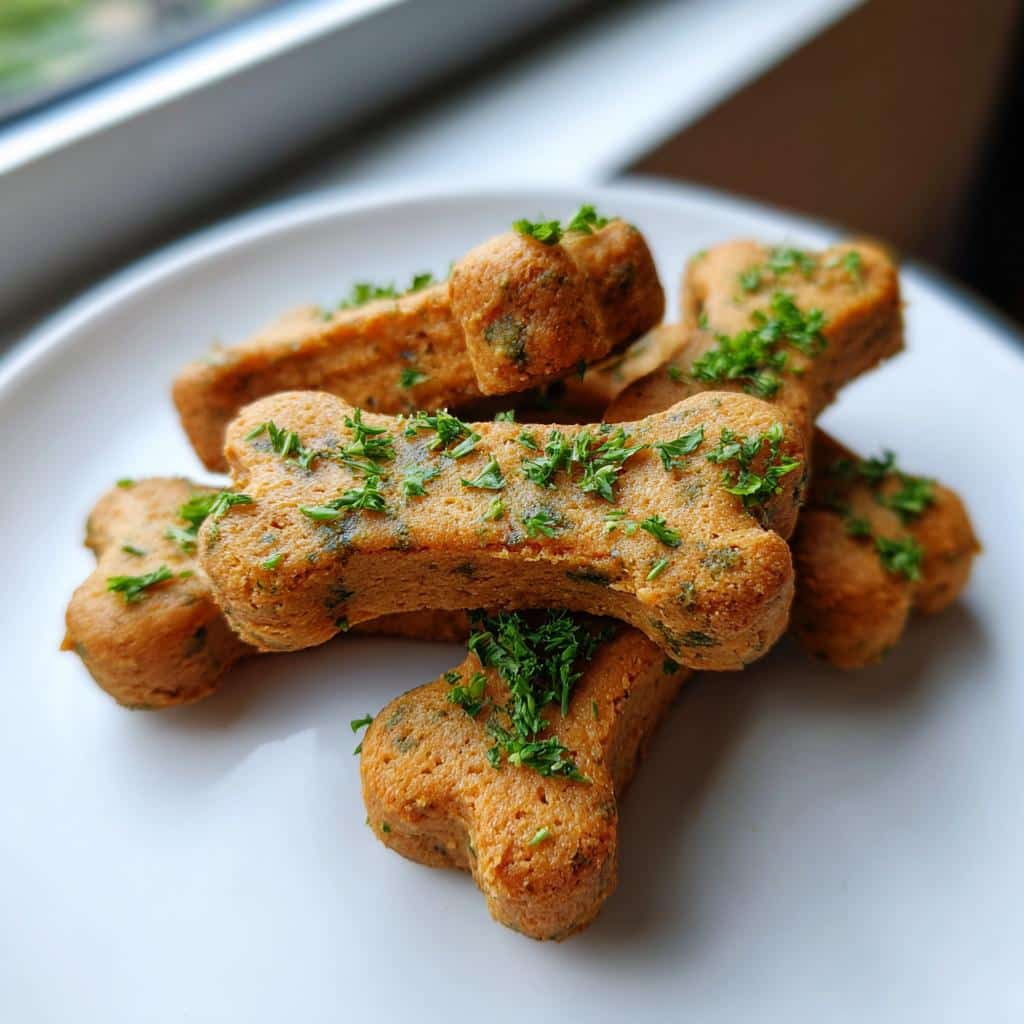
- Parsley is my little secret weapon for naturally tackling that doggy breath.
Ingredient Roles in Achieving Clean Teeth
It’s all about simple, effective scrubbing action. When your dog really sinks their teeth into these, that firm texture scrapes along their gums and teeth surfaces, pushing away plaque buildup. The finely chopped fresh parsley inside gets distributed right where we need it, freshening things up from the inside out. You can see how much they help just by how quickly they disappear!
Gathering Supplies for Your Greenies for Dogs : Fresh Breath & Clean Teeth Recipe
Okay, before we even think about mixing anything, let’s make sure you have your tools ready. Being prepared is half the battle, especially when you don’t want your dough sticking everywhere! I like to think of this as setting up my workspace perfectly so the baking process flows smoothly.
You don’t need anything fancy here, which I love. Just make sure these basic items are clean and ready to go:
- A good sturdy mixing bowl—you’ll be mixing everything right in here.
- A flat baking sheet. Don’t forget that parchment paper! I never skip that step.
- Your small cookie cutters. I use tiny bone shapes, but circles or even just squares work great too.
Precise Ingredients for Homemade Greenies for Dogs : Fresh Breath & Clean Teeth
Now for the truly important part: making sure we have the right stuff! When we are talking about dog dental chews, the quality of what goes in really matters for the final crunch and, of course, for safety. Since these are treats meant to be consumed regularly, I am very strict about sticking to these measurements.
Here is what you need for about twelve good-sized dental chews:
For the Dental Chews:
- Whole wheat flour: You’ll grab 1 cup. Now, if your pup has sensitivities, feel free to swap this for oat flour—it works just as well for grain-free goodness.
- Unsweetened applesauce: Half a cup of this gives us wonderful moisture and a subtle sweetness.
- Water: Just 1/4 cup to start, but listen to the dough! You might need a splash more or less to get it right.
- Fresh parsley: This is where the breath magic happens! Make sure you chop up 2 tablespoons of it really fine.
- Peanut butter: We need 1 teaspoon. And seriously, please double-check the label! Ensure it is 100% Xylitol-free. That stuff is toxic to dogs, so we stick to the safe kinds only.
See? Simple ingredients that pack a punch for those pearly whites!
Step-by-Step Instructions to Make Greenies for Dogs : Fresh Breath & Clean Teeth
Alright, time to get our hands dirty! Making these dental treats is honestly quicker than a trip to the store, and the payoff is huge for your pup’s health. We’re aiming for a really firm chew, so pay attention to the baking and drying times—that’s what locks in the crunch needed for effective clean teeth action.
- First things first, get that oven warming up to 350°F (175°C). While it heats, grab your baking sheet and line it perfectly with parchment paper. No sticking!
- Next, grab your mixing bowl. We are tossing in the whole wheat flour, the yummy applesauce, the water, all that finely chopped fresh parsley, and that dollop of Xylitol-free peanut butter.
- Now, start mixing! Keep going until you have a dough that feels firm and honestly doesn’t stick to your fingers much. If it feels crumbly, add water just a teaspoon at a time. Too wet? Sprinkle in a bit more flour until it smooths out.
Mixing the Dental Chew Dough
Getting the consistency right is key here. You want a dough you can actually roll out smoothly. Don’t rush this mixing stage! If you add too much water right away, you’ll end up fighting a sticky mess. Remember, we’re aiming for something that feels almost like soft play-doh—easy to handle but not leaving residue on your hands. If you need inspiration for other easy-to-mix items, check out these chew recipes!
Cutting and Baking for Optimal Crunch
Once your dough is ready, flour up your counter lightly and roll it out. I always aim for about 1/4 inch thickness—thinner pieces get too cracker-like, and thicker ones won’t dry out properly. Cut your shapes, line them up neatly on the sheet, and bake for 18 to 20 minutes. Here’s the big secret for that satisfying crunch: when they are done, turn the oven OFF, crack the door open slightly, and leave those chews inside for a full 10 minutes to dry out completely. This ensures they are rock hard enough to properly clean teeth!
Let them cool totally before your dog gets a taste. Once cool, they are ready to promote fresh breath mornings!
Tips for Success with Your Greenies for Dogs : Fresh Breath & Clean Teeth
Listen, I know the goal here is that satisfying, hard chew that actually works to clean teeth, and sometimes homemade treats come out a little softer than we’d like. Don’t worry, I’ve learned a few tricks over the years to make sure these Greenies for dogs deliver on the promise of fresh breath and clean teeth every single time you bake a batch.
The number one thing you have to remember is that baking time isn’t the only thing that determines the hardness. It’s all about that final drying-out phase! If your chews feel a little spongy after they’ve cooled for an hour, don’t serve them yet! Stick them back in the *still warm but off* oven for another 15 minutes with the door cracked. That residual heat pulls out every last bit of moisture, which is what gives them the structural integrity to work as dental aids.
Also, since you’re using cutters, think about the borders. If you cut shapes that have thin points or very narrow edges—like little stars or tiny bones—those parts will likely burn or crumble before the center is ready. For the best results, keep your shapes relatively thick and blocky. If you want to try something crazy simple after mastering this one, I highly recommend checking out my recipe for three-ingredient dog treats; it uses similar principles!
Another quality-of-life tip I stole from my own baking days is how I handle the dough before cutting. Chill your rolled-out dough for about 15 minutes before you cut the shapes. When the dough is cold, the cutters stamp out much cleaner edges, and the shapes hold their form better in the oven. It stops that frustrating dough spreading that can make your nice, hard chews turn into slightly puffy cookies!
Storage Instructions for Your Fresh Breath & Clean Teeth Chews
So, you’ve made a giant batch of these fantastic dental chews! Yay! Now we need to make sure we keep them tasting fresh and crunchy so they keep doing that amazing job cleaning teeth. Remember, unlike those squishy store-bought things, these homemade Greenies for dogs : Fresh Breath & Clean Teeth don’t have a ton of artificial preservatives, so how we store them matters a lot.
I’ve totally learned this the hard way—leaving them out on the counter in an open bowl equals sad, slightly soft chews after about day three. We want them hard, ready to scrub!
Here’s the deal I live by for keeping Buster’s stash fresh:
- Room Temperature Storage: For quick consumption, if you know you’ll go through them relatively fast, an airtight container at room temperature is perfect. They should stay nicely crunchy and effective for up to one week. Just make sure the container has a really tight seal!
- Long-Term Freshness (Freezing): If you baked a huge batch like I usually do (because once you start, you can’t stop!), the freezer is your best friend. Wrap the cooled chews tightly—I usually put them in a freezer-safe bag after they are completely cold. They stay perfectly good for up to three months.
Honestly, I rarely have any left after a week, but it’s nice knowing I can pull a few out of the freezer anytime I need a quick, fresh batch of teeth-cleaning goodness. Always ensure they are completely cooled before you seal them up, whether it’s for the counter or the deep freeze!
Variations for Your Greenies for Dogs : Fresh Breath & Clean Teeth
Part of the fun of making homemade treats is being able to tinker, right? While I swear by that original blend for fantastic clean teeth results, you absolutely can mix things up safely to cater to your own pup’s taste preferences. We want them to *love* chewing these so much that cleaning their teeth becomes their favorite activity!
The key is keeping the base structure—the flour-to-applesauce ratio—the same so you still get that necessary crunch. Once you have that right, you can start experimenting with the flavor enhancers. This is where creativity meets great oral hygiene!
Here are a couple of swaps I’ve played around with that still deliver on that promise of fresh breath:
- Herb Swaps: If parsley isn’t your dog’s favorite green, try substituting it with finely ground dried mint leaves (just a tiny pinch, mint is strong!). Mint is fantastic for neutralizing odors, giving you that immediate fresh breath effect when they chomp down. Or, you can try a teaspoon of ground cinnamon, which adds a warm spice flavor that pairs nicely with the applesauce.
- Different Nut Butters: If for some reason you can’t get plain peanut butter, or you just want to switch it up, you can try a teaspoon of almond butter or even pureed pumpkin puree instead of the peanut butter. Remember, the pumpkin is wetter, so you might need to bump up your flour just a touch to keep that dough firm. Just make absolutely sure whatever nut butter you choose has zero added sugar and, especially, zero xylitol. Safety first, always!
- Adding Fiber: Sometimes I’ll toss in a tablespoon of ground flaxseed with the dry ingredients. Flaxseed is amazing for healthy digestion, and since it blends right into the dough, it doesn’t mess with the texture much at all. It just adds another layer of goodness into their favorite crunchy cookie.
These little tweaks keep the recipe interesting for me and for Buster, but they never compromise that critical hard texture that makes these treats work so well for scrubbing away daily grime.
Frequently Asked Questions About Homemade Dog Dental Chews
I totally get it—when you’re making something for your best furry friend, you’ve got questions! Since these treats are specifically designed for scrubbing action and promoting happy chewing, people often wonder about sizing and how quickly they’ll see results. I’ve pulled together the top concerns I hear about these homemade dog dental chews.
Are these homemade dental chews safe for all dog sizes?
That’s a smart thing to ask! While the ingredients are perfectly safe, size matters a lot for effectiveness and safety. For my little Buster, I cut them small, maybe nickel-sized, because he crunches them up quickly. But for a bigger dog, you absolutely need to cut them larger—think silver dollar size or even two inches long.
If a chew is too small for a big dog, they might just swallow it whole without giving it a good chew, and then you don’t get that awesome scrubbing action for their clean teeth! If a chew is too hard or large for a tiny senior dog, they might just lick it. So, always cut the size to match your dog’s jaw strength and chewing style!
How long does it take for Greenies for dogs to show fresh breath results?
This one requires managing expectations a little bit! These are homemade treats made to *help* with dental hygiene, not replace a vet visit or a professional cleaning, okay? You aren’t going to give your pup one chew and suddenly discover they smell like roses the next day. But, if you are consistent—say, giving one or two of these firm, parsley-loaded chews daily—you should start noticing a difference within a couple of weeks.
The improvements come from two things: the mechanical scrubbing action on the teeth, and the internal freshening from the parsley. It’s consistency that brings the best results for both those fresh breath and cleaner teeth goals!
Can I use regular flour instead of whole wheat for these clean teeth treats?
You certainly can swap out the flour, and I’ve done it myself! If you use all-purpose white flour instead of whole wheat, the chews will likely bake up a little lighter and maybe slightly less dense in texture. They will still work, but the whole wheat flour seems to hold up better to the chewing needed for cleaning teeth.
If you substitute with something like oat flour—which is my favorite swap for grain sensitivity—the texture ends up being very similar to whole wheat, maybe just a hair softer. The most important thing is that after you bake them and do that final slow-drying step in the oven, they need to be rock hard. If it’s soft, it’s not scrubbing effectively, no matter which flour you used!
Share Your Fresh Breath & Clean Teeth Results
So that’s my entire process! I really hope you and your furry best friend enjoy these homemade dental chews. I truly believe they are the best way to sneak in some effective dental care while giving your dog a treat they’ll actually beg for.
I am dying to know how they turned out! Did your dog have a favorite shape? Did you notice a difference in their morning breath after a week of consistent chewing? Please, please, drop a comment down below and let me know what you thought. Seeing those happy tails wagging is why I share these recipes in the first place!
And if you snap a cute picture of your dog happily demolishing one of these crunchy chews, share it on social media! Tag us so we can see your pup enjoying their fresh breath reward. Happy baking, and happy healthy smiles to your dog!
Greenies for Dogs: Fresh Breath & Clean Teeth
Ingredients
Equipment
Method
- Preheat your oven to 350°F (175°C). Line a baking sheet with parchment paper.
- In a mixing bowl, combine the whole wheat flour, applesauce, water, chopped parsley, and peanut butter.
- Mix the ingredients until a firm, non-sticky dough forms. If the dough is too dry, add a small amount of water. If it is too wet, add a little more flour.
- On a lightly floured surface, roll the dough out to about 1/4 inch thickness.
- Use your cookie cutters to cut out the desired shapes. Place the shapes onto the prepared baking sheet.
- Bake for 18 to 20 minutes, or until the edges are firm and lightly browned. The chews should feel hard when cool.
- Turn off the oven and leave the chews inside with the door slightly ajar for 10 minutes to dry out completely. This helps them become crunchy.
- Allow the dental chews to cool completely before giving them to your dog.


