
If you’re anything like me, you obsess over the ingredients you put into your own body—clean energy, real food, nothing artificial. Well, that commitment absolutely extends to my furry family too!
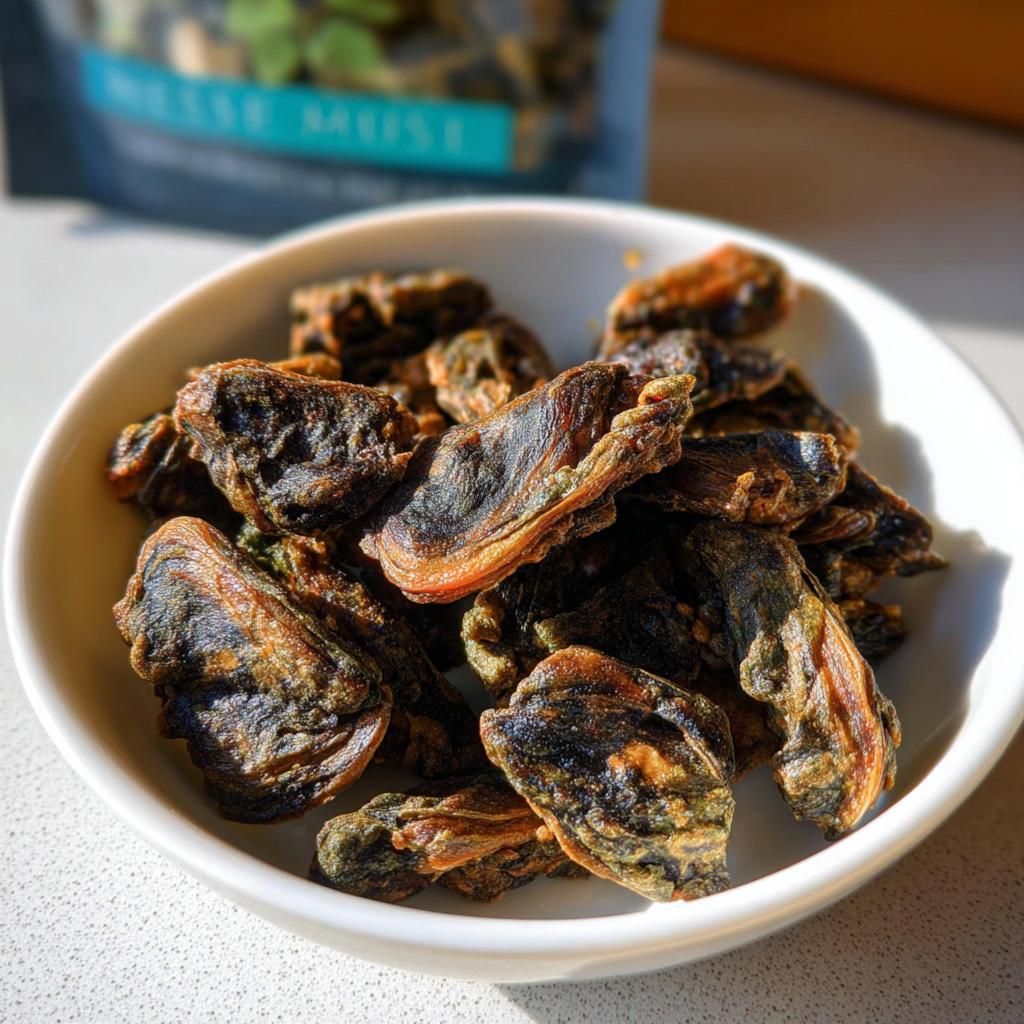
That’s why I’m thrilled to share this ridiculously easy recipe for **Green Lipped Mussel Bites**. Seriously, these only require one ingredient! They are the absolute best way to boost your dog’s health naturally, giving them those amazing joint-supporting Omega-3s without any fillers or weird additives. It fits perfectly with my whole philosophy that supporting wellness, whether for humans or pets, starts with simple, powerful whole food.
Why You Need These Simple Green Lipped Mussel Bites
You know how hard it can be to find treats that you genuinely trust? That inner voice is always whispering, “Is this actually good for them?” These **Green Lipped Mussel Bites** silence that voice immediately. There is zero confusion about what’s inside.
For me, clean-living isn’t conditional—it applies to my dog’s dinner bowl too! These treats are pure nutrition, packed with things that actively support long-term health, which is why I spend my time digging into recipes like these.
It’s so easy to make, too. You just source the right mussels and let the dehydrator do all the heavy lifting. You’ll get incredible results! Here’s what you’re actually giving your dog when you make them:
- Joint TLC: That high concentration of Omega-3s is fantastic for keeping your dog mobile and comfortable as they age. It’s proactive care!
- Shiny Coat Magic: Healthy fats naturally lead to a glossier, healthier coat. Who doesn’t love a dog that shines?
- Zero Hidden Nasties: Because it’s literally one ingredient, you never have to worry about artificial colors, fillers, or preservatives. Check out why these kinds of healthy snacks are game-changers here!
Gathering Ingredients for Your Green Lipped Mussel Bites
Okay, this is where the magic begins, and this is why I preach about clean living for pets—it’s so simple! Unlike those crazy recipes where you need five different flours and tinctures, this one is almost embarrassing in its simplicity. You only need one thing! Yes, just one item to produce these nutrient-dense **Green Lipped Mussel Bites**.
When I first experimented with homemade pet treats, I kept getting overwhelmed by the shopping list. I thought, “There has to be a purer way.” This recipe delivers that purity. But we have to be specific about what we source, because the quality of that single item massively influences the final product’s benefits.
Essential Components for Green Lipped Mussel Bites
Trust me on this one: get the best quality you can afford. Since this is the *only* thing going into the oven, you want it absolutely top-tier for our furry friends.
- 2 lbs Green lipped New Zealand mussels on half shell
Now, I know some blogs might say you can use any old mussel, and technically, yes, you can substitute others if you really can’t find them. But if you want to maximize those Omega-3s and joint benefits that make these **Green Lipped Mussel Bites** famous, stick to the New Zealand variety. They are simply superior in the stuff our dogs need most. Finding these means you’re already ahead of the game!
Step-by-Step Guide to Making Dehydrated Green Lipped Mussel Bites
Okay, gathering just one ingredient is the easy part, but the actual process needs a little attention, especially around the drying stages. If you skip the prep work—that initial blast of heat—you won’t get that perfect, brittle texture we’re aiming for in our **Green Lipped Mussel Bites**. Trust me, getting these dry enough is crucial for texture and longevity. I always approach making these treats like I’m preparing a delicate ingredient for myself; precision matters!
We need to get them clean, cooked thoroughly, and then dried low and slow. This mimics the professional way they get maximum nutrient retention, just in your home oven or dehydrator. If you’re looking for other easy DIY recipes, you can check out some great ideas right here.
Preparing the Mussels for Dehydration
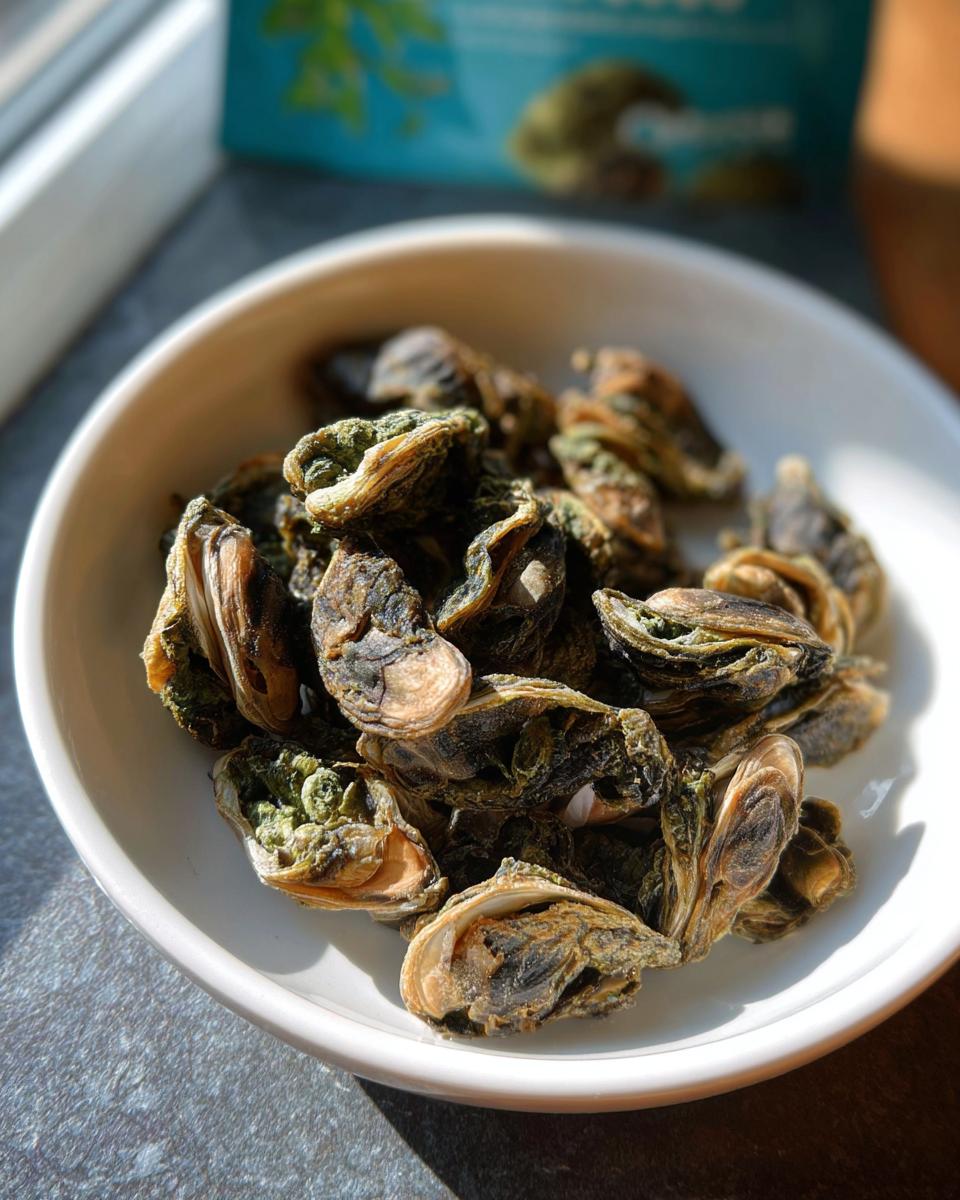
First things first: cleanliness! Scrub those mussels down really well under cold running water until all that stubborn dirt is gone. Next, we cook them to encourage them to open up. If you are using frozen ones, set your oven to 320F and roast them for about 7 to 8 minutes. If you’re using fresh ones, steam or boil them until they pop open—and toss any that refuse to open, we don’t want those!
Once they’re open, take the meat out of the shell and toss those shells away, along with any stringy beard bits hanging off the mussel. This step is vital: use a paper towel and pat those little cooked mussels until they are as dry as you can possibly make them. Seriously, pat, pat, pat! Less surface moisture means faster, better drying later.
The Dehydration Process for Perfect Green Lipped Mussel Bites
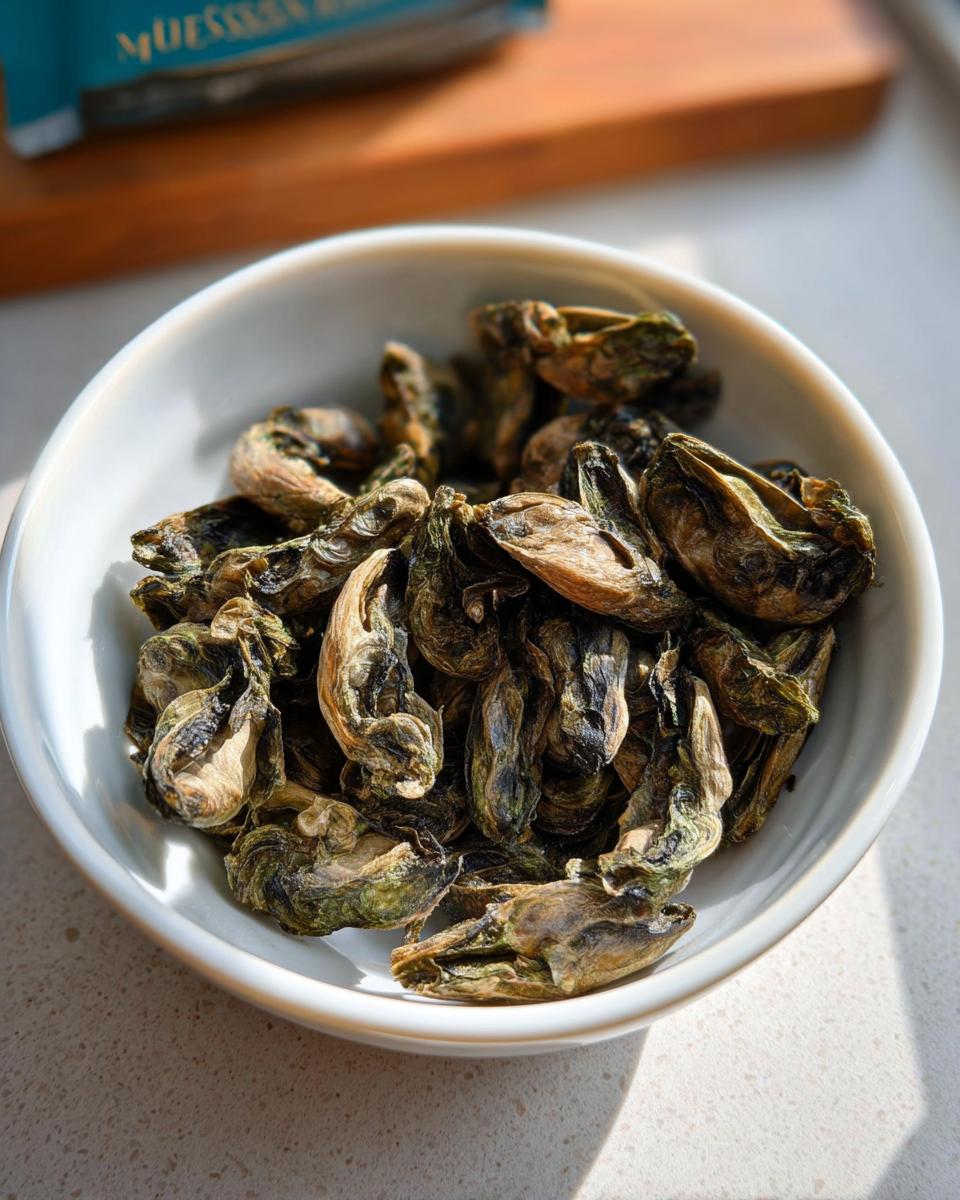
Now we move to the long haul. Line your dehydrator tray (or an oven sheet lined with parchment) with the mussels spread out in one single, even layer. You don’t want them overlapping at all, or they’ll stick together and stay moist in the middle. Start the drying process by setting your temperature to 155 F degrees for 2 hours.
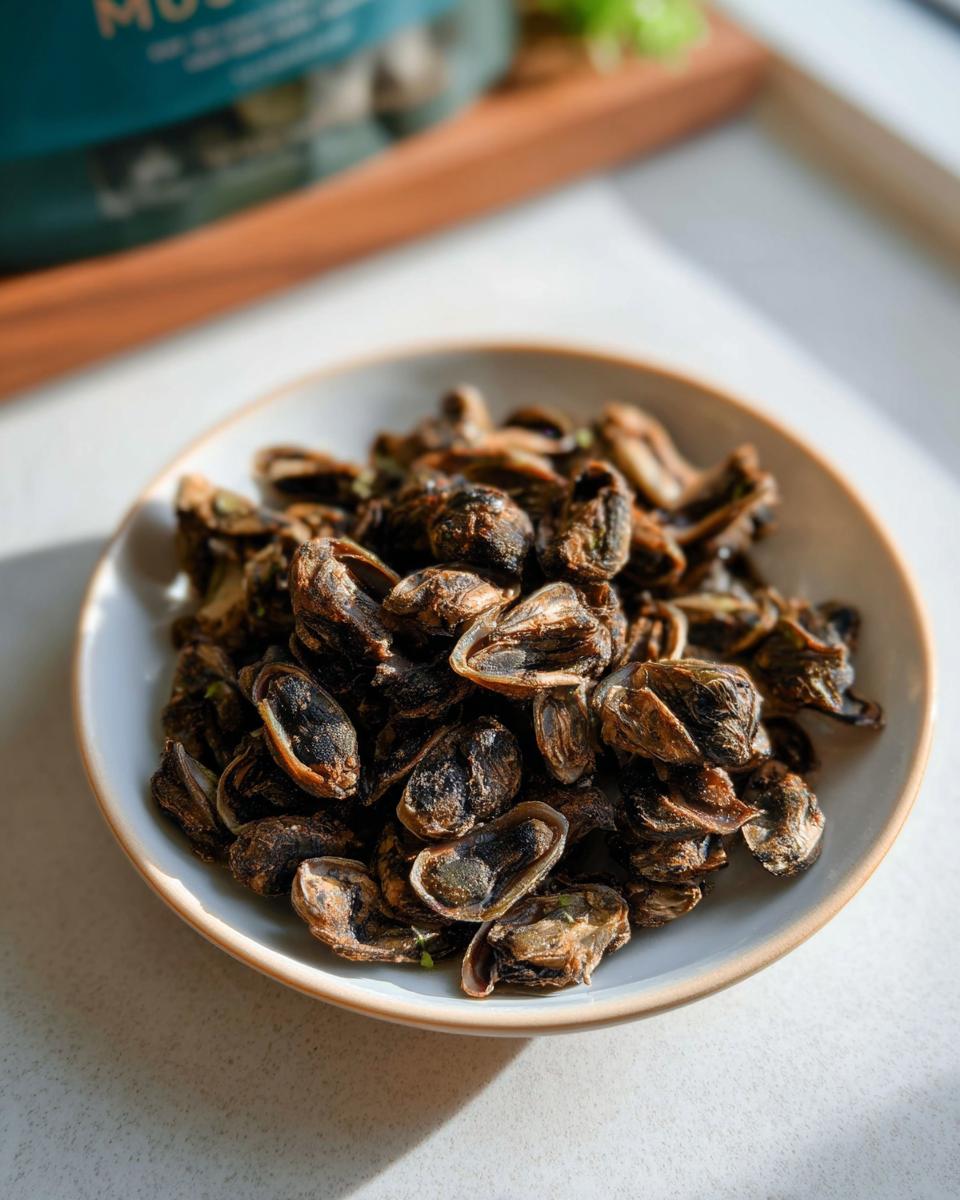
After those first 2 hours, drop the temperature way down to 135 F degrees and let them go for another 6 to 8 hours. This slow, two-stage process is what transforms them. You know they’re done when they become completely hard and brittle—no soft spots allowed if you want your **Green Lipped Mussel Bites** to last!
Cooling and Storing Your Finished Green Lipped Mussel Bites
Once you pull them out and they feel totally firm, let them cool completely on the counter. Don’t rush this step! If you seal them while they are even slightly warm, you risk trapping condensation, and that’s how treats go soft or moldy.
My expert tip here, because I’ve learned the hard way: before you seal them up, grab a couple and tap them together. If they make a sharp, dry click, you’re good to go! If they feel mushy or bend at all, pop them back in the dehydrator for another hour or two.
Tips for Perfect Green Lipped Mussel Bites Every Time
Even with a one-ingredient recipe, the technique is everything! I’ve made enough batches of my **Green Lipped Mussel Bites** to know where things can go wrong, usually when I get impatient. Since we are aiming for something that lasts, moisture control is our number one priority. It’s not just about convenience; it’s about making sure these high-quality treats stay clean and safe.
If you’re serious about getting that perfect, brittle texture that mimics store-bought jerky, pay close attention to these little tricks. They are the difference between a great snack and one that has to be tossed after a week.
Here are the little things that make a huge difference when you are dehydrating:
- Know Your Equipment Difference: If you’re using an oven, you will need to prop the door open slightly—just a crack, maybe with a wooden spoon handle—to allow that humid air to escape. A dedicated dehydrator vents continuously, which is why it often yields a drier result faster. Don’t skip the venting in the oven, or you’ll just end up steaming your mussels!
- The Shell Dilemma: I mentioned discarding the shells, but if you managed to get the meat off cleanly without breaking up the mussel too much, use the shells to help with airflow on your trays. They can act like little feet to keep the meat slightly lifted, which helps air circulate underneath. It’s a small thing, but it helps prevent soft spots.
- Final Temperature Check is Non-Negotiable: Seriously, if you think they are done, check one more time. If that one piece bends when you try to snap it, everything else in that batch isn’t done either. They need to be absolutely rock hard. If you need more ideas on preserving your efforts, check out some other great DIY freeze-dried options here sometime soon.
- Pat Until You Think You’ve Pat Too Much: I can’t stress this enough. Every single drop of surface water extends your drying time significantly. After the initial cooking, place the mussels on a thick stack of paper towels, cover them with another layer, and press down hard. Repeat that process with fresh towels until the towels barely feel damp when done.
Storage and Shelf Life of Homemade Green Lipped Mussel Bites
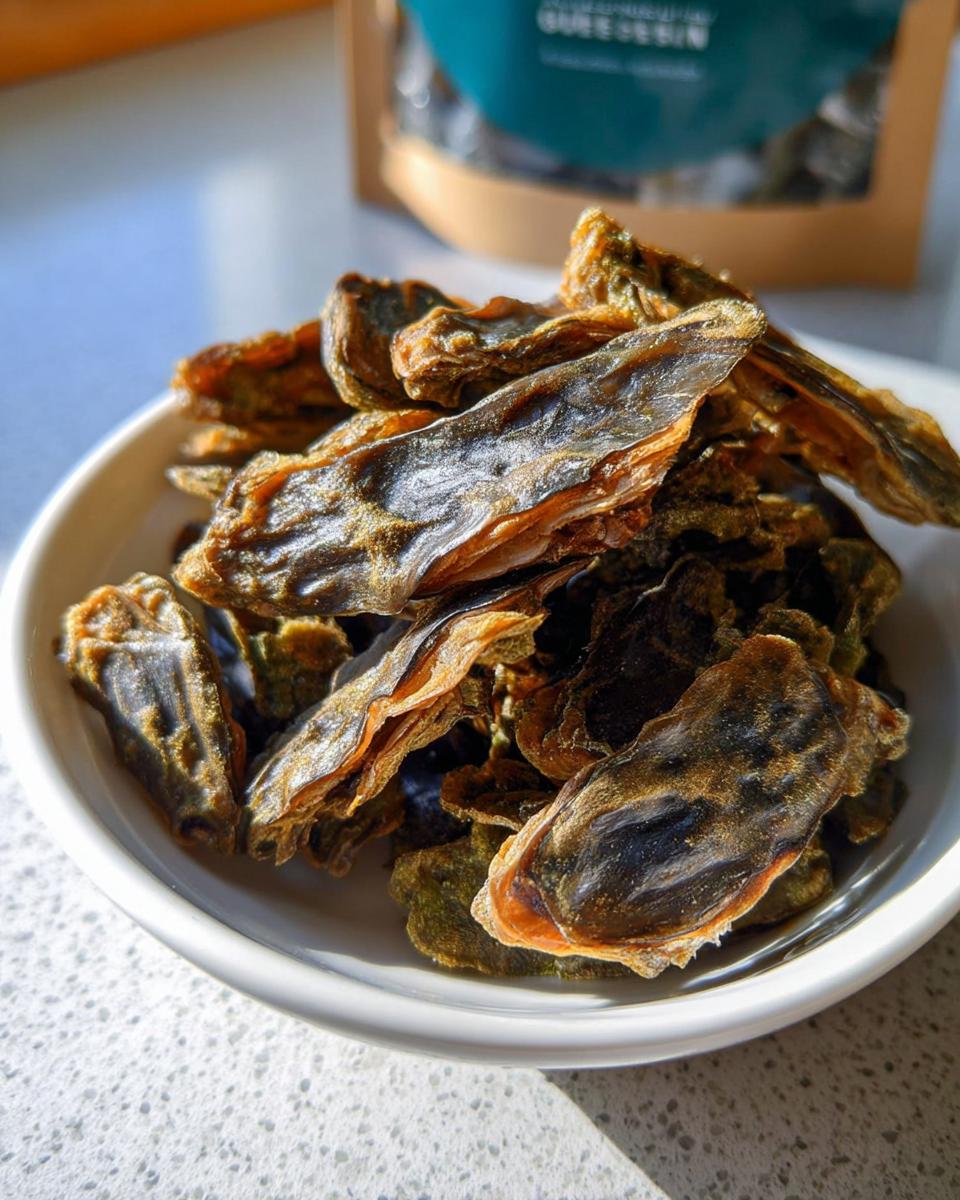
This is one of those super exciting parts of making your own treats! Because we took the time—all those hours of dehydration—to banish every last drop of moisture from our **Green Lipped Mussel Bites**, they turn into nature’s perfect shelf-stable snack.
If you did your job right during the drying phase (remember, we want rock-hard brittle!), these can last for ages. We’re talking several months, sometimes even up to a year if you are super diligent. Honestly, they usually disappear way before the year mark because my dog is obsessed!
But longevity depends entirely on sealing out the enemy: air and humidity. Here is exactly how I keep mine fresh so they stay potent and beneficial:
- Airtight is Imperative: You need containers that seal completely. I alternate between glass jars with heavy-duty clamp lids or actual vacuum-sealed bags if I’m making a huge batch. If you use jars, make sure you’re not opening them constantly; every time you expose them to room air, you invite moisture back in.
- Find the Coolest, Darkest Spot: Think pantry, cupboard, or basement storage. Direct sunlight is a big no-no, as is storing them near the oven or dishwasher where heat fluctuates. High heat destroys those precious Omega-3s we worked so hard to preserve.
- The Quick Check if in Doubt: If you store them for a few months and then decide to give a batch out, just grab one or two and squeeze it hard or try to bend it. If it flexes even a tiny bit, it means moisture crept in, and you should use that batch up quickly, or better yet, throw them back in the dehydrator for a couple of hours before resealing.
Giving your dogs these clean, potent **Green Lipped Mussel Bites** that have been stored correctly just feels so rewarding. It’s treating them well without any compromise!
Variations on Simple Dog Snacks
I know, I know. We just spent all this time perfecting the most amazing, ultra-healthy **Green Lipped Mussel Bites**, but sometimes your pup needs a different flavor profile, or maybe you just want to use up other good ingredients you have on hand!
Since my whole goal here is supporting wellness with clean, intentional habits, that philosophy absolutely extends to treating our companions. The beauty of the low-and-slow dehydration method we used above is that it works wonders on practically any single, lean ingredient. You don’t need added fats or sugars or anything messy!
If you loved how easy the single-ingredient approach was, why not experiment? Just make sure whatever you choose is safe for dogs first (no onions, garlic, or grapes, obviously!). A few other things I sometimes throw into the dehydrator when I’m batch-prepping snacks include:
- Lean Beef Heart: Slice it thin—super thin—and dehydrate it until it’s cracker-like. Talk about an Omega-3 and protein packed punch!
- Sweet Potato Chews: Peel a sweet potato and slice it uniformly thin, then dehydrate until it’s leathery and chewy, not crispy. It’s a lovely, softer treat.
- Chicken Tenderloins: I trim off all visible fat, cut them into strips, and dry them until they snap. Easy peasy air-dried jerky!
It’s all about creating a rotation of simple, high-quality snacks so your dog stays interested and you keep that clean-eating momentum going. If you want some inspiration on how to work with fruit for your dog’s treat rotation, you absolutely have to check out this recipe for dehydrated watermelon jerky; it’s shockingly popular in my house!
Frequently Asked Questions About Green Lipped Mussel Bites
Whenever I share a DIY recipe, especially one involving seafood for pets, I get tons of questions! It’s natural; we all want to make sure we’re supporting our pets’ wellness habits safely. These **Green Lipped Mussel Bites** are so straightforward, but a little clarification never hurts. I’ve gathered the ones I hear most often about making these amazing, high-omega treats. Knowing the answers definitely helps build confidence when you’re switching to more natural dog treats.
It’s all about making sure you’re getting that perfect, shelf-stable product. If you’re looking for more inspiration on natural dog treats, you can browse everything trending on Pinterest right here for great ideas!
Can I use frozen mussels instead of fresh for Green Lipped Mussel Bites?
Absolutely! Don’t stress if you can only find frozen. That’s actually what I often use because they are sometimes fresher by the time they reach us. If you go the frozen route, you just have to make sure you give them that initial heat treatment to open the shell and kill any surface bacteria. Just toss them in a 320F oven for about 7 to 8 minutes before you remove the meat and start the main drying cycle. It’s a quick step that makes all the difference!
How do I know when my Green Lipped Mussel Bites are fully dehydrated?
This is the most important question because the texture determines shelf life! You are looking for one specific sign: rock hard and brittle. When they are done, they should snap cleanly when you try to break them. If there is any give, any slight pliability, or if they feel bendy at all, they still have internal moisture. That means they have to go back in until they are completely dry. We want zero moisture in these **Green Lipped Mussel Bites** for safe, long-term storage!
Next Steps in Clean-Living Treats for Your Dog
Wow, you made it through the whole process! How do you feel now that you know how truly simple it is to create such a powerful, clean snack for your dog? I truly hope that making these **Green Lipped Mussel Bites** has shown you that prioritizing real, supportive nutrition doesn’t have to mean complicated meals or expensive supplements. It can be as simple as one high-quality ingredient transformed right in your own kitchen.
I spent so many years feeling frustrated by diet trends, and I want you all to feel empowered, not overwhelmed, in your clean-living journey—and that absolutely includes our pets! So, I want to hear from you. Did they work out perfectly? Did your dog go absolutely bonkers for them?
Please, jump down into the comments below and tell me how your batch of **Green Lipped Mussel Bites** turned out! If you tried altering the initial cooking step or using a different brand of mussels, share that too—we all learn from each other’s kitchen experiments. If you’re looking for a few more straightforward, wholesome creations, you can always check out my list of 14 easy homemade dog treats for your next weekend project!
By EMILIA, the founder of MeltItClean.com – your digital space for natural weight loss, real wellness habits, and clean-living inspiration that actually fits your life.
For years, I struggled with the ups and downs of dieting. I tried everything — juice cleanses, low-carb crazes, fitness challenges — but I always ended up back where I started: tired, bloated, and frustrated. I didn’t just want to “lose weight” — I wanted energy, mental clarity, glowing skin, and confidence without sacrificing my joy or sanity.
After years of experimenting, learning, and unlearning, I discovered a simple truth: your body is already powerful — it just needs support, not restriction. That’s when I created Melt It Clean — a site dedicated to real transformation through clean, intentional, and nourishing daily habits that anyone can follow.
My goal was simple: build a place where people could feel informed, supported, and empowered without being overwhelmed by wellness fads. Learn more about my journey here.
Amazing 1-Ingredient Green Lipped Mussel Bites
Ingredients
Equipment
Method
- Clean the mussels thoroughly under cold water to remove dirt.
- If you use frozen mussels, set the oven to 320F and bake them for 7 to 8 minutes. If you use fresh mussels, steam or boil them until they open. Discard any mussels that do not open.
- Remove and discard the shells and any beards. Pat the cooked mussels dry with a paper towel. Remove as much moisture as possible.
- Line up the cooked mussels on your dehydrator tray in one even layer. Dehydrate for 2 hours at 155 F degrees, then for another 6 to 8 hours at 135 F degrees.
- After the first 8 hours, the mussels should be hard and brittle with no moisture remaining. If they are still soft or pliable, continue drying them until they reach the desired consistency. This recipe should yield about 3 oz of dehydrated mussels.
- Once the mussels are fully dehydrated, remove them from the dehydrator and let them cool completely. Store them in an airtight container or vacuum-sealed bags in a cool, dry place.


