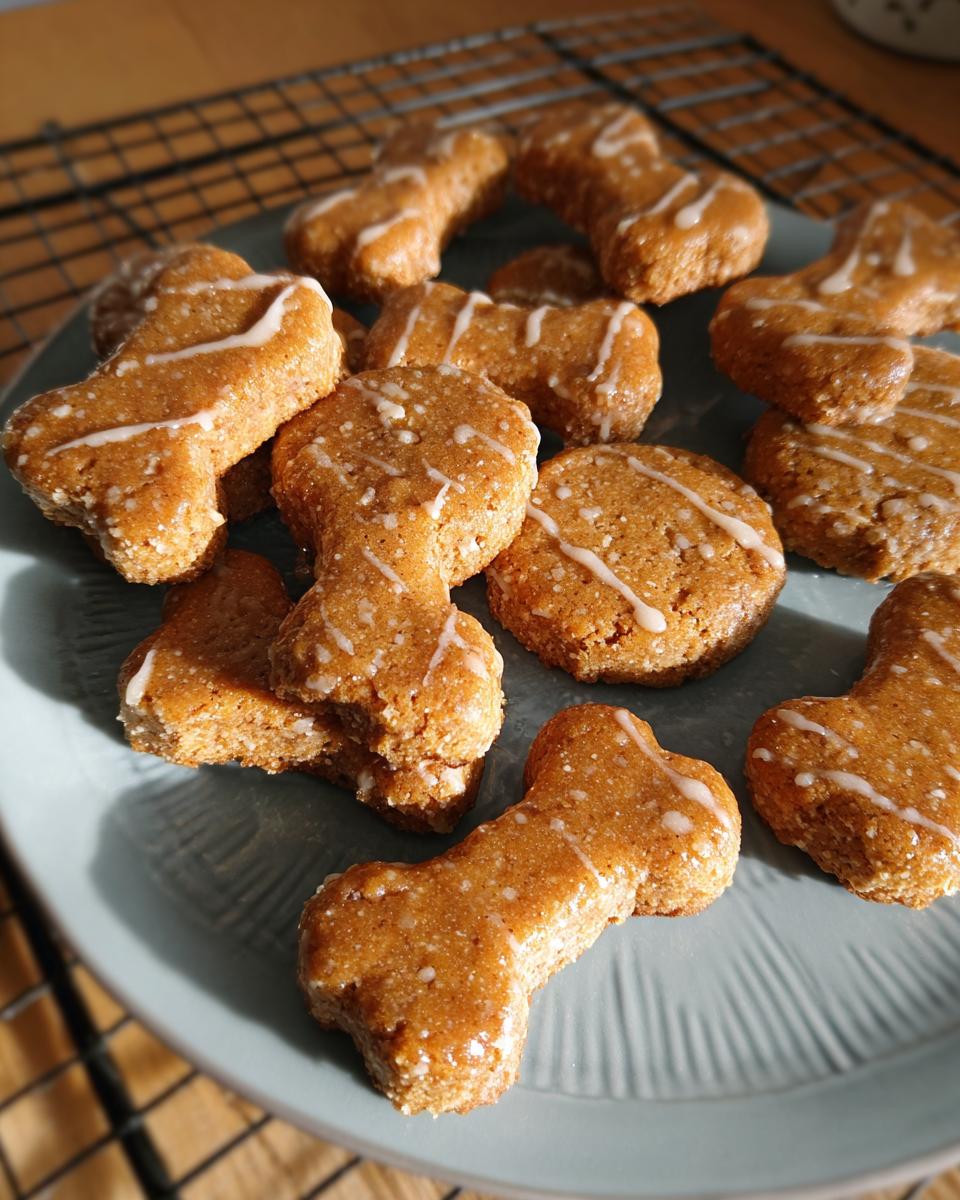
You know how sometimes you just want to spoil your furry best friend without loading them up with mystery ingredients from the grocery store aisle? That’s exactly why my recipe for [Ginger-Pumpkin Pup Cookies ] became a total staple. These biscuits are so simple—just whole wheat flour, real pumpkin, and a pinch of ginger for a cozy kick! Honestly, I started making treats because I looked at the bag of store-bought ones and just couldn’t pronounce half the preservatives. Now, I get total peace of mind knowing exactly what my pup is enjoying while they crunch away happily.
Defining the Audience for Ginger-Pumpkin Pup Cookies
So, who is this recipe perfect for? If you’re a dog parent who reads labels and prefers giving your furry friend real, recognizable foods, welcome home! You’re the person who wants to serve up healthy, wholesome snacks without spending all day in the kitchen.
This is for the baker who loves efficiency and wants to follow easy steps to learn exactly how to make Ginger-Pumpkin Pup Cookies that satisfy that happy tail wag. We keep it simple and effective here!
Tone and Style for Making Ginger-Pumpkin Pup Cookies
When we bake, we want zero stress, right? The style here is super friendly and encouraging—think of me sharing a recipe over coffee! It’s educational because we want real results, but mostly, it’s straightforward. I keep the instructions for these Ginger-Pumpkin Pup Cookies clear so you can focus on getting those biscuits nice and firm without any fuss.
My Kitchen Story: Why I Started Making Ginger-Pumpkin Pup Cookies
My transition to clean living wasn’t just for me; it was totally inspired by my old rescue pup, Buster. Bless his heart, he had the most sensitive tummy! Every time I gave him a store-bought treat, even the ones labeled “natural,” he’d end up uneasy later, and I’d feel terrible.
I realized that if I was paying close attention to what I ate for glowing skin and sustained energy, I needed to do the same for him. I started with pumpkin because I knew it was great for his digestion—it works wonders! Adding that tiny bit of ginger felt like a natural next step to warm things up.
When I successfully baked my first batch of Ginger-Pumpkin Pup Cookies and Buster didn’t have a single tummy rumble, I was hooked! It brought me so much peace knowing I controlled every single ingredient going into his system. It’s truly the best way to show them love, one wholesome crunch at a time.
Essential Equipment for Your Ginger-Pumpkin Pup Cookies
Okay, let’s talk tools! Getting the right equipment ready beforehand makes the whole process run like a dream. Since we are baking these low and slow, we need sturdy stuff that can handle a long bake time.
Don’t stress; you probably have most of this! You definitely want a good mixer to bring the dough together properly, especially when you start adding that water slowly.
Here’s the essential gear you’ll want pulled out:
- A reliable Mixer (handheld or stand works fine!)
- Your favorite Cookie Cutter – we need about a 3-inch size for these.
- A couple of sturdy Baking Sheets.
- A Wire Rack for cooling everything down afterward so they get truly firm.
Gathering Ingredients for Wholesome Ginger-Pumpkin Pup Cookies
This is where the magic of keeping things clean really kicks in! When you make Ginger-Pumpkin Pup Cookies at home, you get to decide exactly what goes into that happy crunch. We are using simple pantry staples here, nothing flashy, just good stuff that your dog benefits from.
The key is getting those wet ingredients just right before we introduce the flour. Make sure that egg is beaten nicely and that coconut oil is fully melted so it incorporates smoothly into the pumpkin puree. Remember, we are aiming for whole wellness, and that starts with quality ingredients!
Here is everything you need chopped and ready to go:
For the Cookies
- 3 cups whole wheat flour
- 1/2 teaspoon ground ginger
- 1/2 cup pumpkin (puree)
- 1 large egg (room temperature, beaten)
- 1 tablespoon coconut oil (melted)
- 1/4 to 1/2 cup water (add 1 tablespoon at a time)
Step-by-Step Instructions: How To Make Ginger-Pumpkin Pup Cookies
I know looking at the baking time—almost 2.5 hours!—sounds crazy for dog biscuits, but trust me, this low and slow method is exactly what makes these Ginger-Pumpkin Pup Cookies so firm and long-lasting. It dries them out perfectly.
First things first: get that oven humming! Preheat it low, to 275°F (135°C). While it warms up, mix your whole wheat flour with that lovely ground ginger in one bowl. Dry ingredients ready!
Next, grab your mixer bowl. Combine the pumpkin puree, your beaten room temperature egg, and the melted coconut oil. Give that a good mix so everything marries together nicely.
Now, slowly introduce the dry mix into your wet ingredients. Mix it until it looks crumbly—like coarse, sandy dirt. This is the critical part for texture!
With the mixer still on low speed, you’re going to add water, one tablespoon at a time. Stop adding water the *second* the dough starts to clump together and isn’t sticky anymore. You might use all of it, you might use less, but don’t make it wet!
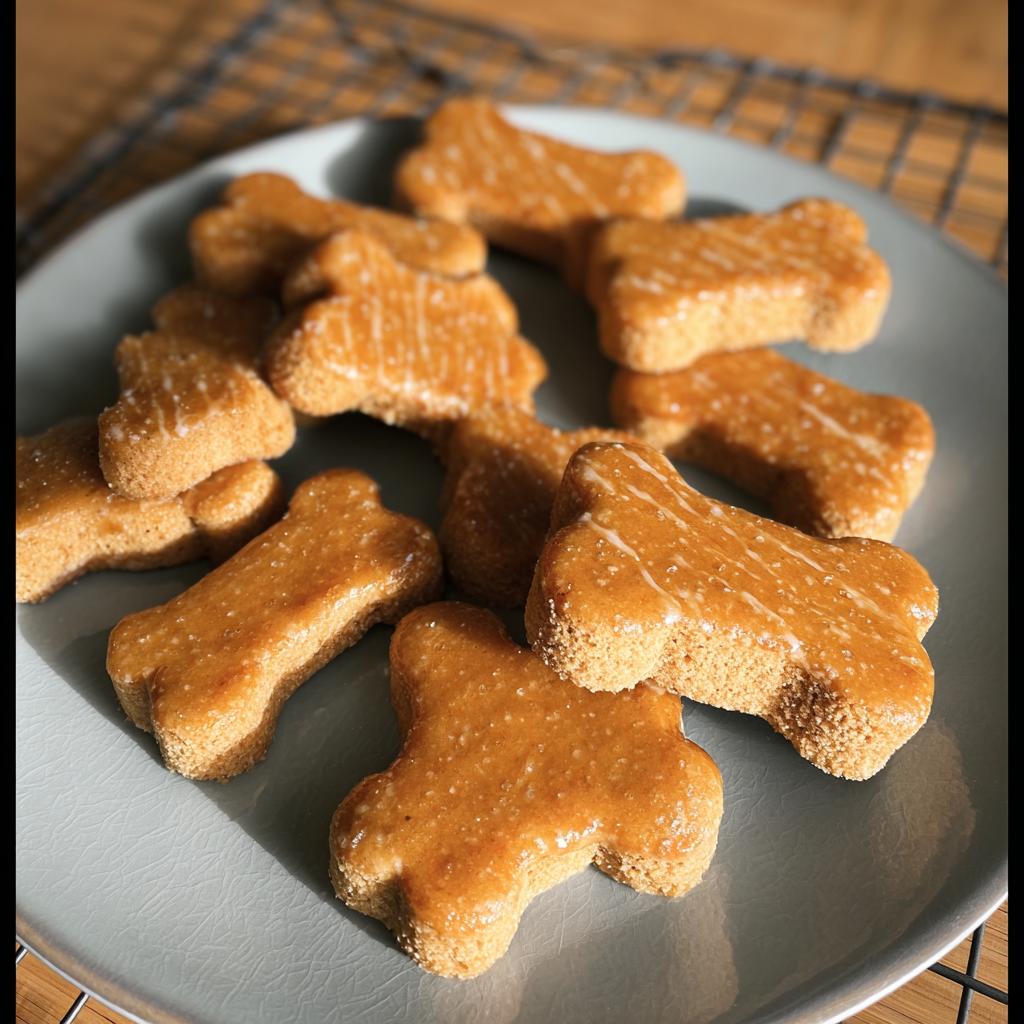
Time for rolling! Flour your surface lightly and roll that dough out evenly to about 1/4-inch thickness. Then, use your 3-inch cutter to stamp out the shapes. If you went for a bone shape, make sure you press a few holes in the middle with a fork. If you used a pumpkin shape, use the back of a spoon to press those decorative lines in.
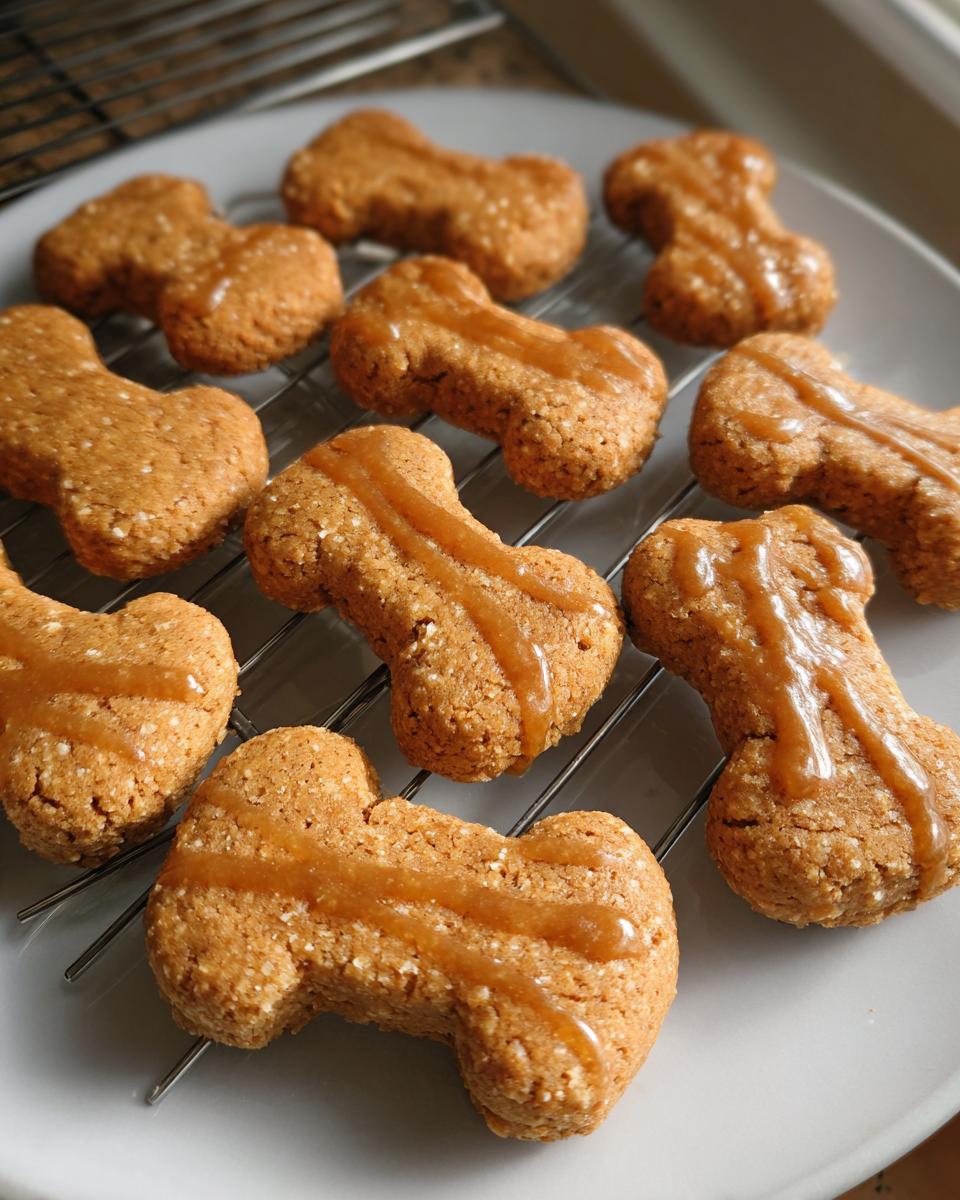
Lay them out on ungreased sheets, keeping about 2 inches between each biscuit. Pop them in the oven and let them bake for about 2 hours and 30 minutes until the bottoms are a light brown and they feel really sturdy when you press them.
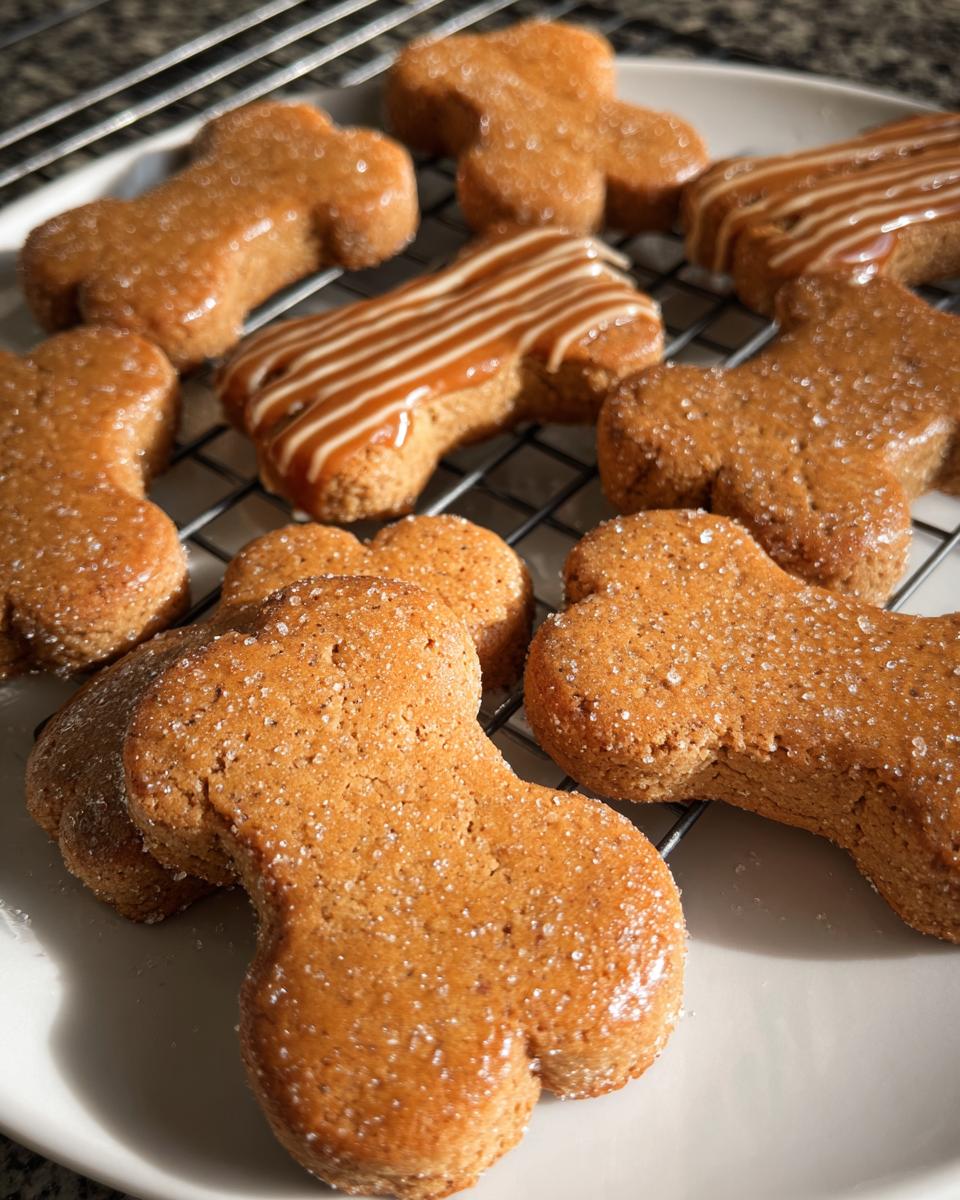
Let them cool completely on a wire rack before you share them. The payoff is huge when your dog gets their first perfect crunch!
Tips for Perfect Ginger-Pumpkin Pup Cookies Every Time
Baking dog biscuits is a little different than baking for people, especially when you aim for that satisfying, hard crunch. The biggest lesson I learned when perfecting these was that patience is truly the secret weapon here. Don’t rush the oven, no matter how much your pup is hovering by the door!
The low temperature—remember, 275°F—isn’t there to cook them fast; it’s there to dry them out slowly. This low-and-slow approach is what builds that incredible shelf life and ensures they are rock hard, not crumbly or soft inside. If you pull them out too early, they might seem fine at first, but they’ll soften up suddenly once they cool.
When you’re doing that 2-hour check, remember that the bottoms are your best indicator. Use a spatula to lift one gently and see if the bottom is lightly golden brown. If they still feel spongy at all when you press down, give them another 15 to 20 minutes.
Another little thing that really helps with texture is making sure your pumpkin puree isn’t soaking wet. If your puree seems thinner than usual, you can always add an *extra* tablespoon of flour to the dry mix to compensate. It’s all about achieving that stiff, barely-sticky dough before you roll it out. You want them firm so they last! If you want some other fun ways to make homemade treats, check out these DIY natural dog treats for more inspiration.
Storage and Shelf Life of Homemade Ginger-Pumpkin Pup Cookies
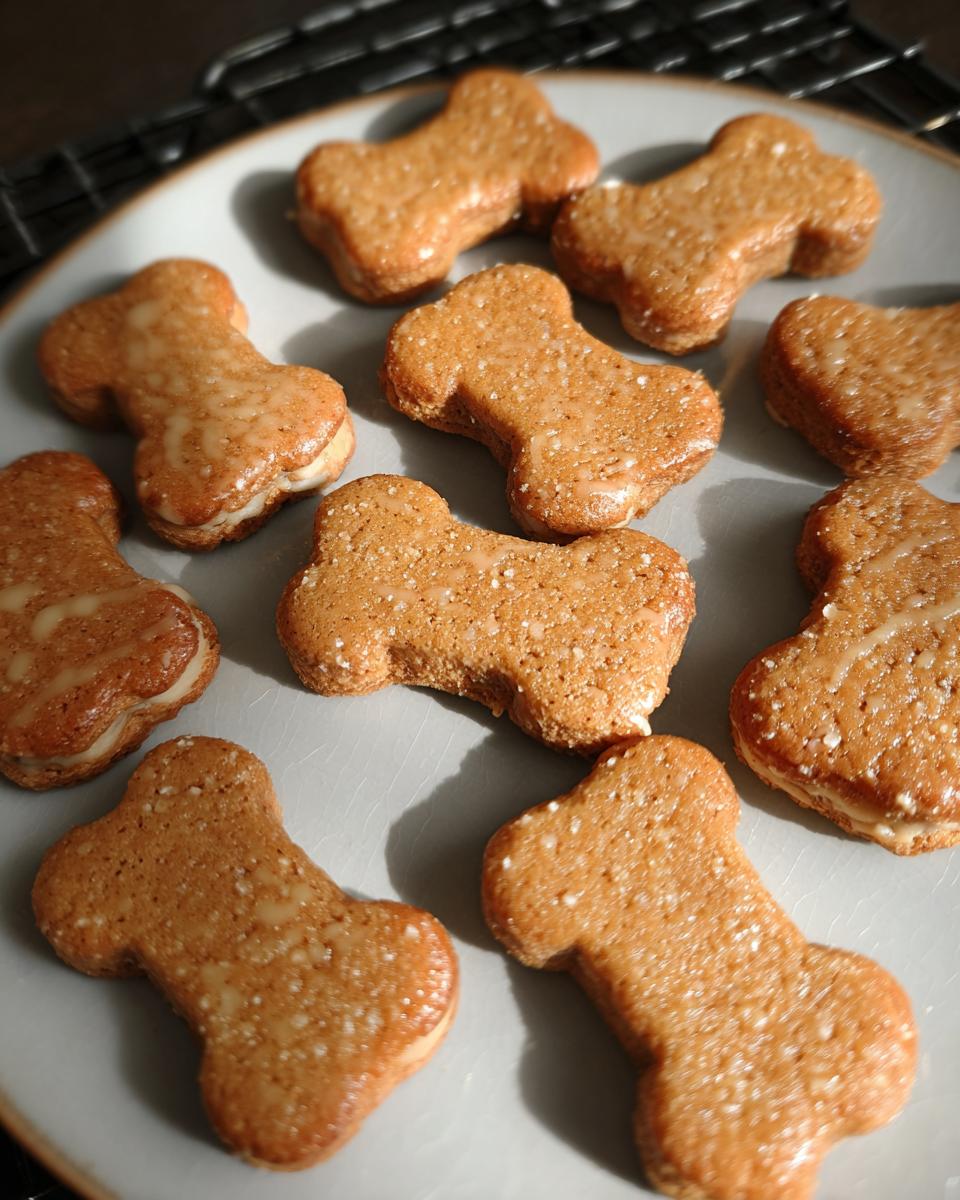
Okay, the hard part is over—they’re baked! Now we need to make sure these wonderful Ginger-Pumpkin Pup Cookies last. The most important rule is cooling. They *must* be completely cool on the wire rack before you even think about putting them into storage. Giving them that full cooling time is what locks in that dryness we worked so hard for!
Once they are completely cool to the touch—no hint of warmth—tuck them into an airtight container. Because we baked them low and slow, they have fantastic longevity. Keep them on the counter, and they should stay perfectly crisp for a couple of weeks. Happy treating!
Frequently Asked Questions About Ginger-Pumpkin Pup Cookies
When you’re making special treats, it’s natural to have a few questions pop up! I’ve gathered the ones I hear most often about these homemade delights so you can bake with total confidence. Since we aren’t adding tons of extra moisture stabilizers, the way you bake and store these is key.
If you’re looking for chicken-flavored treats instead of this seasonal favorite, check out this list of dog biscuit recipes later!
Are Ginger-Pumpkin Pup Cookies safe for all dogs?
Generally, these are super safe because they use very basic, whole ingredients like pumpkin and whole wheat flour. The main thing to watch is the ginger—it’s just a small amount, but if your dog has a really sensitive gut or known sensitivities, it’s always a good call to run the ingredient list by your vet first. For most pups, though, this recipe is wonderfully mild.
Can I substitute the whole wheat flour in these Ginger-Pumpkin Pup Cookies?
That’s a great question! Whole wheat gives these treats the structure they need to handle that long baking time without crumbling apart. If you need to go gluten-free, you can definitely swap it out for something like oat flour. However, oat flour absorbs liquid differently, so you might need to use less water than the recipe calls for. Keep an eye on the dough! You must still aim for that stiff dough when making [Ginger-Pumpkin Pup Cookies ].
What are the benefits of pumpkin and ginger for dogs?
This is why I love adding these ingredients! Plain pumpkin puree (not pie filling, just plain!) is fiber-packed and acts like magic for settling upset tummies—it helps with both constipation and diarrhea, which is amazing. Ginger is known to have anti-inflammatory properties and can help soothe nausea. It’s like a little wellness boost hidden inside a crunchy biscuit! For more ideas on using pumpkin, take a look at how I use it in a pumpkin turkey dog bowl.
Nutritional Estimate for Ginger-Pumpkin Pup Cookies
Now, I know you might be curious about what’s actually in these treats nutritionally since we are focusing on clean eating for our pups too! Since we’re using basic, natural ingredients here like whole wheat flour and pure pumpkin, we keep things pretty minimal.
Please remember that these numbers are an estimate, okay? They are based on the exact measurements in the recipe and how much a biscuit yields (about 18). If you cut your shapes bigger or smaller, the count shifts a little. But this gives us a great baseline to know we are feeding smart!
Here is the approximate breakdown per biscuit:
- Calories: 70
- Carbohydrates: 13g
- Protein: 3g
- Fat: 1g (Saturated Fat: 1g)
- Sodium: 5mg
- Fiber: 2g
- Sugar: 0g (It’s all natural sweetness from the pumpkin!)
See? Totally wholesome! Nothing weird sneaking into your dog’s diet when you make these yourself.
Share Your Experience Making Ginger-Pumpkin Pup Cookies
I hope you and your best friend loved baking—and tasting—these wholesome Ginger-Pumpkin Pup Cookies! Honestly, my favorite part of running this space is hearing from you all about your successes. Knowing that Buster’s sensitive tummy inspiration found its way into your kitchen and made your dog’s day just the best.
If you followed along and baked up a batch, I truly want to know how it went! Did your pup go wild for the pumpkin and ginger flavor? Did the 2.5-hour bake time give you the perfect crunch you were looking for?
Please, leave a rating below the recipe card! A quick star rating tells me immediately if a recipe is a winner, and leaving a comment gives me the chance to answer any tricky questions you ran into during the process. Your feedback is what helps the next person bake these biscuits with total confidence. Happy crunching!
By EMILIA, founder of MeltItClean.com – your digital space for natural weight loss, real wellness habits, and clean-living inspiration that actually fits your life. For years, I struggled with the ups and downs of dieting. I tried everything — juice cleanses, low-carb crazes, fitness challenges — but I always ended up back where I started: tired, bloated, and frustrated. I didn’t just want to “lose weight” — I wanted energy, mental clarity, glowing skin, and confidence without sacrificing my joy or sanity. After years of experimenting, learning, and unlearning, I discovered a simple truth: your body is already powerful — it just needs support, not restriction. That’s when I created Melt It Clean — a site dedicated to real transformation through clean, intentional, and nourishing daily habits that anyone can follow. My goal was simple: build a place where people could feel informed, supported, and empowered without being overwhelmed by wellness fads.
Hi, I’m EMILIA, the founder of MeltItClean.com – your digital space for natural weight loss, real wellness habits, and clean-living inspiration that actually fits your life. For years, I struggled with the ups and downs of dieting. I tried everything — juice cleanses, low-carb crazes, fitness challenges — but I always ended up back where I started: tired, bloated, and frustrated. I didn’t just want to “lose weight” — I wanted energy, mental clarity, glowing skin, and confidence without sacrificing my joy or sanity.
After years of experimenting, learning, and unlearning, I discovered a simple truth: your body is already powerful — it just needs support, not restriction. That’s when I created Melt It Clean — a site dedicated to real transformation through clean, intentional, and nourishing daily habits that anyone can follow.
My goal was simple: build a place where people could feel informed, supported, and empowered without being overwhelmed by wellness fads.
Ginger-Pumpkin Pup Cookies
Ingredients
Equipment
Method
- Preheat your oven to 275°F (135°C). Combine the whole wheat flour and ground ginger in a bowl.
- In the bowl of a mixer, combine the pumpkin, beaten egg, and melted coconut oil.
- Add the flour mixture to the wet ingredients and mix until the mixture is crumbly.
- With the mixer on low speed, slowly add water, 1 tablespoon at a time, until the dough comes together but is not sticky.
- On a lightly floured surface, roll the dough out to 1/4-inch thickness. Cut the dough using a 3-inch cookie cutter.
- If you use a bone shape, press holes in the center of the biscuit with a fork. If you use a pumpkin shape, press lines into the biscuit with the edge of a spoon.
- Place the cutouts 2 inches apart on ungreased baking sheets.
- Bake until the bottoms are lightly browned and the treats feel firm when pressed, which takes about 2 hours and 30 minutes. The tops may crack during baking.
- Cool the cookies completely on a wire rack before storing them in an airtight container.