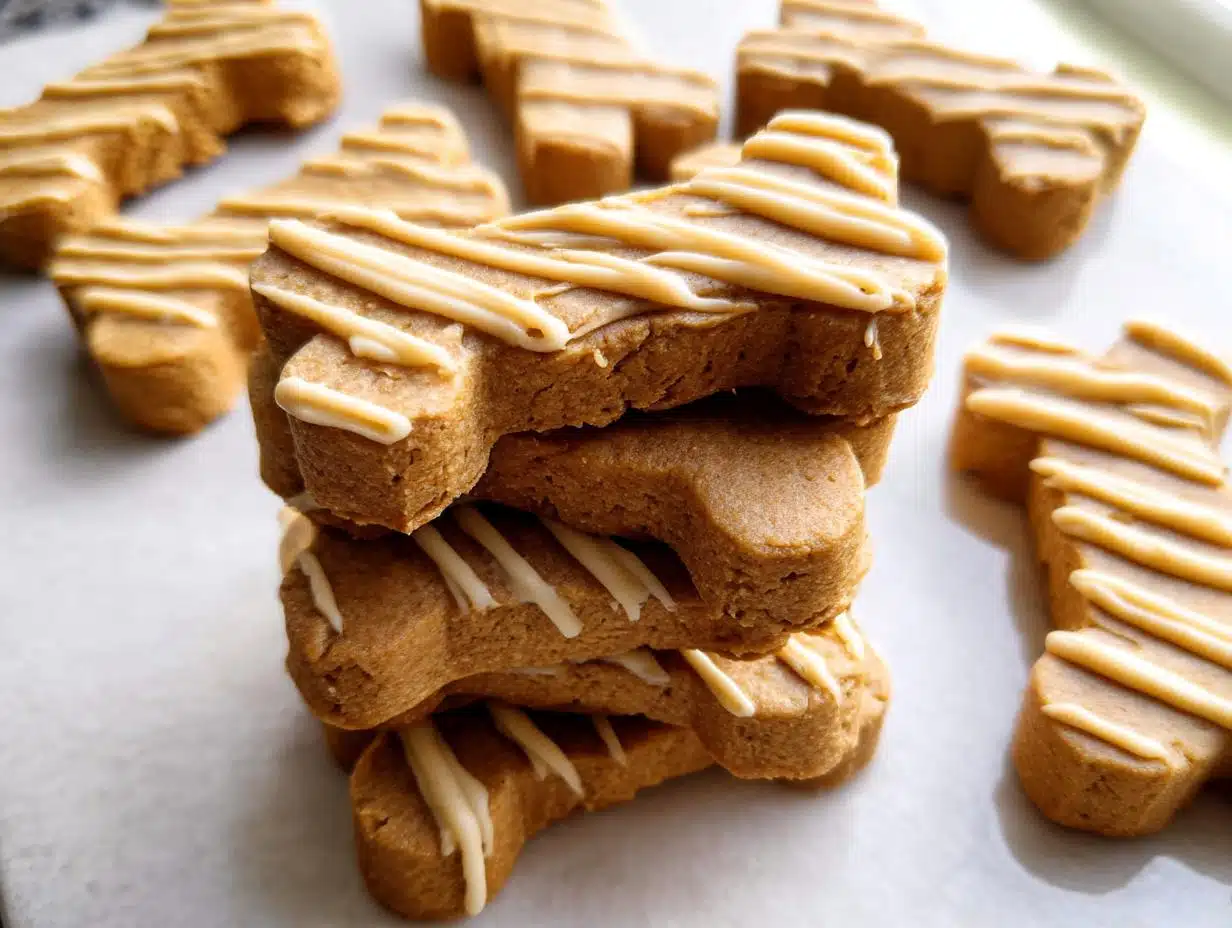
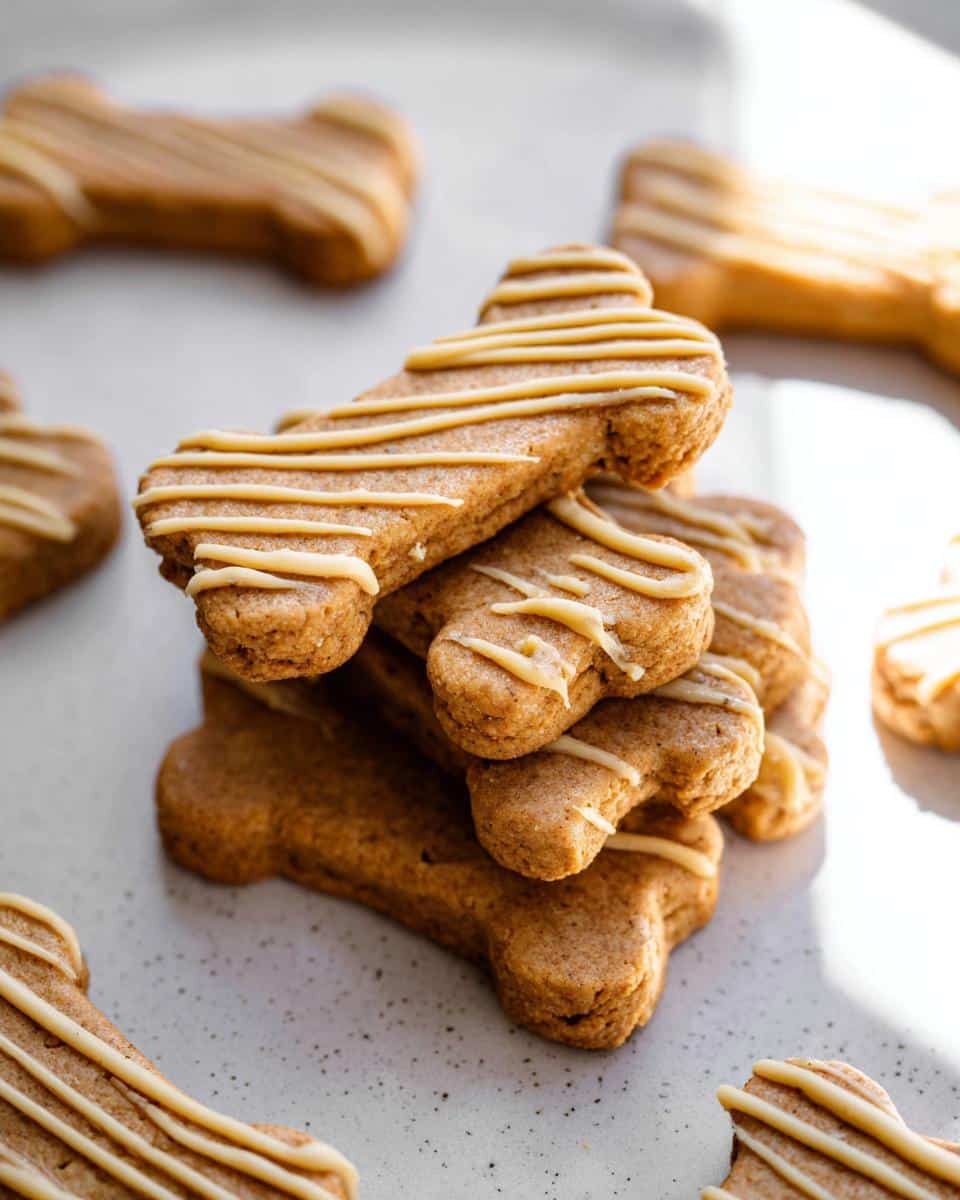
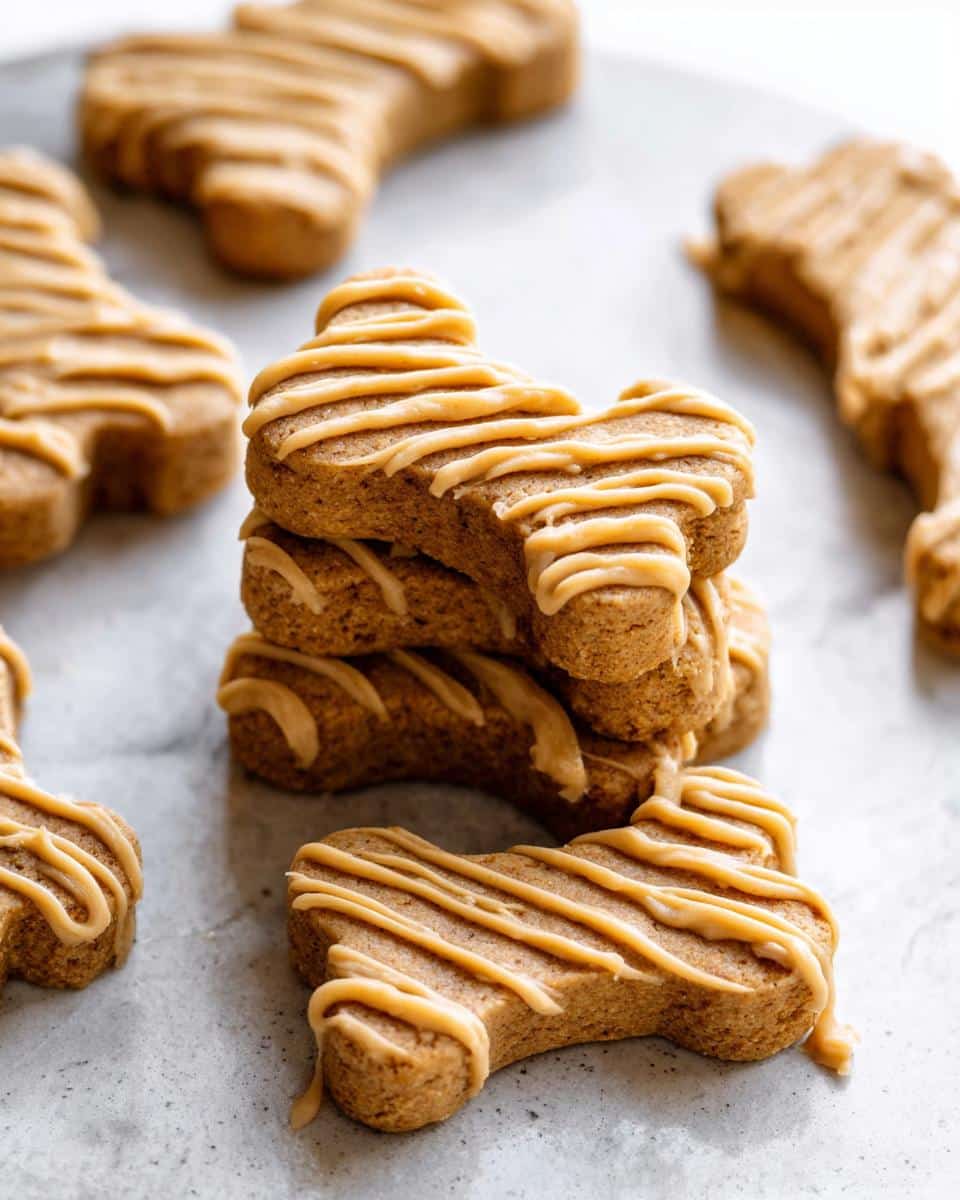
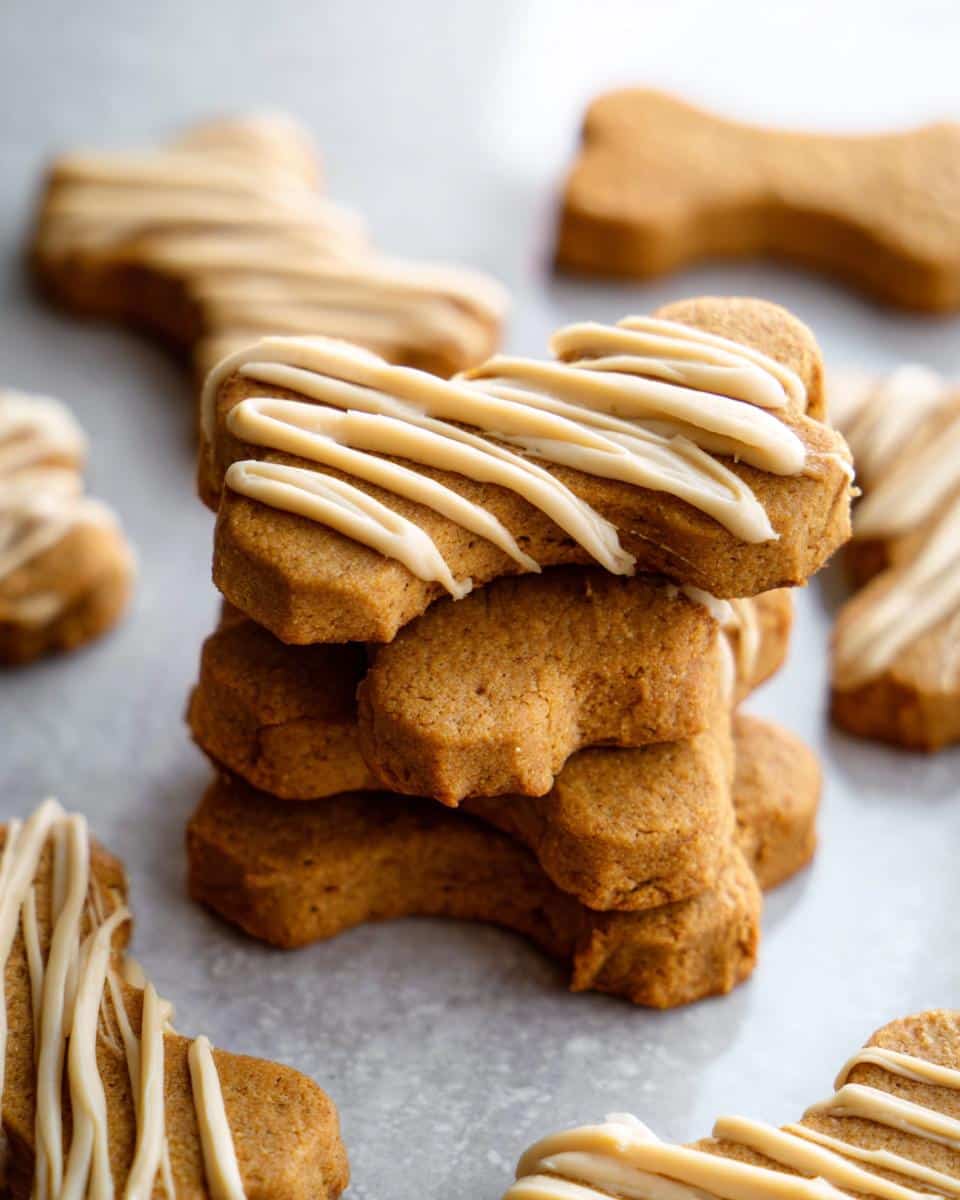
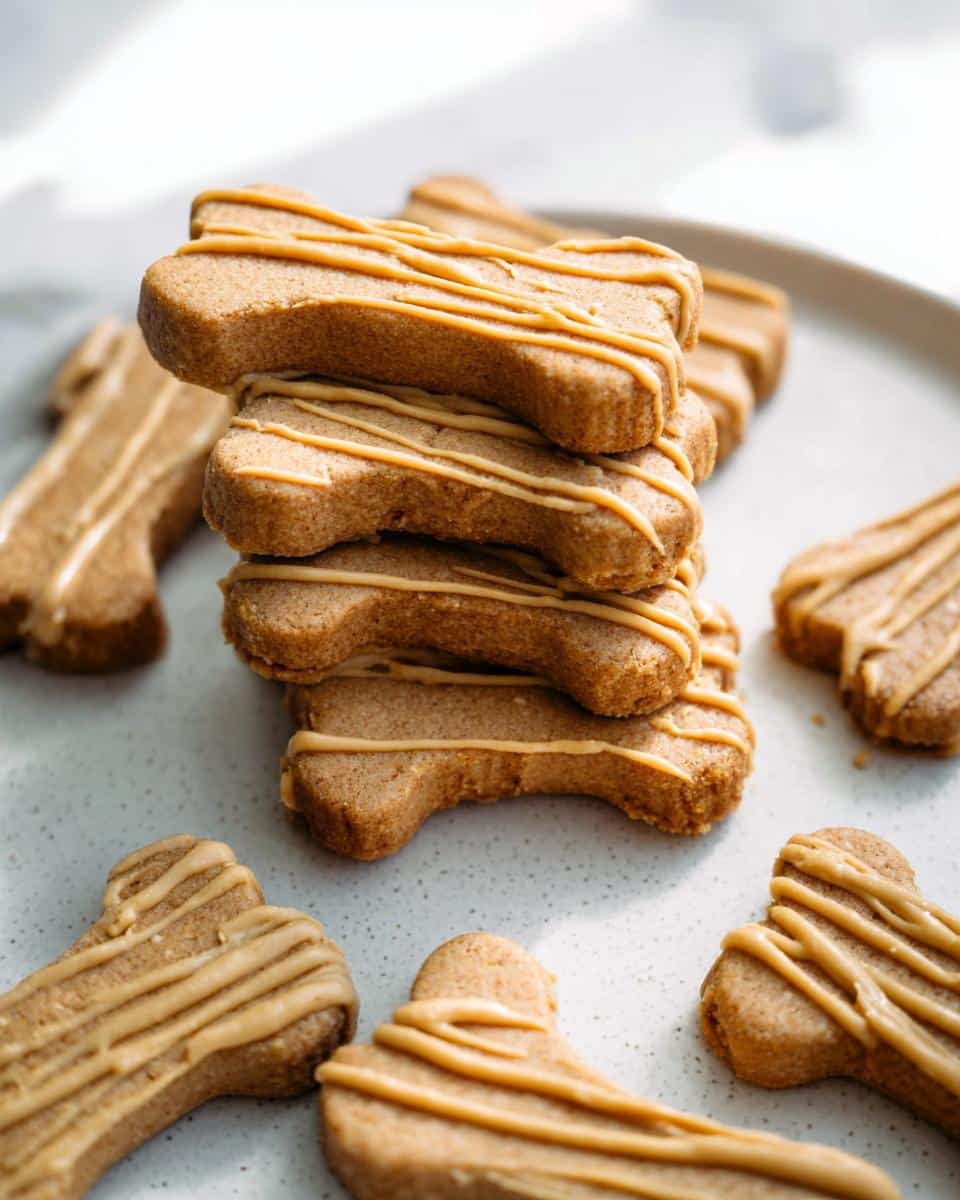
When you’re baking for your best friend, you want the best, right? We all love that cute little crunch, but traditional recipes often rely on spices like ginger that can sometimes upset a sensitive tummy. Trust me, I get it; worrying about what’s in your pet’s snacks is no fun! That’s why I tinkered until I perfected these adorable, safe, and wonderfully simple Ginger-Free Pup Cookie Bones. They use wholesome ingredients we all have on hand, like peanut butter and whole wheat flour. These bone-shaped treats are a guaranteed hit, letting you spoil them completely guilt-free. You can see more fun ideas over here: check out these trending homemade dog treats!
Who Should Make These Ginger-Free Pup Cookie Bones
So, who exactly needs this recipe? If your dog’s stomach gets fussy easily, or if they just turn their nose up at anything too spicy, these are for you! We are skipping the ginger entirely, which makes these much gentler. They are amazing for owners looking for simple, bone-shaped cookies made ginger-free to avoid harsh spice. Honestly, if you want a reliable, fuss-free homemade puppy treat idea without ginger, grab your cookie cutters!
Why These Ginger-Free Pup Cookie Bones Are a Great Choice
I think you’ll love how straightforward and trustworthy these treats are. When you’re cooking for sensitive pups, safety comes first, always! You can grab more easy peanut butter inspiration here:
- Absolutely no ginger—perfect for dogs who are sensitive to strong flavors or spices.
- We stick to simple, safe ingredients, and I always double-check that my peanut butter is completely xylitol-free—that’s non-negotiable!
- The dough rolls out thick and holds its cute bone shape beautifully during baking.
- They give you that fun, holiday or celebratory look without any risk of digestive upset from spice.
Gathering Your Ingredients for Ginger-Free Pup Cookie Bones
Okay, let’s talk about what you need to grab! We’re mixing up two separate things here—the sturdy cookie base and the fun little frosting dollop. For the main dough, gather two and a half cups of whole wheat flour and one large egg. Then comes the star flavor part: one full cup of peanut butter. Listen to me, this is super important:
You absolutely must check that peanut butter label to make sure there is ZERO xylitol in it. I’ve linked some great peanut butter recipes here if you want reassurance on what to look for!
You’ll also need one cup of water, plus two tablespoons of honey—but just remember that honey note if you’re baking for a very young puppy! For the frosting, it’s a quick mix of two more tablespoons of peanut butter, one tablespoon of honey, cornstarch, and some hot water to get that perfect piping thickness.
Essential Equipment for Making Ginger-Free Pup Cookie Bones
Setting up your workspace is half the battle won when making these tough little bones! Don’t worry, you likely have everything you need already tucked away. You’ll want a big, sturdy mixing bowl because this dough gets seriously thick.
Make sure you have your favorite bone-shaped cookie cutter ready to go. And definitely line your baking sheet with some parchment paper ahead of time. Oh, and for that cute topping, keep a small microwavable bowl handy for melting the frosting ingredients smoothly.
Step-by-Step Instructions for Perfect Ginger-Free Pup Cookie Bones
Alright, let’s get these treats into the oven! First things first: crank that oven up to 350°F. We need that consistent heat to get that nice golden edge. Don’t skip lining your baking sheet with parchment paper—it saves so much scraping later, trust me. When you’re looking for easy dog cookies, simplicity is key, and a good setup helps! You can find loads of great ideas for easy dog cookies right here!
Mixing and Forming the Ginger-Free Pup Cookie Bones Dough
Start by getting that flour and egg mixed in a large bowl. It’s going to look weird at first! Then you add your peanut butter, water, and honey. Now, this dough gets stiff fast. I mean, *really* stiff. Don’t be shy; you might need to switch to your hands or a sturdy stand mixer because it becomes tough. Keep mixing everything until it’s just combined into a solid ball. And just a little reminder again—make absolutely sure that peanut butter is xylitol-free for your pal’s safety!
Baking and Cooling the Treats
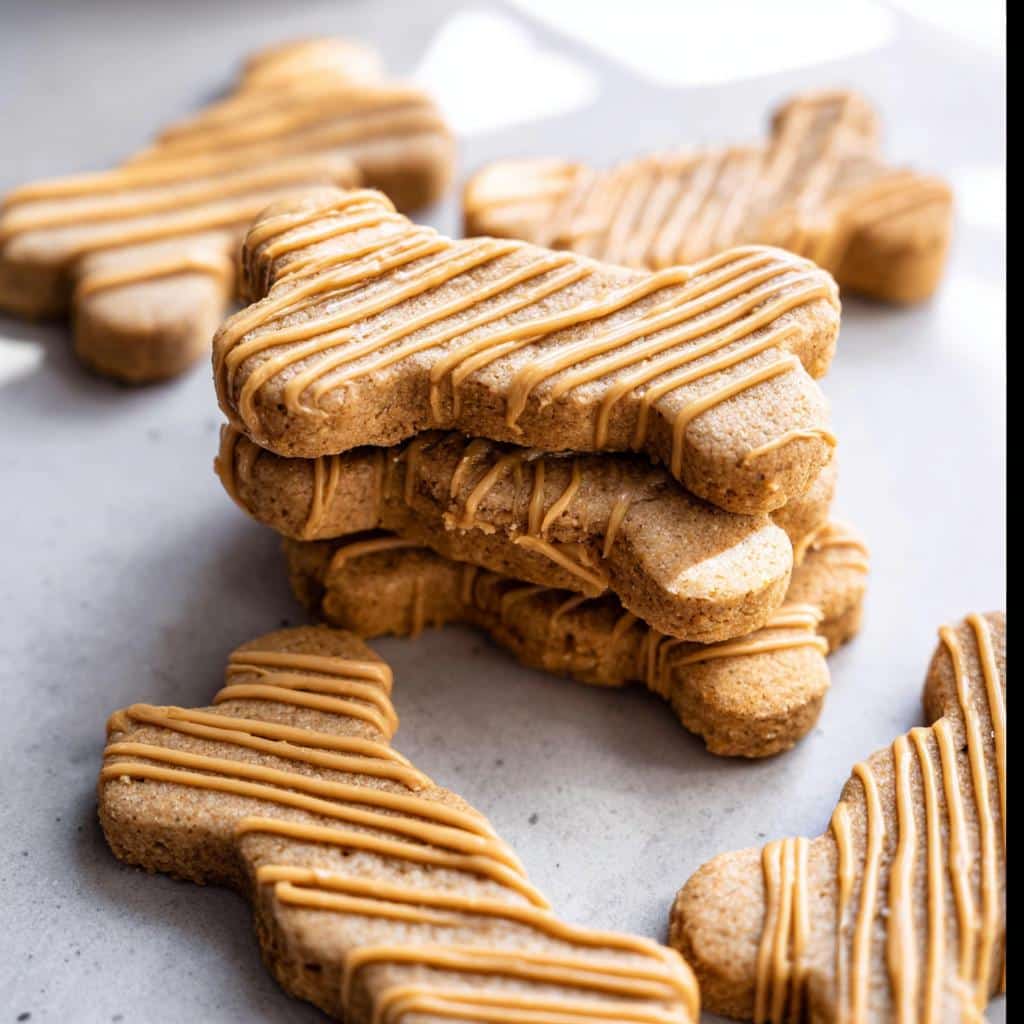
Once it’s a dough ball, flour up your counter and roll it out. I always aim for about a half-inch thickness for these bone-shaped cookies made ginger-free. They don’t spread much, so if you want them looking uniform, this thickness is my expert tip! Use your cutter and pop them onto the prepared sheet. Bake them for about 18 to 20 minutes. You want them golden brown. Once they come out, they need to cool completely—and I mean *completely*—before you even *think* about frosting them, or you’ll have a peanut butter puddle!
Preparing and Applying the Simple Frosting
While they cool, whip up the topping! Pop the two tablespoons of peanut butter and one tablespoon of honey into a small microwavable bowl. Zap that in 15-second bursts until it melts nice and smooth. Then, stir in your cornstarch, and this is where the magic happens: you slowly whisk in the hot water, a little bit at a time. Keep adding until it’s the consistency you want for piping—thicker if you want tall swirls, thinner if you want it to drizzle. Fill up a piping bag and decorate those cooled treats!
Tips for Success When Baking Ginger-Free Pup Cookie Bones
We want these to be perfect every single time, which is why I always share my little tricks! If you are aiming for a super crunchy biscuit—maybe you want them to last longer on the counter—try rolling the dough a bit thinner, like an eighth of an inch, and baking it for an extra 5 to 7 minutes at a slightly lower heat, maybe 250°F, just to dry them out more gently. You can find lots of great safety and substitution ideas over here: check out these 14 easy homemade dog treats!
Remember those flour swaps I mentioned? If your dog has a wheat sensitivity, don’t panic! Coconut flour or rice flour work wonders instead of the whole wheat, though the dough might feel a little drier than usual. Just add a tiny splash more water if needed. And seriously, I can’t stress this enough: always, always read that peanut butter jar! Xylitol is sneaky, and it’s the one thing that can turn a great homemade treat into a disaster for your dog.
Storing Your Homemade Ginger-Free Pup Cookie Bones
We put all this love and work into our treats, so we absolutely have to keep them fresh, right? You don’t want all that delicious peanut butter goodness going stale before your pup can enjoy it!
For short-term storage, an airtight container in the refrigerator is your best friend. Because these treats have that little bit of moisture from the peanut butter and honey, keeping them cool slows everything down. They should stay perfectly good this way for almost two months—yes, two months! I know, I’m always surprised how long they last when baked properly.
If you’re like me and you like to bake big batches (because, let’s be honest, they disappear fast), you need to hit the freezer! Pop them into a freezer-safe bag or container. Make sure they are totally cool first, or you’ll get ice crystals. They freeze like a dream and will be good there for up to eight months. Just pull out a few whenever you need a little reward for good behavior!
For more ideas on keeping homemade snacks fresh, you can check out these 15 easy homemade dog treats that hold up well over time. Happy storing!
Frequently Asked Questions About Ginger-Free Dog Bones
Whenever I share my recipes, people always have the best questions! It shows you’re being a thoughtful pet parent, which I totally respect. Here are a few things that pop up most often when folks are baking these Ginger-Free Pup Cookie Bones.
Can I skip the honey entirely if I don’t want added sugar?
That’s a really good question, especially if you’re watching sugar intake, even natural sugar! You can definitely skip the honey in the main dough, but I’d only suggest doing that if your peanut butter is naturally a little sweeter. The honey helps bind things together when the dough gets stiff. If you skip it, you may need to add a tiny splash more water, maybe a teaspoon, when mixing to help everything come together. I also skipped it in the frosting for one batch and it crumbles a bit more, but it still works!
What if my furry friend is sensitive to wheat?
Oh, totally understandable! Wheat is an easy one to swap out, and we talk about this a lot over at Melt It Clean when we focus on cleaner basics. Instead of the 2.5 cups of whole wheat flour, you can try using an equal amount of rice flour or even coconut flour. Coconut flour absorbs a lot more liquid, so you might need an extra quarter cup of water. Keep an eye on the dough—it should still be stiff enough to roll out, similar to playdough!
Can I give these bone-shaped cookies made ginger-free to very young puppies?
This is where you need to be careful! That little bit of honey in the recipe is generally okay for dogs over one year old, but I never give honey to my very little puppies. If you are baking these for pups under 12 months, just leave the honey out of the main dough entirely. The peanut butter and water should hold it together fine. You should check out these pumpkin-based treats if you want something super gentle for brand new puppies, too!
Next Steps for Your Clean Living Journey
Seriously, seeing your pup enjoy something you made with your own two hands is the best feeling! I really hope your dog loves these sweet, gentle Ginger-Free Pup Cookie Bones. Once you’ve given them a try, please pop back over and drop me a rating below so I can see how they turned out. Getting feedback helps me know what simple, clean recipes work best for everyone!
If you managed to whip up a batch, I would absolutely love to see photos! Tag me or share them in the comments because seeing real-life results of clean baking is what keeps me going. Baking for our pets, just like nourishing ourselves with intention, is all about supporting them with good, conscious choices, not adding extra fluff or things they don’t need. It fits perfectly with my whole philosophy over at Melt It Clean.
Want to explore more simple ways to bring intentional, clean living into your everyday routine, pets included? You can always check out my latest thoughts and ideas on the blog over here: read the latest posts!
By EMILIA, founder of MeltItClean.com
Hi, I’m EMILIA, the founder of MeltItClean.com – your digital space for natural weight loss, real wellness habits, and clean-living inspiration that actually fits your life.
For years, I struggled with the ups and downs of dieting. I tried everything — juice cleanses, low-carb crazes, fitness challenges — but I always ended up back where I started: tired, bloated, and frustrated. I didn’t just want to “lose weight” — I wanted energy, mental clarity, glowing skin, and confidence without sacrificing my joy or sanity.
After years of experimenting, learning, and unlearning, I discovered a simple truth: your body is already powerful — it just needs support, not restriction. That’s when I created Melt It Clean — a site dedicated to real transformation through clean, intentional, and nourishing daily habits that anyone can follow.
My goal was simple: build a place where people could feel informed, supported, and empowered without being overwhelmed by wellness fads.
Ginger-Free Pup Cookie Bones
Ingredients
Equipment
Method
- Preheat your oven to 350°F. Line a baking sheet with parchment paper and set it aside.
- In a large bowl, combine the whole wheat flour and the egg. Add the peanut butter, water, and honey. Stir until you form a stiff dough. You might need to use your hands or a mixer’s paddle attachment because the dough becomes very firm and sticky.
- On a lightly floured surface, roll the dough out to about a half-inch thickness. Use a cookie cutter to make your desired shapes. The treats spread very little while baking, so be creative with your shapes.
- Bake for 18 to 20 minutes, or until the cookies are golden brown. Once baked, remove them from the oven and set them aside to cool completely.
- To make the frosting, combine the 2 tablespoons of peanut butter and 1 tablespoon of honey in a microwavable bowl. Heat in the microwave in 15-second intervals, stirring between each interval, until the mixture is melted.
- Add the melted peanut butter mixture to the cornstarch and stir until it is just combined.
- Slowly add the hot water, 1 tablespoon at a time, until you reach the consistency you want for the frosting. Add more water for a thinner frosting.
- Transfer the frosting to a piping bag and pipe designs onto the top of each cooled dog treat.