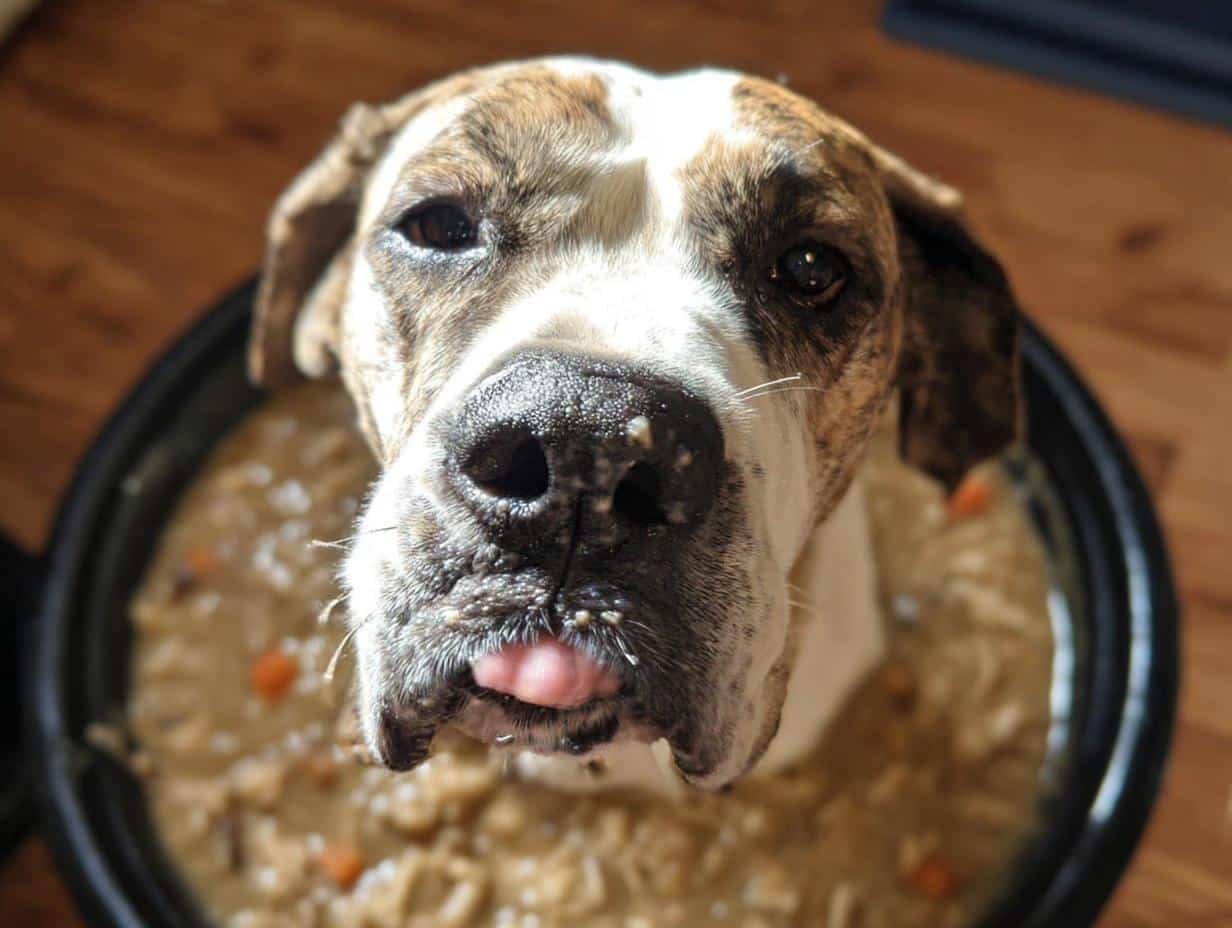
Oh, you have no idea how much joy these little crunchy guys bring my pup, Buster! Seriously, if you’re looking for the easiest way to spoil your furry best friend without spending all afternoon in the kitchen, you’ve absolutely found the spot. Forget fussy rolling and cutting; we are doing easy-peasy goodness here. These are the best dog treats using silicone mold creations you’ll ever whip up. I remember the very first time I tried putting dough into one of those funny-shaped silicone molds—I was nervous it wouldn’t bake right, but wow, was I wrong! They popped out perfectly shaped every time. Trust me on this one; these treats are minimal effort, maximum tail wags.

Why These Dog Treats Using Silicone Mold Are a Game Changer
Listen, I love the look of perfectly cut biscuits, truly, but who has the time to roll out dough perfectly thin and use a cutter that always leaves scraps everywhere? Ugh! That’s why exploring dog treats using silicone mold changed my whole baking situation for Buster.
The mold does all the heavy lifting for you. Here’s why I’ll never go back to cookie cutters for these simple recipes:
- The sizing is spot on every single time. No more lopsided treats!
- Cleanup is hilariously fast. A quick rinse or maybe a five-second scrub and you are done. No dough stuck in tiny crevices, which is a major win.
- They bake so evenly because every piece has the same density and shape.
It just means more quality time playing fetch, and less time scrubbing flour out of my antique pastry mat!
Gathering Your Ingredients for Dog Treats Using Silicone Mold
Okay, deep breath! The ingredients list for these amazing dog treats using silicone mold is so short, it feels like cheating. But trust me, these four things pack a real flavor punch for your dog. Before we start mixing, promise me you’ll double-check that jar of peanut butter. We absolutely cannot have xylitol in the house—it’s toxic for dogs, and nobody wants that scare!
Essential Components for Dog Treats Using Silicone Mold
First up, we need one full cup of good, solid whole wheat flour. If Buster gets too much wheat, I sometimes swap in oat flour, which is what you should do too if you want a grain-free version. Then comes the star: half a cup of peanut butter. Make sure it’s creamy, smooth, and has absolutely zero of that scary sweetener xylitol, okay?
Next, grab one large egg—I usually crack mine into a small bowl and give it a quick whisk just to make sure the white and yolk are blended well before adding it. Finally, we need about half a cup of water to bring this all together. You might need a smidge more or a smidge less, depending on how thick your peanut butter is, so just keep it handy.
Essential Equipment for Making Dog Treats Using Silicone Mold
The beauty of making dog treats using silicone mold is just how minimal your equipment list is. Seriously, you probably have everything sitting in your drawers right now, which means no last-minute grocery runs!
You absolutely need a sturdy mixing bowl. I use my big ceramic one because it doesn’t slide around when I’m kneading the dough a bit. Next, the star of the show: your silicone mold! And finally, to make sure the mold is safe and sound in the heat, you’ll want a standard baking sheet to place it on.
Expert Tip on Molds: Not all silicone molds are created equal, especially when they are holding dog treat dough! I find that molds designed for mini-muffins or candy work wonderfully, but make sure the silicone is quite thick. Thin, floppy silicone pieces might warp when you transfer them to the oven on the sheet. Also, check the manufacturer’s temperature rating—though for 350°F, nearly all baking-grade silicone is absolutely fine.
Step-by-Step Instructions for Perfect Dog Treats Using Silicone Mold
Alright, this is where the fun really starts! Don’t let the steps scare you; they are super simple, and you’ll have these lovely dog treats using silicone mold coming out of the oven before you know it. Remember, patience in mixing equals better treats later, but speed when pressing into the mold keeps things clean!
Preparing the Oven and Mold
First things first—get that oven cranking! We need it up to 350°F (that’s 175°C for my friends across the pond). While it warms up, grab your silicone mold. I rarely grease mine because the dough usually pulls away nicely, but if you have a really old or very thin mold, just brush a whisper of vegetable oil inside the little shapes just to be safe.
Mixing the Dog Treats Using Silicone Mold Dough
Time to combine! Toss the flour, the peanut butter, and that single egg into your mixing bowl. Start stirring that up. Now, slowly drizzle in your water. You need to mix this until you get what I call a stiff dough. It shouldn’t be runny at all—it should be sticky but firm enough that you can actually pick it up and work it with your hands. If it seems crumbly, add maybe one tiny teaspoon of water at a time until it just holds together. Stop mixing the second it comes together; we don’t want tough biscuits!
Expert Tip on Mixing: Overmixing develops gluten, and we want a tender chew for Buster, not a rubber ball! Just mix until you don’t see dry flour patches anymore. That’s it.
Filling the Silicone Mold Precisely
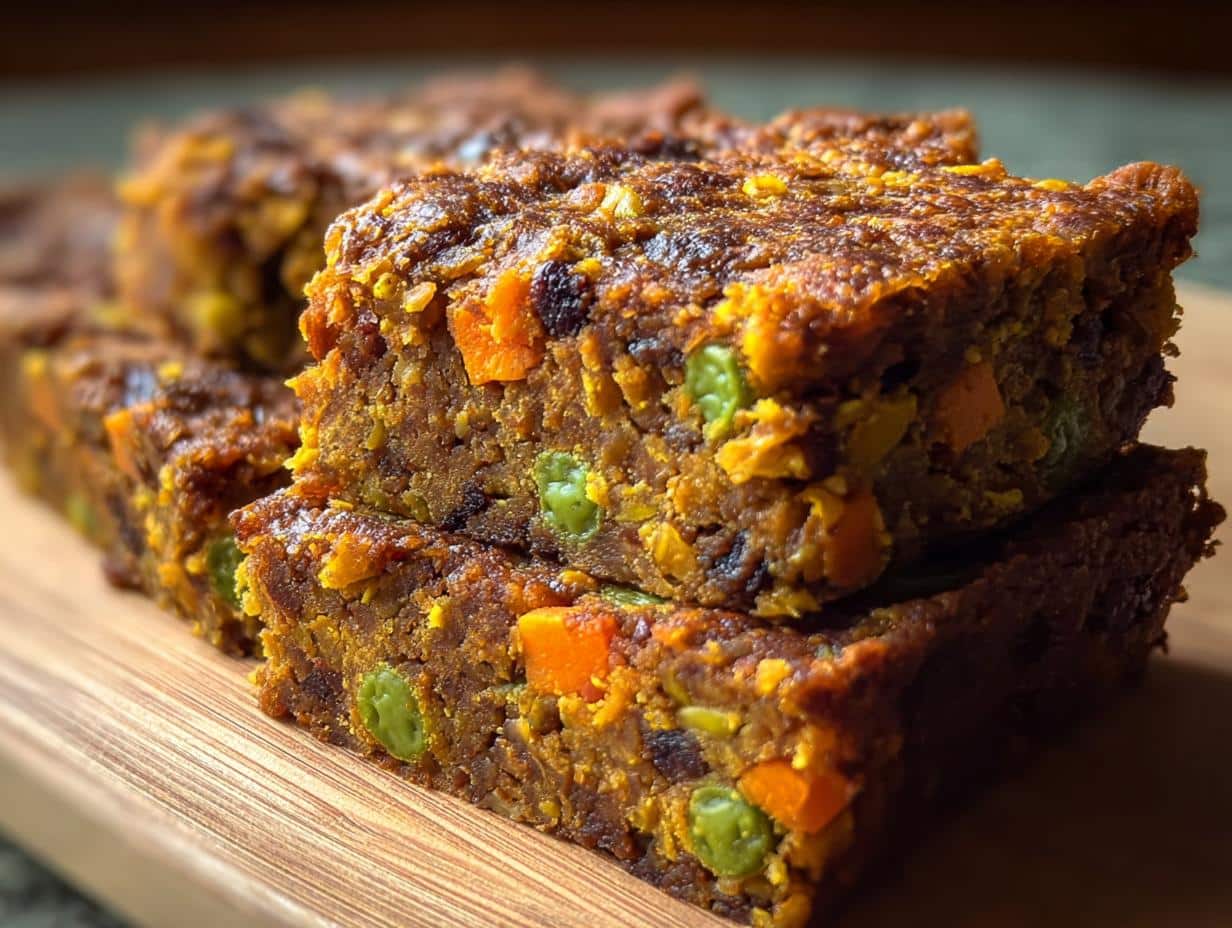
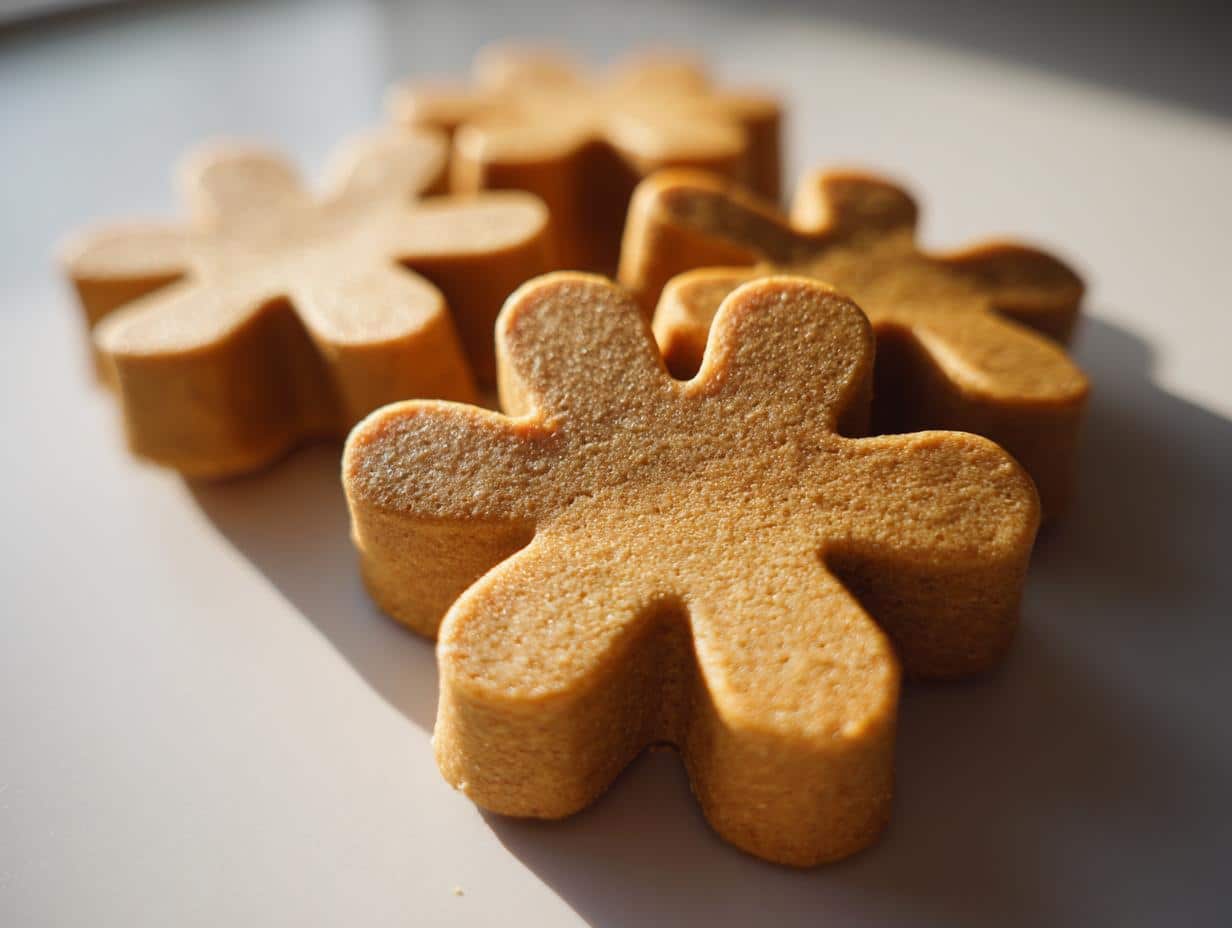
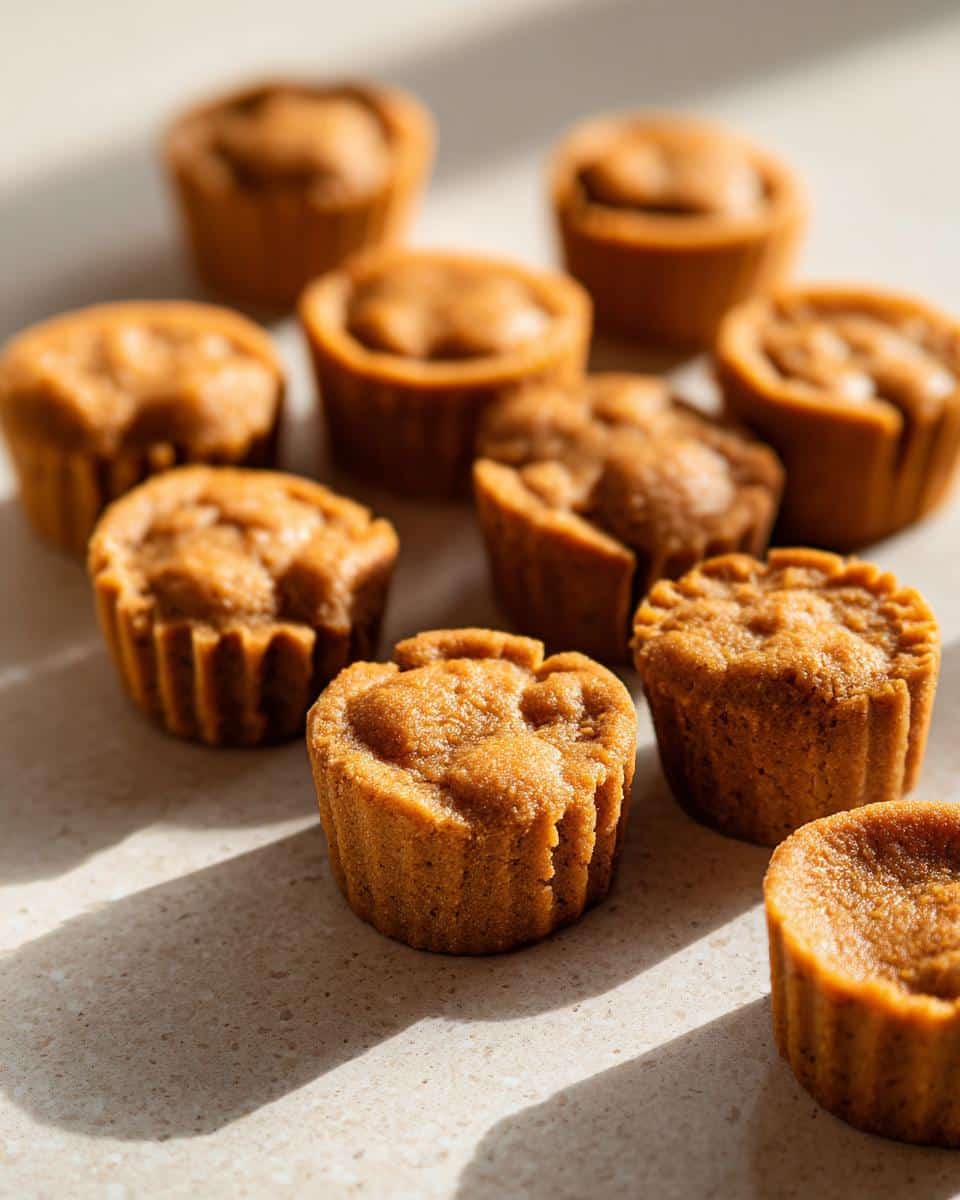
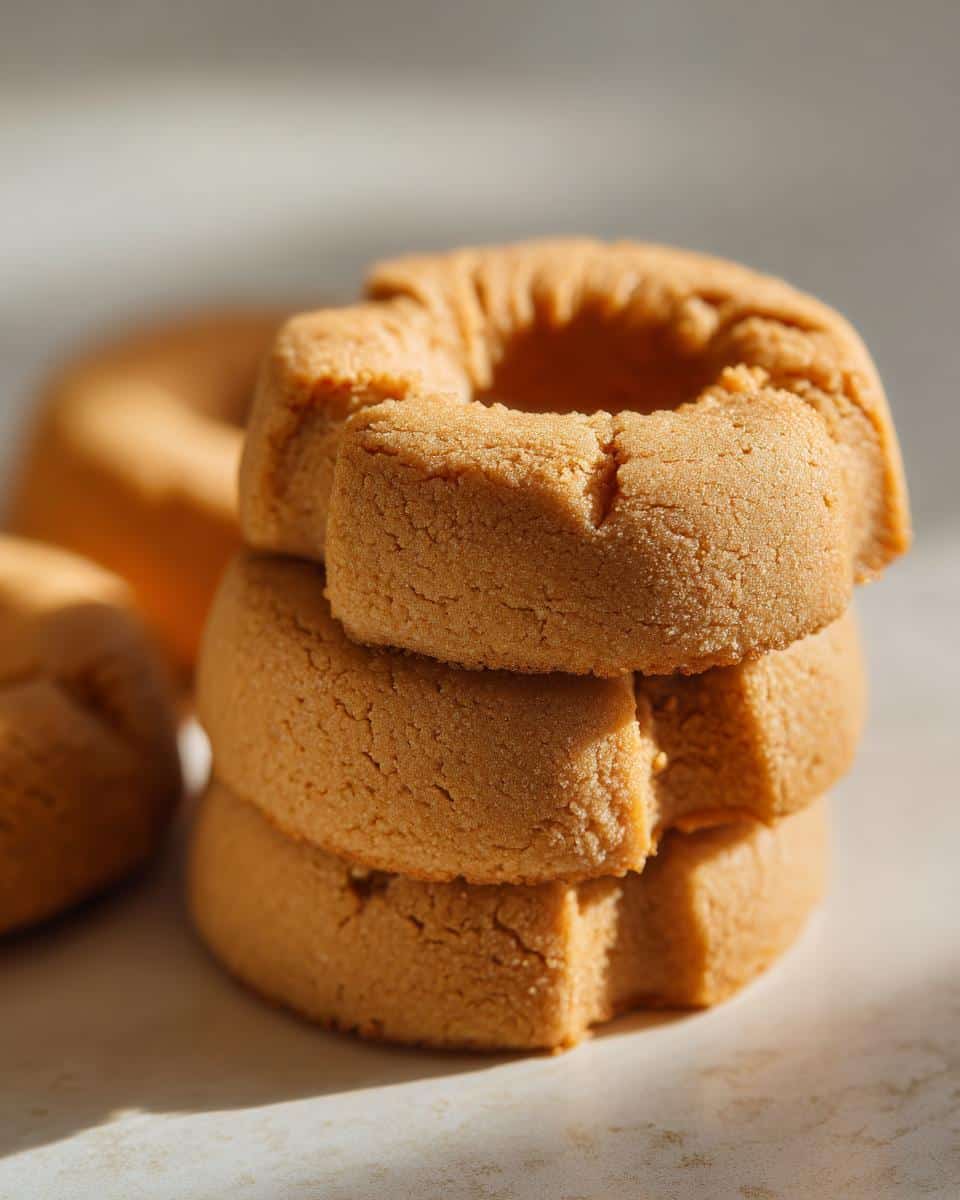
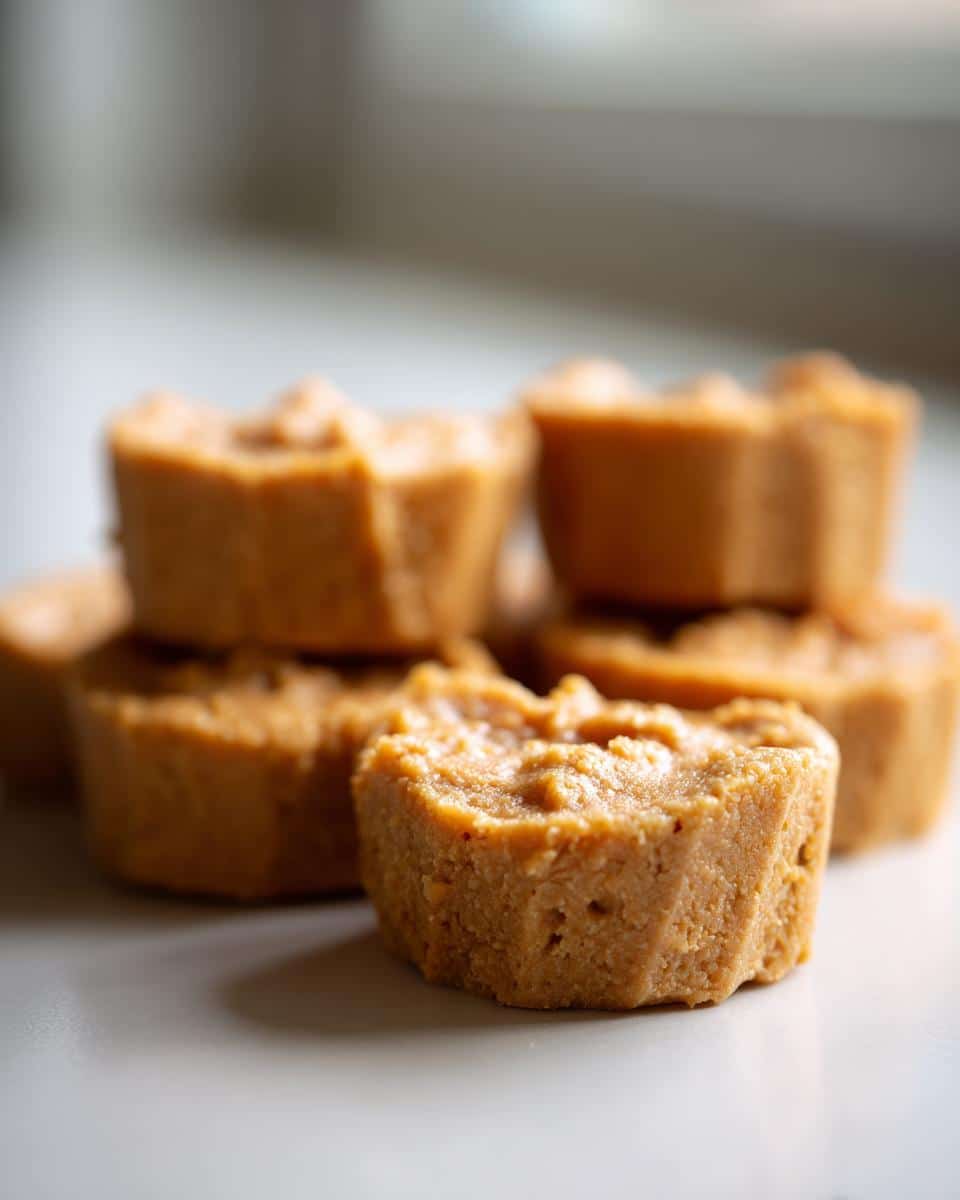
Now take that gorgeous dough and start pressing it firmly into every single cavity of your dog treats using silicone mold. Seriously, press it down hard! Use the back of a small spoon or your thumb to really compact the dough. This is what guarantees those professional, smooth-edged dog treats using silicone mold when they finally bake.
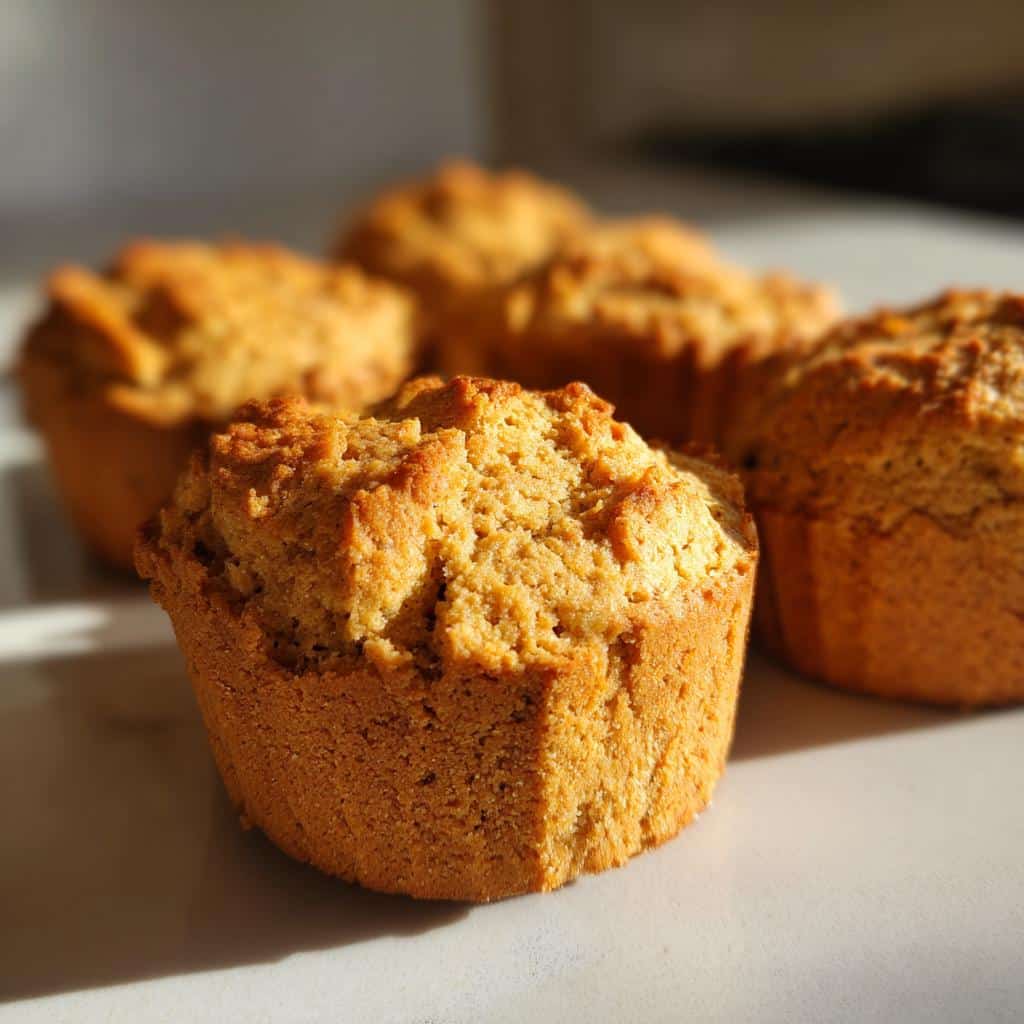
Once they are all packed in nicely, gently run a small offset spatula or a butter knife right across the top edge of the mold. This scrapes off the excess dough, giving you a flat, even surface so all your treats are uniform. Pop the weighted mold onto that baking sheet, and into the preheated oven they go for 12 to 15 minutes. Watch the edges—that light golden color is your cue to pull them!
Tips for Success When Baking Dog Treats Using Silicone Mold
Making dog treats using silicone mold is usually foolproof, but since we want treats that are just as good as the ones from the fancy pet boutique, I have a couple of pointers based on my own kitchen mishaps!
First, let’s talk about that crumbly dough issue. If you pull your dough out of the bowl and it feels like it’s going to fall apart when you try to press it into the molds, don’t panic and dump in too much water! Just add a tiny bit more peanut butter—about a teaspoon at a time—until it binds slightly better. Peanut butter is sticky, and sometimes we just need a little extra adhesive.
Secondly, the baking time is critical, especially when aiming for that satisfying crunch. I know the recipe says 12 to 15 minutes, and that’s a great starting point, but you really need to watch the color. If you like a really hard, cracker-like treat, go right up to 15 minutes, maybe even 16, and wait until those edges look distinctly golden brown. If you like them a little softer for, say, a puppy, pull them closer to twelve minutes.
And even though silicone is amazing, sometimes those very cute, tiny bone shapes can cling on for dear life! If you find your treats are sticking a tiny bit, let them cool slightly longer in the mold—maybe seven minutes instead of the instructed five. The slight cooling allows the treat to shrink just enough to release from the mold walls before you try prying them out. If you’re making something fruitier, like the dog biscuit blueberry recipe, cooling is even more important because the fruit moisture can make them stickier.
Remember, the silicone mold is your friend because it helps keep everything uniform, so pay attention to how quickly the ones near the edges of the oven heat up compared to the center ones. If your oven has hot spots, you might need to rotate that baking sheet halfway through the cooking time for truly consistent dog treats using silicone mold.
Storage and Shelf Life for Your Dog Treats Using Silicone Mold
Okay, we’ve got these beautiful, perfectly shaped dog treats using silicone mold, and the last thing we want is for them to go soft or moldy! My number one rule is that once they are completely, totally cool—and I mean room temperature cool—they need to go into a proper home ASAP. Because these are homemade and don’t have the shelf stabilizers the big brands use, we have to be a little careful with storage.
For quick snacking, you can keep them right on the counter, but only if your kitchen isn’t too humid! Pop them into an airtight container—you know, the kind with the good snapping lid. That will keep them fresh for about a week. Honestly, Buster usually demolishes a batch in three days, so room temperature storage works fine for us.
But if you’re like me and you like to bake a huge batch whenever you have a free hour, you need the freezer! Freezing is your best friend here. Once completely cooled, put the dog treats using silicone mold into a freezer-safe bag or a hard plastic container. They hold up beautifully frozen for maybe two or three months. When Buster starts looking expectant, just pull out a few the night before, and they thaw perfectly on the counter!
Frequently Asked Questions About Dog Treats Using Silicone Mold
I know you probably have a few last little questions buzzing around before you dive into making these wonderful dog treats using silicone mold. It’s smart to ask! After all, we’re feeding our best friends, so clarity is key. Here are the things I get asked most often about my peanut butter mold recipe.
Can I use a different flour if my dog is sensitive to whole wheat?
Oh, absolutely! That’s one of the best parts about these easy recipes—they are so adaptable. If you look back at the ingredients, I mentioned using oat flour as a swap, and that works wonderfully well. Chickpea flour is another great option if you want to go legume-based! Just know that if you move away from whole wheat or oat flour, you might need to play with the water just a tiny bit more to get that same stiff dough consistency. Watch it closely as you mix!
How do I know when these dog treats using silicone mold are done baking?
This is crucial because nobody wants a soft, crumbly treat that falls apart when your dog licks it! Since you are using a silicone mold, they can sometimes insulate the middle slightly. When you pull them out, they need to look lightly golden brown on the edges. But the real test? Gently tap the top of one of the treats with your finger. It should feel firm and springy back right away. If your finger leaves an indent, pop them back in for two more minutes and check again.
Are these peanut butter treats safe for young puppies?
That’s a really good question, and when dealing with puppy treat recipes, we have to be careful. Generally, yes, this base recipe is safe for puppies once they are fully weaned and started on solid food—usually around eight weeks. The main thing is texture. You might want to bake these on the shorter side, closer to 12 minutes, so they have a slightly softer chew. And always, always make sure the peanut butter is xylitol-free, even for puppies, as their systems can be even more sensitive!
What if I don’t have a silicone mold? Can I still use this recipe?
You definitely can, but you’ll have to pivot back to cookie-cutter land, which is less fun! If you have to use a regular baking sheet, roll the dough out to about a quarter-inch thick. I highly recommend chilling the rolled-out dough for about 20 minutes first; it makes cutting way cleaner edges and keeps the treats from spreading too much in the heat. They probably won’t look as cute as the ones from the mold, but your dog won’t care one bit!
Estimated Nutritional Snapshot for Dog Treats Using Silicone Mold
I know some of you are super diligent about what goes into your pups—and believe me, I totally get it! While these dog treats using silicone mold are made with wholesome ingredients, they are a treat, not a full meal replacement, so keep that in mind when you’re handing them out!
Based on the simple measurements in this recipe, here’s a rough idea of what one single peanut butter treat packs. Now, I need to be super clear here: this is an estimate! Because we use real peanut butter, and the density of the flour and water can change slightly batch to batch, these numbers are just a guideline—but a helpful one!
For every single treat you pull out of that wonderful silicone mold, here’s what you’re looking at, roughly speaking:
- Calories: About 100 calories. A nice little energy boost for playtime!
- Protein: Just around 4 grams. Good stuff from the egg and peanut butter!
- Fat: Close to 4 grams total fat. This keeps Buster happy and his coat shiny.
- Carbohydrates: Around 12 grams. That comes mostly from the whole wheat flour.
See? Simple, straightforward, and nothing too crazy! You won’t find massive amounts of sugar here, which is exactly how I like it. These dog treats using silicone mold are designed to be safe, tasty little rewards without spoiling their main dinner meals. Just try not to give them all at once, even if they stare at you with those big, pleading eyes!
Share Your Homemade Dog Treats Using Silicone Mold Creations
Whew! We did it! You’ve got about 40 perfectly shaped, oven-fresh dog treats using silicone mold sitting on the counter right now. Now the real test begins: the customer feedback phase! And by customer, I mean the fluffy, four-legged supervisor waiting patiently by the oven door.
I absolutely live for hearing how much your own dogs loved these simple peanut butter biscuits. Did Buster go completely bonkers? Did your Great Dane try to eat the entire batch straight off the cooling rack? Tell me everything!
Please jump down into the comments section below. I want to know your dog’s official rating out of five happy tail wags. And if you managed to snap a picture—maybe when your dog was curiously sniffing the silicone mold before you filled it, or maybe the happy mess after they devoured one—please share it! Seeing your successful batches of dog treats using silicone mold is genuinely the best part of running this little recipe corner. Happy baking, and give your pup an extra scratch from me!
Simple Peanut Butter Dog Treats
Ingredients
Equipment
Method
- Preheat your oven to 350°F (175°C). Lightly grease your silicone mold if necessary.
- In a mixing bowl, combine the flour, peanut butter, and egg.
- Gradually add the water, mixing until a stiff dough forms. If the dough is too dry, add a little more water, one teaspoon at a time.
- Press the dough firmly into the cavities of the silicone mold. Make sure the dough fills the molds completely.
- Place the mold on a baking sheet and bake for 12 to 15 minutes, or until the edges are lightly golden brown.
- Remove the treats from the oven and let them cool in the mold for 5 minutes before carefully removing them.
- Allow the treats to cool completely on a wire rack before serving them to your dog or storing them.