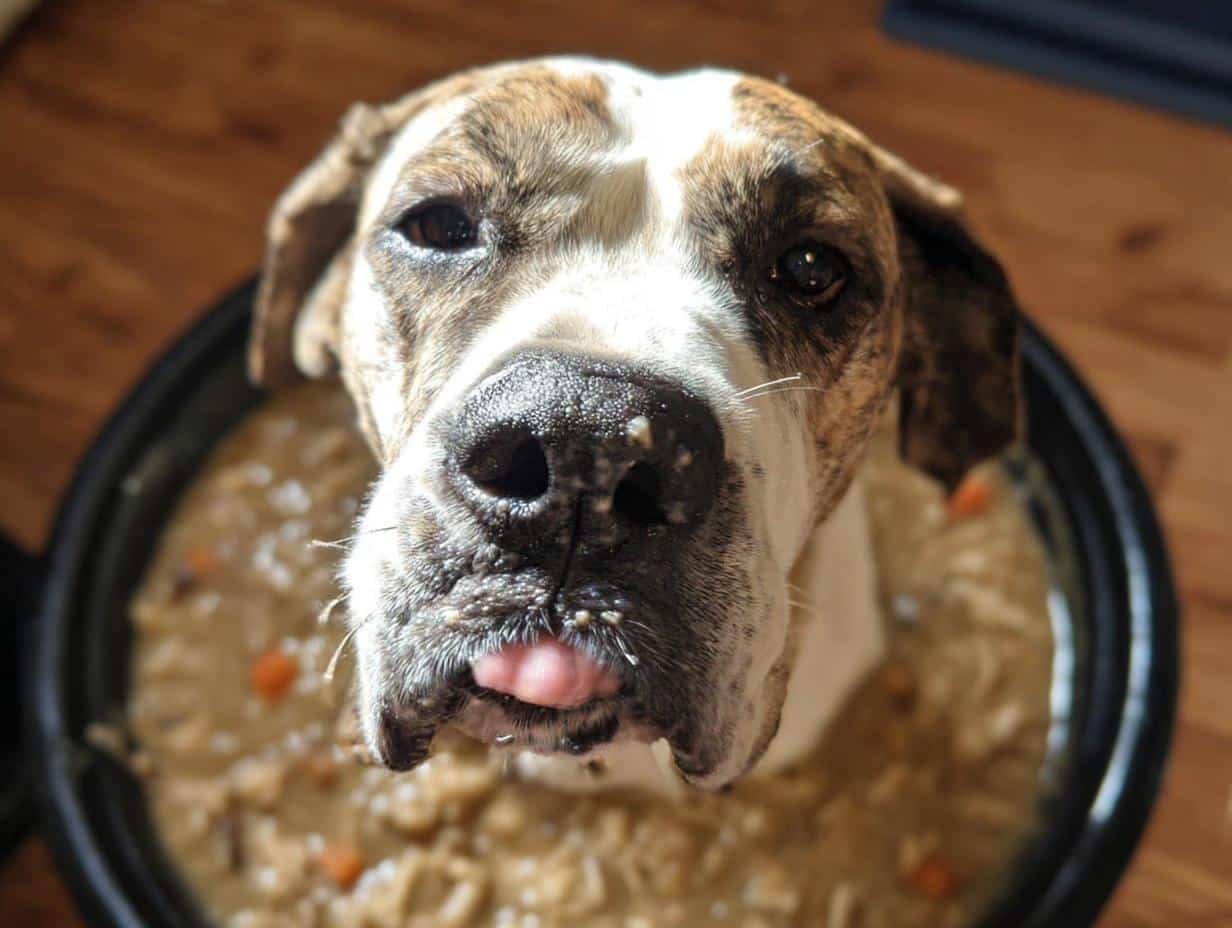
Oh my gosh, have you ever looked at your fuzzy best friend staring up at you while you’re making breakfast and thought, “They deserve a stack of that”? Me too! But honestly, I’m always so careful about what I feed my pups, which is why I developed this incredibly simple recipe for Dog Pancakes.
Seriously, these take maybe five minutes of actual work, and they turn out perfectly fluffy pancakes using just whole wheat flour. I remember the first time I flipped one of these little beauties out onto the cooling rack—my Labrador, Buster, absolutely lost his mind with excitement! It’s the perfect, safe way to treat them. Forget the weird fillers; this recipe sticks to the basics. If you’re looking for easy, vet-approved treats that your dog will inhale, trust me, this is the one. You can check out some other great puppy options right here if you’re planning a baking spree!
Why You Will Love Making These Dog Pancakes
Honestly, these are a total win-win for me and the pups. If you need a fast, feel-good treat, these dog pancakes are your answer. Here’s why they always make it into my regular rotation:
- They are lightning fast—ready in fifteen minutes total!
- My dogs go totally nuts for the peanut butter flavor.
- Uses healthy whole wheat flour, which is great for digestion.
- Super simple, no fancy equipment needed, which I truly appreciate on busy mornings.
Essential Ingredients for Your Dog Pancakes
When I bake for the pups, I get super picky about what goes into the bowl. We aren’t making human pancakes here, so we skip the sugar and vanilla! The beauty of these Dog Pancakes is that they use things you probably already have, but you need to check a couple of labels, trust me.
This recipe is designed to be wholesome, using whole wheat for a little extra fiber. If you need more ideas on adding boosts like pumpkin, check out how I use purees for energy right here!
Pancake Batter Ingredients
We are keeping this batter simple, but every part matters. I underline exactly what to look for below:
- Whole Wheat Flour: You need exactly 1 cup of this. It’s much better than plain white flour for Fido!
- Baking Powder: Just 1 teaspoon, but make absolutely sure you grab the aluminum-free kind. Sometimes the regular stuff can give sensitive tummies issues.
- Egg: One large egg works perfectly to bind everything together.
- Yogurt or Milk: It calls for 1/2 cup. I usually use plain, unsweetened yogurt because my dog loves the tang, but whatever you have on hand works.
- Peanut Butter: This is the flavor star! Measure out 1 tablespoon, but listen carefully—you MUST check the label. If it contains xylitol, throw it out! That is poison to dogs, and I worry about it every time I shop.
Equipment Needed to Prepare Dog Pancakes
You don’t need a mixer or fancy tools for these simple Dog Pancakes. Grab your essentials:
- A sturdy mixing bowl.
- A whisk for smooth batter.
- Your favorite skillet or griddle for cooking them up nicely.
Step-by-Step Instructions for Perfect Dog Pancakes
Alright, let’s get mixing! Since these take barely any time, I like to get my skillet warming up while I’m putting the batter together. You’re aiming for about 15 minutes total, so speed and efficiency are key.
If you want that slight fluffiness that makes a pancake feel special, don’t rush the mixing stage. We are going for a quick blend, not beating air into it like we do for human flapjacks.
Mixing the Dog Pancakes Batter
First things first, grab your biggest bowl and toss in the whole wheat flour and that little bit of baking powder. Just give them a quick swirl with your whisk so they are happy together.
Now, in a smaller bowl, you’re going to whisk the wet stuff: the egg, the yogurt or milk, and that safe peanut butter you checked. Whisk it until it looks like a single, uniform (though maybe slightly chunky because of the peanut butter) liquid.
Pour the wet bowl right into the dry bowl. Now, here is my number one rule for great texture: mix it until *just combined*. I stop as soon as I can’t see any more streaks of dry flour. Seriously, stop mixing! A few lumps are totally fine; overmixing these Dog Pancakes makes them dense, and we want them soft.

Cooking Your Dog Pancakes
Heat up your skillet or griddle over medium heat. You do not need butter or oil here—that’s definitely not good for our pups! If your pan is decent quality, they won’t stick. If you must grease it, use just a drop of water or maybe a tiny bit of coconut oil, but I try to avoid adding anything extra at all.
Use a measuring spoon or a small ladle to drop little dollops onto the hot surface. I shoot for about 2 to 3 inches wide; tiny pancakes are easier for dogs to manage!

Let them cook until you see little bubbles forming on top and the edges look dry—that’s usually about 2 to 3 minutes. Then, flip them carefully. The second side only needs another minute or two to get that nice golden brown color. If you want more foolproof recipes for quick treats, check out other great three-ingredient options here!
Tips for Making the Best Dog Pancakes Every Time
You’ve got the recipe, but sometimes little things trip us up in the kitchen, right? These Dog Pancakes are forgiving, but a few tricks will make yours absolute perfection for your furry buddy. First off, about that batter consistency—if it seems too thick after you mix it (you know, like thick oatmeal), just add a tiny splash more yogurt or water. It should still be spoonable, not runny!
I always use a tablespoon measure when dropping the batter. This makes sure they are all bite-sized and cook evenly. If they get too big, the outside burns before the middle warms up. As for color, medium heat is your friend! If you use too much heat just to speed things up, they’ll turn black before they even set in the middle. A nice, light golden brown is exactly what we’re aiming for. You can find some of my other favorite baking adventures on the main blog page!

Dog Pancakes Variations and Substitutions
Life in the kitchen is all about adapting, especially when you’re cooking for picky eaters—even if that eater has four paws! These Dog Pancakes are really flexible, which I love because sometimes I run out of yogurt or realize I’m out of eggs. If you’re out of milk or yogurt, don’t panic! You can totally use water instead. It makes them a tiny bit less rich, but they still hold together beautifully due to that egg.
Now for the fun part: add-ins! If you have some shredded carrots hanging around, a tablespoon or two mixed in adds a nice bit of texture and extra veggie goodness. Or, if you want to try adding a touch of sweetness without using sugar, try folding in a tablespoon of plain canned pumpkin puree. That always makes my pups go wild! You can see how I use fruit flavors in my dog cake recipes over here if you want even more inspiration for flavor swaps! Just keep everything dog-safe, of course.
Serving Suggestions for Dog Pancakes
These little Dog Pancakes are great all on their own, but sometimes you want to make breakfast feel extra special for your pup. I never, ever put syrup on these—it’s just sugar, and our dogs don’t need that!
My favorite way to serve these is stacked two or three high, slightly warm, maybe with a tiny dab of that safe peanut butter on top. If you let them cool completely, they make perfect portable training treats! If you want some other awesome recipe ideas that use yummy peanut butter and banana, you should definitely peek at these pup bites I’ve shared. They are always a huge hit at my place!

Storage and Reheating Dog Pancakes
Now, I know your dog will probably try to eat all four pancakes in one sitting, but if you happen to have extras, storing them is super simple. I just pop the cooled-down Dog Pancakes into an airtight container. They stay perfectly fine in the fridge for about three days. I wouldn’t leave them out on the counter!
If you made a huge batch and need them to last longer, they freeze really well! You can wrap them individually and toss them in the freezer for up to two months. When it’s treat time, just give them a quick zap in the microwave for about ten seconds to bring them back to a nice, soft serving temperature. They come out better than I expected!
Frequently Asked Questions About Dog Pancakes
It’s totally normal to have questions when you’re trying out a new treat, especially when you’re focused on keeping your dog healthy! I get asked the same things over and over about these simple Dog Pancakes. It’s all about safety first, but making sure they taste good enough for those begging eyes!
I always make sure to check labels closely, and if you’re looking for other fantastic, easy recipes, you can see how I make blueberry biscuits right here!
Are these Dog Pancakes a complete meal?
Oh, absolutely not! Think of these as a special weekend breakfast treat, not dinner. They don’t have the full nutritional profile your dog needs every day. They are packed with good stuff like fiber from the whole wheat, but you should always rely on high-quality commercial dog food or vet-approved meals as the main part of their diet. Save the pancakes for special occasions!
Can I use regular flour instead of whole wheat for Dog Pancakes?
You can, but I really, really advise skipping it if you can. Regular all-purpose white flour is really just empty calories for dogs; it doesn’t offer much goodness. Whole wheat flour gives them some much-needed fiber and a better nutritional punch, even in a little treat like these Dog Pancakes. If you are in a pinch and only have white flour, it’s okay once in a while, but try to keep the whole wheat in the rotation!
What is the safest way to sweeten Dog Pancakes?
This is the most important safety question! You never want to add table sugar, honey, or artificial sweeteners to these treats. The sweetness in our Dog Pancakes comes naturally from the peanut butter and the hint of flavor from the yogurt. If you want to substitute something healthier, stick to small amounts of dog-safe options like unsweetened pumpkin puree or mashed banana—but never add straight sugar!

Simple Dog Pancakes
Ingredients
Equipment
Method
- Combine the whole wheat flour and baking powder in a mixing bowl.
- In a separate small bowl, whisk together the egg, yogurt or milk, and peanut butter until smooth.
- Pour the wet ingredients into the dry ingredients. Mix until just combined. Do not overmix the batter.
- Heat a skillet or griddle over medium heat. Lightly grease the surface if needed, but avoid butter or oil.
- Pour small amounts of batter onto the hot surface to form small pancakes, about 2 to 3 inches wide.
- Cook for 2 to 3 minutes per side, until golden brown and cooked through. Flip carefully.
- Serve warm or at room temperature. Store leftovers in an airtight container in the refrigerator for up to three days.