Listen, dealing with store-bought dog treats always makes me pause, right? You look at that ingredient list—things you can’t even pronounce! So many fillers, and honestly, the worry about hidden toxins like Xylitol keeps me up at night. That’s why I am so thrilled to share this super easy Dog Chew Recipe with you today. Honestly, it’s ridiculously simple: just two main stars, peanut butter and pumpkin! Making these yourself gives you total peace of mind. You control every single thing that goes into your best friend’s favorite snack. Trust me, once you see how fast these come together, you’ll never look back!
Who Needs This Simple Dog Chew Recipe?
If you’re anything like me, you want the absolute best for your pup but you don’t have hours every week to spend becoming a specialized dog baker. Seriously, who does? This Dog Chew Recipe is for the practical pet owner. You know the one—you read labels obsessively and ditch anything that looks suspicious. This recipe is perfect if you’re trying to avoid weird fillers or—and this is huge—if you are terrified of accidentally picking up a peanut butter jar with Xylitol hiding in it. It’s quick, it’s wholesome, and it gives you maximum control over your dog’s diet with minimal effort!
Setting the Tone for Your Dog Chew Recipe
When I share a new recipe, whether it’s for me or my dog, I keep one thing in mind: keep it ridiculously easy! This is not the time for complicated techniques or fancy kitchen gear. The tone here is super friendly and encouraging. You don’t need to be a master baker to ace this Dog Chew Recipe; if you can mix two things in a bowl, you’re golden.
We are sticking to clear, simple steps. No stress, no measuring cups that look like chemistry equipment. Just good, clean fun that results in a treat your dog will absolutely adore. I want you to feel confident walking into the kitchen and whipping these up!
My Journey to Finding the Easiest Dog Chew Recipe
I remember bringing home those cute little bone-shaped biscuits from the pet store, figuring they were the ‘healthy’ option. But as I started my own journey toward clean eating, I had to look at what I was feeding my dog, Buster! I flipped over the bag one day and nearly dropped it. Hidden down near the bottom was an ingredient I couldn’t even sound out, let alone pronounce. It instantly reminded me of all those weird fillers I was cutting out of my own diet!
That was the wake-up call. I thought, if I’m working so hard to keep my kitchen clean and nourishing, shouldn’t Buster benefit? I realized making homemade dog treats didn’t have to be a massive project. I needed an ultra-simple Dog Chew Recipe that relied on pantry staples I already knew were safe. Pumpkin and peanut butter—that’s where the magic started! This recipe is a direct result of that commitment to ditching the chemicals, even for my furry family member.
Gathering Ingredients for Your Dog Chew Recipe
Okay, let’s talk ingredients! This is where we shine when it comes to keeping things clean, remember? Since we aren’t using any weird additives or preservatives, we need good quality foundations for this snack. It’s so important to measure carefully here so that dough comes together just right. Check out the list below for the essentials, but please, please, pay attention to those little notes—they are the key to success with this simple Dog Chew Recipe!
Essential Components for This Dog Chew Recipe
First up, you need 1 cup of whole wheat flour, but if your pup has a sneaky sensitivity, remember you can always swap that out for oat flour for a grain-free version. Then comes the flavor powerhouse: you must have 1/2 cup of natural peanut butter. I stress this: check the label twice! Make absolutely certain there is zero, zip, nada Xylitol in there—it is extremely toxic for our dogs. Next is that secret moisture boost, 1/2 cup of pumpkin puree. And I mean pure pumpkin, NOT that sugary pumpkin pie filling you bring out in November!
Finally, grab about 1/4 cup of water, but treat this like a *guide*. We only add enough water, maybe a little splash at a time, until that dough turns stiff and ready to roll. That’s it! Four wholesome things sitting on your counter ready to go.
Step-by-Step Instructions for the Dog Chew Recipe
Now for the fun part—turning those beautiful ingredients into something tangible! Getting the texture right is what makes this a sturdy Dog Chew Recipe instead of just a soft cookie crumble, so pay attention to the mixing!
First things first: get your oven warming up to 350°F (175°C). Seriously, don’t put that parchment paper on the sheet until the oven is heating; we don’t want it sitting there getting sad.
Preparing the Dough and Cutting Shapes
Grab your mixing bowl! Dump in the flour, the peanut butter (that Xylitol-free goodness!), and the pumpkin puree. Now, you stir! It might look crumbly at first, which is totally normal. Keep mixing until it starts clumping. If it looks like dry sand and just won’t hold together, slowly drizzle in that water, just a tablespoon at a time. I always stop adding water when the dough feels stiff—it should be firm enough to handle without sticking everywhere.
Once you have a workable dough ball, flour up your counter or cutting board lightly. Roll it out until it’s about 1/4 inch thick. Don’t go too thin, or they’ll snap too easily! Then, use your cookie cutters—bones, circles, whatever your dog likes best—and get cutting! Lay those fresh shapes onto your prepared baking sheet.
Baking and Hardening the Dog Chew Recipe
Time for the heat! Pop the sheet into the preheated oven and bake them for 20 to 25 minutes. You’re looking for edges that are just starting to turn a lovely, light golden brown. They shouldn’t be dark, that means they’ll be too crunchy right away.
But here’s the secret step for a proper chew: when time is up, turn the oven OFF. Don’t take them out! Just prop the door open slightly with a wooden spoon for about ten minutes. This slow cooling lets that last bit of internal moisture evaporate, making the chews nice and firm. It’s that crucial drying time that makes this Dog Chew Recipe successful for long-lasting snacking!
Tips for a Perfect Dog Chew Recipe Outcome
Getting these chews right is all about texture management, and I’ve learned a few tricks the hard way to save you the trouble! If your dough seems too sticky after mixing everything, resist the urge to dump in a ton more flour. That makes the treats hard as rocks, not perfectly firm. Instead, pop the whole dough mass into the fridge for about 15 minutes; the cold will firm up that peanut butter and make rolling much easier. That is far better than overloading your Dog Chew Recipe with dry flour.
When you take them out of the oven, don’t panic if they feel slightly soft in the middle. That specialized cooling technique I mentioned is vital for achieving that satisfying firmness dogs love in a chew. If you try biting one warm, it will definitely crumble, but wait until they are completely cool—then you’ll have that perfect crunch to reward your pup for being so patient!
Storage and Shelf Life for Your Dog Chew Recipe
You’ve successfully made these wholesome snacks, so don’t let them go sad on you! Since we skipped all those sketchy preservatives in this Dog Chew Recipe, storage is super important for food safety. The good news is they last quite well because the moisture content is low after that long cooling period.
You can stash these cuties in any airtight container right on your counter at room temperature for up to a week. If you’ve made a massive batch—and I always do because Buster inhales them—pop the rest into a freezer-safe bag. Freezing them keeps them fresh for much longer, easily a couple of months, so you always have a healthy treat ready to go!
Ingredient Substitutions for Natural Dog Chews
I get asked all the time if we can change things up, especially if there’s a pantry staple missing! And yes, absolutely, we can make a few safe swaps here and there, because sticking to real food means adapting when we need to. The main goal is always safety first, especially when it comes to that peanut butter—seriously, triple-check for Xylitol every single time!
The most important substitute we talked about is the flour. If you’re leaning toward keeping things grain-free for your pup, swapping out the whole wheat flour for oat flour works beautifully. It makes the dough a bit softer to handle initially, but after baking, the texture is just as solid and satisfying for a good chew. You can find some great ways to use alternative flours over here if you’re trying to explore grain-free dog treat recipes.
As for the pumpkin, that’s pretty non-negotiable because its texture and moisture level are key to getting the dough right. But if for some reason you can’t find pumpkin, sweet potato puree (made with no added sugar or spices!) often works as a very close second for binding and moisture. Just start with slightly less water if you use sweet potato, as it can sometimes release a little extra liquid during mixing!
N
Frequently Asked Questions About This Dog Chew Recipe
I know you probably have a few last-minute things swirling around in your head before you grab those ingredients! It’s smart to ask questions, especially when it comes to what your dog eats. Let’s tackle the most common ones I hear all the time about this simple Dog Chew Recipe.
Is peanut butter safe? I’m nervous about Xylitol.
This is the most important question, hands down! Remember how I stressed checking the jar? Xylitol is a sweetener used in some peanut butters, and it’s toxic to dogs, so you must check the ingredients list *every time*. If it doesn’t list peanuts and salt, skip it! This recipe relies only on natural peanut butter that is confirmed Xylitol-free—it’s worth the extra five seconds of reading to keep your pup safe!
How do I make sure these are hard enough for my power chewer?
Ah, the texture challenge! If you want super firm, lasting chews, pay closest attention to the last step you skip if you’re rushing: the cooling period. Don’t pull them out right at 25 minutes! After you turn the oven off, leave them inside with the door cracked for that full 10 minutes. That slow, gentle drying inside the residual heat hardens them up perfectly. You can also roll the dough slightly thinner than 1/4 inch, but don’t go under 1/8th of an inch for a decent chew bite!
Can I use this Dog Chew Recipe for really small dogs or giant breeds?
Absolutely! The recipe itself is great, and you control the size. For smaller pups, just use a tiny cookie cutter—think the size of a dime—and bake them for maybe 18 minutes since they cook faster. For giant breeds, make them slightly bigger, maybe the size of a silver dollar, and you might need to bump that baking time up to the full 25 minutes. Just make sure you check the firmness on the big ones!
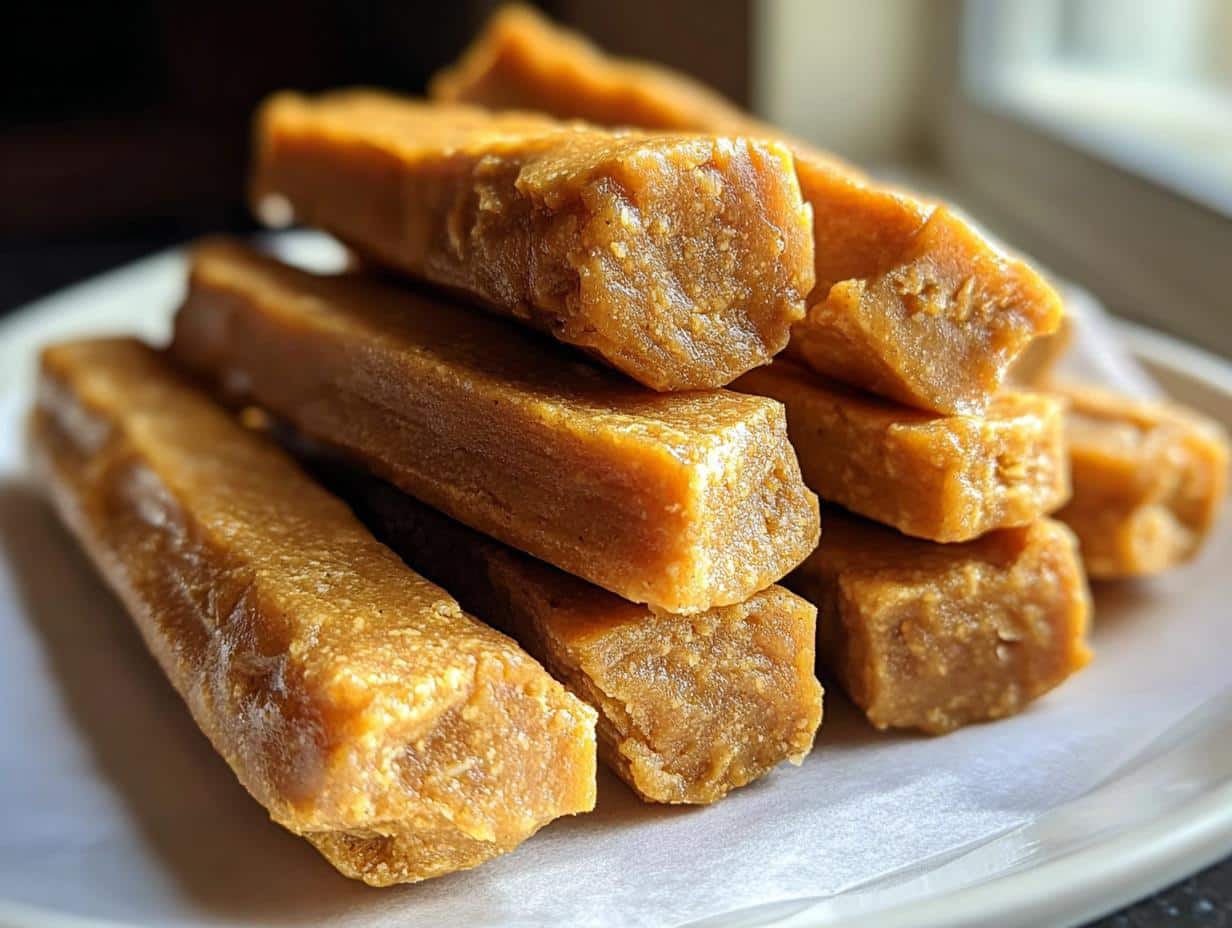
What if I don’t have a cookie cutter? Can I still make these healthy dog treats?
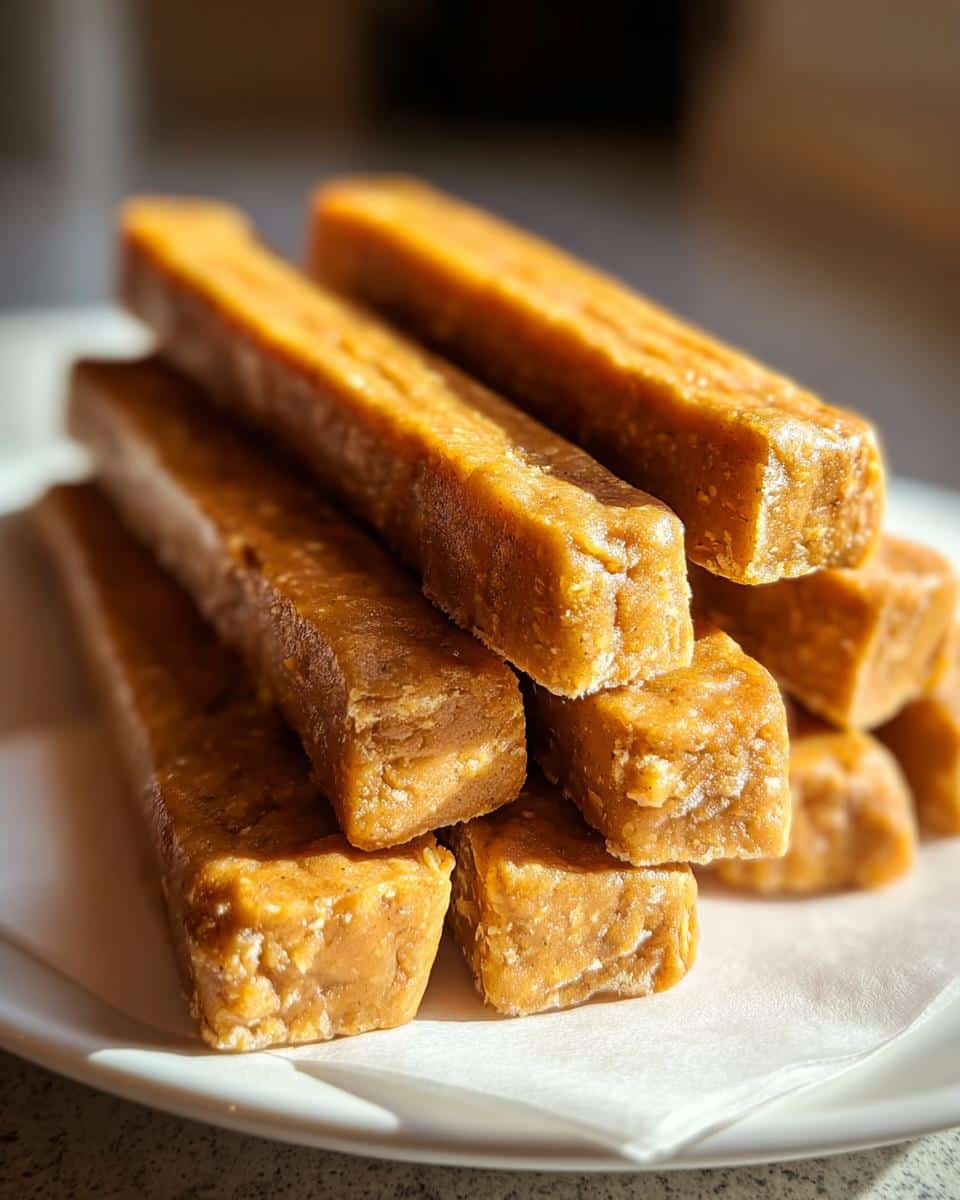
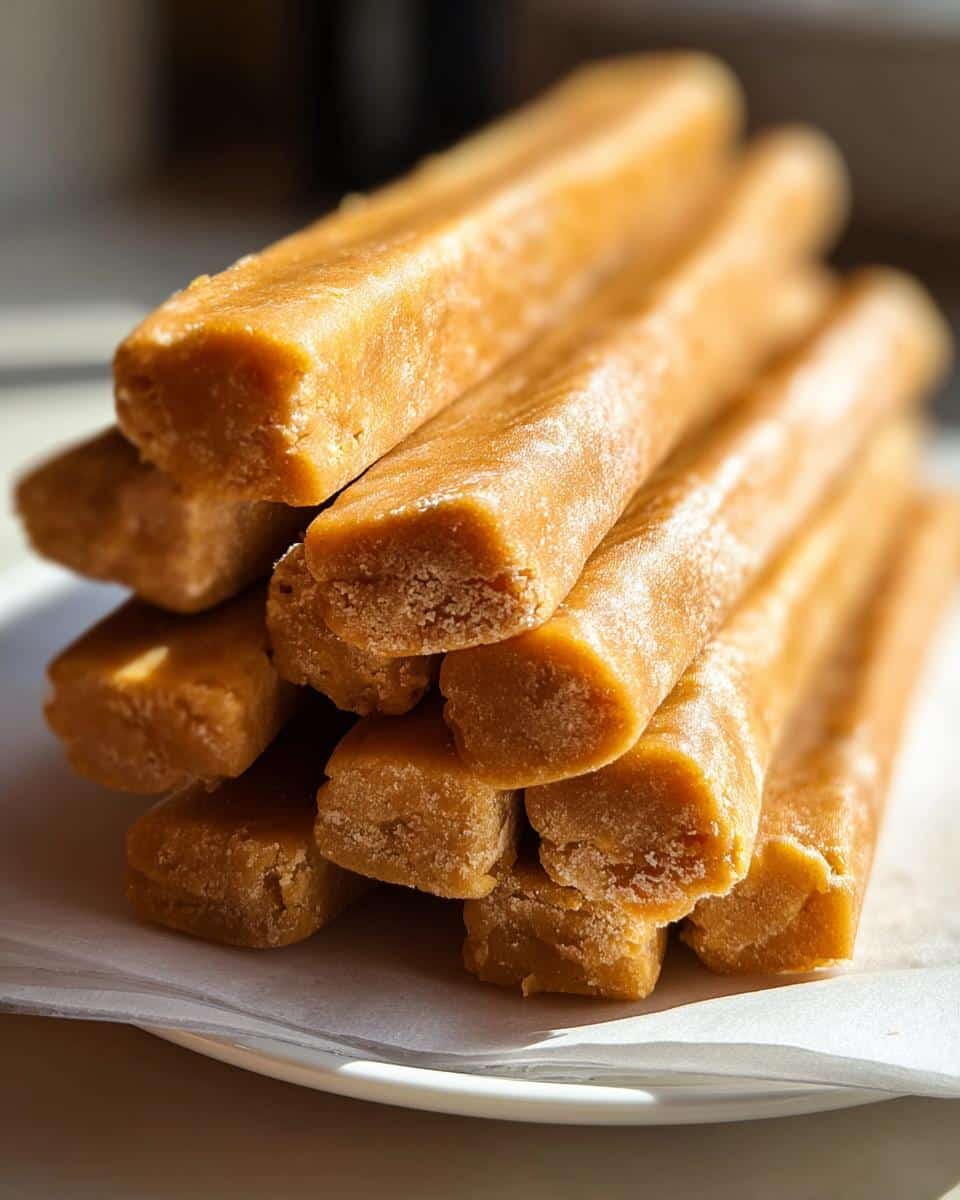
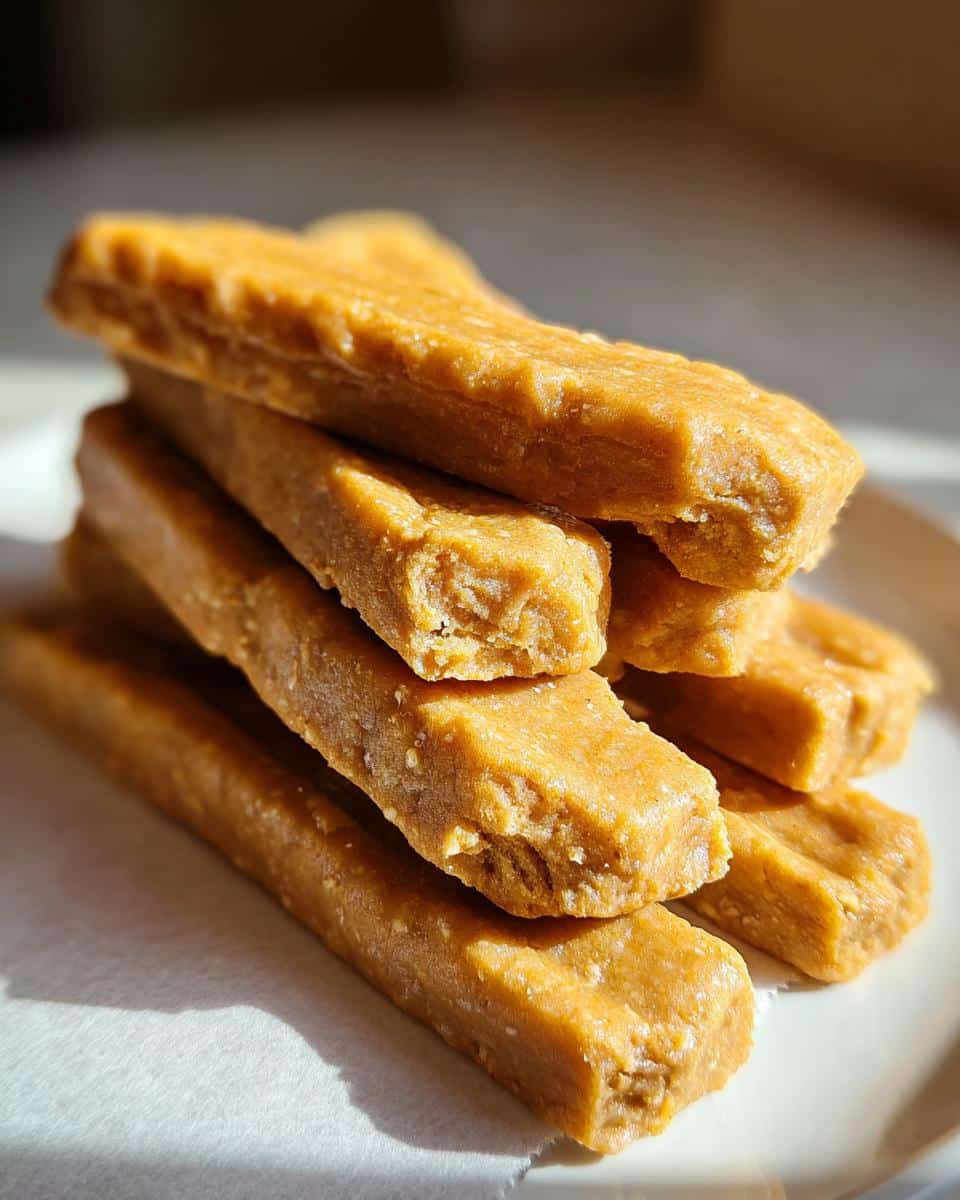
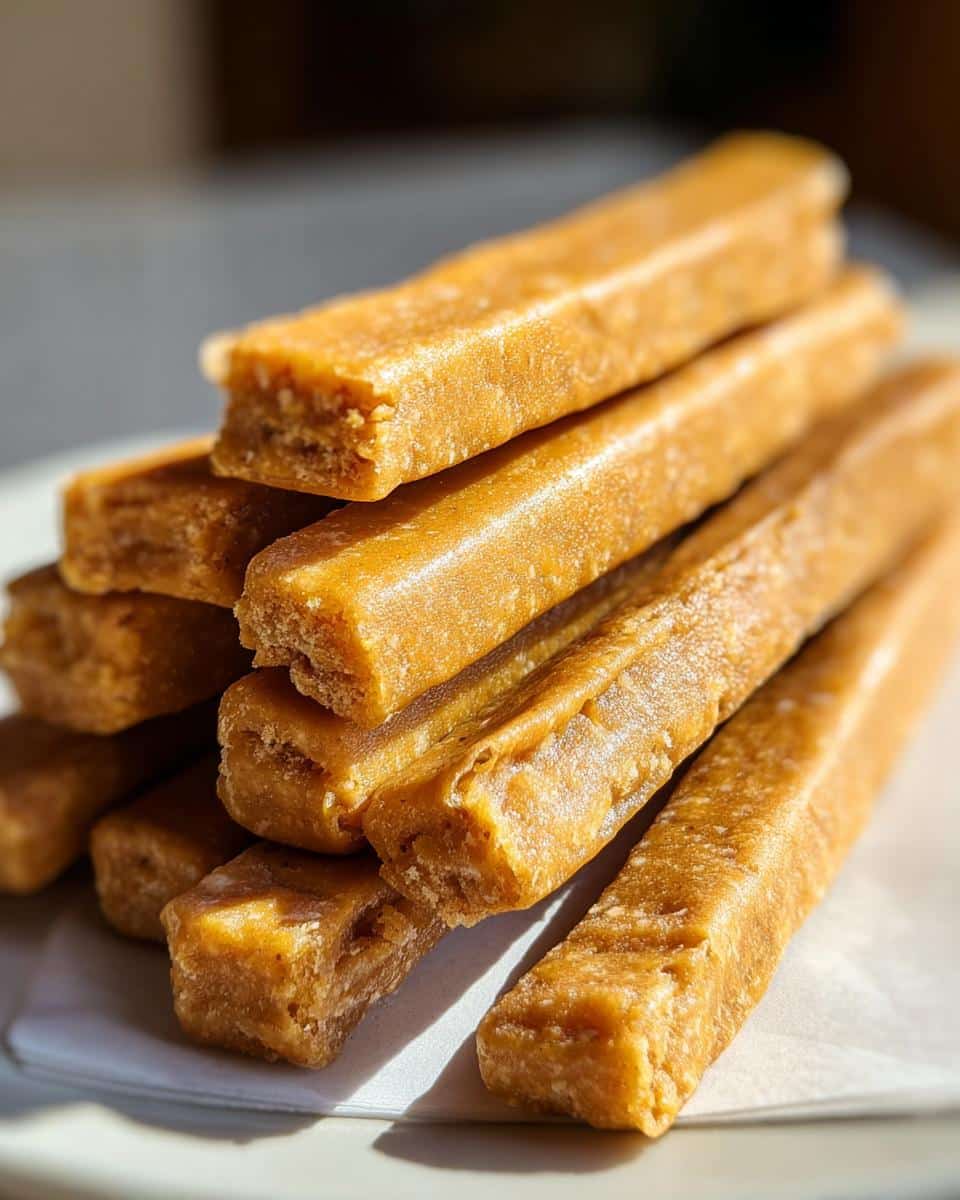
No cutter? No problem at all! That’s what I do when I am just whipping up a quick batch for Buster and don’t want to wash the cutters. After you roll the dough out, use a pizza cutter or a simple sharp knife to cut it into little squares or even little strips, like homemade dog biscuits. They might not look as cute, but your dog won’t care one bit! You can even check out more ideas for vet-approved homemade dog food recipes once you master this basic dough!
Share Your Homemade Dog Treats Success
Now that you have the power to create such wholesome snacks right in your own kitchen, I really hope you give these peanut butter and pumpkin chews a try for your best pal! Baking for your dog is such a rewarding way to show love, and honestly, it fits perfectly with that clean-living mentality we’re building together.
When you whip up a batch—and you should, because they’re so quick!—please come back here and tell me how it went. Did your dog lick the bowl clean? Was the texture just right for your pup’s chewing style? Let me know!
Don’t be shy about leaving a quick rating or review right here on the recipe page. That feedback is invaluable because it helps other people feel confident trying this out. And if you snapped a cute picture of your happy pup enjoying their fresh, homemade snack, I’d absolutely love to see it! Tag me or share it over on the site—I always check the community feed on the blog for updates. Happy baking, and happy treating!
By EMILIA, the founder of MeltItClean.com – your digital space for natural weight loss, real wellness habits, and clean-living inspiration that actually fits your life.
Hi, I’m EMILIA, the founder of MeltItClean.com – your digital space for natural weight loss, real wellness habits, and clean-living inspiration that actually fits your life.
For years, I struggled with the ups and downs of dieting. I tried everything — juice cleanses, low-carb crazes, fitness challenges — but I always ended up back where I started: tired, bloated, and frustrated. I didn’t just want to “lose weight” — I wanted energy, mental clarity, glowing skin, and confidence without sacrificing my joy or sanity.
After years of experimenting, learning, and unlearning, I discovered a simple truth: your body is already powerful — it just needs support, not restriction. That’s when I created Melt It Clean — a site dedicated to real transformation through clean, intentional, and nourishing daily habits that anyone can follow.
My goal was simple: build a place where people could feel informed, supported, and empowered without being overwhelmed by wellness fads.

Simple Peanut Butter and Pumpkin Dog Chews
Ingredients
Equipment
Method
- Preheat your oven to 350°F (175°C). Line a baking sheet with parchment paper.
- In a mixing bowl, combine the flour, peanut butter, and pumpkin puree.
- Mix the ingredients until a stiff dough forms. Add water, one tablespoon at a time, if the dough is too dry to come together.
- On a lightly floured surface, roll the dough out to about 1/4 inch thickness.
- Use cookie cutters or a knife to cut the dough into desired chew shapes.
- Place the cutouts onto the prepared baking sheet.
- Bake for 20 to 25 minutes, or until the edges are lightly golden brown and the chews are firm.
- Turn off the oven and let the chews cool completely inside the oven with the door slightly ajar for 10 minutes. This helps them dry out and become harder.
- Store the finished dog chews in an airtight container at room temperature for up to one week, or freeze for longer storage.