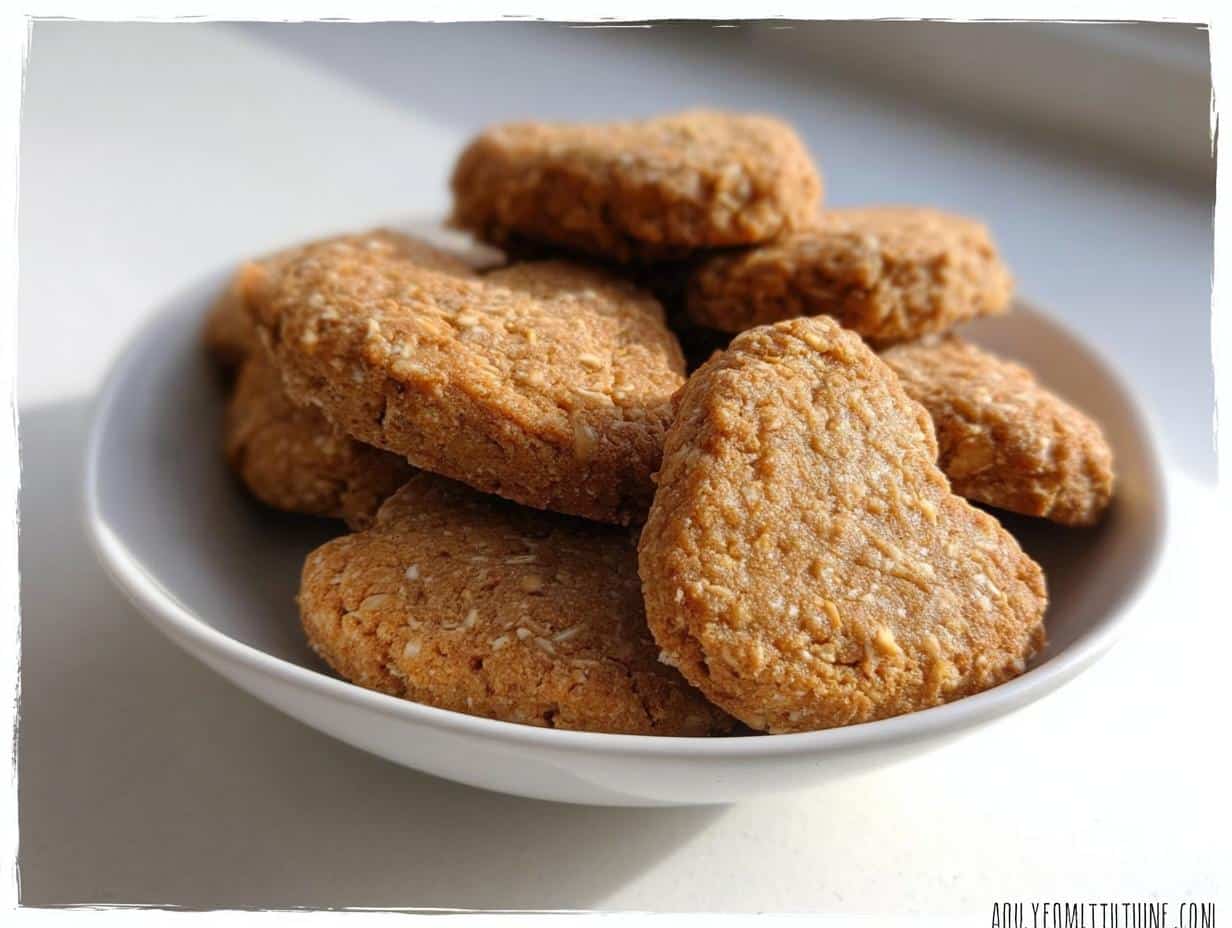
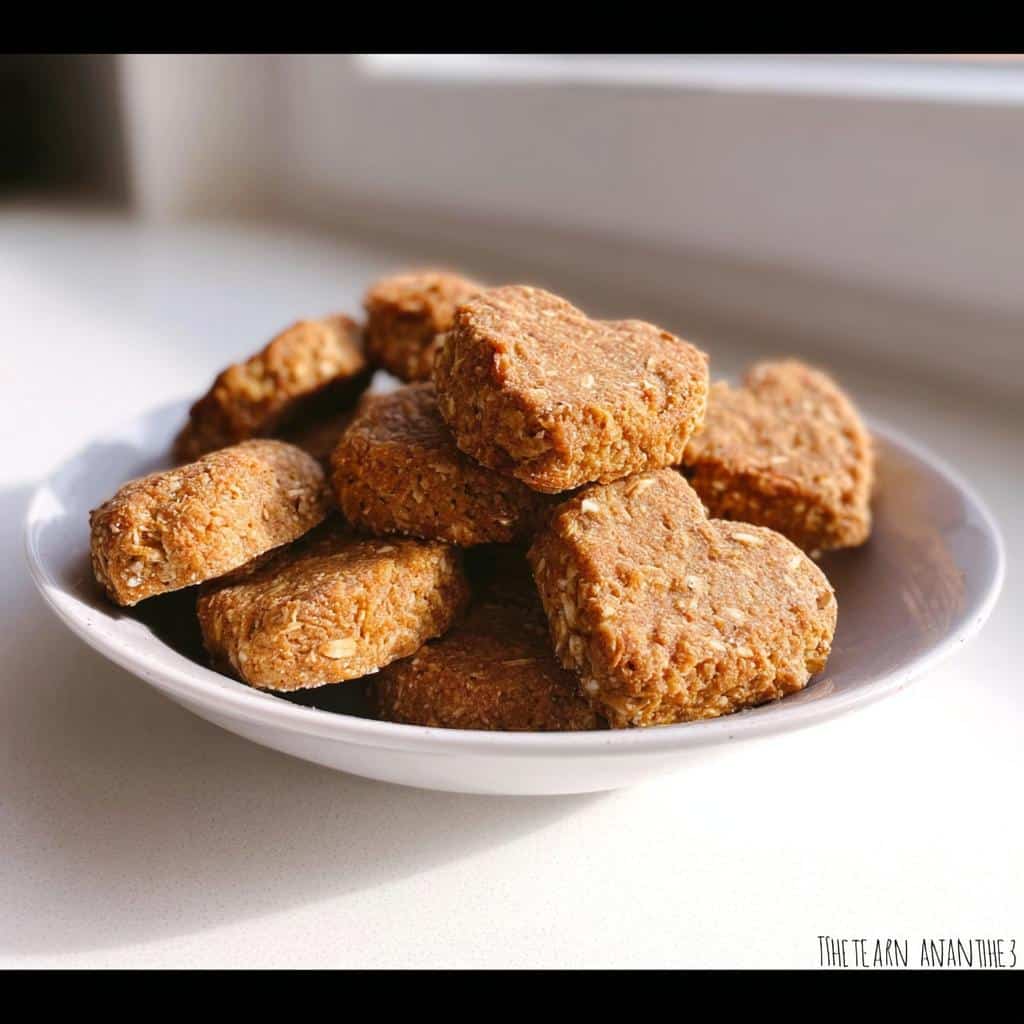
Oh, seriously, is there anything better than seeing your dog’s face light up when you hand them a special treat? I live for those moments! But honestly, when I started focusing on cleaner eating for myself, I realized I needed to apply that same logic to my pups. I was getting tired of reading ingredient labels packed with weird fillers and chemicals. That’s why I landed on these ridiculously simple, soft, three-ingredient Dog Biscuits. We are talking bananas, oats, and peanut butter—that’s it! Because I’m so focused on real wellness and clean habits, making sure my dog snacks are pure and trustworthy is a non-negotiable. These aren’t rock-hard biscuits; they are just perfectly soft and totally safe!
Why These Peanut Butter Banana Dog Biscuits Are a Top Choice
I get it; life is busy! Sometimes you just need a great recipe that doesn’t take all evening. But beyond the speed, the biggest win here is knowing exactly what you’re feeding your furry friend. These Dog Biscuits are all about transparency. If you’re striving for clean living and wellness for yourself, why wouldn’t you do the same for them? You can ditch those mystery ingredients you see in store-bought stuff.
- Three ingredients only—zero junk!
- Soft texture is perfect for older dogs or those with sensitive teeth.
- They smell absolutely mouthwatering (though, obviously, they aren’t for us!).
The Health Benefits For Dogs of Homemade Dog Biscuits
When we talk about Dog Biscuits with real health benefits, it starts with control. You control the salt, the sugars, and definitely the preservatives! Oats give us great fiber, and bananas are packed with potassium—it’s like giving them a little nutritional boost with every reward. This mindful approach to making your own Dog Biscuits is just part of supporting their happy, vibrant life, trust me.
Quick Prep Time for Busy Owners
Seriously, if you can mash a banana, you can make these. We’re talking ten minutes of active time before these babies go into the oven. That’s faster than driving all the way to the store to buy something you might regret feeding them later! It’s baking efficiency at its best.
Gathering Ingredients for Your Dog Biscuits
When I was cleaning up my own pantry to stop buying products loaded with junk, it made perfect sense to do the same for my dogs. That’s why ingredient quality matters so much here! We are keeping this super small—just three things—but we need them to be the *right* things. When it comes to your dog’s Dog Biscuits, trust starts with the label, or in this case, the three things sitting on your counter right now! They are so easy to gather.
Ingredient Clarity and Preparation Notes
Okay, let’s talk specifics so you don’t accidentally grab something that isn’t safe. We need two cups of oats—you can use any kind, but grinding them first is key for that dough consistency. Then you need two medium, ripe bananas because they provide the sweetness and moisture. The most critical part, seriously, is the peanut butter: it MUST be natural and xylitol-free. Xylitol is highly toxic to dogs, so double-check that label. If your peanut butter has added oils or sugars, swap it out for one that literally just says ‘peanuts.’ This attention to clean detail is why these homemade treats earn my trust.
Step-by-Step Instructions for Perfect Dog Biscuits
Alright, let’s get cooking! This part moves fast, so have your sheet ready and pans lined up. Remember, we are aiming for that perfectly manageable dough. The whole recipe is under an hour total, but the active mixing is lightning quick. Just follow these steps, and you’ll have a batch of wonderful, guilt-free Dog Biscuits cooling on the counter before you know it. Don’t rush the rolling part, though; that’s where we get the shape just right!
Processing and Forming the Dog Biscuits Dough
We need to start by turning those oats into flour. Dump the two cups of whole oats right into the food processor—watch out, it can be dusty at first! Pulse until they look like fine powder. Now, toss in the mashed bananas and that precious peanut butter. Blend it all up until it starts clumping together into a sticky ball of dough. If you don’t have a processor, no sweat! You can grind the oats in a blender—just do it in batches. Then mix everything by hand in a big bowl. The main thing is keeping that dough sticky enough to hold together when you roll it out.
Baking and Cooling Your Dog Biscuits
First things first: get that oven preheated to 300F (150C) and make sure you’ve got parchment down. Lay out your cut treats gently on the sheet. Bake these for about 25 to 30 minutes. Here’s a key tip for perfect Dog Biscuits: they will seem soft when you pull them out, maybe even a little squishy in the middle. That’s totally normal! They firm up beautifully as they cool down on the counter. Don’t be tempted to bake them longer just because they feel too soft right away, or you’ll end up with hockey pucks instead of soft treats!
Tips for Success When Making Dog Biscuits
Even with a simple recipe, a few little secrets can make the difference between a good batch and your dogs’ absolute favorite snack! Since I focus so heavily on clean, intentional baking—even for my pups—I want you to avoid the newbie mistakes I made early on. Mainly, don’t skip the extra flour or ground oats when you roll the dough out.
Speaking of rolling, if your dough feels too sticky to handle, just sprinkle a tiny bit more ground oat flour over your work surface. It’s much better to add a little more dry ingredient here than to overmix the dough later. Also, remember that oven temperature matters! Since these Dog Biscuits are baked low and slow at 300F, they take longer to dry out. Stick to the time, check the bottoms for that dark brown color, and trust the cooling process!
Storage and Make-Ahead Options for Dog Biscuits
The best part about whipping up a big batch of these is you don’t have to stress about them going bad right away! Since we skipped all the weird preservatives, storage is simple, but you need to be mindful of moisture. I always make more than I need because my dogs devour them, so I keep some on hand right away and stash the rest. These Dog Biscuits are so good because they last a while, letting you bake once and reward for weeks!
For treats you want to serve soon, keep them in an airtight container at cool room temperature for up to a week. If you want them to last longer, move them to the fridge—they should keep well for about two weeks in a sealed container there. And honestly, the freezer is your best friend! Pop your extra Dog Biscuits into a freezer-safe bag, and they’ll be good for months. Just thaw them out on the counter when you need a fresh snack!
Serving Suggestions for These Dog Biscuits
Because these Dog Biscuits are made with real, wholesome ingredients, they make an amazing reward during training sessions! I love pairing them with a good play session in the backyard; my dogs get so excited when they know treat time is coming up. Just remember, even though they are clean and healthy snacks, they are *treats*, not complete meals. Keep rewarding in moderation, ensuring the bulk of their diet follows the Feeding Guidelines For Dogs you usually follow. They are perfect before a long walk or after mastering a new trick!
Frequently Asked Questions About Homemade Dog Biscuits
I always get a ton of questions when people realize how clean these treats are. It’s great that you’re being so intentional about what goes into your dog’s diet! Since we aren’t using all those processed ingredients found in store-bought snacks, a few little questions always pop up about substituting things or how long they last. Don’t worry, these Dog Biscuits are usually pretty flexible, but checking these FAQs will help you nail the texture every time you bake!
Can I substitute the oats in these Dog Biscuits?
You totally can! If you don’t have whole oats, you can use oat flour, but start with a little less—maybe one cup—since it’s denser. If you need to skip oats entirely, you could try using finely ground rolled barley or chickpea flour as an alternative binder!
Are these treats suitable for puppies?
Yes, the soft texture is actually fantastic for brand-new teeth! However, remember that moderation is key for puppies as their tummies are still developing. A small Dog Biscuits portion makes a great training reward during those early stages.
What if my dog has a peanut allergy?
Oh dear, that’s important to know! If there’s any history of peanut allergies, swap the peanut butter for sunflower seed butter. Make absolutely sure it’s xylitol-free, just like the peanut butter, and the texture should remain very similar for your Dog Biscuits!
Nutritional Snapshot of Your Homemade Dog Biscuits
Since we are focusing on clean eating, I always like to give you an idea of what’s in these snacks. Remember, these numbers are just estimates based on standardizing the banana and peanut butter amounts. Nobody expects perfect laboratory accuracy when baking for love! Because these Dog Biscuits are so simple, you naturally skip all the fillers that bloat the nutrition panels on commercial brands, which is a huge win for their overall wellness!

Per treat, you are looking at roughly:
- Calories: 40
- Fat: 2g
- Protein: 1g
- Sugar: 1g
It’s a wholesome little package! Just keep moderation in mind, as with all treats, to support their balanced diet.
Share Your Dog Biscuits Creations
Now it’s your turn! I’m so excited for you and your pup to try these Dog Biscuits. Please come back and let me know how they turned out in the comments below. Did your dog gobble them up instantly? Do you have a special cookie cutter shape you loved using? Snap a picture and share your clean-living baking successes!
By EMILIA, the founder of MeltItClean.com – your digital space for natural weight loss, real wellness habits, and clean-living inspiration that actually fits your life.
For years, I struggled with the ups and downs of dieting. I tried everything — juice cleanses, low-carb crazes, fitness challenges — but I always ended up back where I started: tired, bloated, and frustrated. I didn’t just want to “lose weight” — I wanted energy, mental clarity, glowing skin, and confidence without sacrificing my joy or sanity.
After years of experimenting, learning, and unlearning, I discovered a simple truth: your body is already powerful — it just needs support, not restriction. That’s when I created Melt It Clean — a site dedicated to real transformation through clean, intentional, and nourishing daily habits that anyone can follow.
My goal was simple: build a place where people could feel informed, supported, and empowered without being overwhelmed by wellness fads.
Simple Homemade Peanut Butter and Banana Dog Biscuits
Ingredients
Equipment
Method
- Preheat your oven to 300F (150C). Line a baking sheet with parchment paper.
- Add the oats to a food processor and grind until they reach a fine powder. Add the bananas and peanut butter and blend until a sticky dough forms.
- Remove the dough from the food processor. Roll it out on a lightly floured surface using whole wheat flour or more ground oats to prevent sticking. Cut the dough into shapes using a cookie cutter or cut into squares with a knife.
- Lay the treats on the prepared baking sheet. Bake for 25 to 30 minutes, until the bottoms are dark brown. The treats will feel soft when removed but will firm up as they cool.
- Let the treats cool completely before serving them to your dog. Store in an air-tight container at room temperature for up to 1 week, in the fridge for up to 2 weeks, or freeze them for longer storage.


