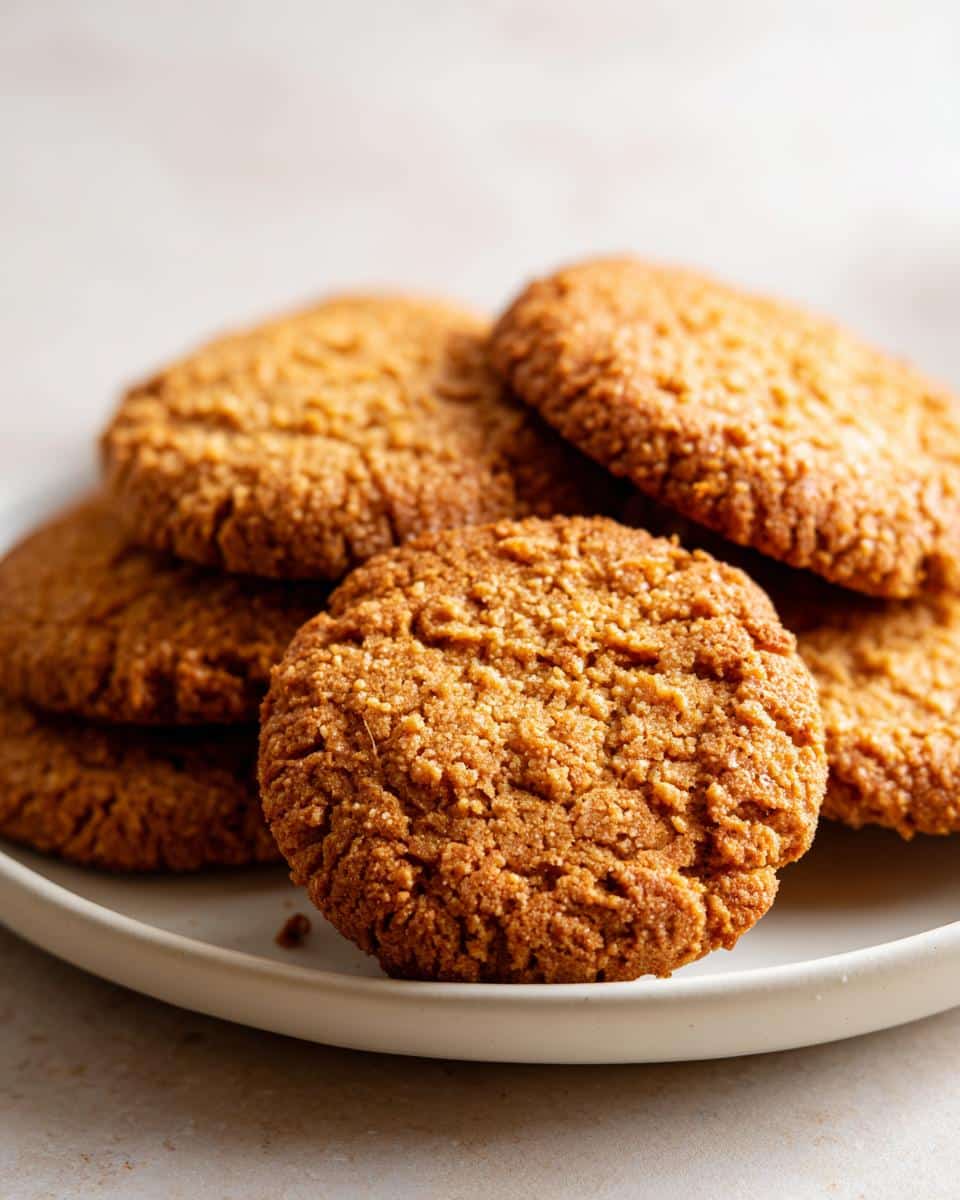
Oh my goodness, if you have a dog, you absolutely need to stop buying those expensive, questionable bags of biscuits at the store! Seriously, after finding out what some of those labels actually mean, I switched immediately. That’s when I developed my super simple recipe for **DIY Natural Dog Treats**. These Peanut Butter Dog Biscuits came about because poor Buster kept getting little tummy aches from fillers, and honestly, half the time I couldn’t pronounce the ingredients! Trust me, making your own healthy treats is so satisfying. This recipe only takes four ingredients—four!—and you likely have them hanging around right now. It’s my secret weapon for keeping the treat jar stocked with wholesome goodness, and they come together faster than a trip to the pet store. If you’re looking for a foundational treat recipe, look no further than these four-ingredient wonders; they’re what I use every week. You can see some other quick ideas over here too if you want more inspiration for easy homemade dog treats because happy dogs equal happy humans, right?
Why You Should Make These DIY Natural Dog Treats Today
Listen, baking these biscuits might seem like an extra chore, but I promise you, the payoff is huge! First off, we are talking about cutting down to just four main ingredients. That means way less stress for me and way less weird stuff going into Buster’s bowl. I can control everything, and that’s the whole point behind my journey into dog biscuit health benefits for dogs.
The results are always a massive win for me because my dog goes absolutely bonkers for them. If you need reasons to preheat that oven right now, here they are:
- They are ridiculously fast. We are looking at maybe 15 minutes of work!
- Total ingredient control—no mystery fillers ever again.
- The smell alone while they bake is fantastic (and totally safe!).
- My dog acts like I just served him filet mignon every single time he gets one.
Gathering Ingredients for Your DIY Natural Dog Treats
Okay, let’s talk about what you absolutely need for these fantastic peanut butter dog biscuits. Since we are making honest-to-goodness DIY Natural Dog Treats, the ingredient quality really matters. I’ve learned the hard way that grabbing just any jar of peanut butter can be a disaster for our furry friends, so pay close attention to that one key item!
We are keeping this lean and mean with only four items total, which is why this recipe is so reliable. You don’t need fancy extracts or obscure powders; just good, solid staples. If you’re using your kitchen tools well, you can check out some other great peanut butter ideas here for reference if you want more inspiration!
Essential Components for Perfect DIY Natural Dog Treats
Here is exactly what will hit your mixing bowl. Make sure your measurements are spot on, especially when it comes to that peanut butter!
You’ll need 2 1/2 cups of whole wheat flour—and please remember to grab a little extra because you’ll use it to dust your counter later on so the dough doesn’t stick everywhere.
Next, 1 teaspoon of baking powder to give them just the tiniest lift when they bake.
The star of the show: 1 cup of peanut butter. This has to be the natural kind, or at least one that doesn’t sneakily contain xylitol. Xylitol is super toxic to dogs, so check that label twice, even if you think the jar says ‘natural’—better safe than sorry!
Finally, 1 cup of plain water to bring it all together into a firm dough. That’s seriously all it takes!
Step-by-Step Instructions for Baking DIY Natural Dog Treats
Getting these four-ingredient wonders into the oven is simple, but the timing is everything to get that perfect satisfying crunch that dogs love. You don’t want soft, undercooked dough; you want a solid biscuit! My method involves a little trick at the end to make sure they dry out just right. While you work, remember you can check out some other cool peanut butter biscuit variations if you feel inspired later.
Preparing the Dough for Your DIY Natural Dog Treats
First things first, get your oven hot! Preheat it to 350°F (175°C). I always line my easiest baking sheet with parchment paper right away; trust me on this, it saves on scrubbing later when you’re done!
Grab your biggest mixing bowl and toss in your 2 1/2 cups of whole wheat flour and that 1 teaspoon of baking powder. Give those a quick whisk just to make sure everything is partnered up before we add the wet stuff.
Now, add your cup of peanut butter and your cup of water right into the dry mix. Don’t be shy! Mix it all up. You’ll need a good strong spoon or even your hands here because it’s going to get stiff pretty fast. My tip? Keep mixing until it pulls together into one solid, stiff ball of dough. If it feels sticky at all, just add another tiny sprinkle of that extra flour you set aside.
Cutting and Baking the DIY Natural Dog Treats
Time for the fun part! Dump that dough ball onto a counter that you’ve dusted generously with flour. Using your rolling pin, roll the dough out until it’s about 1/4 inch thick. If you roll it too thin, they get too crunchy and fly everywhere when Buster tries to chew them; too thick, and they stay soft inside.
Grab your favorite cookie cutters—I use the little bone shapes, of course! Cut out as many shapes as you can, collecting and rerolling the scraps until you run out of dough. Place them onto that prepared baking sheet.
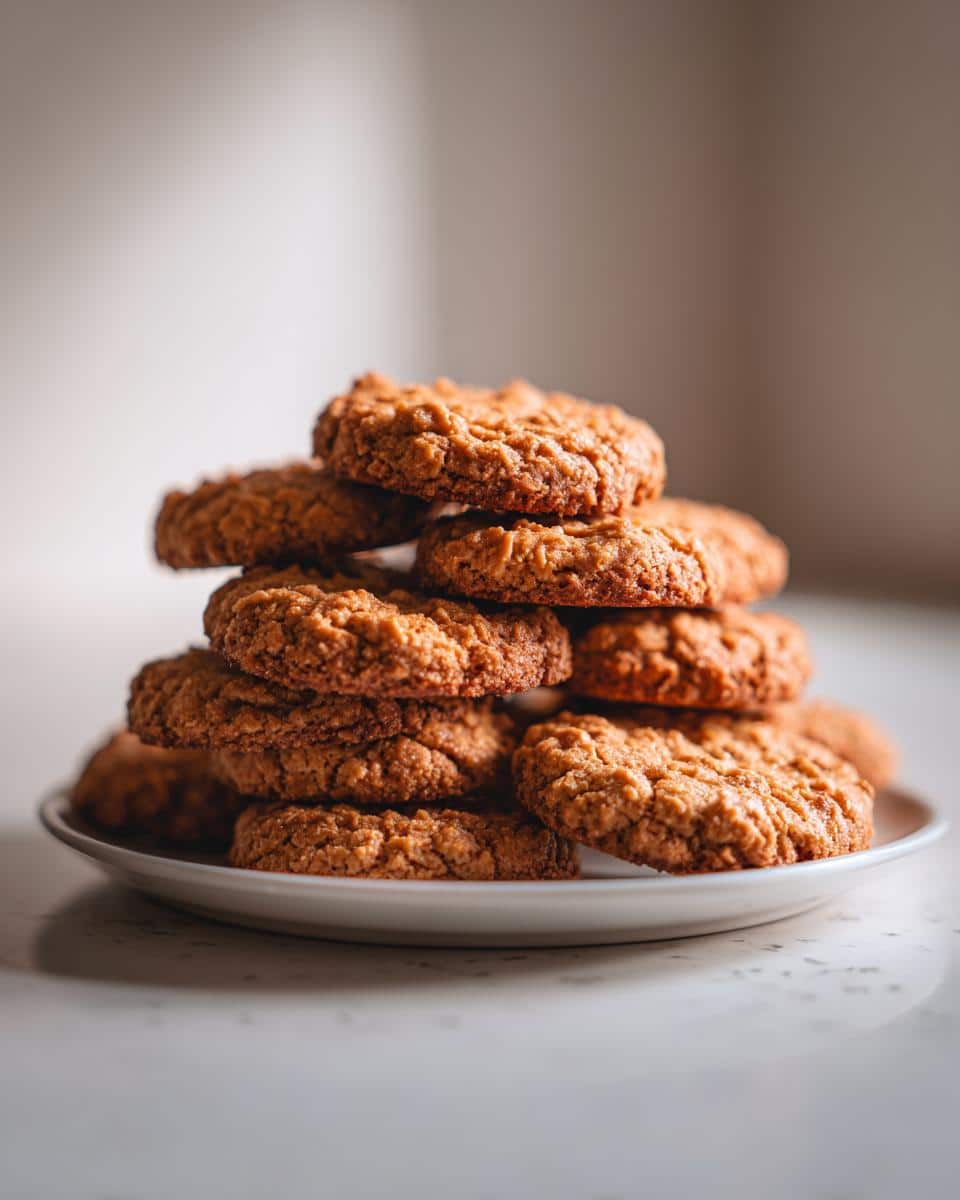
They bake for 20 minutes. But here’s the secret sauce for that truly crisp DIY Natural Dog Treats texture: Turn the oven OFF after those 20 minutes are up, and just leave the biscuits sitting right inside the closed oven for another 10 minutes. This slow cool-down dries them out perfectly without burning the edges! Once they’re cool to the touch, they are ready for the tasting committee.
Tips for Success When Making DIY Natural Dog Treats
Even with just four ingredients, when you are making DIY Natural Dog Treats for the first time, you might run into a couple of small snags. Don’t panic! Baking is forgiving if you know the little tricks. I’ve had batches that were a little too soft, and batches that made my counter look like a flour bomb went off. Here are the three things I learned that guarantee perfect, sturdy biscuits every time you bake.
First, remember that dough stickiness? That almost always depends on what kind of peanut butter you are using. Some brands are just runnier than others. If your dough feels gummy when you start kneading, don’t immediately dump in more flour, because that leads to dry, crumbly biscuits!
Instead, try this little trick: wrap that sticky dough ball in plastic wrap and just pop it in the fridge for about 15 minutes. Chilling it firms up the fats in the peanut butter and makes the dough handleable without adding extra dry ingredients. It just needs a little chill therapy!
Second, about those soft biscuits I mentioned—that’s all about the final cooling period. If you pull them out right when the timer dings at 20 minutes, they might feel okay, but they’ll deflate a touch as they cool, leaving them chewy instead of crisp. That extra 10 minutes resting in the turned-off oven is non-negotiable for a good crunch. If yours still seem a bit soft after cooling completely, just pop them back on the baking sheet and bake them for another 5 to 7 minutes at the same 350°F and then let them cool again.
Lastly, always dust your surface, but use a light hand! When you roll out the dough, too much flour gets incorporated into the edges, sometimes leading to wasted scraps that are too tough to reroll nicely. A fine, even dusting is all you need to keep things moving smoothly so you can get the most shapes out of your dough. You can find some fun flavor twists to try next time over at this link for some great peanut butter dog treats inspiration!
Equipment Needed for Your DIY Natural Dog Treats
Part of what makes this recipe so wonderful is that you don’t need any fancy gadgets cluttering up your pantry for these DIY Natural Dog Treats. Seriously, I use the same basic stuff I grab when I’m making cookies for myself! Having everything ready to go makes the process so smooth; you won’t waste time hunting things down when you’re ready to start mixing.
Make sure you have these few, very standard items ready on your counter before you pull out the peanut butter:
- You absolutely need a big mixing bowl. Since this dough gets quite stiff, make sure the bowl is heavy-duty enough so it doesn’t slide all over the place while you’re wrestling the dough together!
- A rolling pin is essential for getting an even thickness across the entire batch. Consistency means they all bake the same way, and we want that perfect crunch!
- You’ll need a standard baking sheet to put them on. I always recommend using that parchment paper trick we talked about to keep cleanup minimal.
- And of course, your cookie cutters! I use bone shapes, but honestly, whatever fun shapes you have on hand work perfectly well. Even a simple round cutter keeps the dogs happy!
See? Nothing major! It’s designed for the everyday home cook who just wants to whip up some quick, wholesome goodness for their best friend.
Storing Leftovers of Your DIY Natural Dog Treats
My biggest fear when I make a huge batch of these DIY Natural Dog Treats is that they won’t last! Luckily, because we bake them until they are nice and dry, they actually keep pretty well. Once you’ve gone through the effort of making a pile of these goodies, you want to make sure you store them correctly so they stay fresh and don’t get stale before your dog can eat them all.
The storage method really depends on how fast your dog eats them—and let’s be honest, most of mine disappear within three days! But if you are a bit more disciplined or you’re dealing with more than one pup, knowing how to stash them correctly is key.
If you’re going to use them within the week, keeping them on the counter is totally fine. Just make sure they are completely cooled down before they go into the container—warm treats create steam, and steam means sogginess, which is the enemy of a good crunchy biscuit! An airtight container is your best friend here. I usually find that a big Tupperware with a good tight seal works better than just a tin, especially in humid weather.
Now, if you’re like me and sometimes you want to save them for a rainy day or just have way too many, freezing is the way to go. These little heroes freeze beautifully! You can wrap a week’s worth of biscuits tightly in plastic wrap first, and then toss that packet into a freezer bag. They’ll stay perfectly crisp, and you can just pull out a handful whenever you need them. It’s so easy, and I always have a stash ready to go! If you are interested in preservation techniques, maybe check out this link about easy DIY freeze-dried dog treats for even longer-term solutions, though these peanut butter ones manage just fine in the freezer!
Variations on Simple DIY Natural Dog Treats
While the basic four-ingredient peanut butter dog biscuit recipe is genuinely perfect on its own, I love keeping things interesting for Buster! Sometimes he needs a little flavor boost, or maybe I’m just running low on the whole wheat flour. These DIY Natural Dog Treats are so foundational that they handle simple swaps really well. It’s all about boosting the natural goodness without overcomplicating things, right?
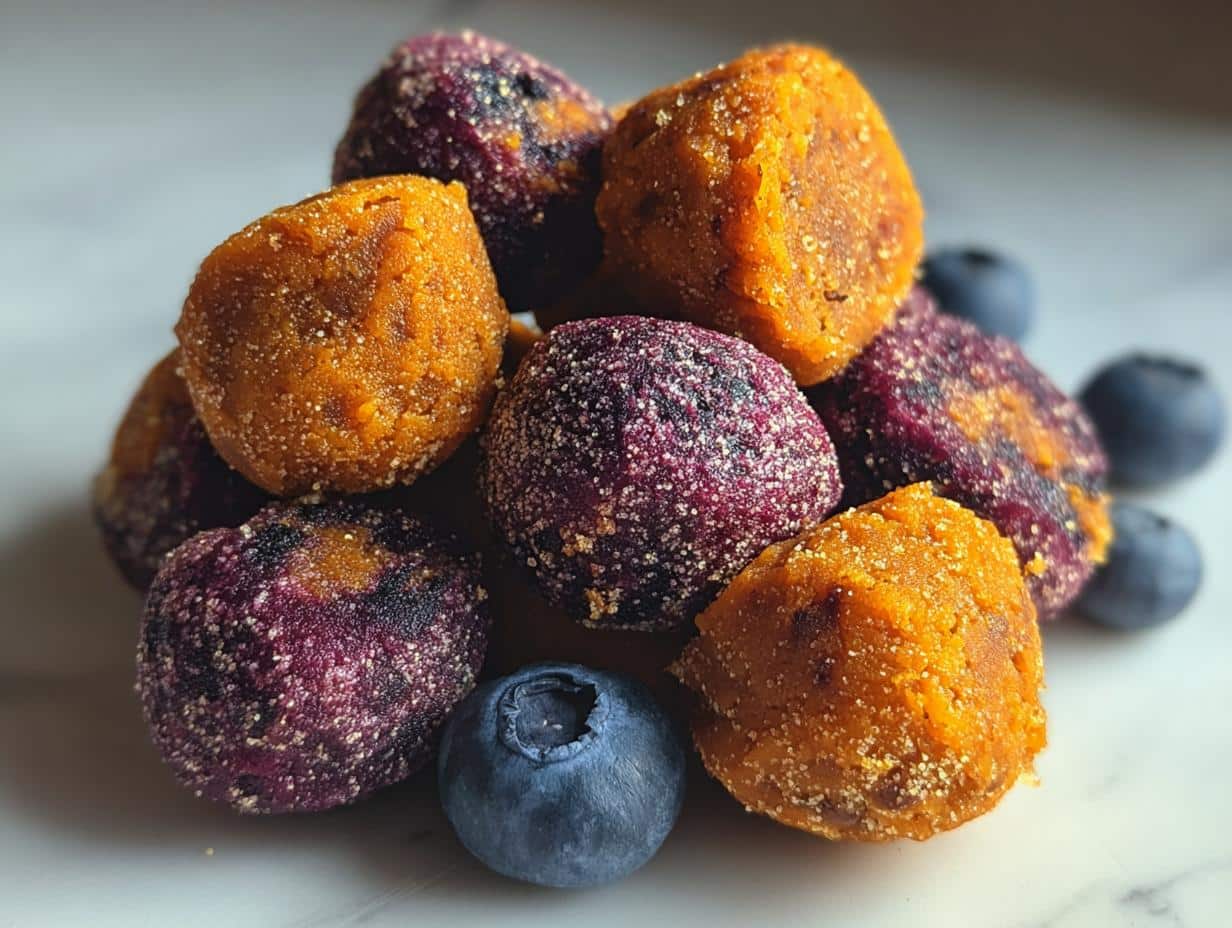
I never go too wild because, remember, we are keeping these wholesome! But a little experimentation makes the batch feel brand new. You can definitely have fun tweaking this base recipe. For example, if you want to lean into the vegetable aspect of natural treats, you should definitely check out how others incorporate blueberries in their recipes over at this link for dog biscuit blueberry recipe ideas!
Here are the two easiest, safest swaps I use when I want a different batch of DIY Natural Dog Treats:
Swap Out Some Flour: You don’t have to use the full 2 1/2 cups of whole wheat flour! If you only have 1 1/2 cups of whole wheat on hand, you can easily substitute the remaining 1 cup with rolled oats. Just make sure those oats are quick oats or pulse them a couple of times in a food processor first so they break down a bit more. It changes the texture slightly to be a little more rustic, and dogs adore it.
Adding Fresh Goodness: This is my absolute favorite variation for when I want to freshen things up! If you have a tiny bit of fresh parsley lying around (the flat-leaf kind is great), chop up about one tablespoon very, very finely and mix it in when you’re combining the dough. Parsley is known to help freshen dog breath, and it also adds a lovely little fleck of green throughout the biscuit. It doesn’t change the taste much for the dogs, but it feels a bit fancier for me!
For the Water Swap: If your dog loves a savory flavor profile, feel free to swap out half or all of the required water with unsalted, low-sodium chicken or beef broth. Just make sure it has absolutely no onion or garlic powder in it—those are major no-nos! Using broth instead of water really intensifies the savory element, and my dog finds those batches irresistible.
Frequently Asked Questions About DIY Natural Dog Treats
I totally get it! Once you start making DIY Natural Dog Treats, you immediately start wondering about all the little details. Is this safe? Is that swap okay? It’s great that you’re being cautious. Since these are homemade and totally natural, we want to make sure every ingredient is doing exactly what it should be doing for our pups. I’ve collected the things I always get asked about when I bring these over to friends’ houses. If you’re looking for more ideas, I found a site with three-ingredient homemade dog treats that might spark some more creativity later on!
Can I use regular peanut butter instead of natural peanut butter in these DIY Natural Dog Treats?
This is my number one safety question, and the answer has to be a firm *maybe, but only if you are absolutely positive about the ingredients!* You can skip the *natural* label if you want to save a few pennies, but you cannot, under any circumstances, use peanut butter that contains xylitol. I can’t stress this enough—xylitol is deadly for dogs, even in small amounts, and it hides in some reduced-sugar or ‘healthier-sounding’ peanut butters.
So, read the ingredients list: if you see xylitol, put it back! If you can’t find a standard jar without added sugar, then stick to the natural kind where the ingredients are usually just peanuts and maybe salt. The extra sugar in regular brands isn’t great for their waistlines, but xylitol is a genuine emergency.
How do I make these DIY Natural Dog Treats crunchier?
Ah, the pursuit of the perfect crunch! These biscuits are excellent right after they cool, but if you want a longer-lasting, rock-solid crunch for the teething phase, you need to maximize the drying time. We already bake them for 20 minutes, but the magic rests in that second part of the cooking process.
If you follow the instructions and turn the oven off, leaving them inside for 10 minutes, that usually gets them perfectly crisp. But for maximum crunch, try this: turn the oven off after the initial 20 minutes, crack the oven door open about an inch (you can prop it with a wooden spoon so it doesn’t shut all the way), and leave them in there for an extra 30 minutes like that. It’s like a slow dehydration process! When you pull them out, let them cool completely on a wire rack. They should snap cleanly when you break them in half.
Why do my DIY Natural Dog Treats seem crumbly?
Crumbly dough usually means one of two things, and both are related to the flour. First, you may have used too much flour when dusting your surface, and that excess is baked right into the edges of the biscuits. Second, and more likely, you might have baked them for the full time but didn’t give them that crucial second resting period in the turned-off oven. If they don’t dry out enough, the structure remains brittle rather than sturdy. A little chill time for the dough before rolling often helps hold everything together too!
What if I don’t have baking powder?
If you’re in a pinch and realize you’re out of baking powder, don’t run to the store! For such a dense biscuit as this, you can actually skip it completely, especially if you’re aiming for that super hard, crunchy texture. The baking powder is really just there for a slight puff. If you skip it, your DIY Natural Dog Treats will be flatter and denser, which many dogs actually prefer anyway! Just make sure you don’t increase the liquid at all, or the dough will get too slack.
Estimated Nutritional Snapshot for These Dog Biscuits
Okay, now this is the part that might make me sound a little too much like a scientist, but I promise it’s worth noting! When I’m making something special like these DIY Natural Dog Treats, I always try to figure out a rough estimate of what’s going into each one. It gives me peace of mind knowing that even though they taste like a million bucks, they are still balanced for my active pup.
Keep in mind that because we are using whole wheat flour and natural peanut butter, the results can vary slightly based on the exact brand or fat content of the peanut butter you choose. So, please take this breakdown as exactly what it is: a friendly estimate per single biscuit. We are dividing the entire recipe total by 24 biscuits, which is what this recipe yields!
- Calories: Roughly 95-105 per biscuit
- Fat: About 5-6 grams (mostly good fats from the peanut butter!)
- Protein: Around 3-4 grams
- Carbohydrates: Approximately 10-12 grams
Since these are mostly for rewarding good behavior and not meant to replace Buster’s actual meal, those numbers look totally reasonable to me. They have enough substance to feel like a real treat, thanks to the whole wheat, but they aren’t overloaded with unnecessary fillers. That’s the beauty of sticking to those four core, wholesome ingredients!
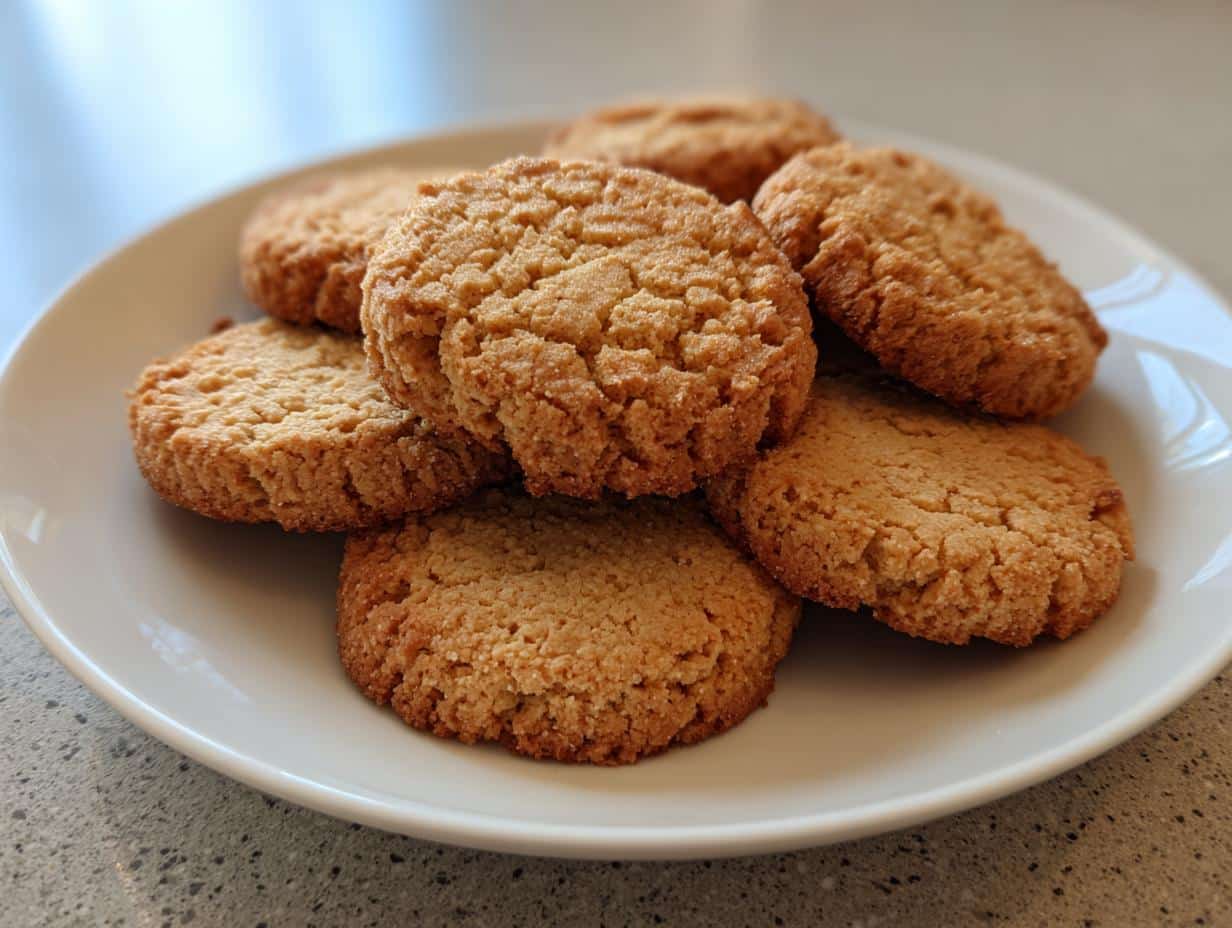
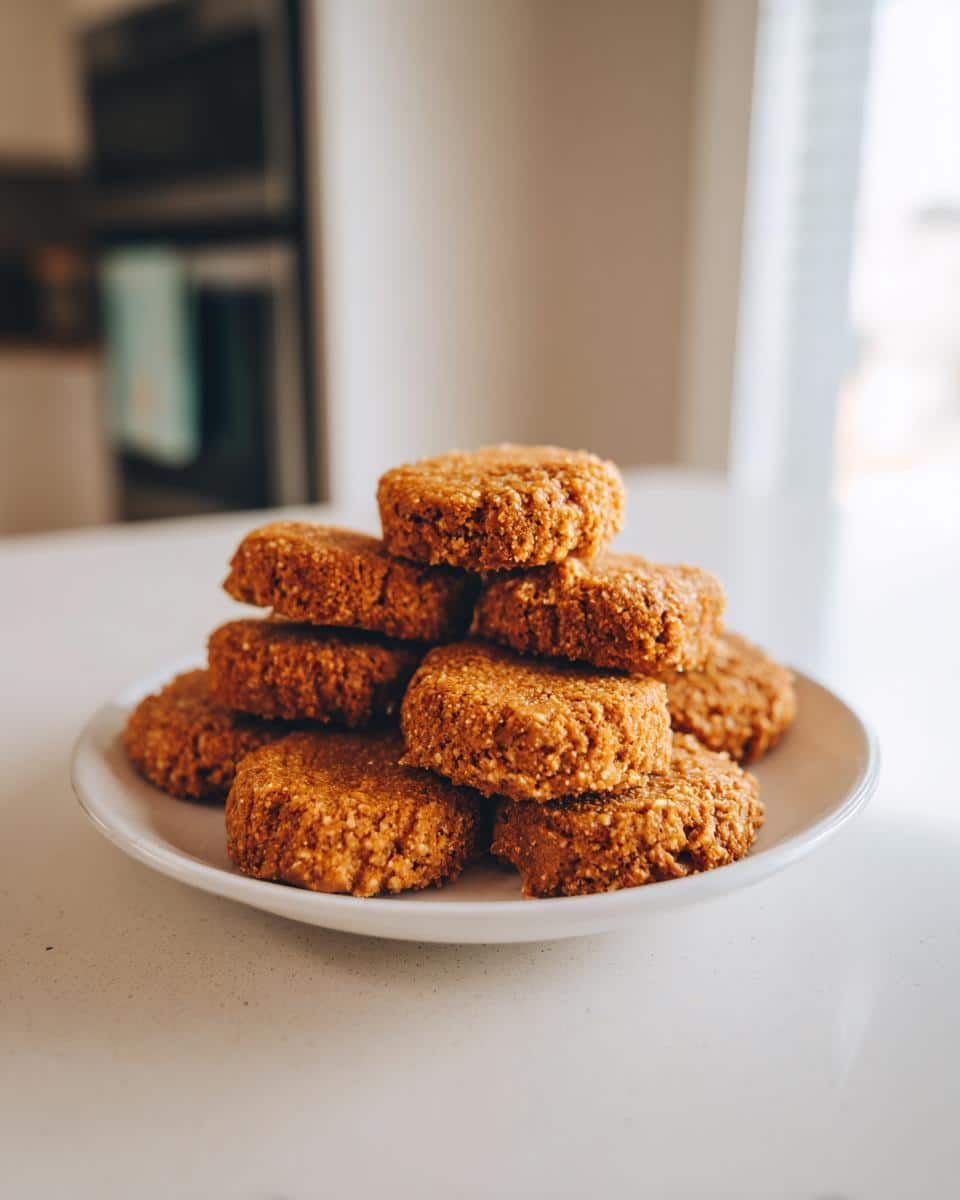
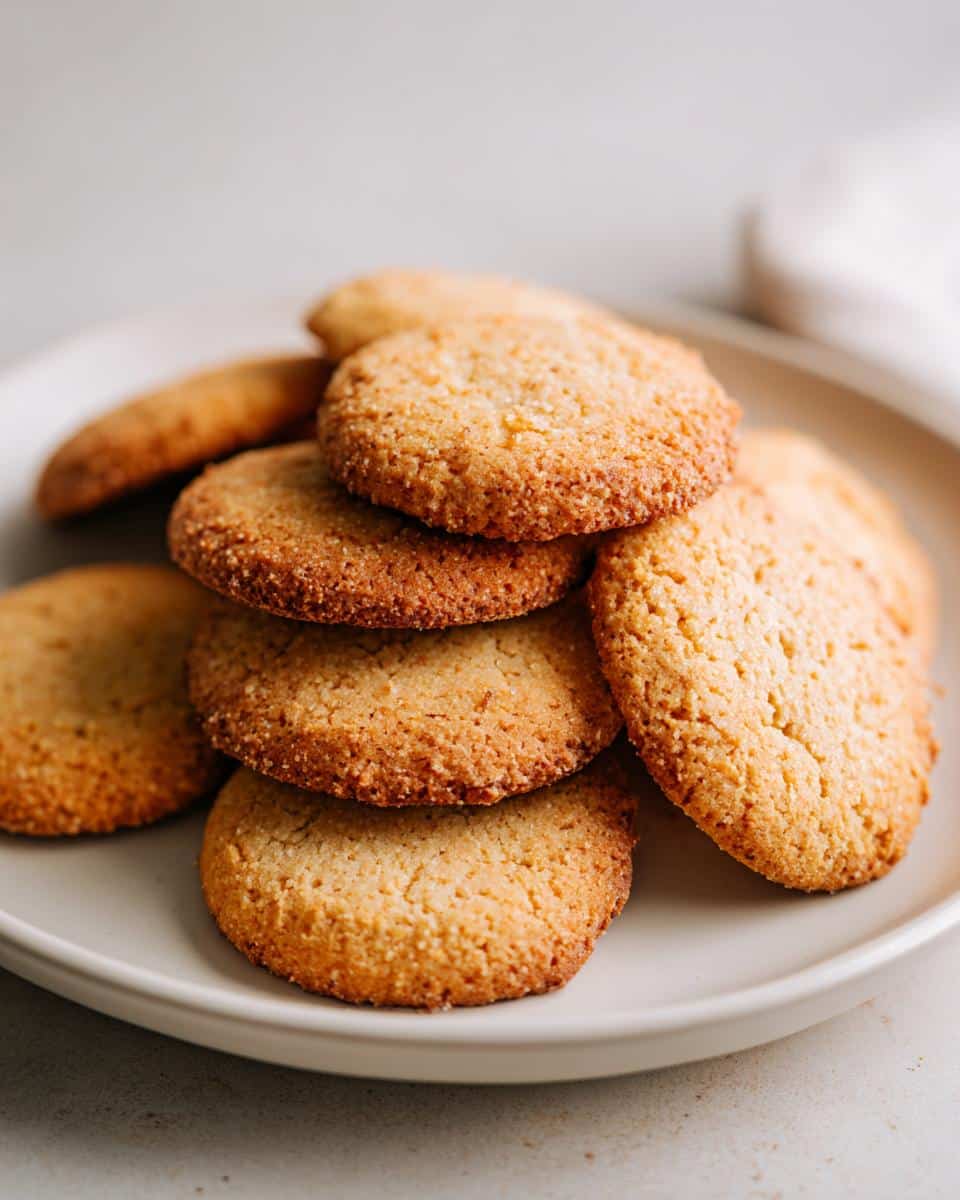
Simple Peanut Butter Dog Biscuits
Ingredients
Equipment
Method
- Preheat your oven to 350°F (175°C). Line a baking sheet with parchment paper.
- In a large bowl, mix the flour and baking powder together.
- Add the peanut butter and water to the dry ingredients. Mix until a stiff dough forms.
- On a lightly floured surface, roll the dough out to about 1/4 inch thickness.
- Use cookie cutters to cut out shapes. Place the shapes onto the prepared baking sheet.
- Bake for 20 minutes. Turn off the oven and leave the biscuits inside for another 10 minutes to dry out slightly.
- Let the biscuits cool completely before giving them to your dog.