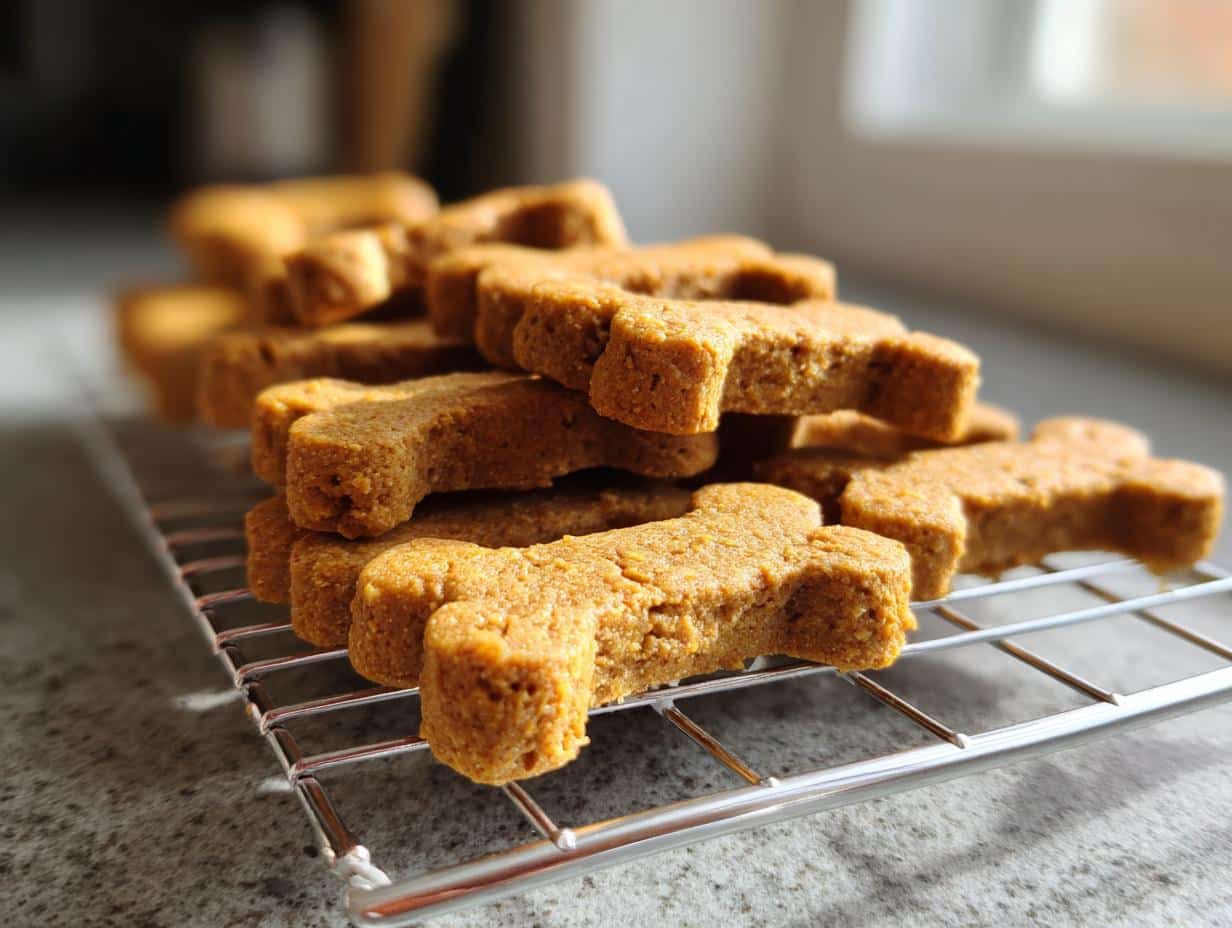
Oh my gosh, is it just me, or does the cold weather make you want to bunker down and make everything warm and nourishing? I feel that way about my own meals, and honestly, my pups feel it too! When the temperature dips, nothing beats a homemade, slow-simmered meal, and that goes double for our furry family members. That’s why I developed these incredible Peanut Butter Pumpkin Dog Treats—they’re my absolute go-to when I’m whipping up those special DIY Christmas Dog Treats.
This recipe is seriously foolproof, which is perfect because holiday baking can get hectic fast! It takes simple, high-quality ingredients—stuff you probably already have!—and turns them into hearty snacks that are perfect for winter energy. Trust me, seeing my dog’s tail wag after a fresh batch makes all that mixing worthwhile. When we bake for them, we control the goodness, and that quality really shows!
Why This DIY Christmas Dog Treats Recipe is Perfect for Winter
When the weather turns frosty, you want your pup to have food that feels grounding and gives them lasting energy, right? That’s exactly what we’re aiming for here! These treats aren’t just cute additions to the holiday basket; they are genuinely supportive snacks for the colder months. This recipe is designed to be hearty without being heavy, making it one of my favorite DIY Christmas Dog Treats to keep stocked.
- They are comforting and easy on the tummy, perfect for dogs slowing down a little in the winter chill.
- Every ingredient packs a nutritional punch to keep their internal engine running smoothly all season long!
Hearty Ingredients for Warmth and Energy
We’re talking about dense, slow-release energy here! The combination of pumpkin and whole wheat flour offers fantastic fiber, which is crucial for digestion when you’re eating richer winter fare. It just feels right to give them something that sticks with them!
Simple Preparation for Busy Holidays
I know your holiday schedule is packed, so don’t worry about complicated steps. From start to finish, including mixing and baking, the entire process takes us about 40 quick minutes. That means you can get these amazing DIY Christmas Dog Treats made before your guests even arrive!
Gathering Ingredients for Your DIY Christmas Dog Treats
Okay, getting the ingredients together is where the magic starts, truly! I always make sure my pantry is stocked before I even think about getting out the mixing bowl. For these DIY Christmas Dog Treats, we keep things super natural because, let’s be real, who wants weird fillers in their dog’s snacks? It’s all whole foods here!
You’ll be able to whip up about 30 of these lovely, thick treats, and they come together in one big bowl—minimal cleanup, maximum reward! Just make sure you measure carefully; baking is science, especially when you’re dealing with your best friend’s snacks. Pay close attention to the pumpkin and peanut butter notes; those are vital for texture and safety!
Dry Components for the DIY Christmas Dog Treats
This is the simple part, but don’t skip whisking these together first! It helps everything distribute evenly.
- Two full cups of whole wheat flour (or if your pup is super sensitive, you can use oat flour instead!)
- One teaspoon of baking soda. That’s it for the dry stuff!
Wet Components for the DIY Christmas Dog Treats
This is where the flavor and moisture come from! Remember, the quality matters, so check those labels carefully.
- One cup of pure pumpkin puree. And please, please check that can—it has to be 100% pumpkin, NOT that spiced pie filling! Yuck!
- Half a cup of creamy peanut butter. This is SUPER important: You absolutely, positively MUST check the ingredients to ensure it has ZERO xylitol. That stuff is toxic to dogs, so always double-check the label when you grab it!
- Two regular eggs. These act as our binder to hold these gorgeous little shapes together.
Step-by-Step Instructions for Perfect DIY Christmas Dog Treats
This is where we transform ingredients into delicious homemade goodness! Don’t rush this part; while it’s fast, precision ensures your biscuits come out firm and perfectly shaped. I always put on some good music while I work, because baking should be fun, not a chore!
You’ll want to handle these steps in order for the best results. You should get about 30 of these lovely DIY Christmas Dog Treats out of this batch, which is great for gifting or just spoiling your own pup all week!
Mixing the Dough for DIY Christmas Dog Treats
- First things first: Preheat your oven to 350°F (that’s 175°C). Get a baking sheet ready and lay down some parchment paper. This saves cleaning later, trust me!
- Grab that big bowl with your flour and baking soda and give them a quick whisk just to make sure they are friendly with each other.
- In a second bowl—yes, two bowls are needed for this—you’ll mix your pumpkin, peanut butter, and those two eggs until they look completely blended together.
- Now for the big moment: Pour the wet mixture into the dry mixture. Mix it all until a stiff dough forms that you can actually handle. If your dough is looking super slimy or sticky, don’t panic! Just sprinkle in flour, a Tablespoon at a time, until it pulls away cleanly from the sides of the bowl.
Cutting and Baking Your DIY Christmas Dog Treats
Once you have that perfect dough ball, it’s time to make them look pretty!
- Lightly flour up your counter space—a little flour goes a long way—and use that rolling pin to flatten your dough. You’re aiming for about a 1/4 inch thickness. If it’s too thin, they can get crumbly; too thick, and they won’t bake quite right through and through.
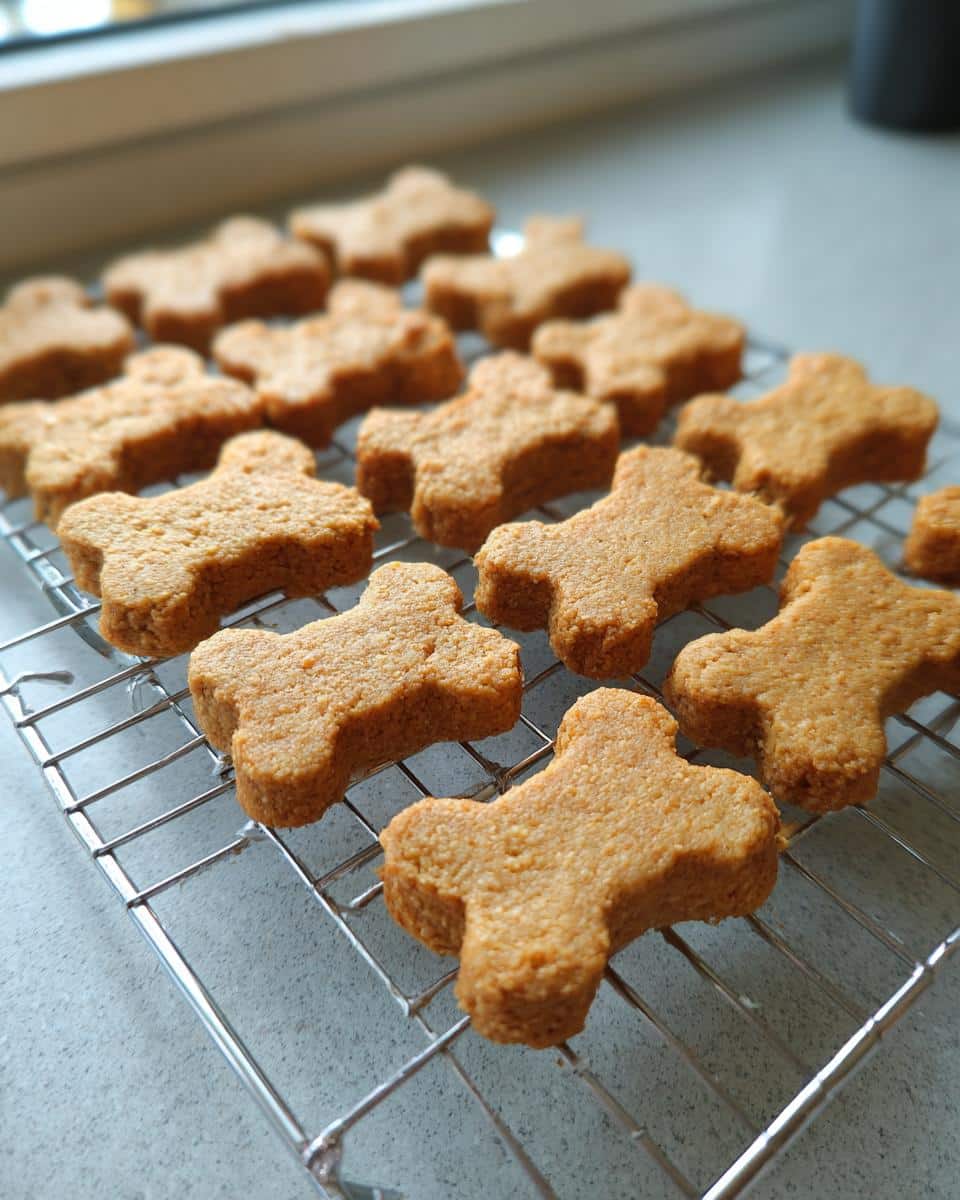
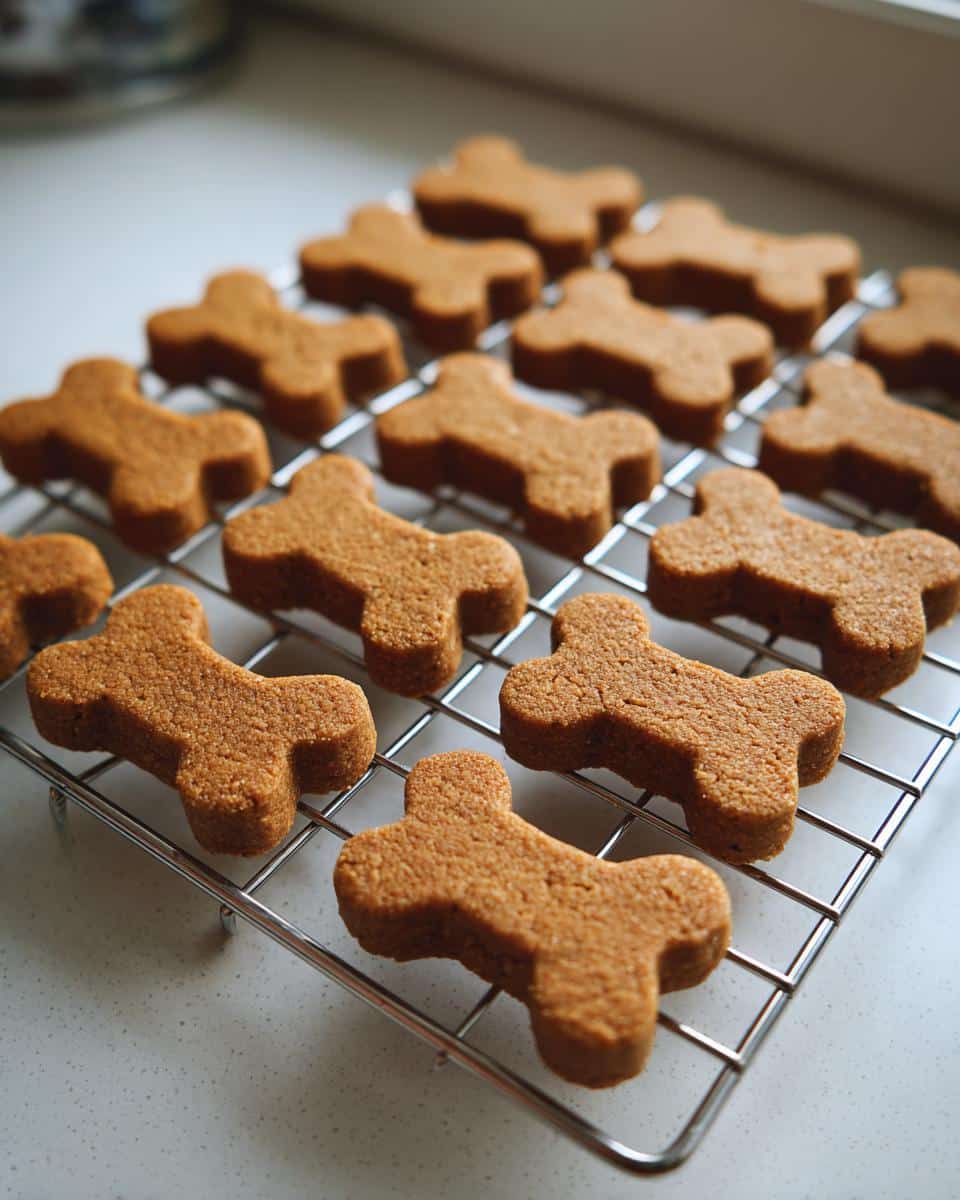
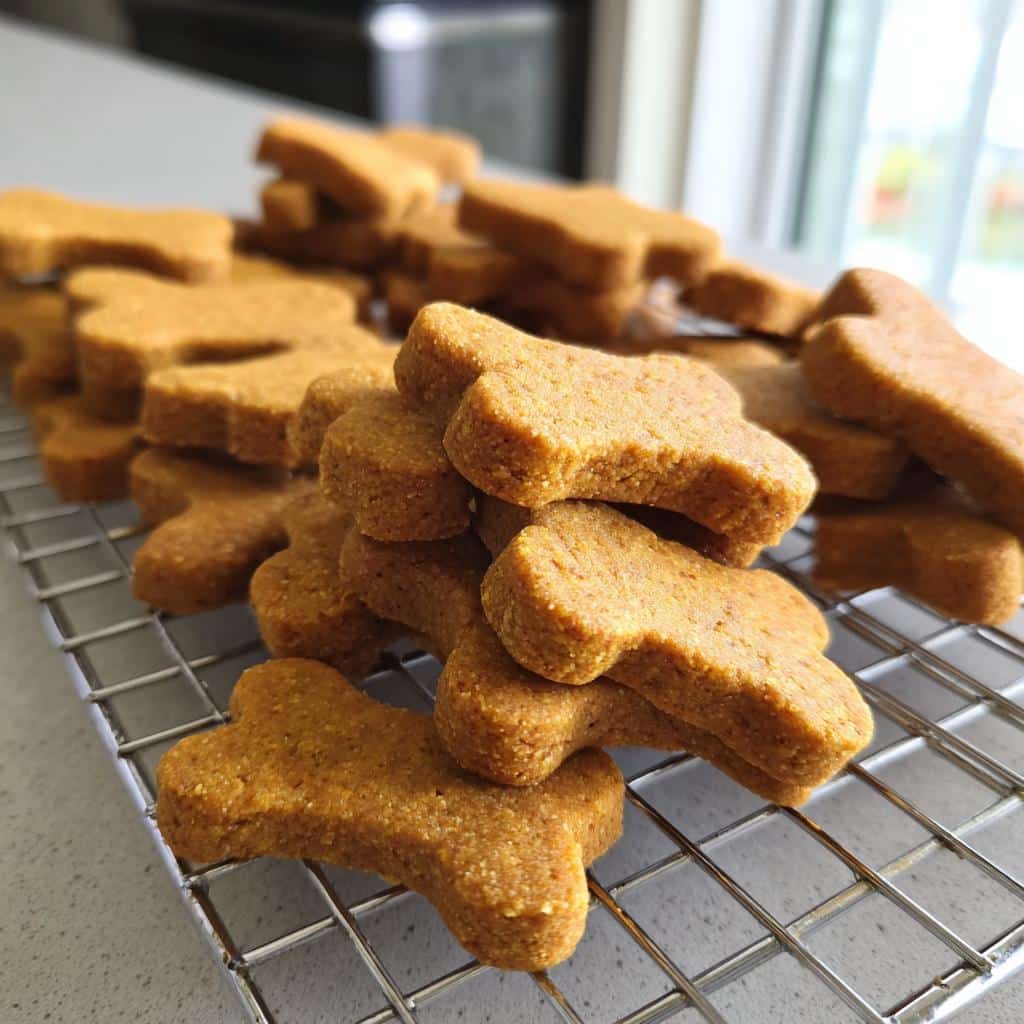
- Grab your cookie cutters! Since these are DIY Christmas Dog Treats, maybe use a bone, a star, or even a cute little paw shape if you have one. Place the cutouts neatly onto your lined baking sheet.
- Bake them for 20 to 25 minutes. You’ll know they are done when the edges look set and slightly golden brown.
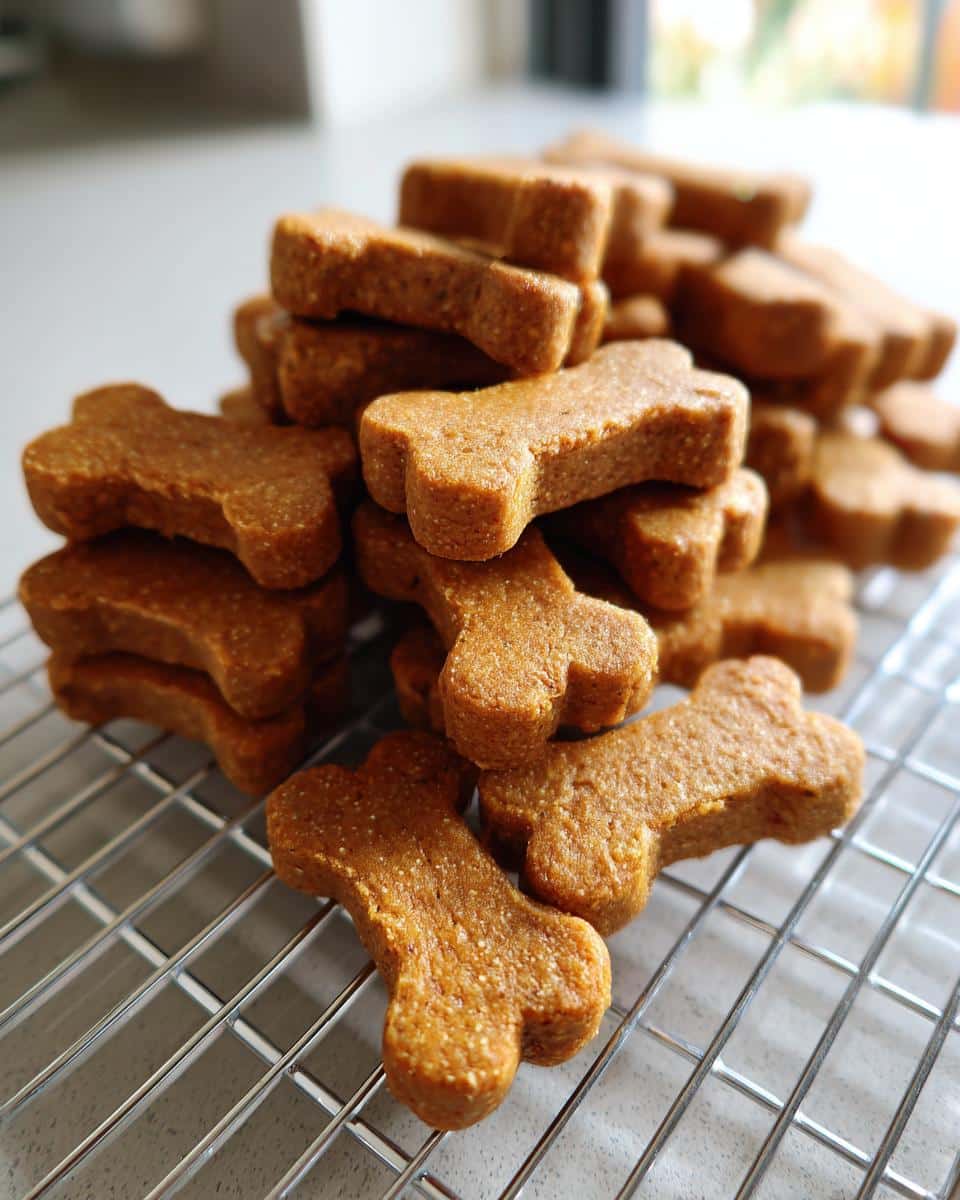
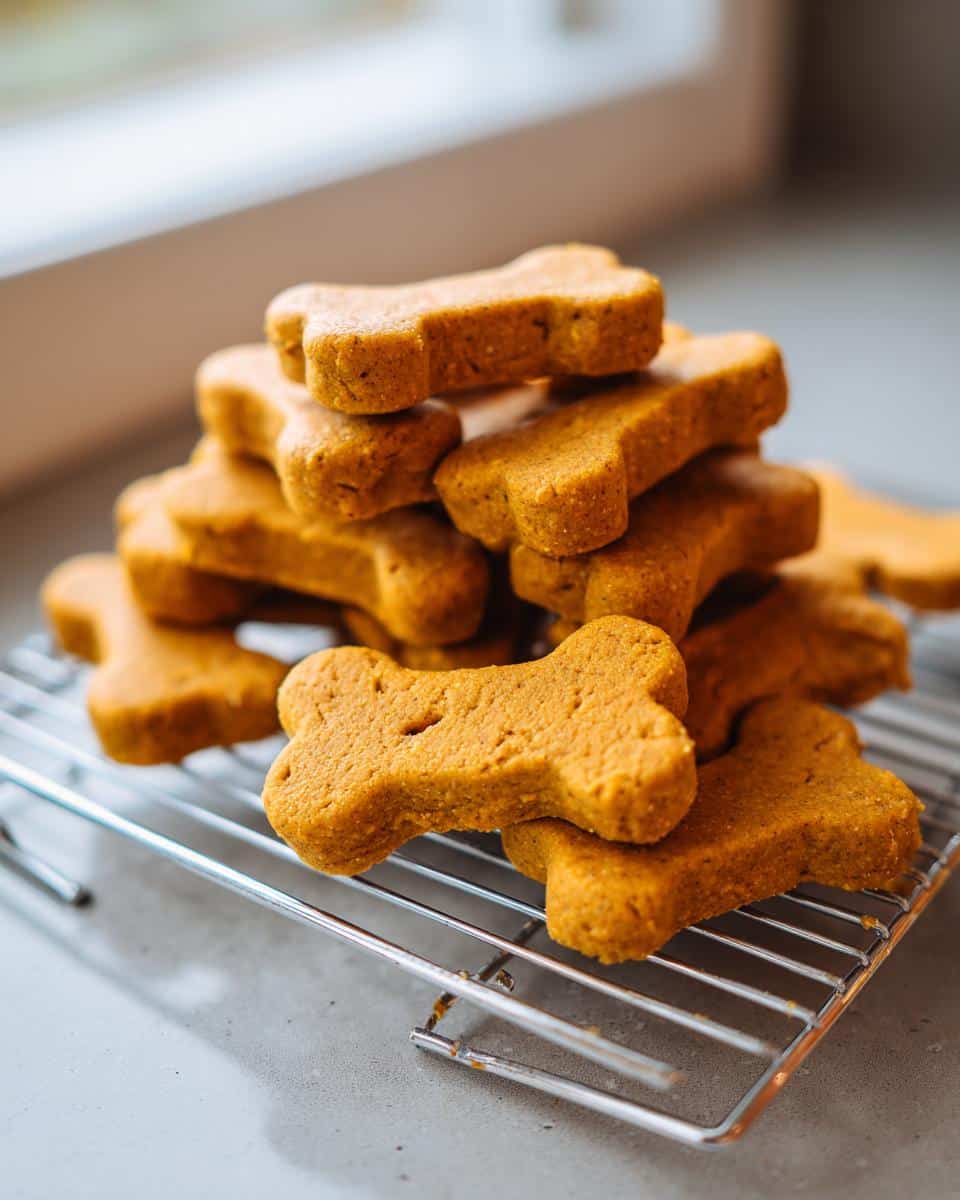
- The final, crucial step: Let them cool completely on a wire rack. They will firm up a bit more as they cool down, giving you that perfect, satisfying crunch!
Expert Tips for Making the Best DIY Christmas Dog Treats
Okay, now that you know the basic recipe, I want to share a couple of things I learned through trial and error that really take these DIY Christmas Dog Treats from good to absolutely amazing.
These little tricks might seem small, but they make a huge difference in consistency and how long your homemade goodies last! It’s all about building that trust with your baking process.
Here are my top secrets for making sure every single batch of these pumpkin peanut butter bites is perfect:
- Don’t Skip the Rest Period: After you mix that stiff dough, if you have an extra five or ten minutes, just cover it and let it sit on the counter. It lets the flour absorb that pumpkin moisture totally evenly, which means less sticking when you roll it out later. It’s like letting the ingredients have a little chat!
- The Hot/Cold Cutter Trick for Uniformity: If you want every single treat to be the exact same size, try dipping your cookie cutter into hot water, shaking it dry quickly, and then cutting your shape. The slight warmth helps the dough release much cleaner, especially when you’re using fun, detailed shapes. You get super crisp edges every time!
- Test a Small Batch First: Before you roll out all two cups of flour, take a tiny piece of dough, roll it, cut a small shape, and bake it for five minutes. This lets you check your thickness and timing. If it’s too soft, add a tiny bit more flour to the main batch. If it’s already cracking, add a splash of warmed water to moisten it up. It saves you from ruining the whole lot!
When you follow these little nudges, these DIY Christmas Dog Treats come out looking professional, even though they felt super easy to make!
Storage and Making Ahead with Your DIY Christmas Dog Treats
One of the best things about making DIY Christmas Dog Treats ahead of time is how simple storage is! Because these are low-moisture, they keep really well. You can store them right in an airtight container on the counter for up to a week. Perfectly fine!
If you made a huge batch and need them to last longer—which I always end up doing—toss them in the freezer! Sealed tight, they are good for months. You don’t even need to reheat them; just let them thaw naturally on the counter for about half an hour before giving one to your happy pup.
Variations for Your DIY Christmas Dog Treats Recipe
Now, if you want to get really creative with your DIY Christmas Dog Treats—maybe you need to swap out a flour or just want to add a little festive flair—you totally can! The pumpkin and peanut butter base is so forgiving, which makes experimenting easy and fun. I always suggest keeping swaps minimal so you don’t mess up that perfect texture, but these adjustments are safe and dogs generally adore them!
Remember, since we are talking about our pets, we have to keep things natural and simple, just like the original recipe. No weird sugars or artificial anything!
Here are a few easy ways to shake things up for your next batch of DIY Christmas Dog Treats:
- Flour Swap for Sensitivity: If your dog has a mild wheat sensitivity, swapping the 2 cups of whole wheat flour for 2 cups of oat flour or even chickpea flour works like a charm. I tried chickpea flour once, and they came out a tiny bit softer, which my old pup loved!
- Boost the Color and Health: Want that classic holiday green? Mix in about two Tablespoons of finely chopped fresh parsley right along with your wet ingredients. It adds a little color, a fresh scent, and a little bonus boost of vitamins. It’s such a subtle flavor addition, but it makes them look gorgeous!
- Spice it Up Safely: If you want to embrace the winter flavors without using traditional holiday spices (which can sometimes upset sensitive tummies), try adding just half a teaspoon of ground cinnamon to the dry ingredients. It gives a warm smell without any actual heat, and it smells so wonderfully autumnal when baking!
These small changes let you personalize your DIY Christmas Dog Treats for whatever your dog prefers best while keeping them wonderfully wholesome.
Frequently Asked Questions About DIY Christmas Dog Treats
I know when you read a new recipe, especially one for your best friend, a few questions always pop up in your head. I’ve been there! Making sure these DIY Christmas Dog Treats are safe and perfect for consumption is my number one priority. Let’s tackle the most common things readers ask me about these pumpkin peanut butter bites!
If you’re using high-quality, dog-safe ingredients, you’re already 90% of the way there. These are hardy, wholesome treats, but it’s always smart to ask before you bake!
Are these DIY Christmas Dog Treats safe for puppies?
That’s a great question about our little ones! Because the dough is quite dense due to the peanut butter and whole wheat flour, I usually suggest waiting until puppies are at least six months old, sometimes a little older depending on their breed size. Their little digestive systems are still developing, so starting with softer foods is usually better until they’re ready for chewier textures.
Can I use oat flour instead of whole wheat flour in this DIY Christmas Dog Treats recipe?
Yes, absolutely you can! I made sure to mention that swap in the ingredient list because I know some pups can be sensitive to wheat. Oat flour is a fantastic, gentle substitute. It keeps the structure almost identical, so you aren’t changing your baking time or method at all. Feel free to make that swap for your DIY Christmas Dog Treats!
Nutritional Snapshot of These DIY Christmas Dog Treats
I always get asked about the numbers, even for homemade dog biscuits! When you’re making something that’s going into your dog’s diet regularly, it’s just smart to have an idea of what you are feeding them. These values are based on the recipe making exactly 30 treats, so keep that in mind if you get a few extra!
These Peanut Butter Pumpkin treats are fantastic because they are genuinely balanced—not too heavy on the sugar, and plenty of good fats from the peanut butter. I always use the best quality, xylitol-free peanut butter I can find because those good fats are important for coat shine, even in winter!
Remember, since this is a homemade recipe using whole ingredients, these numbers are estimates, okay? They don’t account for slight variations in your pumpkin brand or the exact type of flour you use. But this gives you a great baseline for tracking their day-to-day intake!
Here’s a quick look at what you can expect per single treat from these DIY Christmas Dog Treats:
- Calories: About 150 per treat (Yep, they are dense and hearty!)
- Carbohydrates: Roughly 20 grams
- Protein: About 5 grams
- Fat: Around 6 grams (Mostly healthy fats!)
There’s a little sodium and sugar in there, naturally, because we use peanut butter and flour, but honestly, the fiber content is pretty great too! It’s a snack you can feel really good about giving, especially when you’re baking up festive goodies for the holidays.
Share Your Homemade Goodies
I truly hope your pup absolutely loves these Peanut Butter Pumpkin Bites as much as mine does! Seriously, I want to see the results! If you made these DIY Christmas Dog Treats, please hop down below and leave a quick star rating. Even better, snap a picture of your happy dog enjoying one and tag me! I live for those moments when I know my simple recipes are making lives better, one delicious treat at a time.
By EMILIA, founder of MeltItClean.com – your digital space for natural weight loss, real wellness habits, and clean-living inspiration that actually fits your life.
For years, I struggled with the ups and downs of dieting. I tried everything — juice cleanses, low-carb crazes, fitness challenges — but I always ended up back where I started: tired, bloated, and frustrated. I didn’t just want to “lose weight” — I wanted energy, mental clarity, glowing skin, and confidence without sacrificing my joy or sanity.
After years of experimenting, learning, and unlearning, I discovered a simple truth: your body is already powerful — it just needs support, not restriction. That’s when I created Melt It Clean — a site dedicated to real transformation through clean, intentional, and nourishing daily habits that anyone can follow.
My goal was simple: build a place where people could feel informed, supported, and empowered without being overwhelmed by wellness fads.
Peanut Butter Pumpkin Dog Treats
Ingredients
Equipment
Method
- Preheat your oven to 350°F (175°C). Line a baking sheet with parchment paper.
- In a large bowl, whisk together the flour and baking soda.
- In a separate bowl, mix the pumpkin puree, peanut butter, and eggs until they are well combined.
- Add the wet ingredients to the dry ingredients. Mix until a stiff dough forms. If the dough is too sticky, add flour, one tablespoon at a time.
- On a lightly floured surface, roll the dough out to about 1/4 inch thickness.
- Use cookie cutters to cut out shapes. Place the cutouts onto the prepared baking sheet.
- Bake for 20 to 25 minutes. The edges should look firm and slightly browned.
- Let the treats cool completely on a wire rack before serving or storing them.