If you’re anything like me, you spend a lot of time thinking about what you put into your own body—clean living, right? Well, I realized I needed to apply that same high standard to my sweet dog, too! Store-bought snacks are often full of fillers that I can’t even pronounce, and I hate that. That’s why I’m so thrilled to share these **Dehydrator Pumpkin Leather Dog Treats** with you.
Seriously, this recipe is the definition of simple wellness for your pup. We’re talking chewy, naturally sweet pumpkin leather made with just three ingredients and the magic of a food dehydrator. It captures that clean, foundational approach I love—just pure goodness that my dog absolutely devours. You won’t believe how easy it is to swap out those questionable store-bought bags for these amazing, homemade treats!
Why You’ll Love These Dehydrator Pumpkin Leather Dog Treats
Listen, I get it—we want what’s best for our pups, but sometimes life is just too busy for complicated baking projects. That’s where this recipe truly shines! It’s kitchen magic made easy, and it keeps my commitment to clean, simple habits going right into my dog’s treat jar.
- It uses only three whole ingredients. No weird preservatives or junk hidden in there!
- The texture is perfect: chewy but not sticky, which dogs adore.
- They are fantastic for teaching good behavior, making them the ideal **Homemade Dog Treats**.
- Prep time is ridiculously fast—we are talking under 10 minutes of actual work, seriously!
- Because we are using the dehydrator, cleanup is surprisingly minimal, which is a huge win for me.
If you need more simple inspiration, I have a whole roundup of easy things you can whip up for your furry friend right here. But stick around, because this pumpkin leather is a game-changer!
Gathering Ingredients for Dehydrator Pumpkin Leather Dog Treats
Just like when I’m cooking for myself and focusing on clean fuel, these treats rely on quality, simple components. I always keep these on hand because they are so versatile. You absolutely want to use 100% pure pumpkin puree here—none of that pie filling stuff! That’s the clean base we need for this pumpkin leather recipe for dogs.
For the Dehydrator Pumpkin Leather Dog Treats
- 1 cup Pumpkin Puree, 100% Pumpkin
- 1/8 cup Molasses
- 2 teaspoons Liver Sprinkles
See? That’s it! Three ingredients, that’s my kind of kitchen magic. Get these together, and you’re practically done!
Essential Equipment for Your Pumpkin Leather Recipe For Dogs
The beauty of making these treats is that you don’t need a fancy setup. It’s all about leveraging the right tools for the job. If you already have a dehydrator, you’re basically halfway there! I find that having these few basics ready makes the 5 minutes of prep time feel buttery smooth.
Here is what you absolutely need to get your pumpkin leather spread out and drying perfectly:
- Food Dehydrator: This is the star, of course! It handles the low, slow heat needed to transform the liquid pumpkin mix into chewy leather. Trust me, once you start using yours for dog treats, you’ll find a million other uses for it!
- Spatula: You’ll need this for spreading the mixture thinly onto the tray. A silicon spatula is best because it lets you get right up to the edges without leaving too much behind.
- Blender or Fork: Depending on how you mix, you’ll need something for combining the puree and molasses. I sometimes just use a tough old fork if I’m feeling lazy, but if you want it totally uniform and silky smooth, the blender works wonders.
That’s it! No stand mixer, no springform pans, just simple tools for ridiculously healthy treats!
Step-by-Step Instructions for Dehydrator Pumpkin Leather Dog Treats
Okay, here is the fun part! Honestly, the actual hands-on work for this recipe is nothing. It flies by! But the dehydrator does all the heavy lifting. Success here relies on getting that pumpkin mix perfectly smooth and spread thin so you get a true leather, not chunky puddles that won’t dry right. If you want truly amazing **Dehydrator Pumpkin Leather Dog Treats**, pay close attention to that spreading step. You can find more fun ideas for easy things to make using your dehydrator over here when you’re done!
Mixing the Pumpkin Base
First things first, we need to combine our two main flavor components. You’re just going to scoop that one cup of pumpkin puree right into a bowl. Then, drizzle in that 1/8 cup of molasses. Don’t skip the molasses—it adds a deep, appealing chewiness! I usually grab a solid fork and just mash and stir until everything looks like one uniform, rich orange color. If you want it super smooth, toss it in a blender for about 10 seconds. That’s it for mixing!
Spreading and Topping the Dehydrator Pumpkin Leather Dog Treats
Now, line your food dehydrator tray, usually with a fruit leather sheet if you have one, but sometimes just directly on the mesh works if you’re careful. Take your pumpkin mixture and gently spread it out evenly across the entire surface. This is important: try to keep the thickness consistent everywhere. If one spot is thick and another is thin, you end up with some parts still wet when others are crunchy!
Once it’s spread lovely and thin, grab those two teaspoons of liver sprinkles and go ahead and sprinkle them right over the top. Don’t be shy, but try to get them distributed fairly well so every piece of leather has a little extra meaty flavor boost.
The Dehydration Process
Time to let the machine do the work! Place that tray inside your dehydrator. I always suggest placing an empty tray underneath the one you’re using, just in case any liquid drips through—it makes cleanup so much easier later, trust me. Now, set the temperature to:
- Temperature: **130 degrees Fahrenheit**
- Time: **7 hours**
Seven hours sounds like a long time, but remember, this is low and slow magic! We aren’t baking; we are drawing out the moisture to create that perfect, chewy leather texture.
Cooling and Cutting Your Pumpkin Leather Recipe For Dogs
When that timer finally goes off, carefully take the tray out and let the leather cool down for maybe 15 minutes. It’s too hot and flimsy right when it comes out. Once it’s cooled a bit, you might have to gently encourage it to detach from the tray—sometimes a thin spatula used carefully around the edges works wonders here.
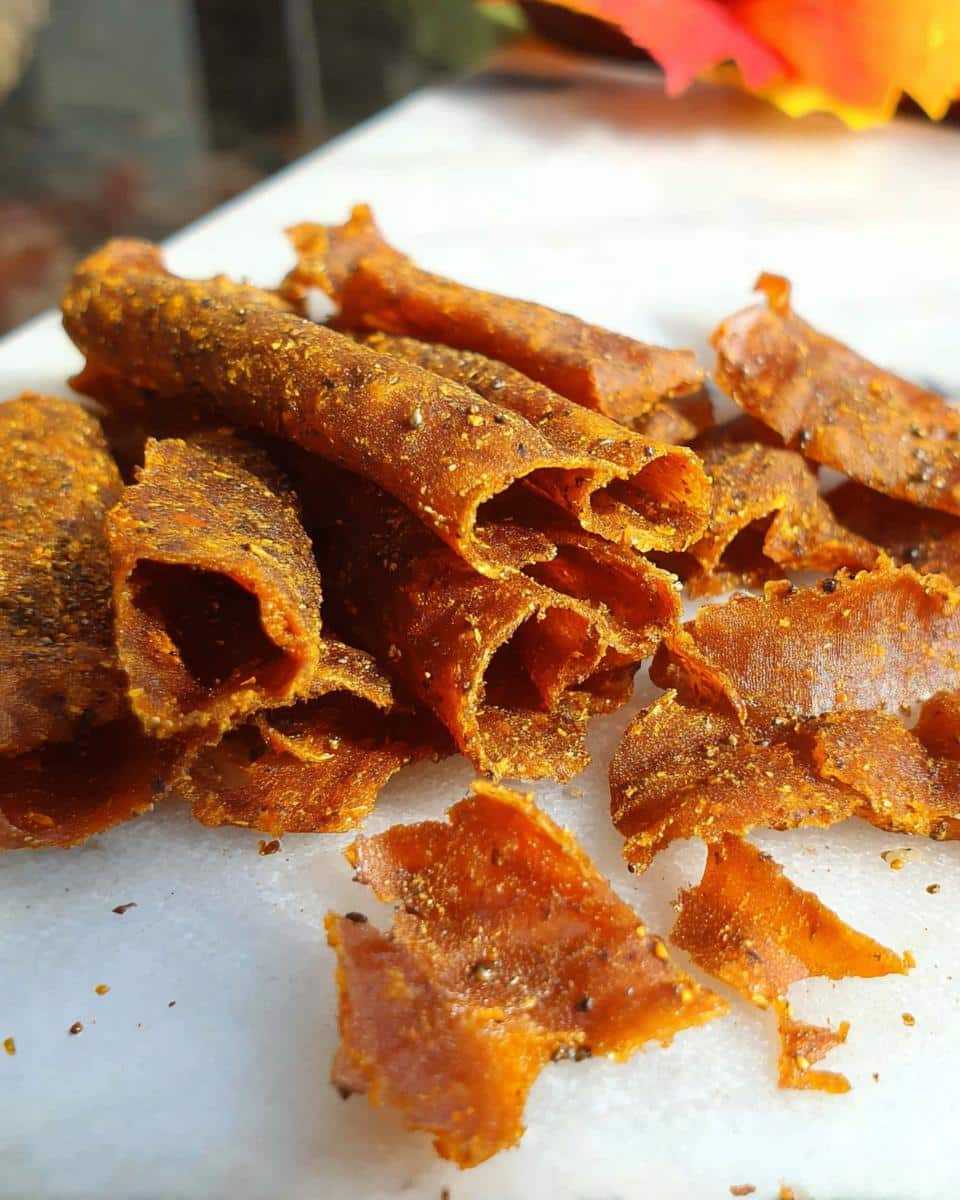
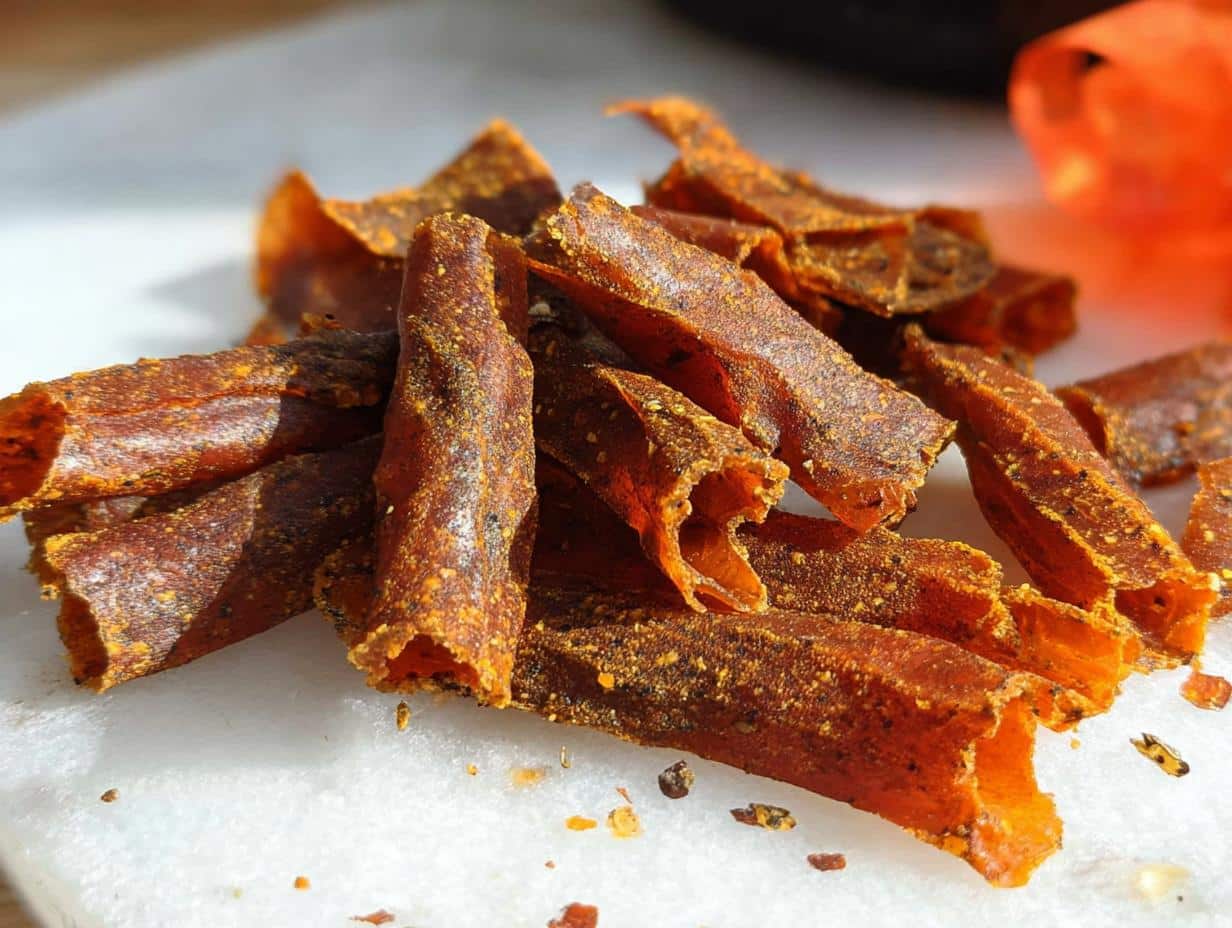
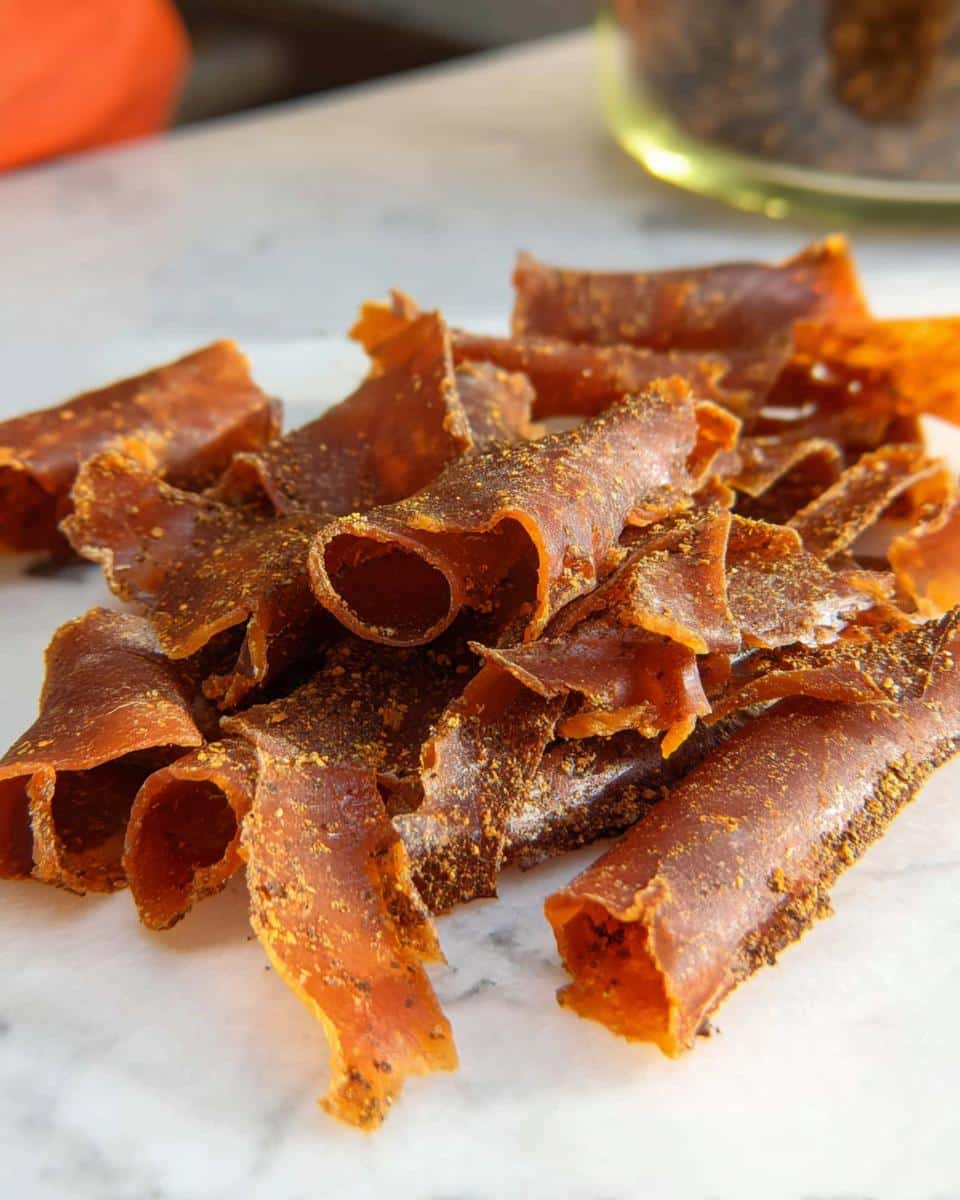
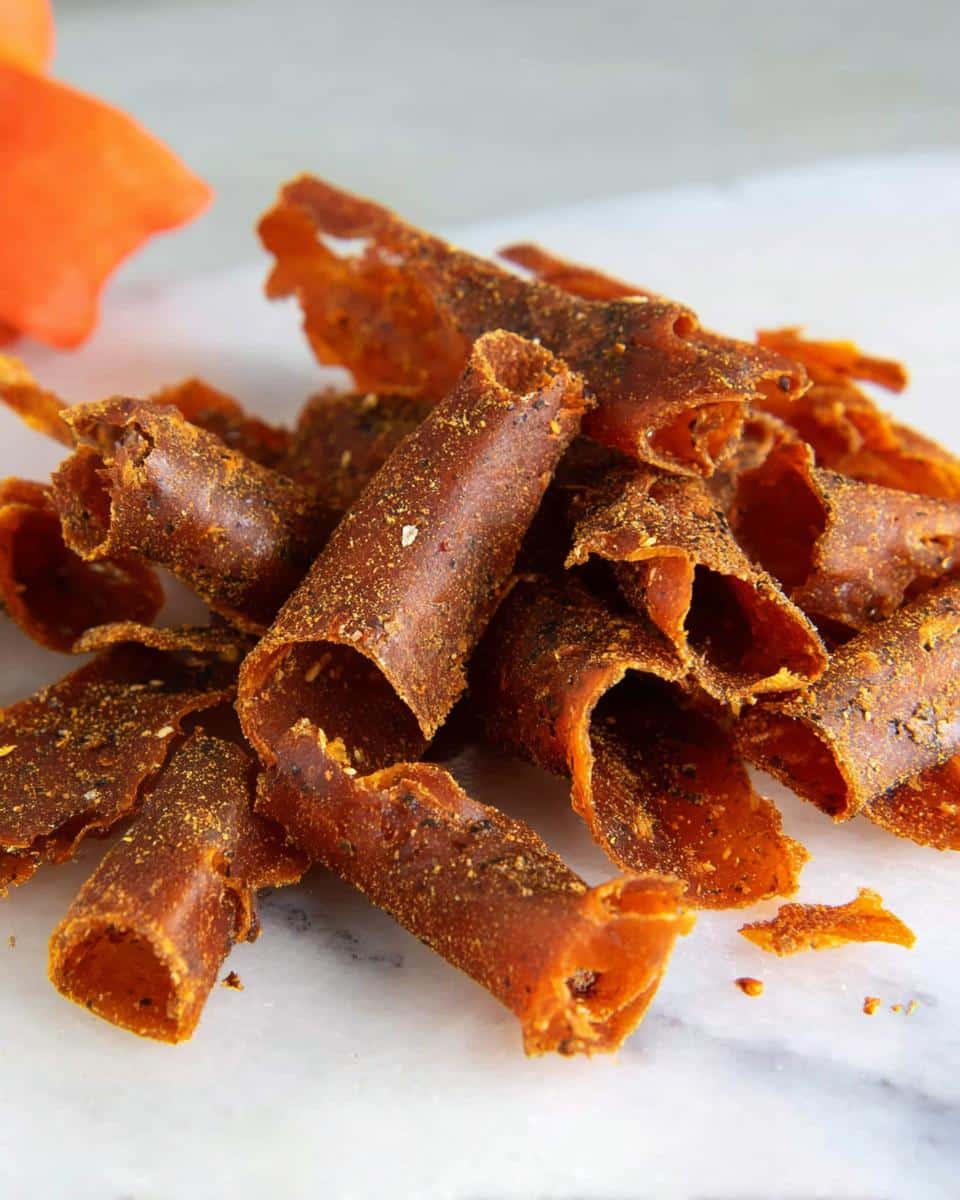
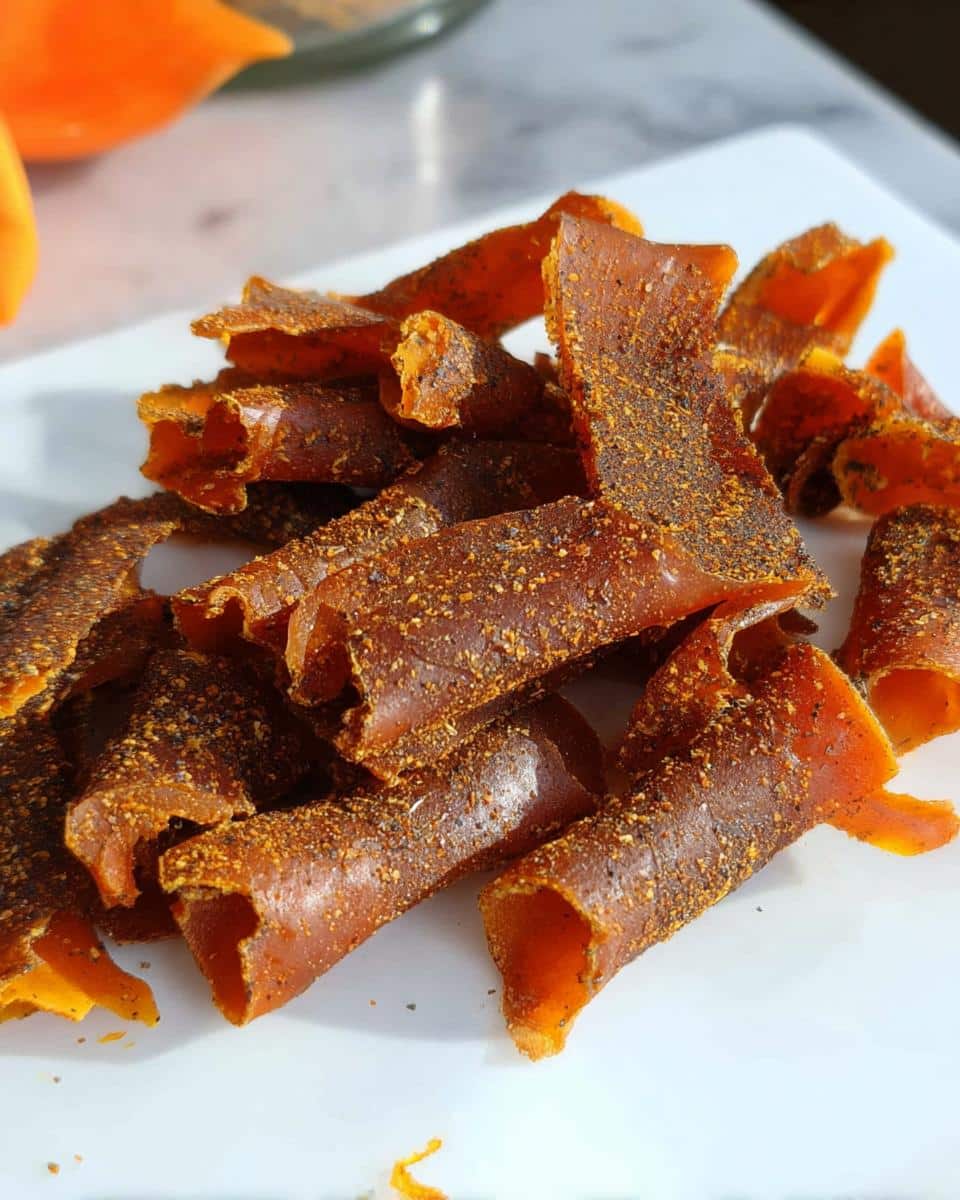
Once you have the sheet off, lay it on a cutting board. From here, you can cut it right into squares or strips, whatever size works for your pup. My favorite thing, especially when I have a nice chewy sheet, is to roll it up tightly like a little sausage and then slice it into small bite-sized coins. They look so professional, even though they took almost no effort!
Understanding the Benefits Of Pumpkin Dog Treats
It’s funny, isn’t it? When I started looking into clean eating for myself, I automatically started scrutinizing what I was feeding my dog, too. We want wellness in every area of our lives, and that extends right down to their treat jar! That’s why using pumpkin as the base for these leather snacks is such a smart move for their health.
Pumpkin is honestly a nutritional superstar for dogs, and it’s not just about the taste. If your pup ever has an upset tummy—and let’s face it, whose dog hasn’t?—pumpkin is often the first thing vets recommend. It’s super high in fiber, which is fantastic for regulating their whole digestive system. Think of it as that supportive, nourishing habit we talk about for ourselves, but for our furry friends!
I’ve seen the difference it makes firsthand. If my dog seems a little sluggish or their digestion is just… off, a couple of these little pumpkin chews always seem to help things settle down smoothly. It’s such a simple way to support their gut health without adding questionable supplements or ingredients.
What I love most is that we are using raw, whole ingredients rather than processed powders. When I make things like this, I know I’m providing real, tangible support.
If you’re looking for a few other ways to sneak this vitamin powerhouse into your dog’s diet, you have to check out this other resource I found with eight other easy pumpkin dog treats recipes. It’s all about gentle, intentional nourishment!
Tips for Perfect Dehydrator Pumpkin Leather Dog Treats
Even with only a handful of ingredients, you can run into little hiccups, especially when working with a dehydrator for the first time! When I was first perfecting this technique, especially trying to nail that chewy texture for the perfect **Dehydrator Pumpkin Leather Dog Treats**, I learned a few tricks the hard way. You don’t have to make my mistakes, sweet friend!
These tips are about ensuring that 7-hour dry time results in that consistently pliable leather we are aiming for, not something brittle or gooey. And speaking of getting things right, if you’re looking for more ways to DIY natural goodness for your pup, check out some great ideas right here!
Dealing with Sticking Leather
This is probably the number one issue people run into. When the pumpkin leather is done, it can sometimes fuse itself right to the fruit tray liner or mesh. If you’re worried about tearing your beautiful work when you try to lift it, here’s my favorite pro move: Flip the whole sheet over onto parchment paper while it’s still slightly warm. Let it sit for about 10 minutes—this often creates just enough space between the leather and the tray for it to peel right off gently. If you have to use that spatula (which you might!), slide it *under* the leather very slowly. Don’t force it!
The “Poke Test” for Doneness
Since we aren’t baking these and relying on a toothpick test, how do you know when 7 hours is enough? You need to feel it! When you gently press your finger into the surface, it should feel dry to the touch. If you see wet spots or feel liquid squishing out, it needs more time. The key for that excellent meaty chewiness is that it should be bendy, not crumbly, but it shouldn’t leave any residue on your finger when you press lightly. If it cracks instead of bending, it might be slightly over-dried, but it’s still perfectly safe!
Using Trays Below for Drip Protection
As I mentioned in the instructions, always use a tray below your pumpkin leather tray! Even when spread thinly, sometimes just a little bit of condensation or a tiny drip of molasses can escape during that long drying cycle. Having an extra tray underneath prevents a sticky mess inside your machine, saving you so much scrubbing later. It’s such a small step, but it keeps the cleanup process as clean and simple as the ingredients themselves!
Storage and Shelf Life of Dehydrator Pumpkin Leather Dog Treats
Now that you’ve invested all that low-effort, high-reward time into making these fantastic **Dehydrator Pumpkin Leather Dog Treats**, we need to talk about storage! Since we cooked these slowly at a low temperature, we’ve drastically reduced the moisture content, which is great news for how long they last. But they aren’t shelf-stable forever, especially with that little bit of molasses in there!
This is where sticking to that clean-living philosophy pays off—because we used minimal ingredients, they stay fresh nicely, but you do need to keep them protected from air and humidity.
The absolute best way to keep your **Pumpkin Leather Recipe For Dogs** treats perfect is in an airtight container. I prefer glass jars with tight-sealing lids, but any good quality, sealable plastic container works too. Just make sure there’s no moisture getting in!
If you plan on using them up within a week or two, keeping them in a cool, dark pantry is completely fine. They’ll stay perfectly chewy and delicious. However, if you made a huge batch—because who doesn’t spoil their pup once they figure out how easy it is?—you should absolutely put the extra portion in the refrigerator. The cold really helps maintain that ideal texture and prevents any chance of spoilage because of the inherent natural sugars.
I’ve found that if stored properly in the fridge, these treats easily last for up to four weeks! Four weeks of happy, healthy snacking for your dog thanks to just three simple ingredients we mixed together. That’s what I call intentional wellness for my best friend!
Do not freeze them unless you absolutely have to. While they won’t spoil quickly in the freezer, the freezing process can sometimes affect that beautiful, pliable leather texture when they thaw, making them a little overly gummy. If you must freeze them, make sure they are wrapped super tightly first!
Frequently Asked Questions About Pumpkin Leather Recipe For Dogs
I get so many questions once people start trying out the **Dehydrator Pumpkin Leather Dog Treats**! It’s exciting to see everyone exploring these clean, simple snacks for their pups. Most people are wondering about swapping equipment or extending the life of their batch. Here are the most common things I hear!
If you’re loving this journey into simple, clean dog treats, make sure you check out some of the other hot trends in natural treats over on Pinterest!
Can I bake Dehydrator Pumpkin Leather Dog Treats instead of dehydrating?
You absolutely *can* put this in the oven, but you won’t get “leather.” To bake these, you’d have to use very low heat (like 200°F) for a long time, but the result will be a slightly drier, more brittle biscuit texture, not that chewy, pliable leather we are aiming for. Dehydration specifically pulls the water out slowly without cooking the nutrients away or getting crispy edges, giving you that authentic chew. It’s worth using the dehydrator for this recipe!
What if I don’t have molasses for the Pumpkin Leather Recipe For Dogs?
Molasses adds that depth and chewiness, but if you are out, don’t stress! For the **Pumpkin Leather Recipe For Dogs**, you can try omitting it entirely, though the texture will be a little less chewy. If you really want that sticky element, using a teaspoon of honey or maple syrup is a decent swap, but molasses is best because it’s thicker and richer. Just remember that the liver sprinkles are providing most of the savory flavor boost, so the base mixture might taste a little plainer without the molasses.
How long should the treats last if stored correctly?
Because these are made with such low moisture content, they last beautifully! If you keep them in an airtight container, they are good in the pantry for about two weeks. If you pop them in the refrigerator, which I highly recommend for batches bigger than 40 treats, they stay fresh and perfectly chewy for up to four weeks. They don’t dry out much, but the fridge just adds that extra layer of security!
Share Your Dehydrator Pumpkin Leather Dog Treats Success
My greatest joy comes from knowing you and your sweet dog are enjoying these whole, clean snacks together! Seriously, once you see how fast you put these **Dehydrator Pumpkin Leather Dog Treats** together, I bet you’ll be making them regularly.
I always hope that by sharing these simple, real-food habits—for myself and my pup—it inspires you to simplify things in your own life, whether that’s making a healthy snack or building better habits in general. If you give this recipe a go, please, please let me know!
Head over and share your photos or leave a quick star rating on the recipe card. It means the world to me, and it helps other busy pet owners find these trustworthy options for their best friends. If you want to explore more of my philosophy on clean living and real wellness, you can check out my main blog right here!
Happy treating, and give your furry pal an extra scratch from me!
By EMILIA, the founder of MeltItClean.com – your digital space for natural weight loss, real wellness habits, and clean-living inspiration that actually fits your life. For years, I struggled with the ups and downs of dieting. I tried everything — juice cleanses, low-carb crazes, fitness challenges — but I always ended up back where I started: tired, bloated, and frustrated. I didn’t just want to “lose weight” — I wanted energy, mental clarity, glowing skin, and confidence without sacrificing my joy or sanity. After years of experimenting, learning, and unlearning, I discovered a simple truth: your body is already powerful — it just needs support, not restriction. That’s when I created Melt It Clean — a site dedicated to real transformation through clean, intentional, and nourishing daily habits that anyone can follow. My goal was simple: build a place where people could feel informed, supported, and empowered without being overwhelmed by wellness fads.
My goal was simple: build a place where people could feel informed, supported, and empowered without being overwhelmed by wellness fads.

Dehydrator Pumpkin Leather Dog Treats
Ingredients
Equipment
Method
- Add molasses to pumpkin puree. Use a fork or a blender to mix until fully combined.
- Spread the mixture evenly over the fruit tray of the dehydrator. Make sure the spread is even so it dries uniformly.
- Sprinkle the liver over the pumpkin mixture.
- Place the tray in the dehydrator (you can use an empty tray below) and put the lid on. Set the temperature to 130 degrees and the dehydrate time to 7 hours.
- When the time is complete, let the leather cool slightly. Carefully remove the leather from the tray; you may need a spatula to help lift it if it sticks.
- Place the leather on a cutting board and cut it into desired piece sizes. You can also roll the pieces up like a fruit roll.


