Oh my goodness, are you getting into the holiday spirit yet? Because I absolutely cannot wait until it’s time to start baking! While I’m usually elbow-deep in flour making cookies for my in-laws, my real passion during December is making sure my best friend, Buster, gets his own special treats. Nothing beats the look on his face when he sees me pull out the snowflake cutters!
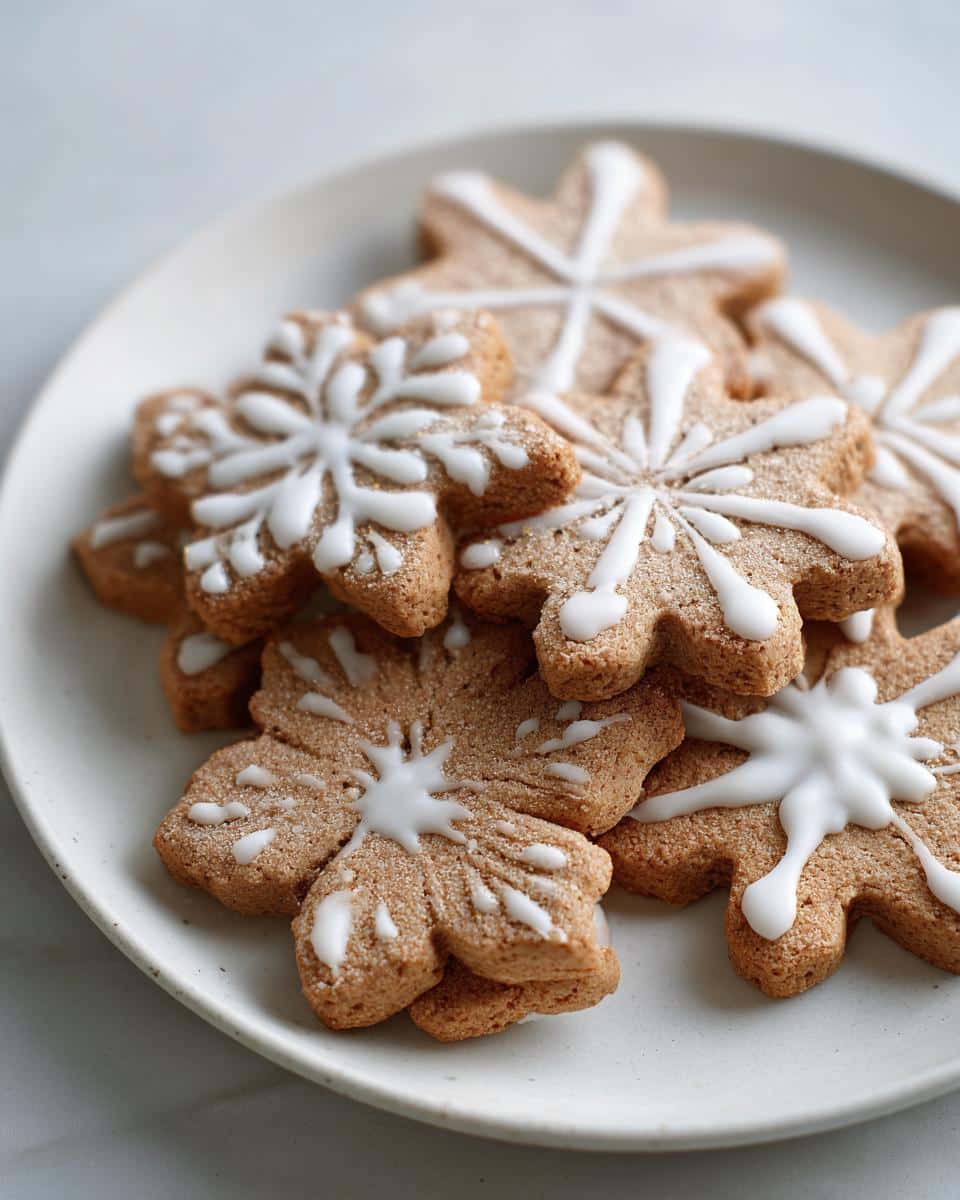
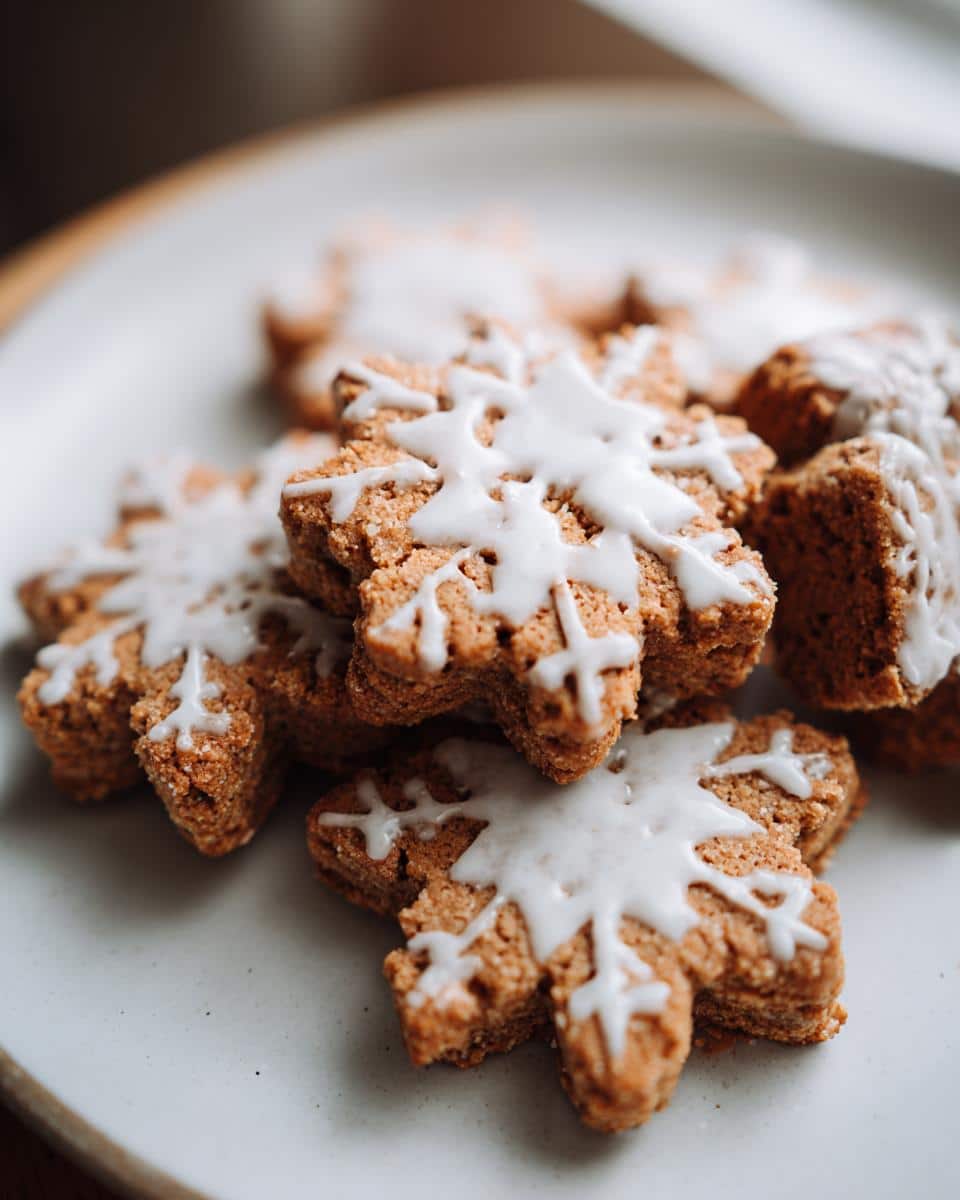
These Christmas Snowflake Peanut Butter Biscuits are hands-down the easiest recipe in my holiday rotation, which is saying something! They come together so fast, and they smell heavenly, even though they’re just for the pup. I swear, seeing him happily crunching on that perfectly shaped, peanut-butter-packed biscuit makes the whole season feel complete. You have to try these; they are the definition of simple holiday joy! If you’re looking for other festive ideas, you should check out some of the pup-friendly Christmas cookie bites floating around online for inspiration.
Why You Will Love Making Christmas Snowflake Peanut Butter Biscuits
Honestly, I keep this recipe near the top of my favorites list because it requires zero fuss. You’ll never feel stressed baking these when you need a quick gift or reward for your dog! Since there are no tricky steps, I can get them done while the kettle is boiling.
- They are incredibly simple—we’re talking just a few pantry staples thrown together, no weird ingredients needed!
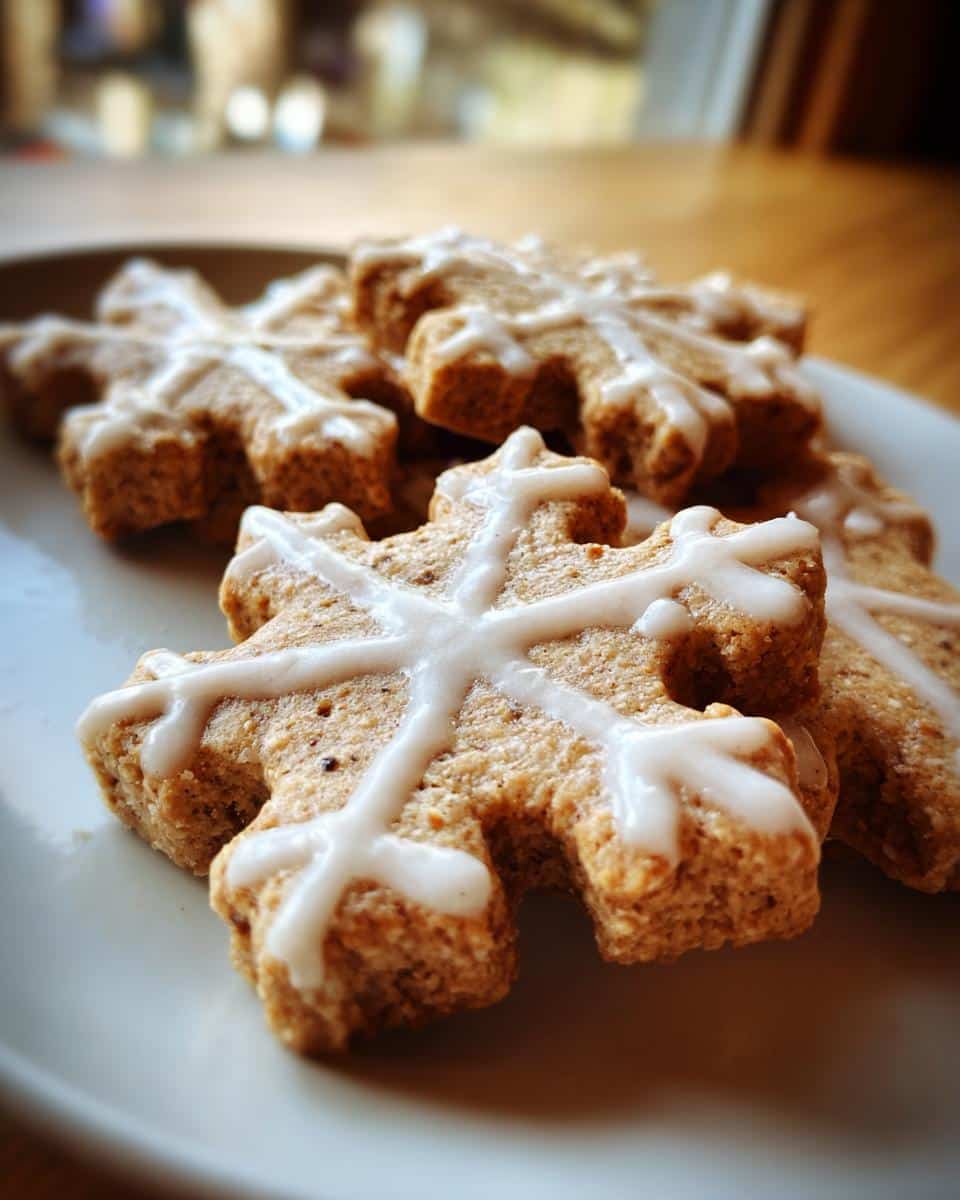
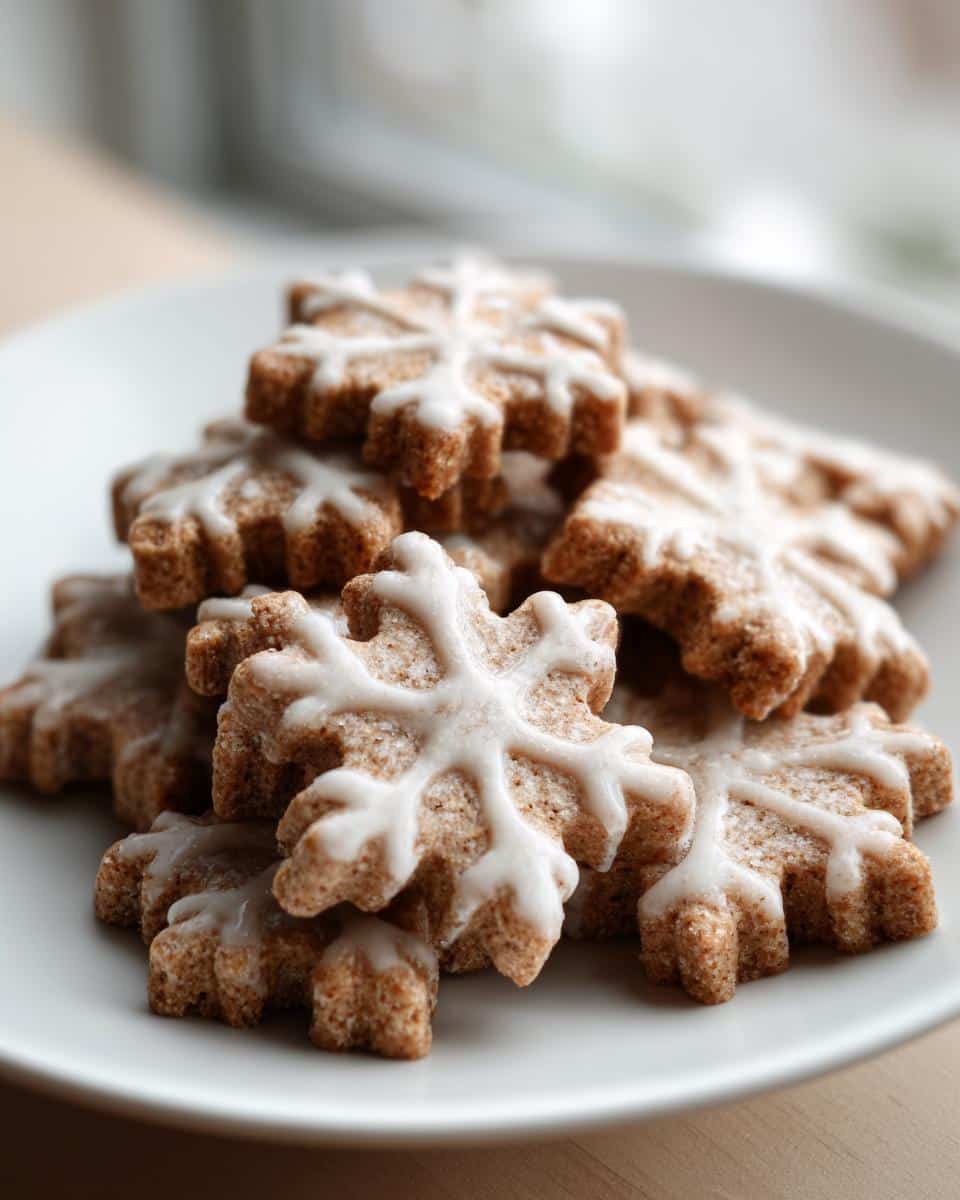
- The snowflake shape is just too cute for holiday pictures. It screams Christmas for your dog!
- Most importantly? Your dog will go absolutely wild for that classic peanut butter flavor. You can snag some fun ideas for other holiday dog treats once you master these.
Essential Ingredients for Perfect Christmas Snowflake Peanut Butter Biscuits
When you’re baking for our furry friends, the quality of the ingredients really matters, especially when we’re talking peanut butter! We skip anything questionable here because Buster’s tummy is sensitive, and frankly, so should yours be. If you’re looking for more ideas on using this fantastic ingredient in training, I have a whole stack of peanut butter dog training treats you just have to look at! Let’s break down exactly what you need to get these little snowflakes baking.
For the Christmas Snowflake Peanut Butter Biscuits
You really only need five things for the actual biscuit, which is amazing! I want to shout this from the rooftops: please, please, please check your peanut butter jar! We only use xylitol-free brands here. Xylitol is terribly toxic to dogs, and it’s becoming more common, so we have to be so careful!
- 2 cups of whole wheat flour (I sometimes use all-purpose, it works just fine!)
- 1 teaspoon of baking soda—that’s the little lift we need.
- 1/2 cup of creamy, wonderful, xylitol-free peanut butter.
- 1 large egg, just our standard binder.
- About 1/2 cup of water—just enough to bring it all together into a tough dough.
For the Optional Yogurt Glaze
This part is purely for looks; Buster usually doesn’t care, but I love seeing the little white flakes on the snowflakes! It makes them look so much more festive on the cooling rack.
- 1/4 cup of plain yogurt. Make sure it’s unsweetened so we aren’t adding any unnecessary sugars for our pups!
Step-by-Step Instructions for Christmas Snowflake Peanut Butter Biscuits
Okay, let’s get baking! The process is so much slicker than I expected, and you’ll have a tray ready for the oven in about 20 minutes. The key here is not adding too much water right away; we want a firm dough, not a sticky mess!
- First things first, get your oven heated up to 350°F (175°C). It makes me feel official when the oven is hot and ready to go! Line a baking sheet with parchment paper right now. Trust me, this saves you scrubbing later, and we want these beauties to release perfectly.
- In your biggest mixing bowl, stir together the flour and the baking soda. Just a quick whisk to combine them. It’s important they’re mixed before you add the wet stuff!
- Now, make a little well in the middle and drop in your peanut butter and that one egg. Start mixing this up. It’s going to look really crumbly at first, sort of like wet sand. Don’t panic; this is exactly what we want at this stage!
- Here comes the tricky part—the water. Add the water slowly, little splashes at a time, mixing continuously. My secret tip: Stop adding water the second the mixture starts to look like it wants to hold onto itself when you squeeze a bit. You might not use the full 1/2 cup! We are aiming for a firm dough that rolls out without sticking excessively.
- Dust your counter lightly with flour. Plop that dough out and use your rolling pin to flatten it until it’s about 1/4 inch thick.
- Grab those gorgeous snowflake cookie cutters! Press them down firmly and place the cut-out biscuits onto your paper-lined sheet. If you have leftover dough, just gently mash it back together and roll it out again.
- Bake these beauties for about 15 minutes. You want the edges looking just barely golden—not dark brown!
- When they come out, transfer them carefully onto a wire rack to cool completely flat. If you’re decorating later, they must be totally cool first. If you want to see some amazing, easy variations, check out these 12 easy peanut butter dog treats for more inspiration!
- If you are making that simple yogurt drizzle, just mix the yogurt until it’s smooth, and once the biscuits are cool, use a butter knife to lightly spread a tiny bit on top for that snowy look. Done!
Tips for Baking Perfect Christmas Snowflake Peanut Butter Biscuits
You’ve mixed the dough, you’ve cut the shapes—now let’s make sure they bake up just right! Since these treats don’t have all those chemical helpers that store-bought biscuits have, a few small tricks really make a huge difference in texture and longevity.
My biggest tip, especially if your dog likes a crisp biscuit, is to watch the edges closely after the 15-minute mark. If you want them crunchier, turn the oven down to 300°F (150°C) after the initial bake and let them hang out in there for another 5 to 10 minutes. That slow drying-out period makes them last longer in the pantry, too!
Also, if you’re worried about the shapes cracking when you transfer them to the sheet, don’t try to pick them up with your fingers! Use a thin, wide spatula, or just slide the parchment right onto the baking sheet. For more fantastic homemade ideas, you simply must check out my guide on homemade peanut butter dog treats.
Ingredient Notes and Substitutions for Your Christmas Snowflake Peanut Butter Biscuits
I know everyone’s pantry looks a little different, especially around the holidays when you might be running low on specific items! Don’t worry if you’re missing something; these Christmas Snowflake Peanut Butter Biscuits are really forgiving. The main thing we just *cannot* mess with is that peanut butter, remember? You absolutely have to ensure there’s no xylitol in it. That’s our safety rule number one, always!
For the flour, like I mentioned, I love whole wheat because it feels a bit heartier for the dog, but if you only have all-purpose flour on hand, go for it! It will give you a slightly lighter biscuit, which is totally fine. Also, if you ever want to explore treats that use different bases, you should definitely peek at some peanut butter oatmeal cookies for your own snacking, just to see what works!
If your dog has sensitivities, you can sometimes swap the water for plain, unsalted chicken broth, just reduce the amount slightly until the dough feels right. It gives them an extra layer of savory flavor they usually flip for!
Storage and Make-Ahead Tips for Your Christmas Snowflake Peanut Butter Biscuits
Since we aren’t loading these holiday treats up with all those tricky chemical preservatives, they definitely need a little extra love when it comes to storage! These Christmas Snowflake Peanut Butter Biscuits are best kept cool to maximize their freshness. I always bake a double batch right after Thanksgiving so I don’t have to worry about it later—it’s so nice to have them ready to go!
You must store any leftovers in an airtight container, and I always pop mine right into the refrigerator. They stay perfectly good like that for about a week. If you’re planning ahead, like I do, freezing is your best friend! Pop them into a Ziploc bag or an airtight container, and they’ll last for months in the freezer.
When you pull them out of the freezer, just let them thaw on the counter for about an hour, or microwave them for just a few seconds if you need one right away. For more fantastic, fast ideas, you should really look up those no-bake peanut butter dog treats if you need something instantly!
Serving Suggestions for Your Festive Christmas Snowflake Peanut Butter Biscuits
When Christmas morning finally hits, Buster deserves a little something extra special, right? I love creating a little “dog-friendly snack station” near the tree, and these snowflake biscuits are always the star! They look so much nicer than just grabbing a random bag of store-bought stuff.
I usually place a small pile of these on a tiny, brightly colored saucer—maybe next to a small bowl of their regular kibble mixed with a couple of drops of turkey broth for extra holiday flavor. It makes them feel included in the celebration! If you’re doing any last-minute baking for your own snacks, remember to check out my guide on DIY Christmas dog treats for even more fun, safe ideas.
They’re also perfect for stuffing into those little advent calendars you buy for dogs, or just handing one over when you open a present—it keeps them busy while the humans do their thing!
Frequently Asked Questions About Christmas Snowflake Peanut Butter Biscuits
It’s funny how many questions pop up once you start making homemade treats! You want everything to be perfect for your little buddies, and that’s why I always try to be super clear about tricky spots. If after baking these Christmas Snowflake Peanut Butter Biscuits you have questions about baking in general, I have a whole collection of dog biscuit recipes with chicken that might give you some more ideas!
Are these Christmas Snowflake Peanut Butter Biscuits safe for puppies?
That’s a great question about the little ones! Generally, yes, they are safe, but puppies have much more sensitive stomachs than adult dogs. Since these are whole wheat, I would suggest making them a little softer—maybe add an extra tablespoon or two of water to keep the dough a bit looser before baking. Also, introduce them slowly so their bellies can adjust to the new ingredients!
Can I make these Christmas Snowflake Peanut Butter Biscuits without a snowflake cutter?
Absolutely, don’t let a missing cookie cutter stop you! If you don’t have a snowflake cutter, just roll the dough out and use whatever festive cutter you have—stars, circles, anything works. If you have zero cutters, just use a pizza wheel or a knife to cut simple squares or triangles! They won’t look as flashy for Christmas, but Buster won’t care one bit!
What is the best way to ensure the peanut butter is safe?
This is the most important thing, honestly! You have to check the label every time you buy peanut butter, even if you bought the same brand last month. Look right at the ingredients list for the word “xylitol” or “Birch Sugar” and make sure it is nowhere on there. If you can’t find it listed, stick to a brand you trust completely, like the one I use, just to be super safe for your pups!
Estimated Nutritional Data for Christmas Snowflake Peanut Butter Biscuits
Now, I always tell people that while these are definitely homemade and contain whole grains, they are still treats, not dinner! Baking for our dogs requires a little more awareness about what we’re feeding them, but I keep things simple. Here is the breakdown based on the ingredients we used for these fun little biscuits. You can read more about the general health benefits of dog biscuits if you’re curious!
- Calories: About 150 per biscuit
- Fat: Around 6 grams
- Protein: About 5 grams
- Carbohydrates: Roughly 20 grams
Remember, this is just an estimate based on the specific brands I used for the flour and peanut butter! They are made with whole ingredients, which is the best part, but measure them out as a special holiday indulgence.

Christmas Snowflake Peanut Butter Biscuits
Ingredients
Equipment
Method
- Preheat your oven to 350°F (175°C). Line a baking sheet with parchment paper.
- In a mixing bowl, combine the flour and baking soda.
- Add the peanut butter and egg to the dry ingredients. Mix until crumbly.
- Gradually add water, mixing until a firm dough forms. You may not need all the water.
- On a lightly floured surface, roll the dough out to about 1/4 inch thickness.
- Use snowflake cookie cutters to cut out the biscuits. Place them on the prepared baking sheet.
- Bake for 15 minutes. The edges should look lightly golden.
- Let the biscuits cool completely on a wire rack.
- If using the glaze, mix the yogurt and spread a small amount on top of the cooled biscuits for decoration.