Oh my goodness, if you’re anything like me, your dog rules the house, and you want the absolute best for them! Store-bought biscuits are fine, I guess, but honestly, they are loaded with stuff I can’t even pronounce. I started baking because my sweet old Gus started getting a bit sensitive to fillers, and I needed something super clean.
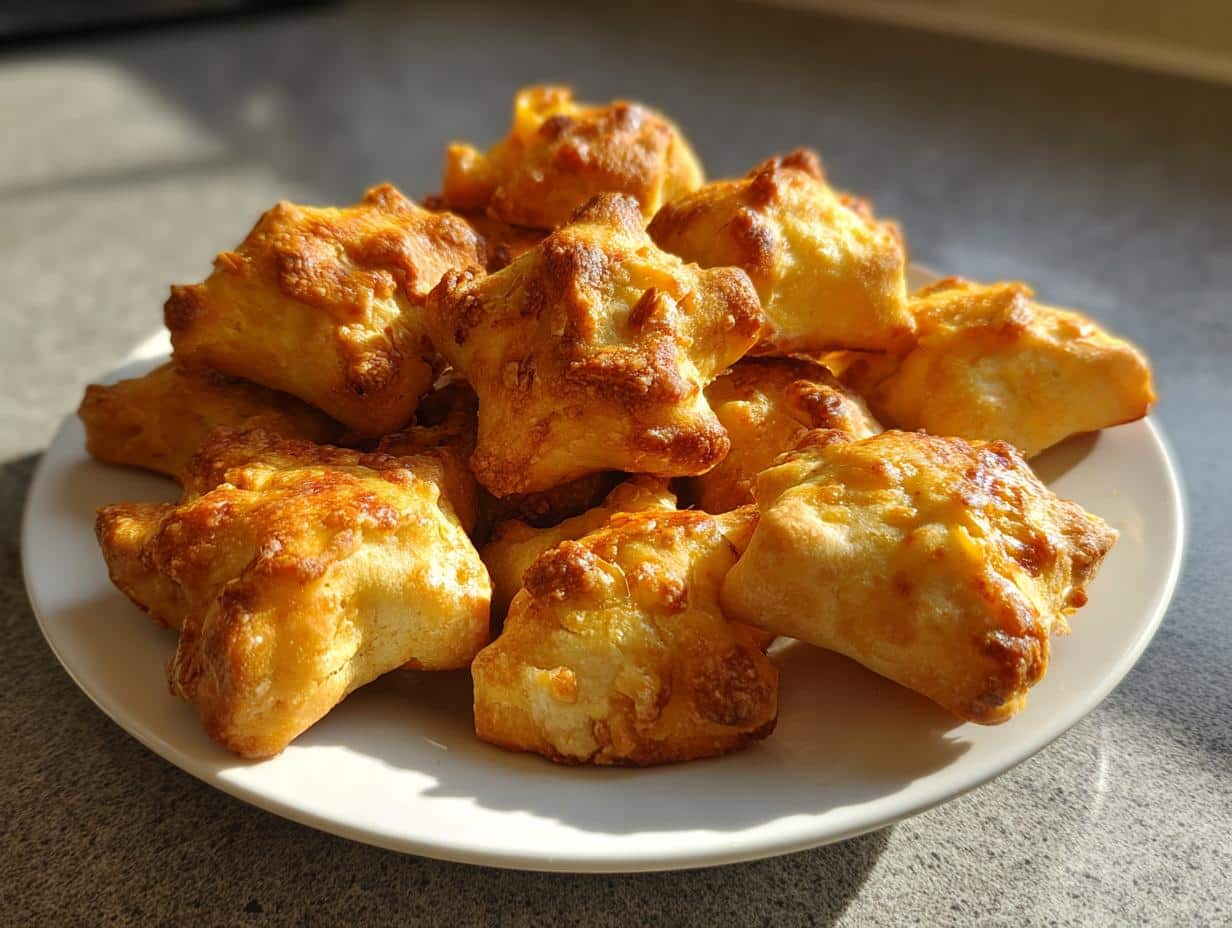
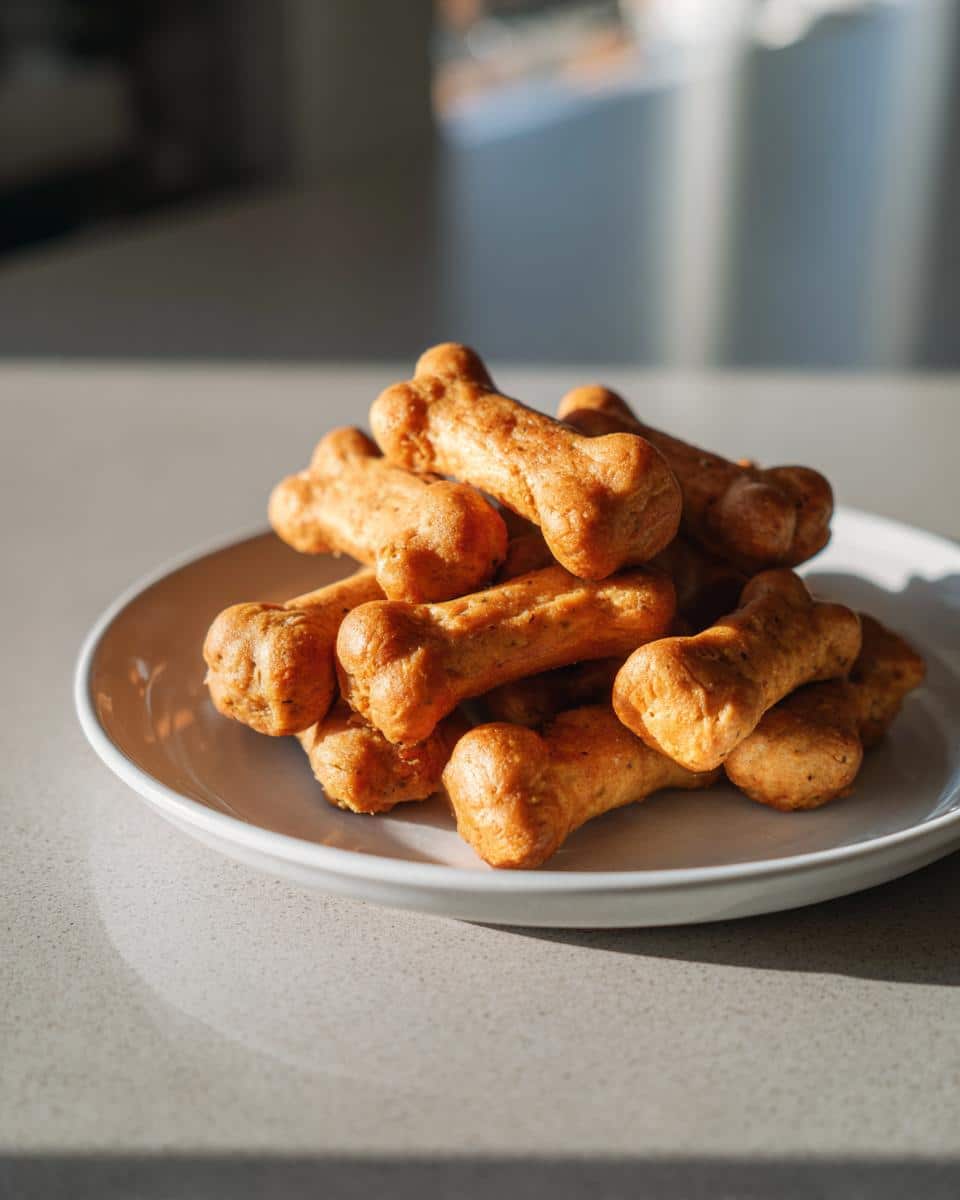
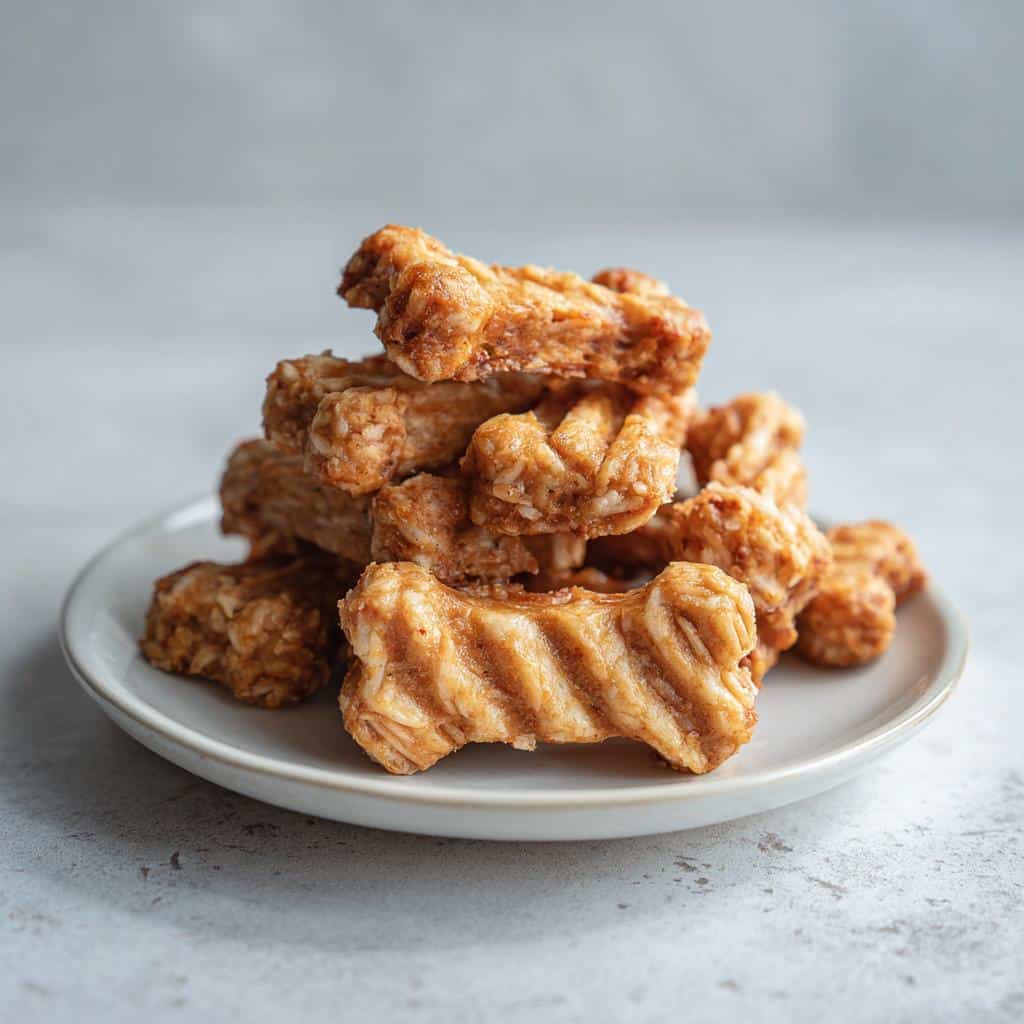
That’s why I landed on these amazing baked **Chicken & Rice Crunch Bones**. Seriously, they are magic—only a handful of real ingredients, and they bake up perfectly crispy. Gus goes absolutely wild for the chicken smell while they’re in the oven. Trust me, making these simple, crunchy treats is so much better than reading those long ingredient labels!
If you’re looking for the easiest, most satisfying homemade dog snack, you are in the right place. I’ve got the foolproof method to get that perfect snap every single time. You can find a few other great ideas for quick snacks here: my favorite easy homemade dog treats roundup!
Why These Chicken & Rice Crunch Bones Are a Top Choice
When I look at why people, including me, keep making these snacks over and over, it always comes down to trust. You know exactly what your dog is eating, and that peace of mind is priceless. Plus, they smell amazing in the kitchen—nothing artificial!
- You aren’t messing around with weird fillers or artificial colors; these **Chicken & Rice Crunch Bones** use just basic, good stuff your dog needs.
- They are baked, not fried! That’s a huge win for keeping things light and healthy for pup tummies.
- They are incredibly versatile. Check out how well these chicken biscuits pair with other ideas!
Simple Ingredients for Perfect Chicken & Rice Crunch Bones
I’m talking chicken and rice, folks. That’s the baseline! We keep it strictly baked, which means we avoid all that greasy cleanup and the heavy feeling of fried snacks. It’s quick, clean, and your dog gets pure goodness.
Achieving the Ultimate Crunch in Your Chicken & Rice Crunch Bones
The secret weapon here isn’t an ingredient; it’s patience at the end. The baking time gets them firm, but letting them cool slowly in the turned-off oven—that’s where the real, satisfying crunch comes from. That final cooling step transforms them into perfect **Chicken & Rice Crunch Bones**.
Gathering Ingredients for Your Chicken & Rice Crunch Bones
Getting ready to make these is almost as fun as making them! You probably have most of this lying around already. Remember, for our furry friends, cleanliness counts, so we are keeping the ingredient list super tight. This is what unlocks the best flavor in your **Chicken & Rice Crunch Bones**.
Here is exactly what you need. Keep an eye on those notes—they are important for keeping things safe and tasty for your pup! You can see more ideas on simple snacks here: my favorite 3-ingredient homemade dog treats!
- One cup of cooked chicken breast, chopped up nice and small (no skin or bones, please!).
- One cup of cooked white rice—and this has to be plain! No salt, no spices, nothing yucky.
- One large egg to bind it all together.
- About 1/4 cup of water, but trust me, you might not need it all.
Ingredient Clarity for Best Chicken & Rice Crunch Bones
Listen, those notes are non-negotiable for me. The chicken has to be fully cooked before it hits the food processor; we aren’t cooking it raw in the dough, remember? And yes, the rice MUST be just plain white rice. Any seasoning—even a little garlic powder intended for humans—can upset their stomachs. If your mixture looks like it’s struggling to turn into a dough, add that water just a tiny bit at a time until it feels right. It’s all about consistency for the final **Chicken & Rice Crunch Bones**!
Essential Equipment for Making Chicken & Rice Crunch Bones
Okay, so thankfully, because these are homemade dog treats and not some fancy baked goods for people, we don’t need a million gadgets! This keeps cleanup fast, which is always a win in my book.
When I first made these **Chicken & Rice Crunch Bones**, I was worried about the mixing, but honestly, the standard tools worked perfectly.
- You absolutely need a sturdy baking sheet—I prefer a rimmed one just in case the edges spread a little.
- Parchment paper is your friend here. Say goodbye to scrubbing baked-on rice! It makes removing those little bones so easy.
- A food processor is really helpful for getting that nice, uniform texture needed for the dough to stick together properly.
That’s it! Three simple things stand between you and a week’s supply of great snacks. You don’t need a stand mixer or anything fancy for the **Chicken & Rice Crunch Bones** this time around!
Step-by-Step Guide to Baking Your Chicken & Rice Crunch Bones
Okay, let’s get cooking! This part moves pretty fast, but don’t rush the cooling—that’s where the magic happens. First things first, get that oven warmed up. I usually set mine to 350°F (175°C) right before I even grab the ingredients. Line that baking sheet with parchment paper; it’s the best thing ever invented for easy cleanup.
If you want to see some other excellent chicken recipes for your dog, check out this great chicken and rice dog treats collection!
Preparing the Base Mixture for Your Chicken & Rice Crunch Bones
This starts in the food processor. In goes the cooked chicken and the cooked rice. You want to pulse this until it’s really finely ground up, but don’t let it turn into total mush—we still want a little bit of texture in our **Chicken & Rice Crunch Bones**. Once that looks good, transfer it right into a mixing bowl. Now, crack in that egg and mix everything until it’s just combined. It should start looking like a thick, slightly shaggy dough.
Forming and Cutting the Perfect Chicken & Rice Crunch Bones
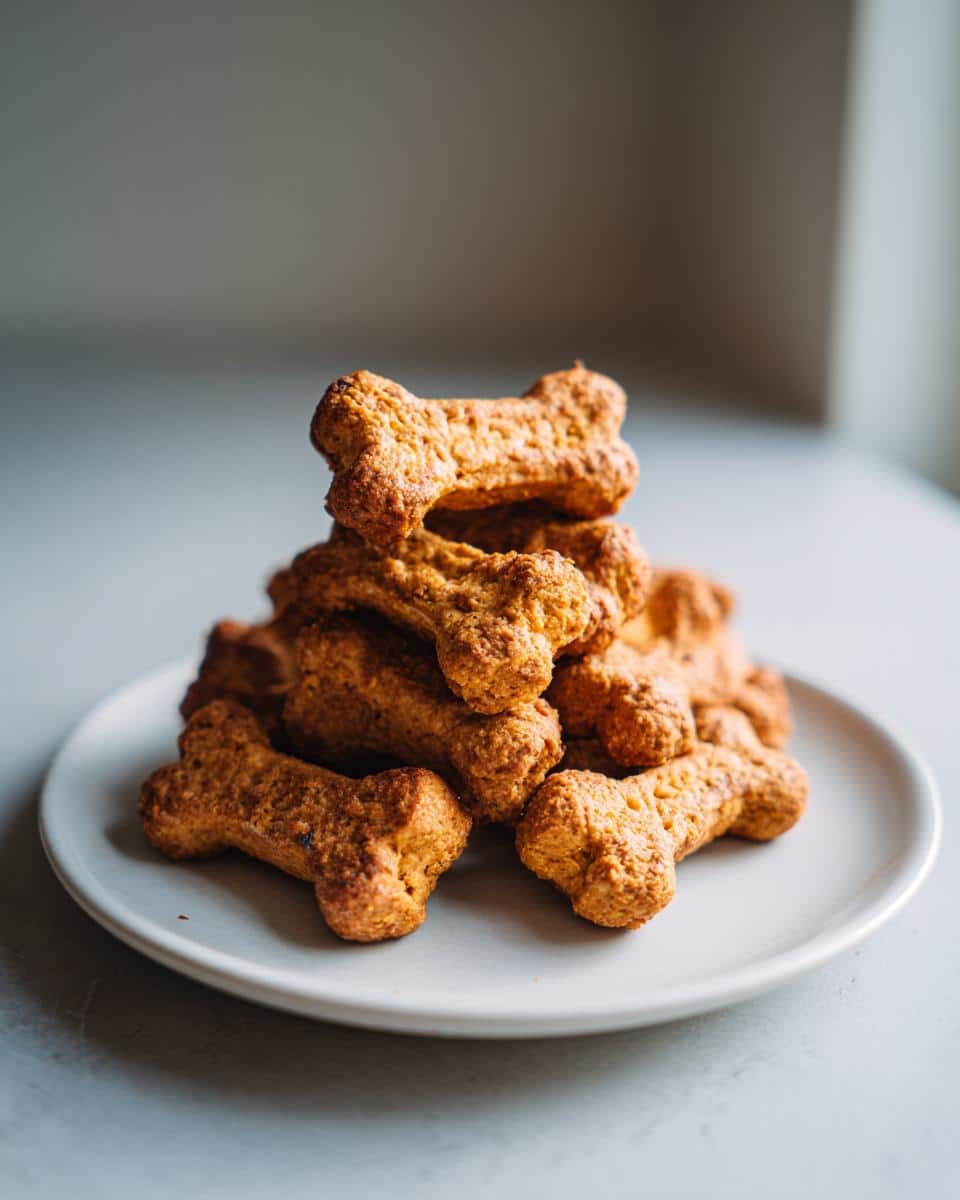
Here’s the tricky bit where you decide how dry the dough is. If it’s crumbling apart when you press it, you need that water. Add it in just a tablespoon at a time until the mixture holds together nicely. Don’t add too much, or they won’t get crunchy! Once you have a cohesive dough, sandwich it between two sheets of parchment paper. Roll it out until it’s about 1/4 inch thick. Then, grab your little bone-shaped cutter and punch out as many shapes as you can fit on your sheet. I usually trim around the edges to save the scraps for later!

Baking for Maximum Crunch in Your Chicken & Rice Crunch Bones
These go into the preheated 350°F oven for about 25 to 30 minutes. You’ll know they are done when the edges look firm and slightly browned—they should smell delicious! But here is the real secret for the best **Chicken & Rice Crunch Bones**: Don’t take them out yet! Turn the oven off completely. Prop the door open just a tiny crack with a wooden spoon and leave those crunchy bones inside for about an hour to cool down slowly. That slow cool maximizes the crunch factor you’re looking for!
Expert Tips for Perfect Chicken & Rice Crunch Bones Texture
I’ve made hundreds of batches of these, and I know exactly what to look out for when things aren’t going according to plan. Getting that satisfying snap when your dog chomps down on a **Chicken & Rice Crunch Bone** depends so much on the dough consistency before it ever hits the baking sheet. Don’t worry if your first batch is a little softer than you planned; we can fix it!
If you roll out your dough and it just cracks apart no matter how hard you press, that means it’s too dry. It’s super common! Just take that crumbly dough, put it back in the bowl, and add maybe half a teaspoon of water—no more than that! Mix it quickly with your hands. It should come together faster than you expect. Remember, we are aiming for something soft enough to shape, not wet dough.
On the flip side, if your dough feels sticky or starts sticking to your hands or the parchment paper while you’re trying to roll it, oops, you added too much water earlier! Don’t panic; this is why we love simple recipes. Take a tablespoon of plain cooked rice (dry, uncooked won’t work well here) and mix that right in. The dry rice grains will absorb that extra moisture right away and give you back the structure you need to roll out those perfect **Chicken & Rice Crunch Bones** thin enough to get crispy.
When testing for that final firmness after the slow cool-down, you want them to feel solid all the way to the center. If you poke one gently and it feels even slightly springy, pop them back in the fully off, but still warm oven for another 15 minutes. A little extra time low and slow guarantees the ultimate crunch for our **Chicken & Rice Crunch Bones**. For more behind-the-scenes tips, check out my general blog section here!
Storage and Shelf Life for Homemade Chicken & Rice Crunch Bones
So, you made a massive batch of these amazing treats, and now you’re wondering how to keep them fresh for your furry pal? That’s smart thinking! Since we only used real, whole ingredients here—no weird preservatives were invited to the party—we have to be a little more careful about keeping these **Chicken & Rice Crunch Bones** safe to eat.
The good news is that because we baked them until they are super firm and crunchy, they last longer than softer chews. If you’re looking for ideas on what to give the little ones sometimes, I’ve rounded up ten of the very best puppy recipes right here!
For these **Chicken & Rice Crunch Bones**, storage is simple, but you must keep them airtight. If they aren’t wrapped up tight, they will absorb moisture from the air and start to lose that beautiful crunch we worked so hard for!
Keeping Your Chicken & Rice Crunch Bones Fresh in the Fridge
If you plan on using them up within the week, the refrigerator is the perfect place. Pop all your cooled, hard **Chicken & Rice Crunch Bones** into a truly airtight container, like one of those reusable glass containers with the snapping lids. I’ve found they stay perfectly firm and safe in the fridge for about one whole week. Just make sure they are completely cooled before you seal them up, or you’ll condense moisture inside the container—and we definitely don’t want soggy bones!
For Longer Storage: Freezing Your Chicken & Rice Crunch Bones
Made a huge batch for the whole month? No problem! Freezing is the way to go. You can definitely freeze these just as they are. I usually separate them into smaller zip-top freezer bags, squeezing out as much air as I can before sealing them up tight. They freeze beautifully.
When you want to serve one up to your dog, just pull the bag out of the freezer and let the **Chicken & Rice Crunch Bones** thaw on the counter for about 20 minutes, or just give them directly to your dog if they love a cold snack! They last great in the freezer for a couple of months this way, keeping that awesome chicken and rice flavor locked in until you need them.
Serving Suggestions for Your Dog’s New Favorite Treat
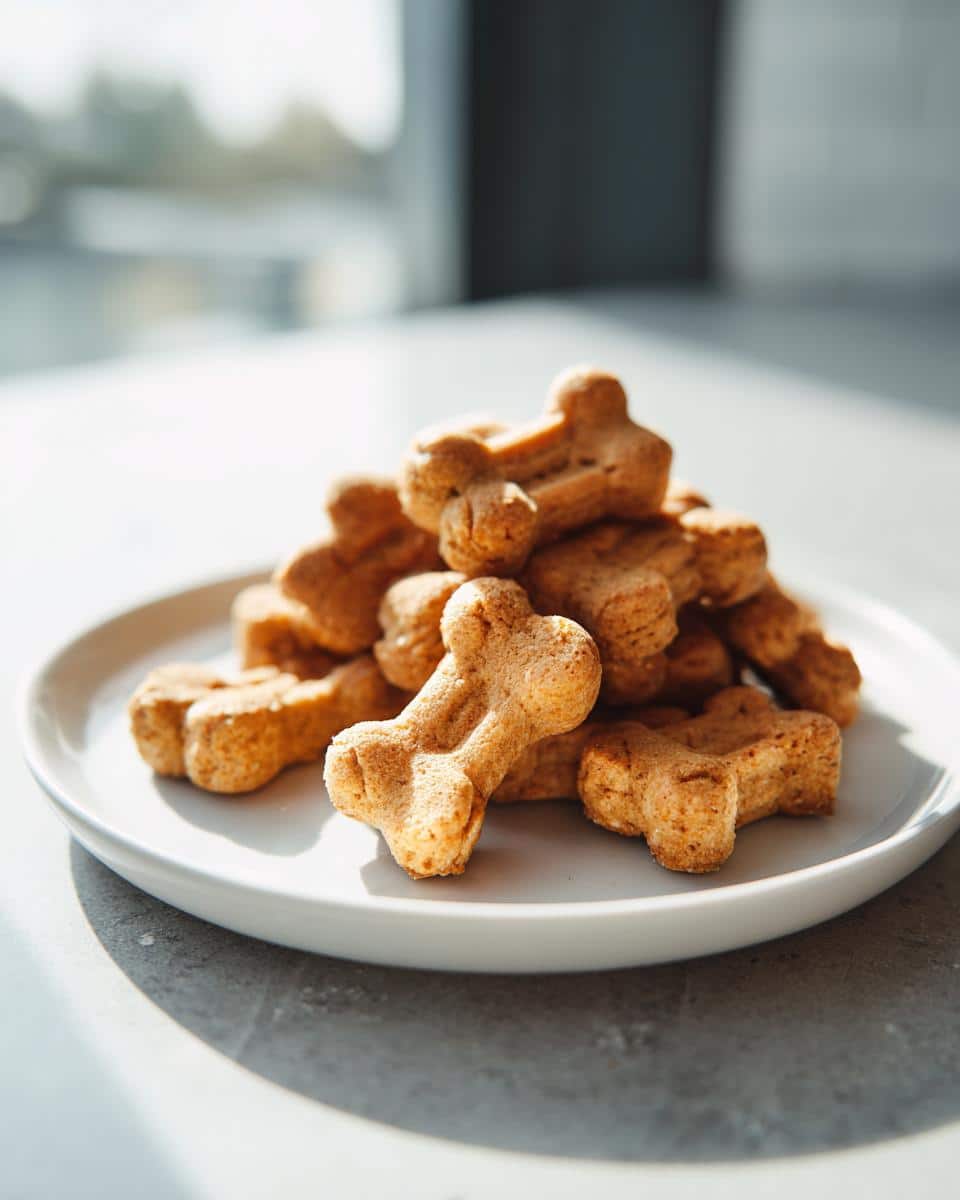
Now that you have these perfectly crunchy treats ready to go, you might be wondering the best ways to serve them up! Since these **Chicken & Rice Crunch Bones** are super hard, they are fantastic for maintaining good dental health, which is something I always think about with my guy, Gus.
I rarely just hand them over loose in the kitchen; I like to make the treat a little more special, you know? They are perfect for those moments when your dog has done something really good, like sitting patiently while you eat your dinner or mastering a new trick.
I sometimes lightly dip the end of the bone in a tiny bit of unsweetened peanut butter or even some of that savory broth I save from making other recipes! If you’re looking for some fun, savory toppers, check out these peanut butter chicken broth ideas—they really jazz things up!
They are also wonderful mixed into a softer meal, especially if your dog usually eats wet food or soft kibble. Dropping one or two crunchy bones right on top gives their meal a nice textural contrast. It turns an ordinary dinner into something they have to really work for a little bit!
Remember, since these are supplemental treats, always supervise mealtime or treat time. We want happy, healthy chewing sessions, not gulps!
Frequently Asked Questions About Chicken & Rice Crunch Bones
When you’re making treats for your best friend, questions pop up, right? I get it! I always have a million little concerns about texture, safety, and making sure Gus gets the exact right balance of goodness. Here are a few things folks ask me all the time about making these rock-solid **Chicken & Rice Crunch Bones**.
If you want to see some other great recipes that cover different flavors, I just posted my thoughts on my favorite blueberry dog biscuit recipes!
Can I substitute the chicken in the Chicken & Rice Crunch Bones recipe?
That’s a fair question! Yes, you totally can swap the chicken breast out, but you need to keep the protein lean and fully cooked, just like the chicken. Turkey breast works wonderfully, and even very lean ground beef, cooked thoroughly and crumbled up, works in a pinch for these **Chicken & Rice Crunch Bones**. The main thing is that you want to keep the amount of protein roughly the same cup-for-cup, so your dough doesn’t get too wet or too dry. You’re basically just swapping out the main flavor profile!
How long do these baked treats last if I don’t freeze them?
Because we work so hard to bake these until they are completely dehydrated for that great crunch, they hold up pretty well in the fridge. I always tell people to stick them in a proper airtight container in the refrigerator, and they stay good for about one week. I recommend checking them on day seven; if you notice any dampness or they feel soft at all, you should toss those **Chicken & Rice Crunch Bones** or pop the rest straight into the freezer to save them!
Are these Chicken & Rice Crunch Bones safe for puppies?
This is where you always need to check with your vet, but generally speaking, yes, the ingredients are very mild. Puppies need very simple foods, and chicken and rice are the standard bland diet for a reason! However, because these are so hard and crunchy, I am a little cautious with very, very young puppies whose teeth are still coming in or who tend to swallow things whole. Always supervise those early sessions. We want them to crunch them happily, not choke on a whole **Chicken & Rice Crunch Bone**! Supervision is key until you know how your puppy handles hard treats.
Final Thoughts on Homemade Dog Treats
Honestly, seeing Gus get so excited over something I made with my own two hands just fills my heart up. It’s such a rewarding feeling knowing that I’ve kept the ingredients clean and the love high for my guy!
These **Chicken & Rice Crunch Bones** really prove that you don’t need a complicated ingredient list or tons of equipment to spoil your dog rotten. Just simple food, prepared with care, makes all the difference in the world to them. It’s truly the best way to show loyalty when they give you so much unconditional joy every single day.
If you try this recipe out—and I really hope you do—please come back and let me know what your dog thought! Drop a comment below, or maybe even hit those rating stars if you loved how simple and crunchy these turned out. I love hearing about all the happy tail wags, and I’m already planning what sweet potato batch I’m going to try next after reading up on these sweet potato ideas!
Chicken & Rice Crunch Bones
Ingredients
Equipment
Method
- Preheat your oven to 350°F (175°C). Line a baking sheet with parchment paper.
- Place the cooked chicken and cooked rice into a food processor. Pulse until the mixture is finely ground but still has some texture.
- Transfer the mixture to a bowl. Add the egg and mix well until combined.
- If the mixture is too dry to form a dough, add water one tablespoon at a time until it holds together when pressed.
- Roll the dough out between two sheets of parchment paper to about 1/4 inch thickness.
- Use a small bone-shaped cookie cutter or knife to cut out the treats. Place them on the prepared baking sheet.
- Bake for 25 to 30 minutes, or until the edges are firm and slightly browned. For extra crunch, turn off the oven and let the bones cool completely inside the oven with the door slightly ajar for about 1 hour.
- Store the finished crunch bones in an airtight container in the refrigerator for up to one week, or freeze for longer storage.


