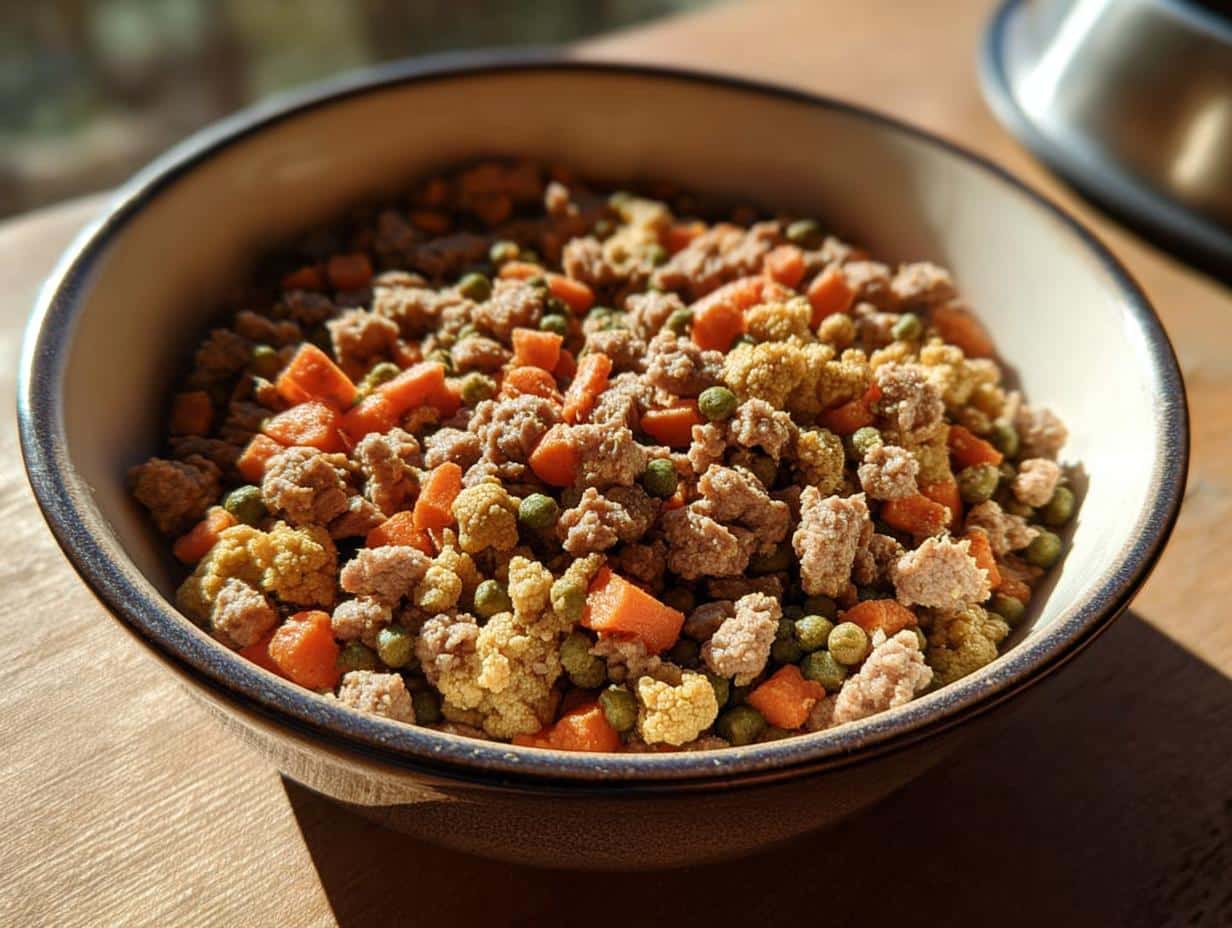
Oh my gosh, you absolutely *have* to try making these homemade dog biscuits! Seriously, forget those dusty bags of store-bought crunchies. My pup, Buster, turns into a total maniac anytime he smells these baking. That’s how you know you’ve done something right, right?
The secret weapon here is using that good, savory liquid gold: low-sodium chicken broth. It takes a completely basic dough and turns it into something they absolutely freak out for. And trust me, these chicken broth dog biscuit treats come together so fast. You’ll have about 30 tasty lovin’ bombs ready for your furry best friend without spending your whole afternoon in the kitchen!

Why This Chicken Broth Dog Biscuit Recipe Works for Your Pup
I truly believe that feeding our dogs the best starts with simple, whole ingredients that we can actually pronounce! These biscuits aren’t complicated; that’s the beauty of them. They offer maximum payoff with minimum fuss. Every time I pull these out, Buster acts like I’ve handed him steak, all thanks to that beautiful chicken flavor.
- They are shockingly easy to mix up—no weird gadgets needed whatsoever.
- The full wheat flour gives them a satisfying structure that holds up well.
- That cool, savory chicken broth makes them irresistible to even the pickiest eater.
When you’re making homemade things, you want ease, and these deliver!
Quick Prep and Bake Time for Your Chicken Broth Dog Biscuit
Listen, sometimes you realize midnight is fast approaching and you forgot to grab a decent treat for that morning training session. Don’t panic! This recipe is lightning fast. You’re looking at just 15 minutes of actual hands-on time to mix everything up and get them cut out. Then, 25 minutes in the oven. Honestly, you can whip up a batch of these chicken broth dog biscuit treats faster than it takes to drive to the pet store!
Gathering Ingredients for Your Homemade Chicken Broth Dog Biscuit
Okay, let’s talk about what goes into these amazing treats because this is where we lock in that great flavor and make sure they are safe for our best pals. Getting these right is half the battle, and frankly, this ingredient list is so short it’s almost suspicious! You just need four items, total. It’s almost ridiculously simple, which is exactly what I love for routine baking.
You’ll need two full cups of whole wheat flour—don’t measure it packed in, just spoon it gently into your cup and level it off. Then comes the star, that wonderfully savory, cooled low-sodium chicken broth. Two eggs and a quarter cup of unsweetened applesauce round out the wet side. See? Nothing scary here at all!
Ingredient Notes and Potential Substitutions
Now, pay close attention to those little notes next to the ingredients, because that’s my real-world experience talking. If you’ve got a pup with sensitivities or you just want to go grain-free sometimes, you can totally swap out the whole wheat flour for oat flour. It works just as beautifully!
But here’s truly important safety advice: you *must* use low-sodium chicken broth. Our dogs don’t need that extra salt we do! Using standard broth can really spike their sodium intake, and we’re trying to build trust here, not stress out their kidneys. Always make sure that broth is cooled down completely before you start mixing, or you’ll end up scrambling those eggs before you even get to them!
I always grab my supplies from the pantry; I even recommend checking out this guide on making dog treats with just a few things if you want to keep things super minimal next time!
Essential Equipment for Making Chicken Broth Dog Biscuit Treats
Okay, getting set up is half the fun before the dough even hits the table! You don’t need a fancy stand mixer for these chicken broth dog biscuit treats—good old-fashioned elbow grease works perfectly fine here. Having your tools ready before you start mixing things up prevents that frantic searching when you have sloppy wet hands!
Here’s the short, sweet list of what you need ready to go:
- A big, sturdy mixing bowl. You need space to work that dough later on, so don’t grab the smallest one you own!
- A reliable rolling pin. Mine is heavy wood, and it just feels right when I’m flattening out dough for Buster.
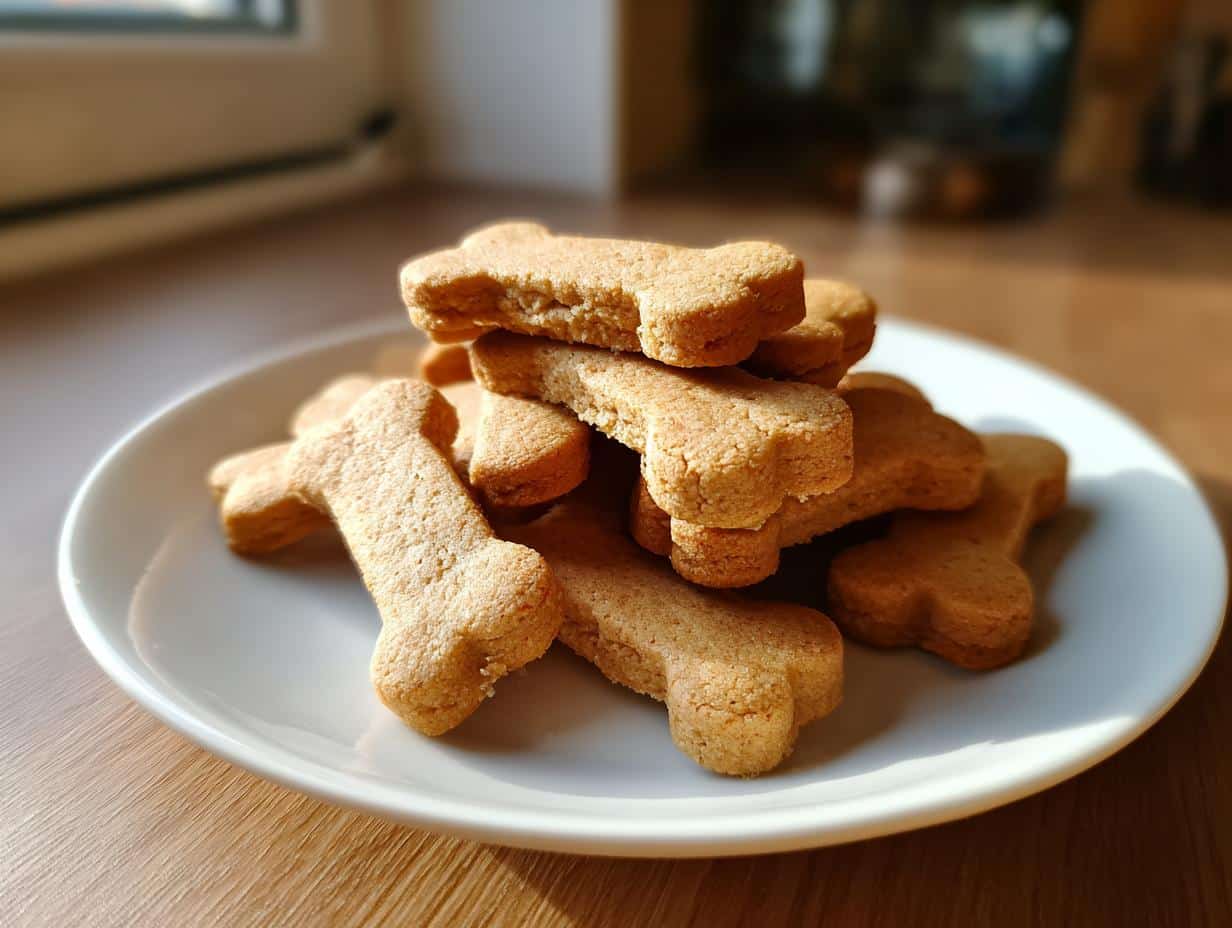
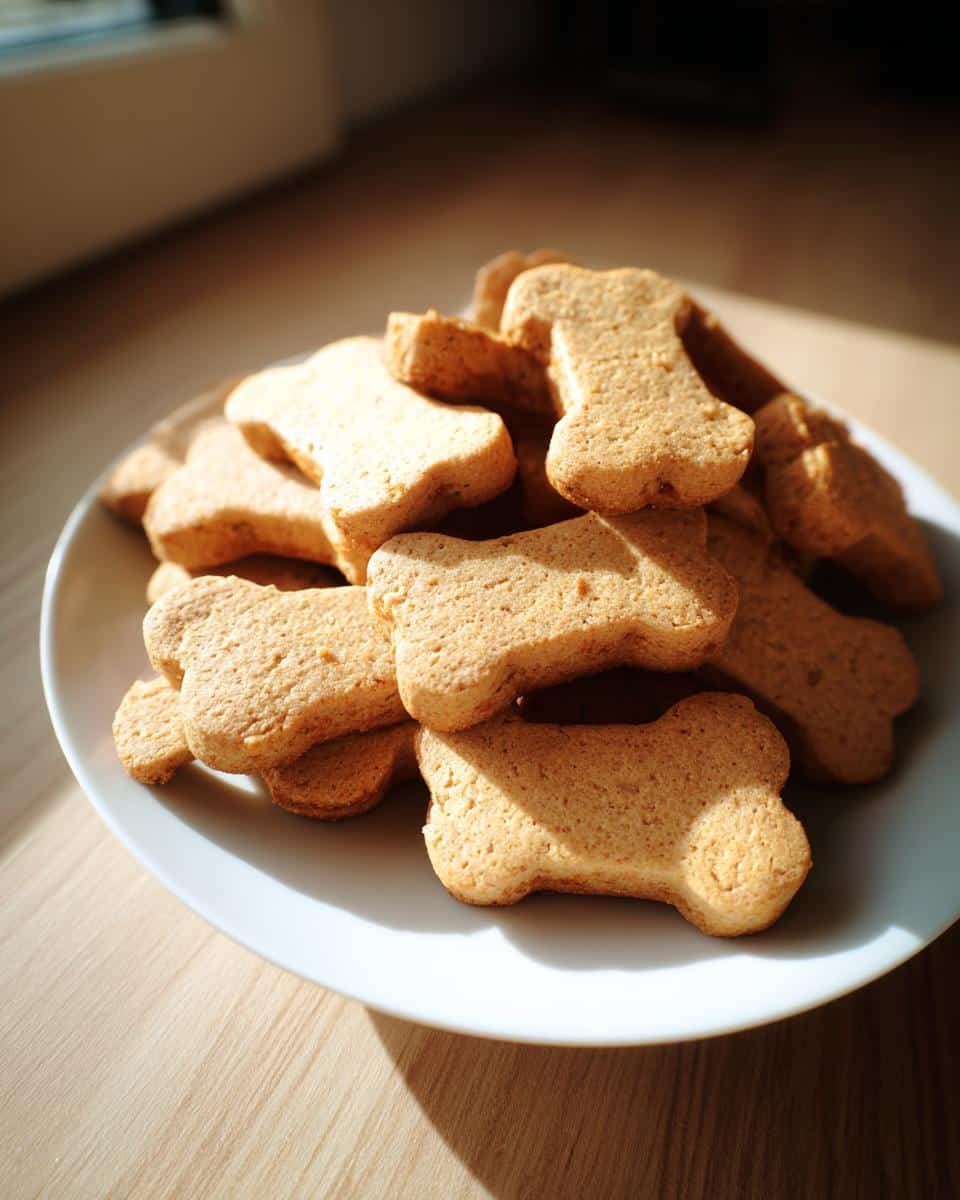
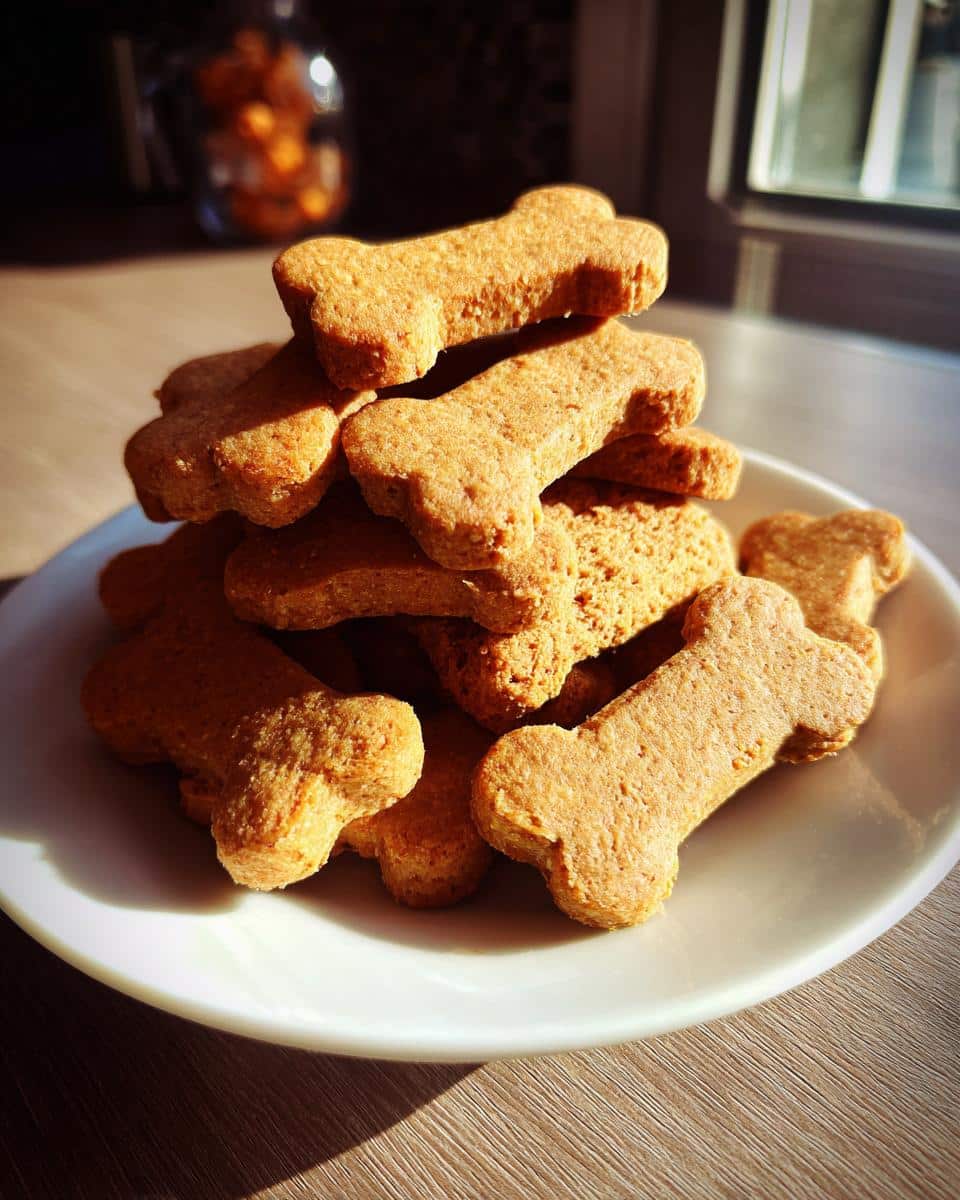
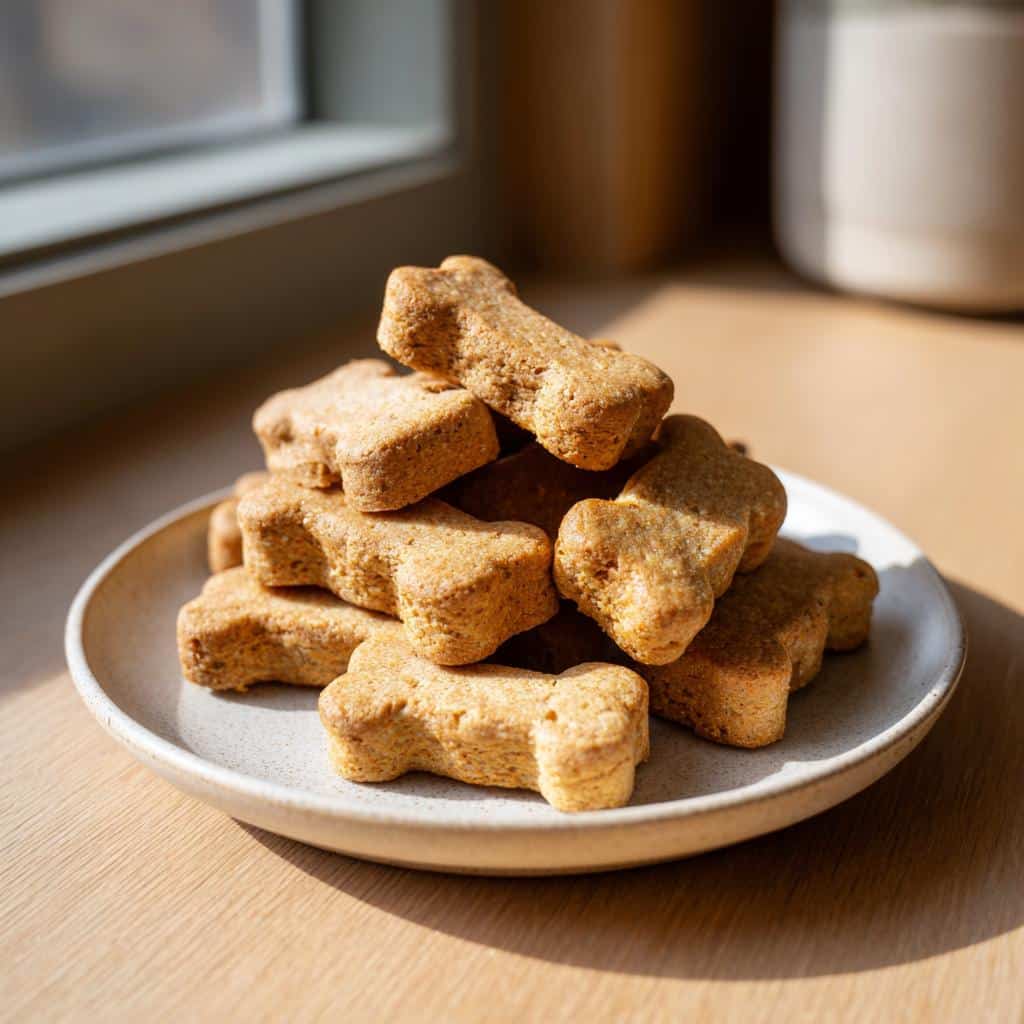
- Your favorite cookie cutters. I use a fun bone shape, but honestly, any shape works—your dog just cares about the taste, not the aesthetic!
- A trusty baking sheet, preferably one that isn’t warped so your biscuits bake evenly.
Make sure that baking sheet is lined with parchment paper—I cannot stress this enough. It makes cleanup a breeze, and trust me, you do *not* want baked-on biscuit bits glued to your pan!
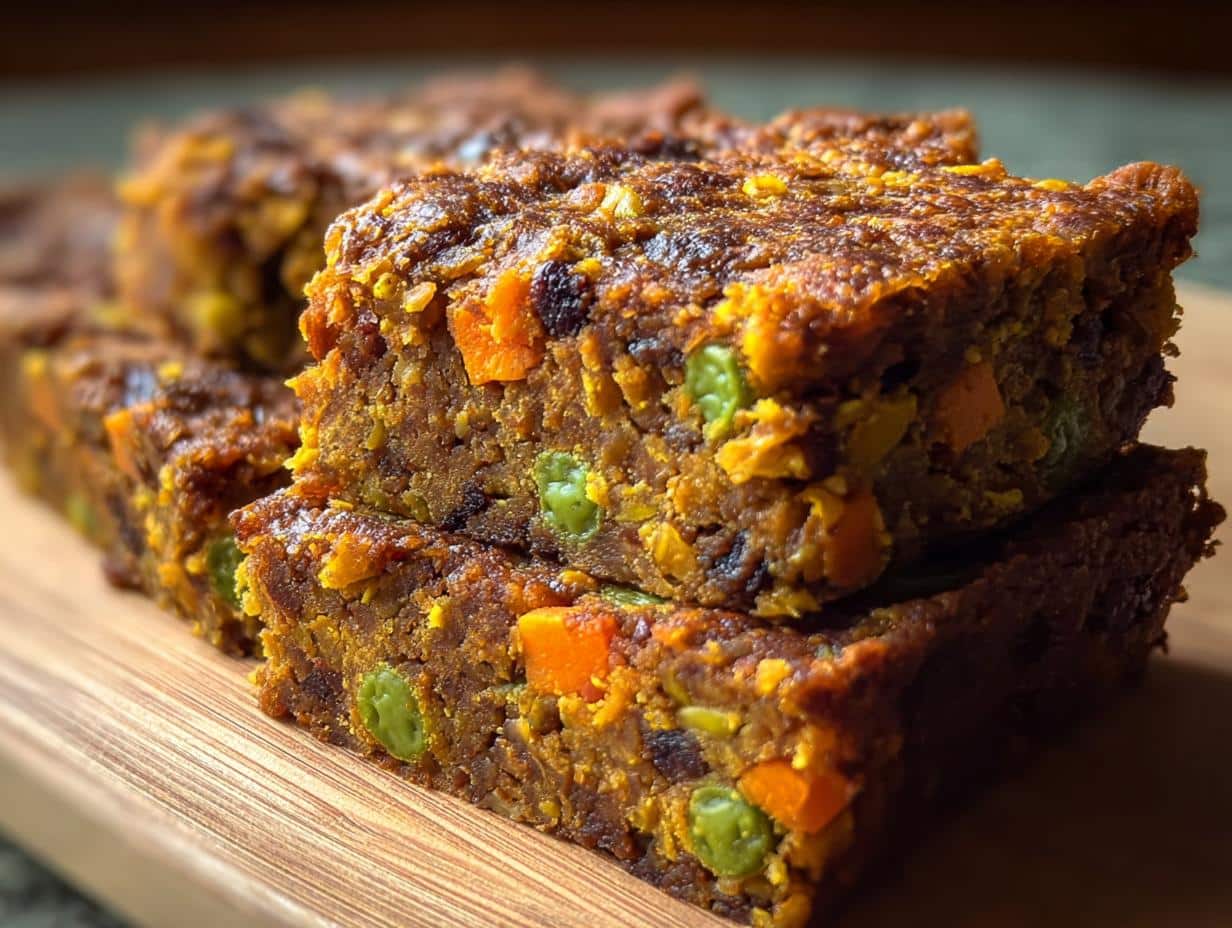
Step-by-Step Instructions for Perfect Chicken Broth Dog Biscuit
This is where the magic really happens! I’ve broken down the process into numbered steps just like I do in my own kitchen notebook. Nothing complicated, but you have to follow the order, especially when combining the wet and dry bits for these wonderful chicken broth dog biscuit treats.
- First things first, get that oven fired up! Preheat it to 350°F (175°C). While it’s warming, make sure you’ve got that baking sheet lined nicely with parchment paper like we talked about.
Mixing the Dough for Your Chicken Broth Dog Biscuit
We start wet, always! Grab your big bowl and whisk those two eggs with the applesauce until they look happy and blended together. Then, slowly drizzle in that cooled chicken broth—remember, cooled! You don’t want warm liquid melting anything.
Now for the flour. Gradually add the whole wheat flour. Seriously, go slow here! You’re mixing until you get a stiff dough. If you notice it’s super sticky and clinging everywhere, just bring in a little more flour, maybe a tablespoon at a time, until you can handle it without making a huge mess. It should feel firm, not tacky.
Rolling and Cutting the Dog Biscuits
Time to roll! Dust your counter lightly; you don’t want it sticking everywhere as you work. Use your rolling pin to flatten that dough down until it’s about 1/4 inch thick all the way across. Consistency matters so they all bake the same way!
Once you’ve got your thickness right, grab those cookie cutters and start punching out shapes. Place them directly onto your prepared baking sheet. Don’t worry about overcrowding them too much; they don’t spread like human cookies do.
Baking and Drying the Chicken Broth Dog Biscuit Thoroughly
Into the hot oven they go for 20 to 25 minutes. You’re looking for the edges to just start turning lightly golden brown. But here is the secret that makes them truly crisp—my signature move for a hard, crunchy chicken broth dog biscuit!
When they look done, turn the oven *off*. Don’t open the door fully, just crack it open a little bit—leave the door ajar. Let those biscuits hang out inside for another 10 minutes while everything cools down. That extra time is crucial for drying them out completely so they don’t get soft sitting on the counter!
Tips for Success When Making Chicken Broth Dog Biscuit
Even though this recipe is super basic, a couple of little things I learned through trial and error can make the difference between a perfect, long-lasting treat and a slightly crumbly one. Trust me, once you nail these, you’ll never look back!
First up, when you’re rolling out that dough—if you find it starts to crumble a bit around the edges, that’s okay! Don’t panic and dump in more liquid. Instead, just take whatever scraps you cut off and mush them back together with your hands really quickly. Sometimes the flour absorbs moisture differently based on the air that day, so gentle handling solves most crumbling issues.
Another big tip for making sure these chicken broth dog biscuit treats stay incredibly fresh is this: make sure your dough isn’t overworked once the flour is added. We want a firm dough, yes, but if you beat it way too much once the flour is in, you develop the gluten too much, and they can end up tough instead of crunchy. Mix until it *just* comes together, then stop!
And finally, really commit to that final drying step we talked about where you leave them in the warm, turned-off oven. This is the single best thing you can do to guarantee they last longer. If they retain any steam or moisture, they can get soft quickly, and Buster definitely prefers that satisfying *snap* when he bites into his reward!
Storage and Making Ahead with Your Chicken Broth Dog Biscuit
You’ve successfully baked a massive batch of amazing chicken broth dog biscuit treats, so now we need to make sure they last! This is the part where people get lazy, but proper storage is super important to keep them safe and delicious for Buster. Remember, since these don’t have any of the preservatives that store-bought kibble has, we have to be a little more careful.
The main goal of storage is keeping air out, which prevents them from getting stale or, worse, harboring any unwelcome moisture that can make them go funky. If you followed my advice about drying them out completely in the turned-off oven, you’re already 90% of the way there to perfect storage!
For short-term storage, grab a good, airtight container—a sturdy Tupperware or even a glass jar with a tight lid works perfectly. At room temperature, these crunchy treasures will stay great for about one full week. I try to keep the container somewhere cool and dark, away from the stove heat, you know, just to be safe.
Now, if you’re like me and you like to bake a huge haul so you don’t have to worry about treats for a month, you absolutely need to freeze them! These chicken broth dog biscuit treats freeze beautifully. Pop them into a freezer-safe bag—sucking most of the air out helps minimize freezer burn—and they’ll be good for a couple of months. When you need one, just pull it out while you’re doing something else, and it thaws on the counter in minutes, ready for happy tail wags!
Serving Suggestions for Homemade Dog Treats
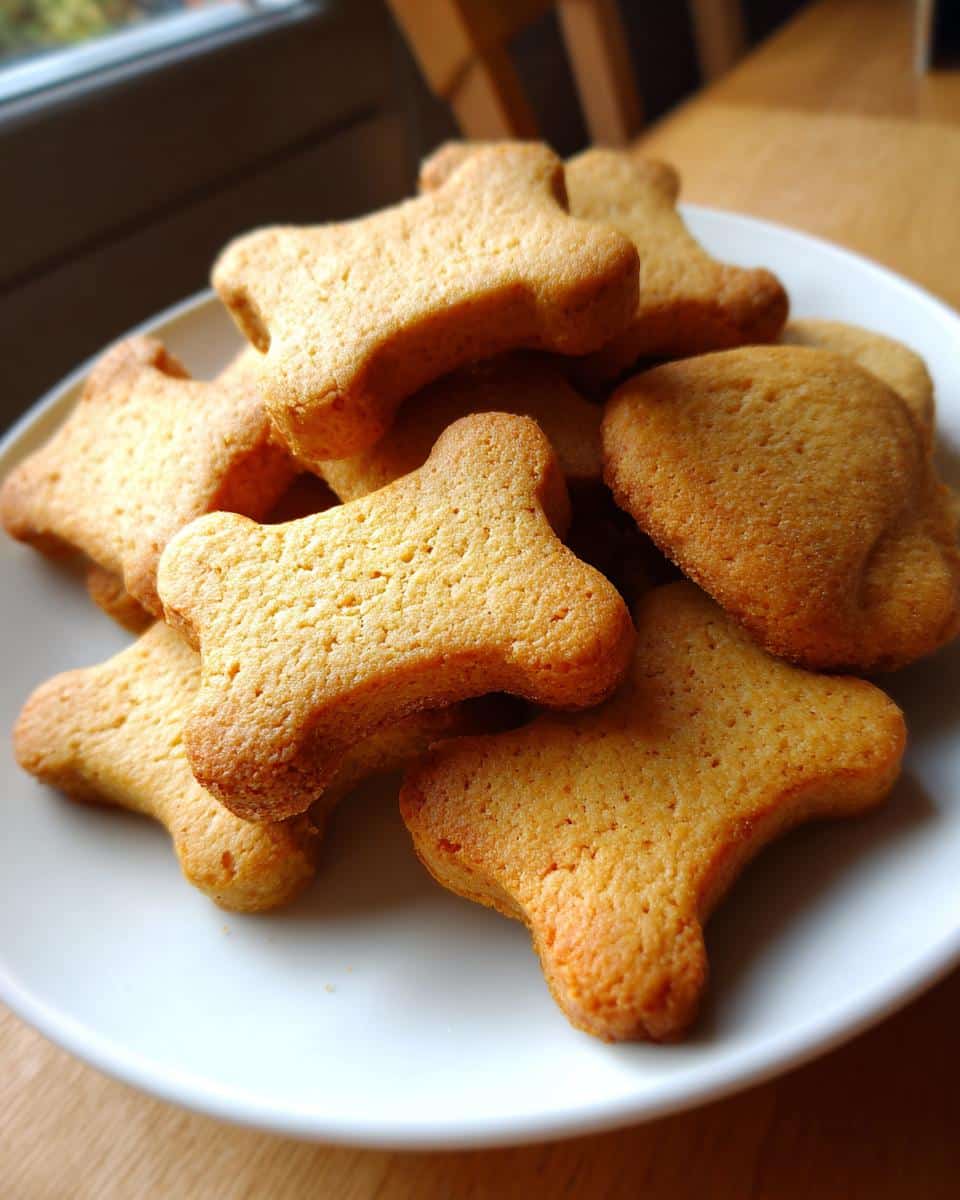
Alright, you’ve got your 30 perfectly baked, savory chicken broth dog biscuit treats cooling on the rack. What now? Well, the most important job is obviously taste-testing (just kidding! Mostly!). These are multipurpose little powerhouses in our house.
First, they are my absolute go-to for training. Because they are so savory from the broth, Buster pays attention instantly. I usually break mine in half—he gets the half right away for a good job, and the other half gets put away for the next success.
They also work great as a fun crunchy topping if your dog eats softer food. If you mix a few crumbles over his regular dinner, it’s like sprinkling Parmesan cheese on pasta for him! It encourages him to finish up every last bite. They are sturdy enough that they don’t dissolve immediately in water or gravy, which I really appreciate. It just adds a little extra something special to his routine!
Frequently Asked Questions About Chicken Broth Dog Biscuit
Since everybody asks me the same little questions when they see my giant tins of homemade dog treats, I figured I’d just pop the most common ones right here. Honestly, you’re probably wondering the same things! It’s good to be prepared before you start mixing up a big batch of these chicken broth dog biscuit wonders.
Can I use regular, high-sodium chicken broth instead of low-sodium?
Oh please, don’t do it! I know sometimes you’re just grabbing what’s in the pantry, but you really need to stick to low-sodium or better yet, unsalted broth if you can find it. Our dogs don’t need nearly the amount of salt we do, and feeding them high-sodium food consistently is just asking for trouble down the road. Since this recipe is meant to be a healthy snack, keeping the salt content down is non-negotiable for me!
Are these chicken broth dog biscuits safe for puppies?
That’s a great question, especially since puppies need gentle digestion! Because this recipe uses whole wheat flour, they are generally better for dogs who are past the early puppy stage and have started on regular adult food formulas. If you are making these for a really young pup, I strongly recommend using oat flour instead of wheat flour—it’s much easier on their sensitive tummies. And always check with your vet first, just to be totally sure!
I baked them, but they seem crunchy in the middle. Did I miss a step?
If they aren’t quite hard when you pull them out, you probably just need to commit to my favorite drying step! Remember, these are meant to be *biscuits*, so they need to snap when broken. When you turn the oven off—and this is the magic part—leave them inside with the door slightly ajar for that whole extra 10 minutes. That residual heat sucks out the remaining moisture. If you do that, the next batch should be perfectly crisp for long-term homemade dog treat storage!
How long do these actually last if I store them correctly? Is freezing an option?
If you managed to get them nice and dry using that final oven step, they keep really well at room temperature in an airtight container for about a week. But honestly, I always default to the freezer if I make a double batch because I forget things exist on the counter! Pop them into a decent freezer bag, and they’ll be perfectly good for at least two months. They thaw super fast, too!
Disclaimer Regarding Nutritional Content
Now, look, I love spoiling Buster rotten with these delicious chicken broth dog biscuit treats, but I want to be super honest about something important here: I’m a devoted home cook, not a canine nutritionist, okay?
Because I use different brands of flour or maybe my applesauce is a touch sweeter one month than the next, the nutritional makeup of these treats can change just a little bit every time I bake a new batch of these homemade dog treats. I don’t run these through some fancy lab analysis because, frankly, I don’t have one sitting in my kitchen next to my mixing bowls!
What I *can* tell you is what goes into them—whole wheat flour, eggs, applesauce, and low-sodium broth—which are all recognizable, good whole foods. But I can’t give you exact calorie counts or protein percentages for your specific batch. It just varies too much based on the products you buy!
So please treat these as what they are: a wonderful, savory snack made with care. They are not meant to be your dog’s entire diet. Stuff like that should always come straight from your vet or a certified animal nutritionist. These are just for fun, for rewards, and for making Buster think he’s the luckiest dog on earth!
Chicken Broth Dog Biscuits
Ingredients
Equipment
Method
- Preheat your oven to 350°F (175°C). Line a baking sheet with parchment paper.
- In a large bowl, whisk together the eggs and applesauce until combined.
- Slowly mix in the cooled chicken broth.
- Gradually add the flour to the wet ingredients, mixing until a stiff dough forms. If the dough is too sticky, add a little more flour, one tablespoon at a time.
- On a lightly floured surface, roll the dough out to about 1/4 inch thickness.
- Use cookie cutters to cut out shapes. Place the cutouts onto the prepared baking sheet.
- Bake for 20 to 25 minutes, or until the edges are lightly golden brown and the biscuits are hard.
- Turn off the oven and leave the biscuits inside with the door slightly ajar for another 10 minutes to dry them out further. This helps them stay crisp.
- Let the biscuits cool completely on a wire rack before giving them to your dog.