Oh my gosh, I love spoiling my pup, but I always worry about what I’m actually feeding them when I buy those fancy, expensive dog bakery items. Seriously, you look at the ingredient list and it’s like reading a chemistry textbook! That’s why, after years of whipping up pet-safe goodies in my kitchen, I finally landed on the absolute winner: this incredibly simple, dog-safe **Cheesecake Recipe for Dogs**.
This isn’t store-bought stuff; this is the real deal. It’s rich, it’s creamy (yes, cheesecake!), but we use only safe ingredients that I know won’t upset their tummies. Trust me, when you see your dog light up over this slice, you’ll be so glad you made a treat that’s actually good for them. Plus, getting the right balance of dog-safe ingredients took a few tries, but the result is pure magic!
I’m always recommending pet-friendly baking to my friends, and if you want to check out some other easy wins, you should absolutely peek at my guide on the 10 best puppy treat recipes—they are lifesavers!
Why This Cheesecake Recipe for Dogs is a Perfect Pet Treat
When I set out to create the perfect **Cheesecake Recipe for Dogs**, my main goal was zero risk and maximum reward. I didn’t want complicated steps or sneaky sugars. This recipe cuts straight to the chase, ensuring your pup gets a genuine treat without any worry from you.
It truly stands out because:
- We strictly use xylitol-free peanut butter. Even a tiny bit of that sweetener is dangerous, so you know this recipe is safe because I checked every ingredient twice!
- It’s fast! We’re talking less than an hour total time, which is brilliant for those sudden moments when you realize your dog deserves a celebration.
- The filling is packed with good stuff, using plain yogurt and real pumpkin puree for smooth digestion. If you like working with pumpkin, you might also want to check out my Pumpkin Yogurt Dog Treats for summer fun.
- It chills up beautifully, giving you that perfect sliceable cheesecake texture without all the fuss of a traditional human recipe.
It just gives you peace of mind, which, as a pet owner, is priceless!
Essential Ingredients for Your Cheesecake Recipe for Dogs
Okay, listen up, because getting the ingredients right is the secret sauce to a successful **Cheesecake Recipe for Dogs**. We need three little groups here: the base that holds everything together, the creamy middle, and the optional splash of fruity goodness on top. Don’t panic, there aren’t too many things you need!
For the crust, we’re keeping it simple yet satisfying. You need: One cup of plain rolled oats, but here’s the catch—you have to grind those bad boys down into flour first! I use my food processor to make oat flour, just like in my Oat Dog Cookies Recipe. Then, you mix that with 1/4 cup of peanut butter. And I mean it: ONLY use xylitol-free peanut butter. Seriously, check that label, trust me on this one; safety first!
For the amazing filling, we require 8 ounces of plain, unsweetened cream cheese that you need to let soften up first. Then toss in one large egg, 1/2 cup of plain, unsweetened yogurt (Greek is super thick and works great!), and 1 teaspoon of pumpkin puree—make sure it’s just pure pumpkin, not pie filling!
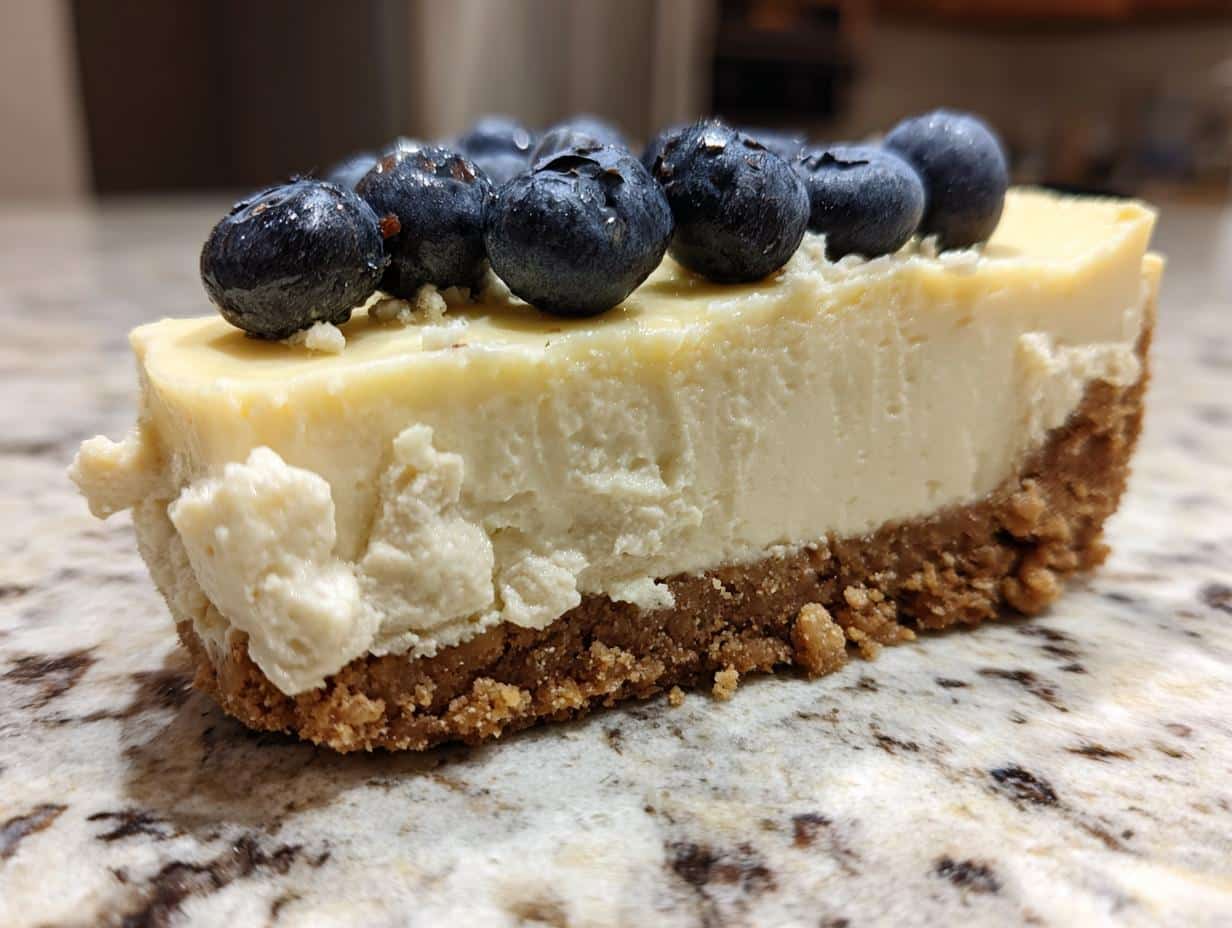
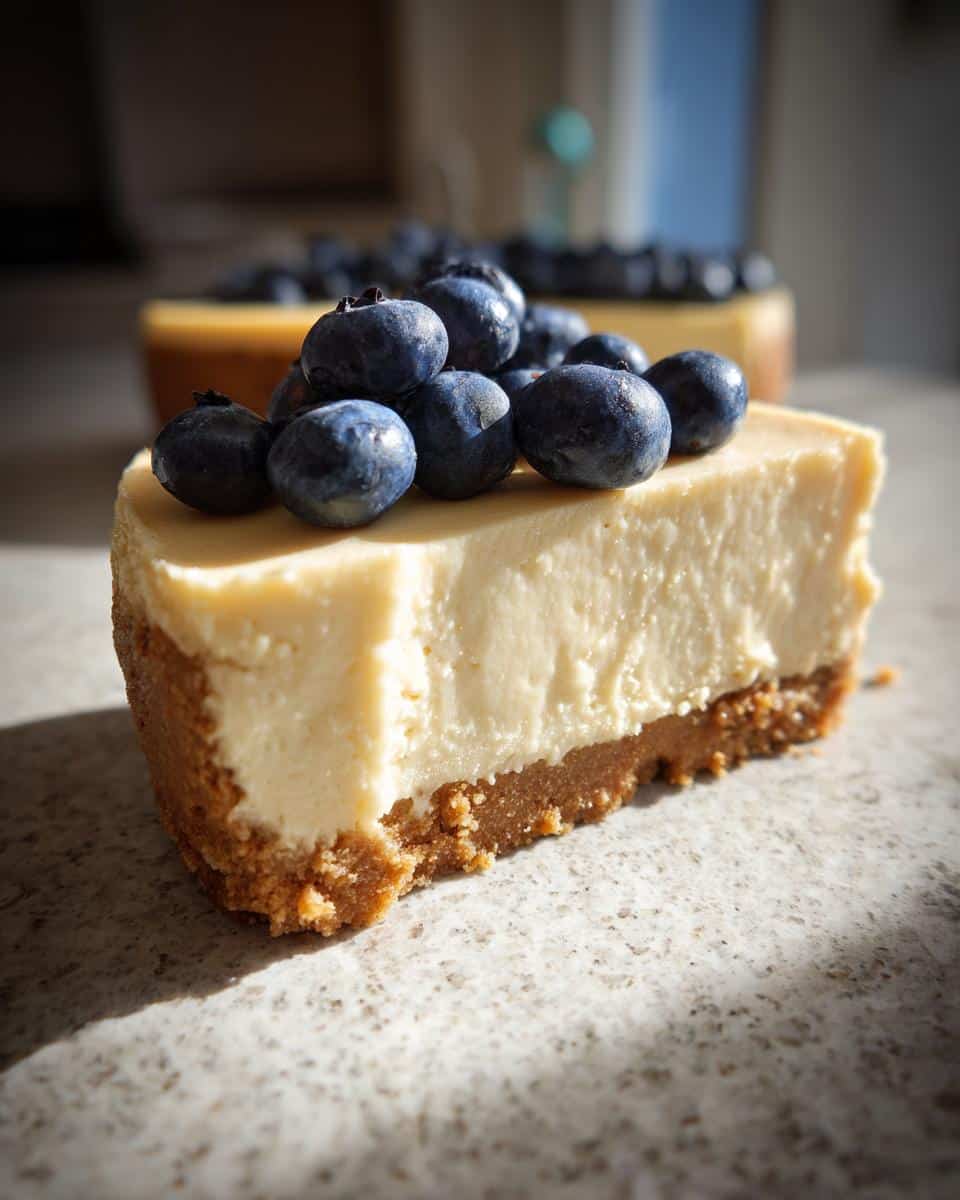
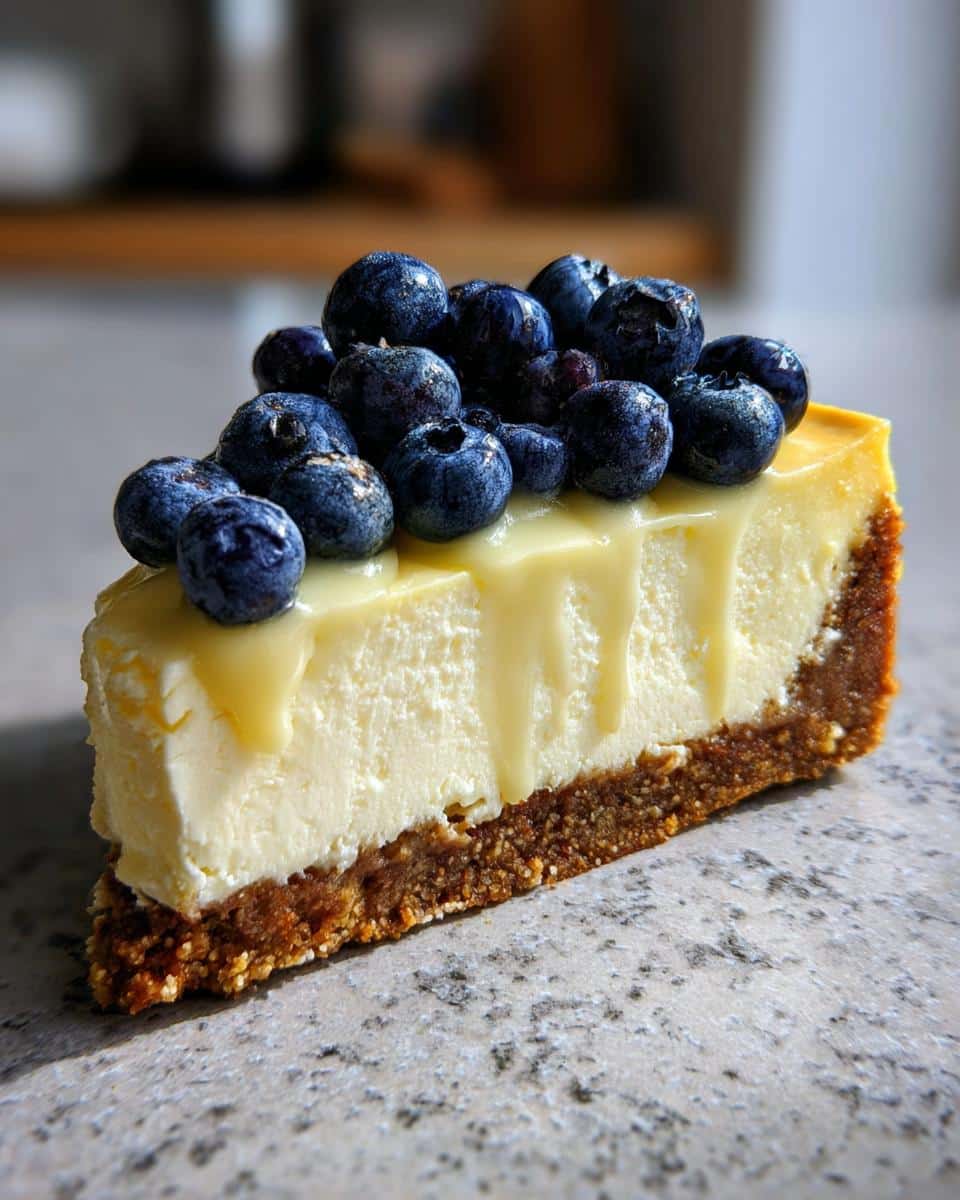
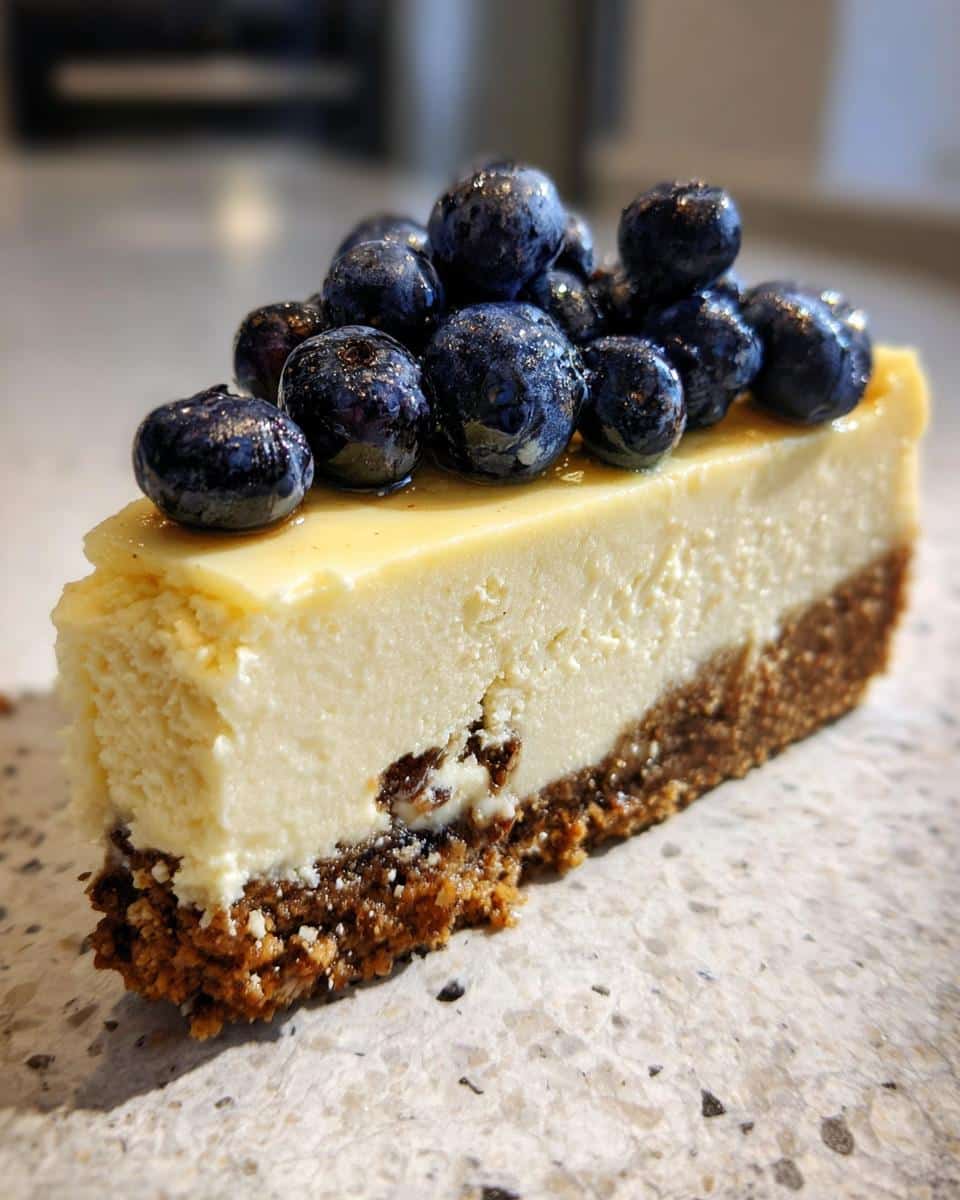
If you want to make it extra festive, grab about 1/4 cup of blueberries for topping. See? Nothing scary in there!
Equipment Needed for the Cheesecake Recipe for Dogs
Before you even think about mixing, let’s get the right tools out so everything runs smoothly. Trust me, scrambling for equipment when the cream cheese is already softening is no fun!
For whipping up this fantastic **Cheesecake Recipe for Dogs**, you just need a few basic things that are probably already lurking in your cabinets:
- You really need a **6-inch springform pan**. This type of pan is crucial because those straight sides lock together, but they let you get the whole beautiful cheesecake out perfectly intact when it’s time to cut those slices for your pup.
- Get your **food processor** ready! This is going to make turning those rolled oats into a fine, crust-worthy flour super fast. Don’t try doing that by hand, you’ll just get frustrated!
- A couple of sturdy **mixing bowls** are required—one for that crust business and a clean one for mixing up the light and fluffy filling.
That’s honestly it! No electric mixer nightmares here. You can get this whole setup ready in about five minutes flat before you even start heating up the oven.
Step-by-Step Instructions for the Cheesecake Recipe for Dogs
Alright, this is where the magic happens! Don’t let the words ‘cheesecake’ scare you; making this **Cheesecake Recipe for Dogs** is honestly easier than mixing my normal pancake batter. We just need to move fast enough to make sure everything stays at the right temperature, especially that cream cheese!
Preparing the Crust Base for Your Cheesecake Recipe for Dogs
First things first, get that oven warmed up to 325°F (160°C). While it’s heating, grab your 6-inch springform pan and give it a little grease so nothing sticks later—we hate losing the edges!
- Go ahead and toss those rolled oats into your food processor. Run it until you’ve got that lovely, fine oat flour. It should look like regular baking flour, just a bit coarser.
- In a small bowl, combine that fresh oat flour with your measured peanut butter. You’ll mix this until it basically clumps together into a doughy mess. That’s exactly what you want!
- Take that sweet, crumbly dough and just press it firmly and evenly right across the bottom of your prepared springform pan. Don’t worry about the sides; we are only doing a base layer here.
Mixing and Baking the Dog Cheesecake Filling
Now for the filling, and this is important—we are mixing gently! Remember, we aren’t trying to make meringue here; we want it dense but smooth. Beat that softened cream cheese until it’s perfectly smooth, no little lumps allowed.
Once the cream cheese looks good, mix in the egg, the yogurt, and that teaspoon of pumpkin puree. Just mix until everything looks *combined*. Seriously, stop mixing right when you can’t see streaks of white anymore. Overmixing traps too much air, and we don’t want that for this dog-friendly cheesecake!
Pour that gorgeous filling right over your oat crust. Then, slide it into the preheated oven to bake for about 35 to 40 minutes. It’s done when the sides look firm and set, but the very center still has a tiny bit of a wobble left. That wobble means moisture!
Here is my biggest secret for keeping a cheesecake from cracking, which comes in handy even for pet treats: Turn the oven OFF! Crack the door open just a tiny bit—maybe prop it with a wooden spoon—and let that cheesecake chill inside the cooling oven for a full 30 minutes. This gradual cool-down phase is key. If you need quick topping ideas, check out my recipe for Blueberry Banana Frosted Dog Cubes for inspiration!
Chilling and Serving the Final Cheesecake Recipe for Dogs
Once it survives the oven cooling trick, take it out and let it cool completely on the counter until it’s room temperature. Then, cover it lightly and send it to the fridge. You must chill this for a minimum of 4 hours. If you can leave it overnight, even better! It needs that time to firm up completely so you can slice it without it collapsing.
When it’s time for the puppy party, remove the sides of the springform pan gently. When you slice it, remember these are little treats, not human portions! Cut the 6-inch cake into small, appropriate slices for your dog’s size. If you decided to use the blueberries on top, scatter those around right before serving.

Tips for Success with Your Cheesecake Recipe for Dogs
I’ve got your back on this **Cheesecake Recipe for Dogs**! Even though it’s simple, a few little things can make the difference between a perfect, sliceable treat and a creamy puddle. Remember, we want this recipe to be reliable every single time we bake for our furry best friends!
Here are the few golden rules I stick to that ensure success:
- Cream Cheese Temperature is Non-Negotiable: You absolutely must let that cream cheese come up to temperature! If it’s cold, you’ll end up with lumps, and lumps mean you *have* to overmix to get rid of them. Take it out 45 minutes to an hour before you plan to start. It should be soft enough that if you press a finger lightly into it, it leaves an indent without you having to struggle.
- Peanut Butter Patrol: I can’t stress this enough—double-check that peanut butter label for xylitol. It’s a sneaky ingredient, and it is absolutely toxic to dogs. If you’re unsure about your usual jar, grab a new one that just lists peanuts and salt. We are aiming strictly for dog biscuits and treats here, not human snacks! If you are looking for other simple ideas, my dog biscuit blueberry recipe is famously easy too.
- Don’t Overbake to Prevent Dryness: Just like human cheesecake, this dog version doesn’t like to be baked rock solid. When you check for doneness toward the end of the baking time (around 35 minutes), look at the edges first. They should look cooked, maybe just starting to pull away from the side of the pan a tiny bit. But the middle should still quiver slightly, like Jell-O when you shake the tray! It firms up completely during that slow cool down in the turned-off oven.
Follow those three pointers, and you’ll have the most impressive, dog-approved cheesecake slices ready for your next celebration!
Variations on This Dog-Safe Cheesecake Recipe for Dogs
The beauty of keeping a recipe simple is how easy it is to play around with it! Once you master the basic structure of this **Cheesecake Recipe for Dogs**, you can start swapping things out based on what your dog loves or what you have on hand. I always like knowing I can make a slightly different version without having to find a whole new recipe.
Now, remember, we are only working with dog-safe stuff, so no fake sweeteners or chocolate chips allowed! But we can definitely get creative with the flavor boosters:
If you’re out of pumpkin puree—oops!—don’t fret. You can swap that right out for 1 teaspoon of unsweetened applesauce. Applesauce gives you that nice moisture boost without altering the flavor too much. Remember, always check the label on applesauce too, just to make sure they haven’t snuck in any added sugars or toxic preservatives.
Another really fun substitution for the filling is using sweet potato puree instead of pumpkin. It offers a slightly earthier flavor that a lot of dogs just go bonkers for! If you want a recipe to use up a whole can of that sweet stuff, you have to try my Sweet Potato Dog Biscuit Recipe later on. It’s amazing.
For a little extra zing—and only if your vet says it’s okay for your specific pup—you can add just a tiny pinch (like, barely a quarter teaspoon) of ground cinnamon to the filling. Cinnamon smells fantastic when baking and offers a little warm spice contrast to the cream cheese. It makes the whole kitchen smell like a bakery!
Finally, for the topping, besides those blueberries, you could use a dab of unsweetened, plain Greek yogurt mixed with a couple of mashed, overripe banana slivers. Spread that thin on top before the final chill. It makes it look super fancy, and dogs devour it!
Storage and Make-Ahead for Your Cheesecake Recipe for Dogs
Planning ahead is key when you’re baking something this special for your best friend! I always make a batch of this amazing **Cheesecake Recipe for Dogs** on a Sunday because I know those slices will vanish way too fast, but it’s nice knowing they are ready when I need them during the week.
This treat is dairy-based, so we definitely need to keep it cold, but it holds up really well in the fridge. You can keep your leftovers—if you manage to have any leftovers, that is—stored in an airtight container in the refrigerator for up to 5 days. That’s a whole work week of happy afternoon snacks!
Make sure you use a proper food container with a tight lid. I used to just try covering the plate with foil, but trust me on this: foil lets the air in, and the cheesecake can start to dry out or pick up fridge smells. An airtight container keeps that beautiful, creamy texture locked in perfectly.
Now, if you think 5 days is too long, or maybe you made a double batch (which you totally should!), you can absolutely pop slices into the freezer. Freezing works like a charm for this recipe. Just wrap each individual slice tightly in plastic wrap first, and then stick those wrapped slices into a freezer-safe bag or container. They stay great frozen for about a month!
When you want to serve a frozen slice, just pull it out the night before and let it thaw slowly in the fridge. It thaws perfectly and tastes just as fresh as the day you made it. If you’re looking for something even quicker to serve cold, I have a fantastic guide on Pupsicle Recipes for Dogs you might want to bookmark for the hotter months!
So yes, make it ahead, store it well, and enjoy seeing the excitement in your dog’s eyes all week long!
Common Questions About This Cheesecake Recipe for Dogs (FAQ)
I know you might have a few lingering thoughts after reading through this whole **Cheesecake Recipe for Dogs** guide. It’s normal! When we bake for our pups, we want everything to be just right. Here are the questions I get asked the most when people try this recipe out!
Can I use regular peanut butter for this cheesecake recipe for dogs?
Oh, please don’t! This is the most important question in the whole recipe, honestly. You absolutely cannot use peanut butter that contains xylitol (sometimes listed as birch sugar or wood sugar). Xylitol is deadly toxic to dogs, even in tiny amounts. You must stick to peanut butter that only lists peanuts and salt, or perhaps natural peanut butter where the only other ingredient is maybe a drop of oil. Seriously, check that label like your best friend’s life depends on it!
Can puppies eat this cheesecake recipe for dogs?
Puppies can have tiny amounts, but you need to go slow! Small puppies, especially those under six months, have sensitive digestive systems. This recipe uses cream cheese and yogurt, which while safe for most adult dogs, might be a little rich for a brand new puppy. If your puppy is over 6 months old, start with a tiny sliver—no bigger than your pinky fingernail—and see how they handle the richness before giving them more. If you are looking for other gentle options, feel free to browse my general baking blog archives for less dairy-heavy ideas.
What should I use if I don’t have pumpkin puree for the dog cheesecake filling?
If you ran out of pumpkin for this **Cheesecake Recipe for Dogs**, it’s easily swapped! You can use the exact same measurement—1 teaspoon—of plain, unsweetened applesauce. My dog loves applesauce even more than pumpkin sometimes! Another wonderful swap is plain, unsweetened sweet potato puree. Just make sure whatever you use is 100% pure and has no sugar or spices added in, or it might cause tummy trouble.
Why are the cooling instructions so specific?
The gradual cooling method—turning off the oven and cracking the door—is my little insider trick that I learned from my grandmother when I made human cheesecakes ages ago! Heat changes temperature way too fast when you just yank the cake out, and that causes the proteins in the egg and cheese to seize up too quickly, leading to cracking and sometimes a slightly rubbery texture. We want a smooth, tender texture, so slowing down the temperature change helps the cheesecake bake evenly and set gently!
Estimated Nutritional Breakdown for One Slice of Cheesecake Recipe for Dogs
I know some of you seriously dedicated pet parents like to keep track of exactly what’s going into your dog’s system, and that’s totally fair! Even though this isn’t a human dessert, I wanted to provide you with the estimated numbers based on the ingredients we used in this **Cheesecake Recipe for Dogs**.
Remember, since this recipe yields 8 small slices, these values are based on one slice, and they are just ballpark estimates. Your exact numbers might vary slightly depending on your brand of peanut butter or yogurt!
Here’s what my best calculations show for one serving:
- Calories: About 150 calories. Perfect for a special treat without going overboard!
- Fat: Roughly 8 grams of fat. This comes mostly from the cream cheese and peanut butter, giving it that wonderfully rich mouthfeel.
- Protein: We’re looking at around 6 grams of protein per slice, thanks to the egg and yogurt.
- Carbohydrates: About 15 grams of carbs, primarily from the oat crust and the natural sugars in the yogurt and pumpkin.
This breakdown helps you understand we kept the sugar low and balanced the fats well. I pulled these figures straight from the recipe info, but because we are dealing with whole foods and not processed items, there’s always a little wiggle room. So, treat these numbers as a very solid guide rather than a strict lab result. It’s just another way we make sure our pups are getting the best!
Share Your Dog’s Reaction to This Treat
Now that you’ve whipped up this glorious, dog-approved creation, I seriously want to know how it went over! Baking is all about sharing the joy, right? I mean, seeing a dog finally get to taste something that looks like a fancy dessert we get to eat? That’s the best part!
When you’ve served up those beautiful slices of your **Cheesecake Recipe for Dogs**, please swing back here and let me know what kind of reaction you got! Did your dog try to jump on the table? Did they wolf it down in two seconds flat? I live for those happy updates!
Take a picture of your pup enjoying their special slice and drop it in the comments below. I try to look at every single photo if I can! If you had any trouble, or if you think of an ingredient swap that worked amazingly well for your picky eater, please share that too. We’re all learning together here!
If you want to see what everyone else is making or share your success, you can even tag your photos on social media and mention this amazing Cheesecake for Dogs Recipe. Happy baking, and here’s to many happy, healthy dog treats!

Dog-Safe Cheesecake Recipe
Ingredients
Equipment
Method
- Preheat your oven to 325°F (160°C). Lightly grease a 6-inch springform pan.
- Prepare the crust: Grind the rolled oats in a food processor until they resemble flour. Mix the oat flour with the xylitol-free peanut butter until a crumbly dough forms.
- Press the crust mixture evenly into the bottom of the prepared springform pan.
- Prepare the filling: In a clean bowl, beat the softened cream cheese until smooth. Mix in the egg, plain yogurt, and pumpkin puree until just combined. Do not overmix.
- Pour the filling mixture over the crust in the pan.
- Bake for 35 to 40 minutes. The edges should look set, but the center may still have a slight jiggle.
- Turn off the oven, crack the door open slightly, and let the cheesecake cool inside the oven for 30 minutes. This helps prevent cracking.
- Remove the cheesecake from the oven and let it cool completely on a wire rack. Once cool, refrigerate for at least 4 hours, or until fully firm.
- Before serving, top with fresh or frozen blueberries, if desired. Slice into small portions appropriate for your dog’s size.


