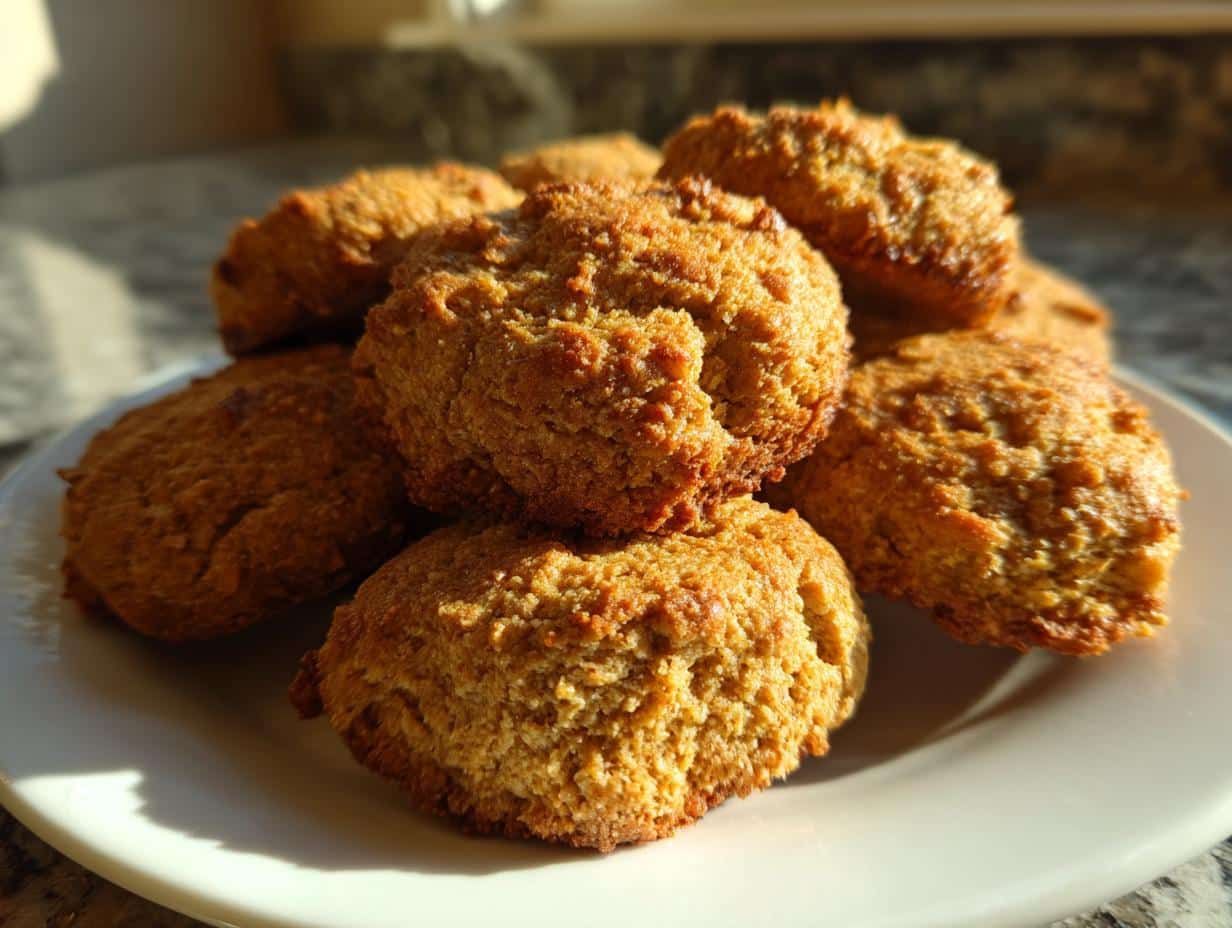
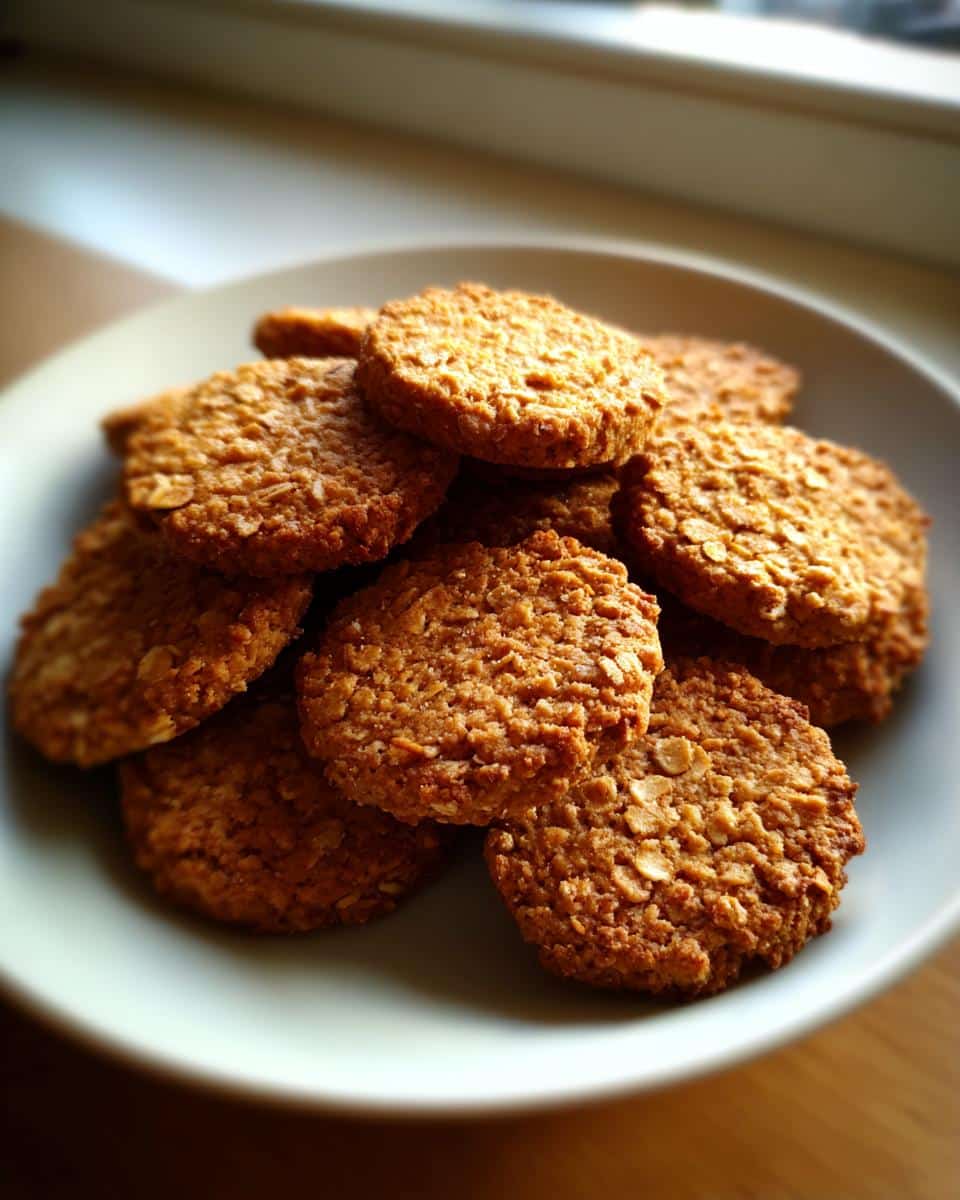
Look, I get it. You want to spoil your furry best friend without becoming a full-time pastry chef for canines! That’s why I’m obsessed with these simple butter oat dog treat recipes. They’re ridiculously easy, which is music to my ears after a long day. We’re talking just four core ingredients here—no weird fillers or mystery powders allowed in my kitchen, ever. I trust these because they’re packed with whole oats and good butter, and honestly, my little mutt, Barnaby, goes absolutely wild for the smell of them baking. You’ll feel great knowing exactly what’s going into those happy chompers!
Why You Should Make These Simple butter oat dog treat Recipes
Trust me, making these is a total win-win situation. You only need a handful of pantry staples, which means less fuss over grocery lists and more time enjoying your dog! Plus, seeing that happy tail wag when your pup realizes what’s coming out of the oven? Priceless.
- They are unbelievably quick to pull together—we’re talking under 35 minutes total time!
- Minimal ingredients means maximum control over quality for your butter oat dog treat.
- Dogs absolutely adore the taste of oats and butter—it’s a guaranteed crowd-pleaser for your four-legged family member.
- You can check out even more simple ideas for dog baking right here if you get the bug!
Essential Ingredients for Your butter oat dog treat
When you’re making something for your dog, you need to be crystal clear about what’s going in the bowl. That’s why I always underline the important parts on my own handwritten notes. For these super simple butter oat dog treats, we are keeping things basic, wholesome, and delicious for them.
You only need four main things, which I love because it cuts down on decision fatigue at the store. But pay attention to the notes beside a couple of them—those little details are what stop the dough from turning into a sticky mess!
- Rolled oats: You’ll need one full cup. I usually grab the regular old rolled oats, but the quick oats work just fine if that’s what you have on hand. They plump up nicely!
- Unsalted butter: One half cup is the magic number here. It absolutely *must* be softened—and I mean truly soft, elbow-room temperature soft, not melted! If it’s too hard, it won’t cream properly.
- One large Egg: Just one—that’s all the binder we’re using here. Make sure it’s a standard large egg.
- Whole wheat flour: We call for one and a half cups. If you don’t have whole wheat, all-purpose works okay, but whole wheat gives it a nice, earthy flavor that Barnaby seems to prefer.
That’s it! Seriously, that’s the whole list for these wonderful oat dog cookies. You can trust this short list because it cuts out all the unnecessary junk. Keep an eye out for more recipes that are this lean on ingredients soon!
Equipment Needed for the Perfect butter oat dog treat
Luckily for us, the cleanup isn’t bad with these butter oat dog treats! You don’t need any fancy gadgets or machines that you’ll only use once. If you’ve baked cookies before, you already have everything required.
We’re keeping things simple, so just gather these three basic workhorses before you start:
- A sturdy Mixing bowl. You need something deep enough so that when you start blending the butter and then adding the flour, you don’t end up wearing half the dough!
- A good, flat Baking sheet. This is where your treats will spend their 20 minutes getting golden. Make sure it’s clean!
- A Rolling pin. This is important for getting that consistent 1/4 inch thickness that ensures all your dog biscuits bake evenly. I love mine because it lets me get my frustration out when I’m rolling it all out!
That’s it! No stand mixer required. You can absolutely make these with just muscle and a wooden spoon, which is how I started out years ago.
Step-by-Step Instructions to Prepare Your butter oat dog treat
Okay, let’s get down to the fun part! Making these butter oat dog treats is super straightforward, but precision matters, even for dog biscuits. You want them firm enough to store well but still crunchy for your pup’s enjoyment. Follow these steps exactly, and by the time you are done—about 20 minutes of baking time—you’ll have a whole batch of happy faces waiting by the oven!
If you struggle with rolling dough, don’t worry; I’ve thrown in some little tricks within the steps. Check out some other great biscuit ideas here too!
Preheating the Oven and Preparing the Pan
First things first, fire up that oven! We need it screaming hot at 350 degrees Fahrenheit, or 175 degrees Celsius if you use the metric setting. While it’s heating up, grab your baking sheet. Since we don’t want anything sticking and making my cleanup harder, line that sheet completely with parchment paper. This is non-negotiable cleanliness on my part!
Mixing Wet Ingredients for the butter oat dog treat Dough
Time to bring the softened butter and the egg together. Put both into your mixing bowl. Now, use your wooden spoon or a handheld mixer if you’re feeling lazy, but just blend them until they look light and fully combined. You’re looking for a smooth, uniform mixture. Don’t overbeat; we’re not making cake batter here!
Incorporating Oats and Forming the Stiff butter oat dog treat Dough
Next, toss in that cup of rolled oats and stir them around really well so they get coated in that lovely butter mixture. Now comes the main event: the flour. You have to add the flour gradually—don’t just dump it all in at once, or you’ll end up mixing forever trying to break up clumps! Add it in two or three additions, stirring between each one.
Keep mixing until a really stiff dough starts to pull away from the sides of the bowl. If you find that it’s still super sticky and won’t hold its shape—which totally happens if your butter wasn’t quite soft enough—just stir in an extra tablespoon or two of flour until you can comfortably handle it.
Rolling, Cutting, and Baking the Dog Biscuits
Now we move to a lightly floured surface. Take your stiff butter oat dog treat dough and use that rolling pin to flatten it out. Be consistent! You want it to be about 1/4 inch thick across the entire surface. This is important so all the dog biscuits bake at the same rate.
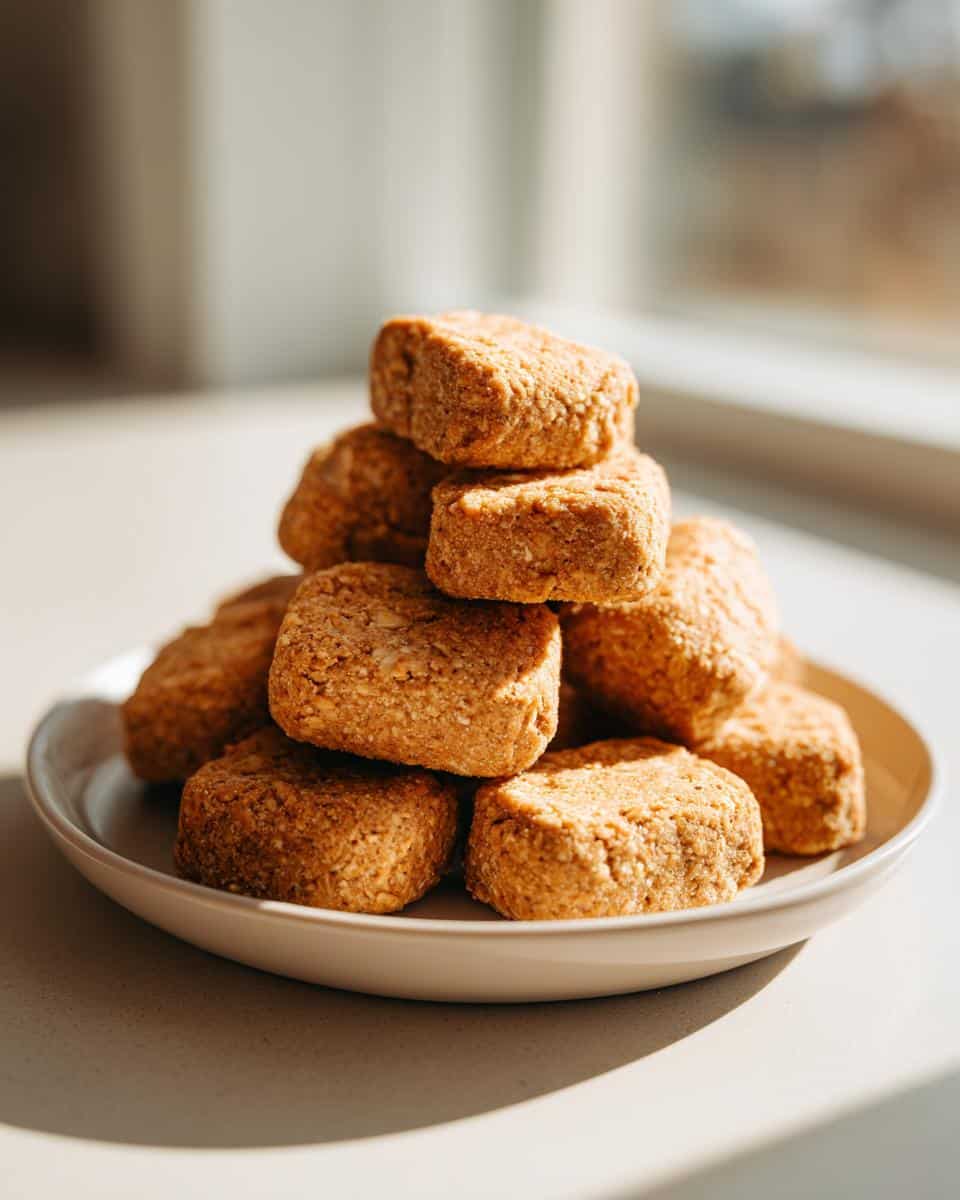
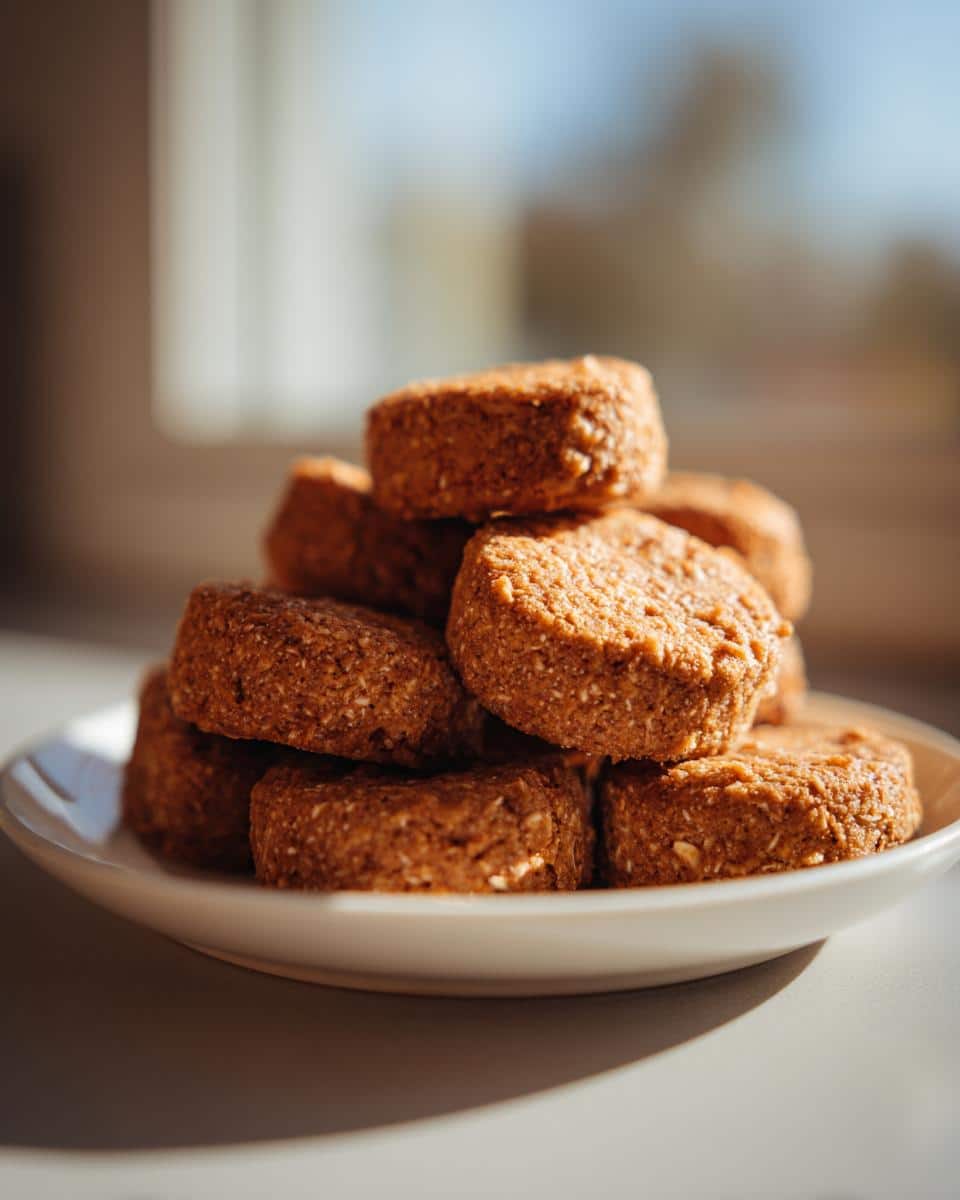
Once it’s rolled, take whatever fun cookie cutter you have—or just a knife for simple squares—and cut out your shapes. Place them onto that parchment-lined sheet, leaving just a tiny bit of space between them, although they won’t spread much.
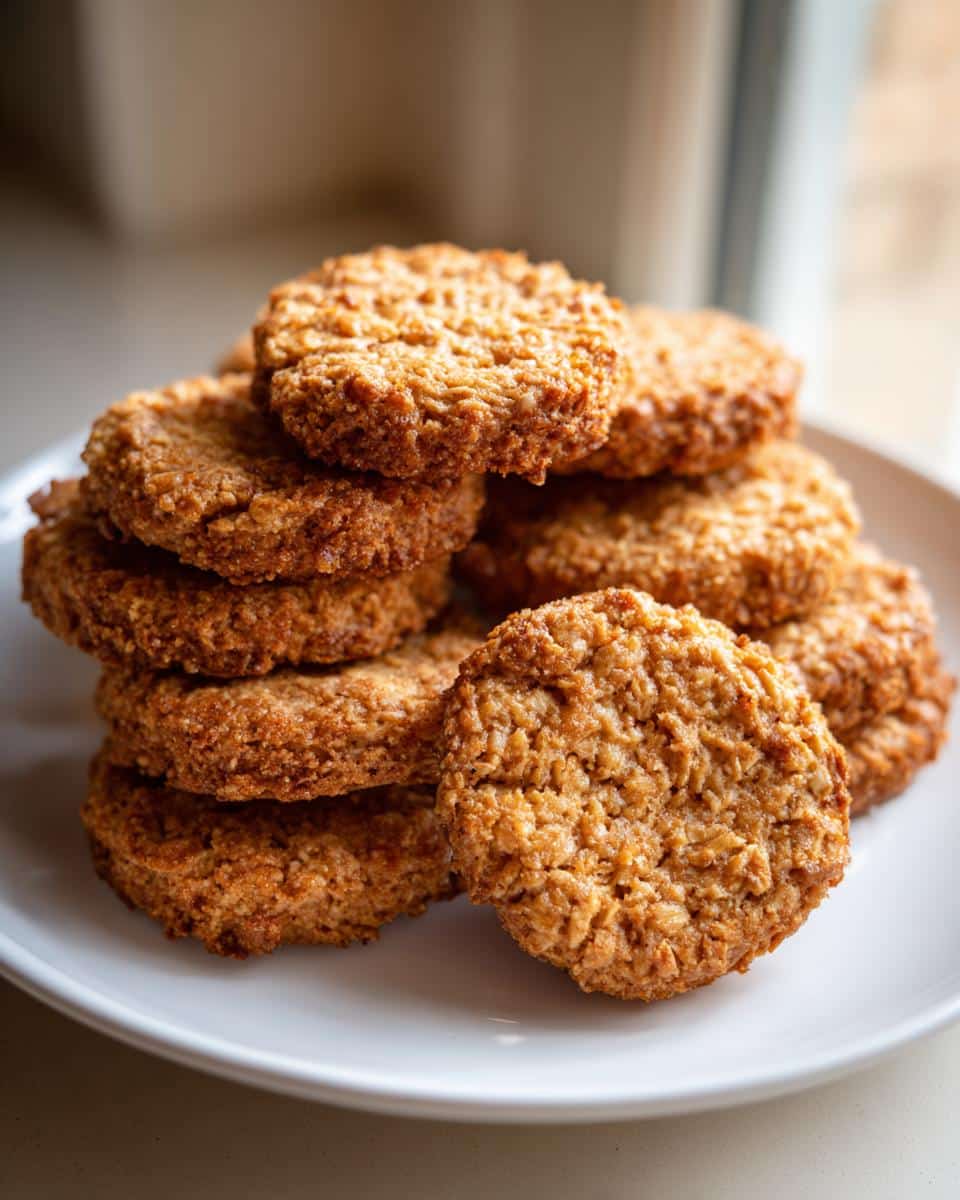
Slide them into the hot oven. They only need about 18 to a full 20 minutes. You know they are done when the edges look just a whisper golden brown. They will crisp up more as they cool, so don’t wait until they look dark!
Cooling Your Homemade Dog Treats
This step takes patience, I know, especially when Barnaby is giving you the sad eyes! But you must let them cool completely before you even think about packaging them or handing one over. Transfer the whole sheet of treats onto a wire rack to cool down. Cooling them on the rack allows air to circulate underneath, which is what stops them from getting sort of soggy on the bottom and keeps them perfectly crisp.
Tips for Success Making Your butter oat dog treat
Even though this recipe is totally beginner-friendly, there are a couple of little tricks I learned over the years that made my butter oat dog treats instantly better. Think of these as my little well-earned brownie points from the dog treat laboratory!
First off, let’s talk about that butter again. I already mentioned it needs to be softened, but seriously, if you try to rush it by microwaving it for five seconds, you’ll end up with oily spots in your dough. Bad news! Butter that’s too soft melts too quickly when you mix it, and you lose all that air you’re trying to whip in. Let it sit on the counter for at least an hour until it yields gently to pressure. That slow creaming process is what guarantees a good, stable texture for these dog biscuits.
Secondly, watch the oven like a hawk, especially the first time you make them. Ovens are moody! If you smell a nice toasted oat scent about 15 minutes in, they are probably done. If you can’t tell by the color—because maybe you used whole wheat flour which browns darker—use the ‘tap test.’ Gently tap the edge of one treat. If it sounds hollow and feels firm, pull them out immediately. They’ll finish crisping up on the rack. Trust me, slightly underdone is better than accidentally turning your pup’s favorite snack into charcoal!
Also, if you’re planning on making a huge batch for freezing, roll out all your dough, cut your shapes, and arrange them on the sheet *before* you preheat the oven. Why? Because you want everything ready to go right when the oven hits temperature, so your dough isn’t sitting around warming up while you’re still trying to find the cookie cutters. Efficiency is key, even when we are just baking up simple homemade dog food goodies!
Ingredient Notes and Substitutions for butter oat dog treat
Let’s have a quick chat about the ingredients because even in a simple butter oat dog treat recipe, the quality and type of what you use can make a difference in the final crunch and how long they last.
I listed whole wheat flour, but I know not everyone keeps that stocked all the time, so let’s talk substitutions. If you need them, you can absolutely swap it out for all-purpose flour. The main difference is subtle, but whole wheat adds a little more fiber and a touch more substance to the finished dog biscuits. Don’t stress if you use AP; your dog won’t complain!
The only other swap I ever mess with is the oats. I told you I usually use rolled oats because they hold their shape nicely during baking. If you use quick oats, which are cut smaller, they will blend into the dough a bit more seamlessly. It won’t ruin the recipe—not even close!—but the final texture might feel slightly smoother rather than having those lovely, distinct chew points from the rolled oats. It’s totally fine either way; just know what you’re getting into!
As far as the butter goes, I hammered this point home before, but it bears repeating for storage: always use unsalted butter. Since we aren’t adding any salt separately, using salted butter throws off the balance entirely. Keep it soft, keep it unsalted, and your butter oat dog treats will be perfect every time. If you ever want to try a version where you swap out some of the butter for peanut butter, check out this peanut butter oat biscuit recipe—it’s another favorite around here!
Storage and Reheating Instructions for Your butter oat dog treat
Okay, you’ve got maybe two dozen of the best butter oat dog treats ever made, and now you’re wondering: how do I keep these fresh so I don’t have to bake every single day? Good question! Since these are just simple, wholesome ingredients—no weird preservatives—storage is pretty straightforward, but you do need to keep them sealed up properly.
The number one rule for keeping these homemade goodies tasting great is to make sure they are completely cool before you even think about putting them in a container. If you seal up a warm treat, you create condensation, and condensation means sogginess, which is the opposite of what we want for these crunchy dog biscuits!
When they are fully cooled down on that wire rack (which takes a good hour, be patient!), you can store them in an airtight container right on your counter. If you keep them sealed up properly, they should stay perfectly good at room temperature for about a week. I’ve tested this time and time again!
But, let’s be real, I always make double batches because Barnaby eats them fast. If you want to make a huge supply—and you should, because you’re already using the oven—you can totally freeze them! Pop the cooled treats into a freezer-safe bag or container. They keep really well in the freezer for up to three months. That’s amazing because it’s like having instant, high-quality homemade dog food ready whenever you need a reward!
And heating them up? You don’t! These are meant to be served crunchy and cool. No need to reheat unless you spilled water on them or something silly like that! Just pop them out of the freezer maybe 15 minutes early if you want to serve them slightly less frozen, but usually, they are good to go immediately. If you’re looking for ideas on treats that *are* better warm, you should cruise over and see some of the other great recipes here!
Frequently Asked Questions About This butter oat dog treat
It seems like every time I post a picture of Barnaby munching on these, people flood my comments with questions! That’s totally fair; when you’re baking for your dog, you want everything perfect. I’ve gathered the most common queries I get about these easy butter oat dog treats right here for you. Knowing the little details upfront makes the whole process smoother!
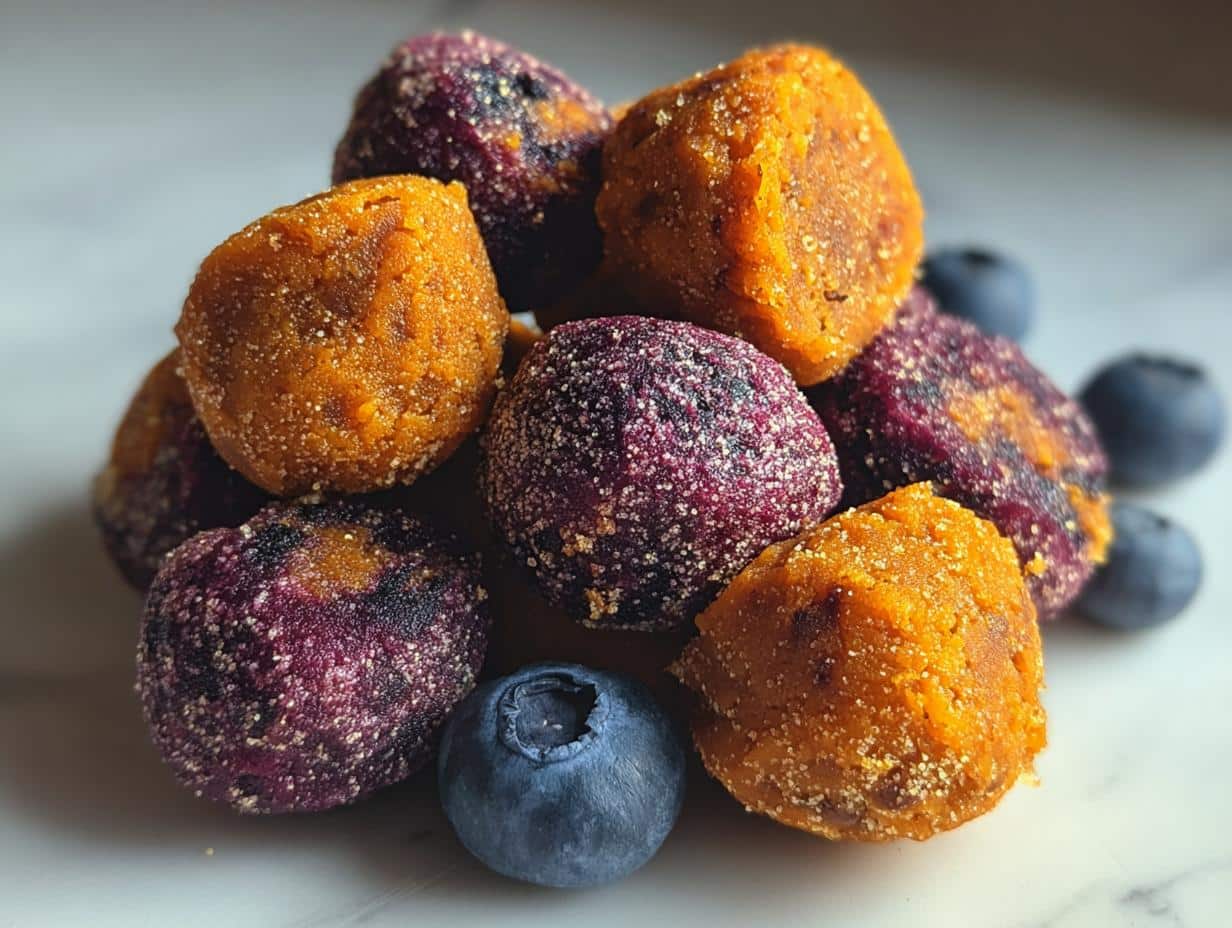
If you’ve ever wondered about using different flours or how long they *really* last in the pantry, look no further. And if you want to explore other healthy fruit-based options, you might enjoy checking out these pumpkin and applesauce dog treats sometime soon!
Are these butter oat dog treat suitable for senior dogs?
This is a great question, mostly because older pups can have sensitive teeth! Since these butter oat dog treats bake up into a firm, crunchy biscuit, they might be a bit hard for a dog with really worn-down or missing teeth. They aren’t crumbly, you know? If your senior dog struggles, don’t fret! You can easily soften them up by dipping them quickly into a bit of warm water or even some low-sodium chicken broth for about 30 seconds. That makes them instantly softer and, let’s be honest, probably even more appealing to them!
What is the yield for these dog biscuits?
When I roll my dough out to that perfect 1/4 inch thickness, I consistently get right around 24 individual dog biscuits. Now, if you decide to roll yours thinner, say 1/8 inch because your dog likes them super snappy, you might end up pushing 30! If you’re using giant cutouts, you’ll get fewer, naturally. But 24 is the solid target for a standard batch size. It’s the perfect amount to keep fresh for a week or freeze for later!
And because I always get asked this, yes, these are safe for most healthy adult dogs. They are simple! However, I never recommend giving new treats to a very young puppy right away—just wait until they are solidly weaned and eating their regular kibble well before introducing these simple butter oat dog treats.
Estimated Nutritional Data for One butter oat dog treat
Okay, even though these are just simple butter oat dog treats, I know a lot of you are super diligent about keeping track of *everything* your pup consumes. That’s smart! I did a quick run-through using standard measurements for the butter, oats, and flour to see what we come out to per biscuit.
Keep in mind, this is just an estimate, right? If you use less butter or swap the whole wheat flour for something else, these numbers will shift a little. But for a standard, wholesome butter oat dog treat made according to the recipe, here’s what you’re generally looking at for one biscuit:
- Calories: Around 120 per treat. That’s a nice, rich reward!
- Fat: About 6 grams. That good butter fat makes them taste amazing, but we keep the portion small since we’re not adding any weird stabilizers.
- Protein: Roughly 3 grams. Mostly coming from the oats and the egg.
- Carbohydrates: About 15 grams. This is where the energy comes from, thanks to those healthy oats and whole wheat flour.
- Fiber: Around 1 gram. Oats are great for gentle digestion, which is a huge bonus for these dog biscuits.
- Sugar: Very low, coming in at only about 1 gram. All natural sugar from the oats, nothing extra added!
See? Nothing scary here! It is just a good, solid, homemade snack. We always want to reward our best friends, and knowing that these are mostly wholesome oats and butter makes me feel great about handing one over after a successful training session. If you’re looking for other nutrient-dense options, you might want to poke around and check out this sweet potato dog biscuit recipe next time for some veggie goodness!
Simple Butter Oat Dog Treats
Ingredients
Equipment
Method
- Preheat your oven to 350 degrees Fahrenheit (175 degrees Celsius). Line a baking sheet with parchment paper.
- In a mixing bowl, combine the softened butter and the egg. Mix until they are well blended.
- Add the rolled oats to the butter mixture and stir them in.
- Gradually add the flour to the wet ingredients, mixing until a stiff dough forms. If the dough is too sticky, add a little more flour.
- On a lightly floured surface, roll the dough out to about 1/4 inch thickness.
- Use a cookie cutter or knife to cut the dough into desired shapes. Place the cutouts onto the prepared baking sheet.
- Bake for 18 to 20 minutes, or until the edges are lightly golden brown.
- Let the treats cool completely on a wire rack before giving them to your dog.