
If you’re anything like me, you want convenient ways to sneak amazing nutrition into your furry best friend’s day without turning your kitchen into a mad science lab. Forget those complicated recipes! Today, we are talking about the simplest, most wonderful three-ingredient **Bone Broth Gummy** treats you can make. Seriously, these are so easy it feels like cheating. They help with joints and keep pups hydrated, which is exactly the kind of simple wellness win I live for. They set up fast once they hit the fridge!
Who Benefits Most From This Bone Broth Gummy Recipe
This recipe is honestly perfect for anyone who loves their dog but feels totally overwhelmed by complicated health routines. If you’re a pet parent focused on joint support or keeping your pup super hydrated throughout the day, you’re in the right spot. These treats are for you if reading ingredient labels sends you running—we keep ours to just three simple things! Plus, if the thought of artificial colors or weird fillers makes you cringe, this natural Bone Broth Gummy is your quick fix for guilt-free treating.
The Tone and Style for Creating Your Bone Broth Gummy Treats
When we make these, I want you to feel totally relaxed—no pressure here! My goal is to keep the instructions super friendly and educational, like we’re just casually chatting in the kitchen. We focus on straightforward steps because your time is precious. Don’t worry that this is a health recipe; these **Bone Broth Gummy** treats are designed to be completely non-intimidating. If you can measure powder and stir, you’ve got this! Check out these other simple natural dog treats if you need more easy inspo.
My Journey to the Perfect Bone Broth Gummy
You know, my whole philosophy is about clean living that actually fits into real life, and that extends right down to my sweet pup, Buster. I was trying to clean up my own diet years ago, and I started thinking, “Why am I buying overpriced, overly processed stuff filled with fillers for him?”
Buster wasn’t getting any younger, and I wanted proactive joint support without giant pills he’d choke on. That feeling—that need for simplicity—is exactly why this Bone Broth Gummy came to be. It’s proof that the healthiest things are usually the simplest ones. When you know exactly what goes in, you can trust the result completely. This recipe is my way of extending that clean, whole-food support to the best boy ever.
Gathering Ingredients for Your Chicken Bone Broth Gummy
Okay, we’re making magic with just three main players here, but trust me, the quality of these ingredients totally matters. You need to grab your supplies, and there are a couple of non-negotiables if you want the best results for your pup. First up: you absolutely must use unsalted chicken bone broth. We’re trying to support health here, so skip anything with salt or additives like onion or garlic—those are big no-nos for dogs! They are already so good for building up the base of your amazing chicken soup for dogs broth recipe.
You’ll also need unflavored gelatin to get that perfect set structure, and if you feel like giving a little extra anti-inflammatory boost, grab some turmeric powder. Don’t sweat it if you don’t have it on hand; it’s totally optional!
Essential Components for the Bone Broth Gummy
- Chicken Bone Broth: You need 2 cups. Remember, unsalted is the law!
- Unflavored Gelatin: Grab 4 level tablespoons of this. This is what turns liquid into a chewable treat.
- Turmeric Powder: Just 1/2 a teaspoon, and only if you’re feeling extra fancy and want those extra gold benefits.
That’s it! See? So simple. If you can gather these three things, you are ready to go.
Step-by-Step Instructions to Make the Bone Broth Gummy Treats
This part is where things move fast, but seriously, don’t rush the warming part! We don’t want to destroy those good nutrients we’re trying to capture in our **Bone Broth Gummy** treats. Grab your favorite silicone molds—I love the little bone-shaped ones, but honestly, any shape works! If you don’t have molds, a shallow glass dish is totally fine for cutting later.
Preparing the Bone Broth Base
First things first: put your 2 cups of chicken broth into a saucepan. You only need to warm this up gently over low to medium heat. We are aiming for warm, not bubbling hot! If it boils, you risk losing some of that good collagen goodness, and we definitely don’t want that. Aim for about 150°F, which is usually just a gentle steam, nothing crazy. Please don’t walk away; this only takes a few minutes!
Incorporating Gelatin and Setting the Bone Broth Gummy Mixture
This is the key step. Take your 4 tablespoons of unflavored gelatin and sprinkle it slowly over the warm broth *while* you whisk constantly. You have to whisk continuously so it doesn’t clump up into gross little rubber balls. Keep working it until every speck of gelatin has completely dissolved. If you’re adding that optional turmeric, stir it in now until the liquid is one beautiful golden color. Now, pour this liquid carefully right into your molds or that shallow dish.

Chilling and Cutting the Final Bone Broth Gummy Treats
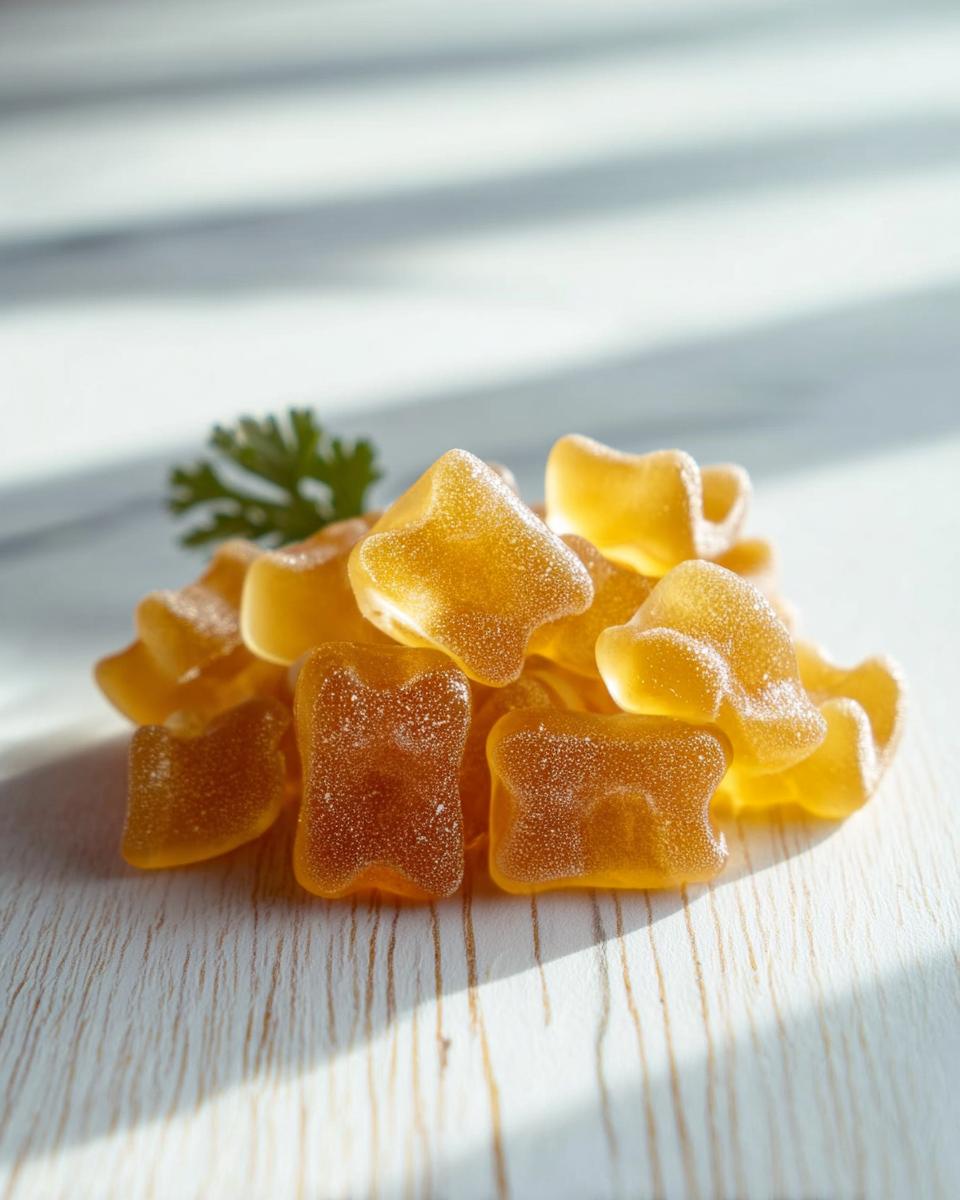
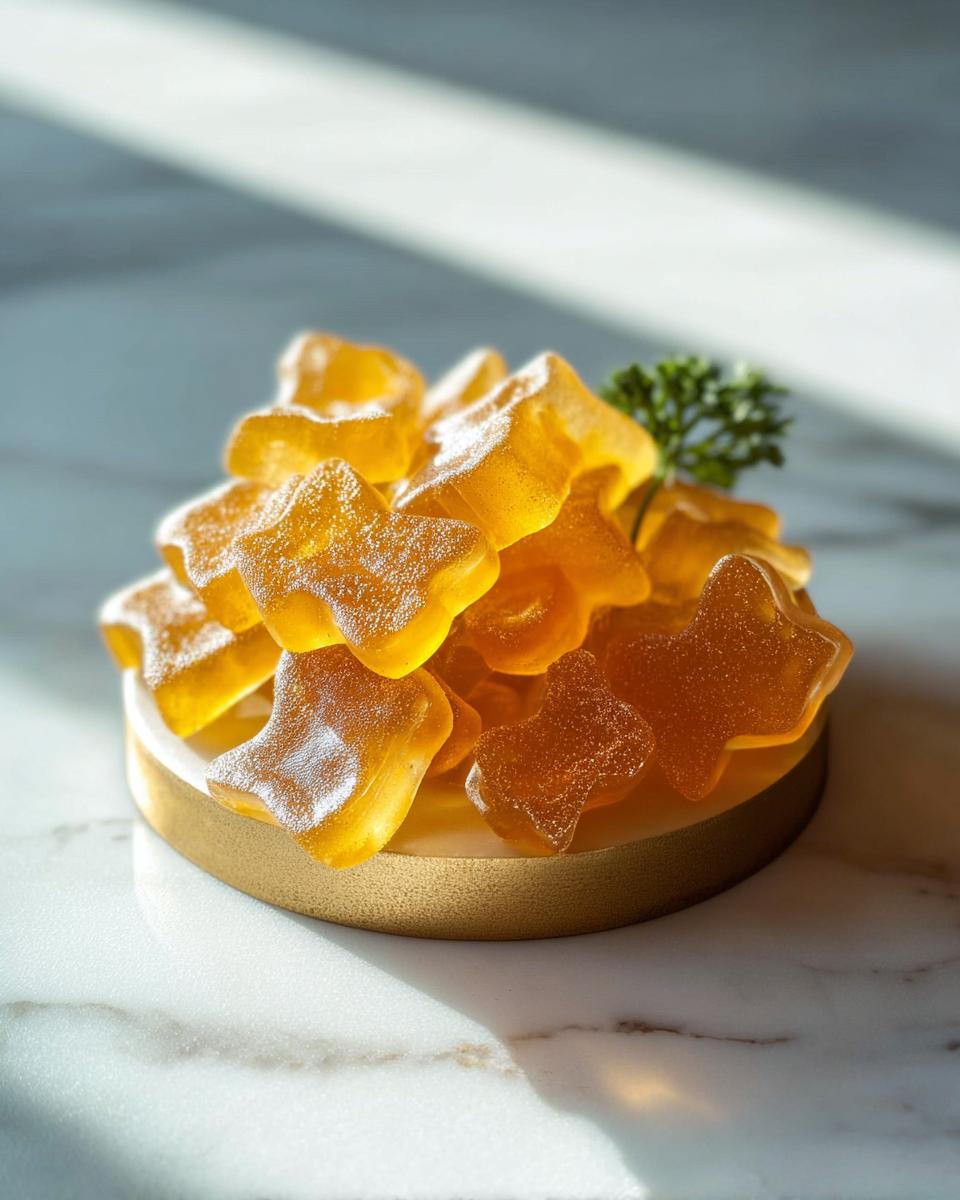
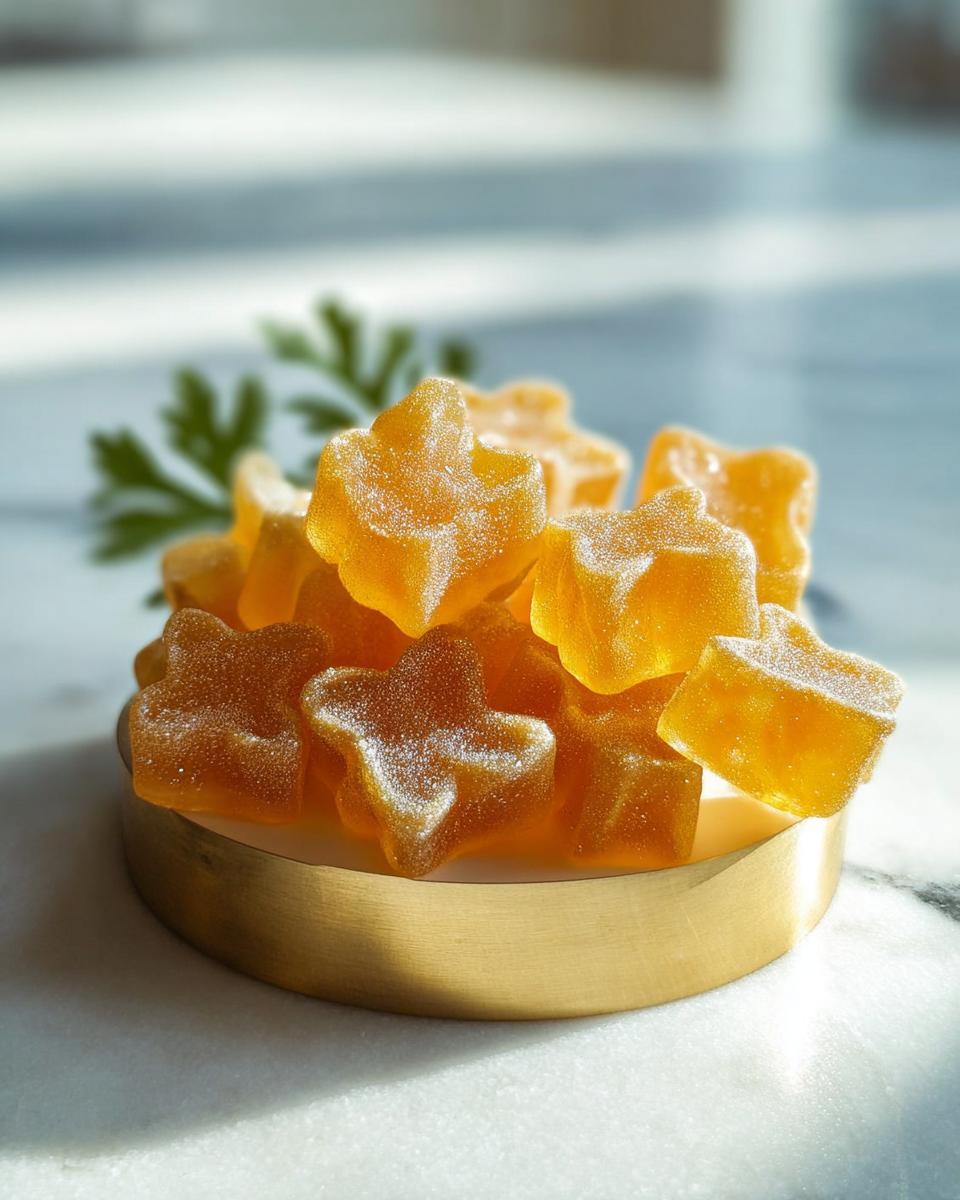
Time for patience! Slide that pan or mold tray straight into the refrigerator. They need about 2 to 3 hours in the cold to get nice and firm. Once they are totally set—when you poke them and they don’t wiggle back—you can pop them out of your silicone molds. If you used a baking dish, just run a knife around the edge and slice them into bite-sized squares. How easy was that? Don’t forget to check out this guide on Bone Broth Gummies Recipe for more tips!
Tips for Success When Making Your Bone Broth Gummy
I learned pretty quickly that while this recipe seems foolproof—and it mostly is!—a couple of little secrets make a huge difference in the final product. You mentioned quality matters above, and here are the real insider scoops I keep coming back to when making these fantastic Bone Broth Gummy snacks.
First, let’s talk broth purity again. This is the most important note from my actual recipe card: use broth that is completely free of onions and garlic. I know it sounds picky, but those ingredients are toxic to dogs, and if you’re buying commercial broth, you have to check the label twice! Salt is also a no-go for me, though the recipe adjusts for that since we aren’t adding any back in.
Next, you can actually adjust the bounce factor! If you find the set is a little too firm for your older pup, or maybe you just prefer a gooeier texture, it’s super easy to change. The recipe calls for 4 tablespoons of gelatin, but if you use just 3 tablespoons instead, your finished **Bone Broth Gummy** will be noticeably softer. It’s all about customizing the chewiness for your dog’s preference!
And one final, quick thought: if you’re going to freeze these (which you totally can!), make sure you cut them into smaller pieces *before* they go into the deep freeze. Trying to slice through a frozen block of gelatin is a total workout, and not a fun one. Trust me on that one!
Storage and Serving Suggestions for Your Bone Broth Gummy
Okay, you’ve made these amazing, healthy **Bone Broth Gummy** treats, now we need to keep them safe! Because they are essentially just gelatin and broth, they really need to stay cold. Think of them like fancy dog jello—they won’t last long on the counter.
You should keep them in an airtight container right in the refrigerator, and they’ll be perfect for up to a full week. If you made a huge batch, don’t panic! You can totally freeze them for up to three months. Just make sure they are cut into serving sizes *before* they go into the freezer, like I mentioned before!
When you introduce them to your pup, remember that even though these are natural, it’s best practice to start slow. Give just one or two at first and watch how your dog handles them. If everything looks good, you can follow the serving suggestions outlined in this great guide on 11 Dog Meals at Home! Keep ’em chilled and enjoy seeing your dog happy!
Common Questions About Making a Bone Broth Gummy
I know you might have a few lingering questions since this recipe is so unique. Trying to shift toward cleaner habits for our pets sometimes brings up new concerns, right? Don’t worry; I’ve gathered the most common things I hear about these simple **Bone Broth Gummy** treats!
Can I swap out the chicken broth? That’s a great question! Yes, you absolutely can use beef broth or turkey broth, as long as they meet the same qualifications—unsalted and free of those nasty seasonings like onions or garlic. The texture will hold up perfectly.
Another thing people always ask is why I include turmeric if it’s optional. Honestly, it’s just because I’m a wellness hawk, and turmeric is fantastic for gentle anti-inflammatory support, but your dog gets loads of benefits just from the collagen in the good broth itself. How long do they last? As long as you keep them chilled in the fridge, they stay fresh for about a week, or you can freeze them for months!
If you want to see more thoughts on pet wellness, swing by my blog!
Nutritional Estimates for One Bone Broth Gummy
Because we are making these right in our own kitchens, the nutrition can swing around a little depending on the brand of broth you grab, so take these numbers with a grain of salt! But to give you a baseline for one of these fantastic **Bone Broth Gummy** treats, they are incredibly low in everything but the good stuff.
We are looking at maybe 5 calories per gummy, which is amazing for rewarding our pups often! Protein will clock in around 1 gram, mostly from that gelatin and broth collagen. Sodium is usually low, around 5mg, which is why using that unsalted broth is so important. Remember, these estimates are just a starting point—they are meant to show you how clean these snacks truly are compared to store-bought options!
If you want to see what the nutrition looks like in vet-approved meals, check out this guide on 10 Vet-Approved Recipes!
Share Your Homemade Bone Broth Gummy Results
Alright, now it’s your turn to get cooking—or, well, chilling! I’ve shared all my secrets for turning simple broth into these incredible, healthy **Bone Broth Gummy** snacks, and now I really want the full scoop on how they turned out for you and your adventure buddy.
Did you make them squeaky firm or nice and soft? Which one of your dogs absolutely loved them the most? Or maybe you tried adding a tiny dash of parsley instead of turmeric? Don’t keep those brilliant ideas to yourself!
Please, please, please leave a comment right down below. Let me know what you thought of how quickly they came together and what your dog’s reaction was. A rating helps other busy pet parents out, too! If you snapped a picture of your pup happily gobbling down those colorful homemade gummies, tag me over on social media. Seeing your happy dogs enjoying clean, simple wellness is truly the best part of all of this for me!
By EMILIA, founder of MeltItClean.com – your digital space for natural weight loss, real wellness habits, and clean-living inspiration that actually fits your life.
For years, I struggled with the ups and downs of dieting. I tried everything — juice cleanses, low-carb crazes, fitness challenges — but I always ended up back where I started: tired, bloated, and frustrated. I didn’t just want to “lose weight” — I wanted energy, mental clarity, glowing skin, and confidence without sacrificing my joy or sanity.
After years of experimenting, learning, and unlearning, I discovered a simple truth: your body is already powerful — it just needs support, not restriction. That’s when I created Melt It Clean — a site dedicated to real transformation through clean, intentional, and nourishing daily habits that anyone can follow.
My goal was simple: build a place where people could feel informed, supported, and empowered without being overwhelmed by wellness fads.
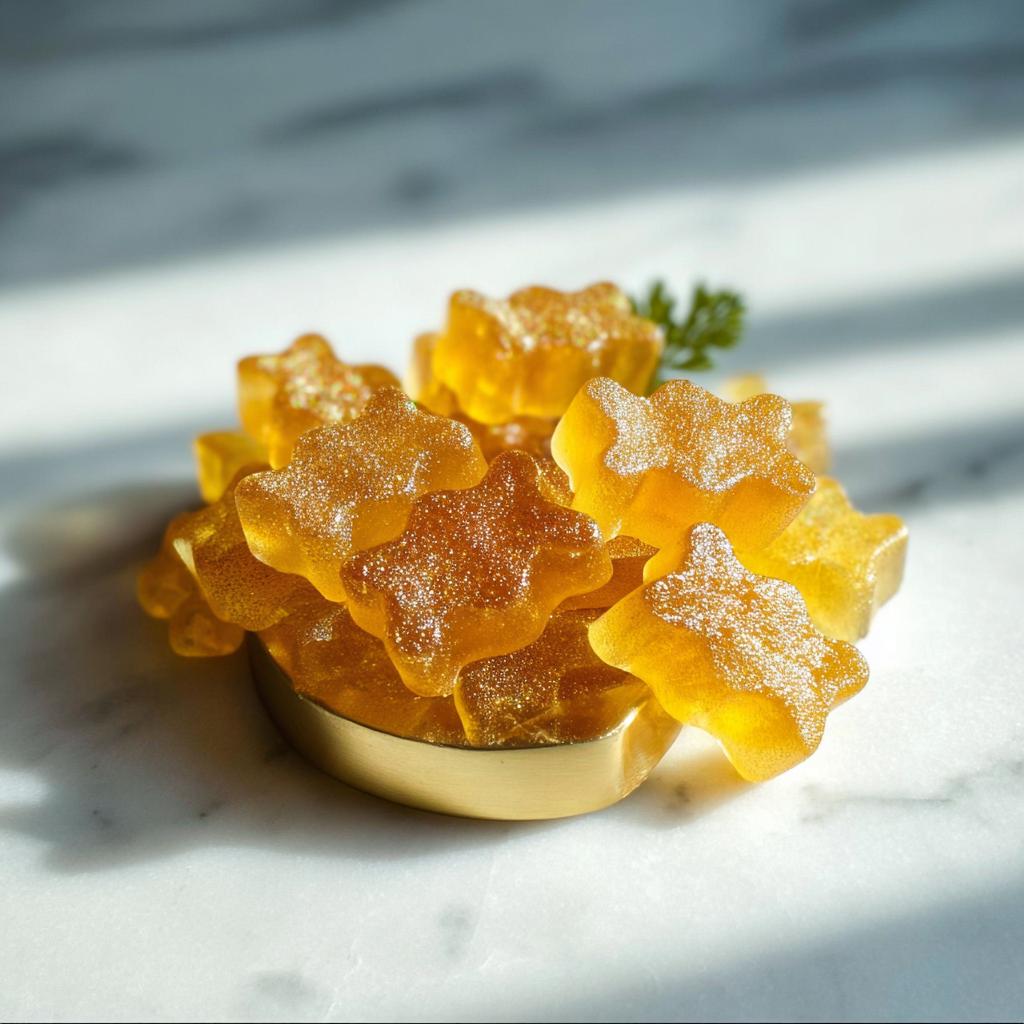
Chicken Bone Broth Gummy Treats for Dogs
Ingredients
Equipment
Method
- Pour the chicken bone broth into a saucepan and heat over low to medium heat until warm but not boiling (about 150°F or 65°C).
- Slowly sprinkle the gelatin over the warm broth while whisking continuously to ensure it fully dissolves.
- If using turmeric or any optional ingredients, stir them in at this stage.
- Carefully pour the mixture into silicone molds or a shallow baking dish.
- Refrigerate for 2-3 hours until the mixture is firm and set.
- Once set, remove the gummies from the molds or cut them into small squares if using a baking dish.
- Store the treats in an airtight container in the refrigerator for up to 7 days or freeze for up to 3 months.


