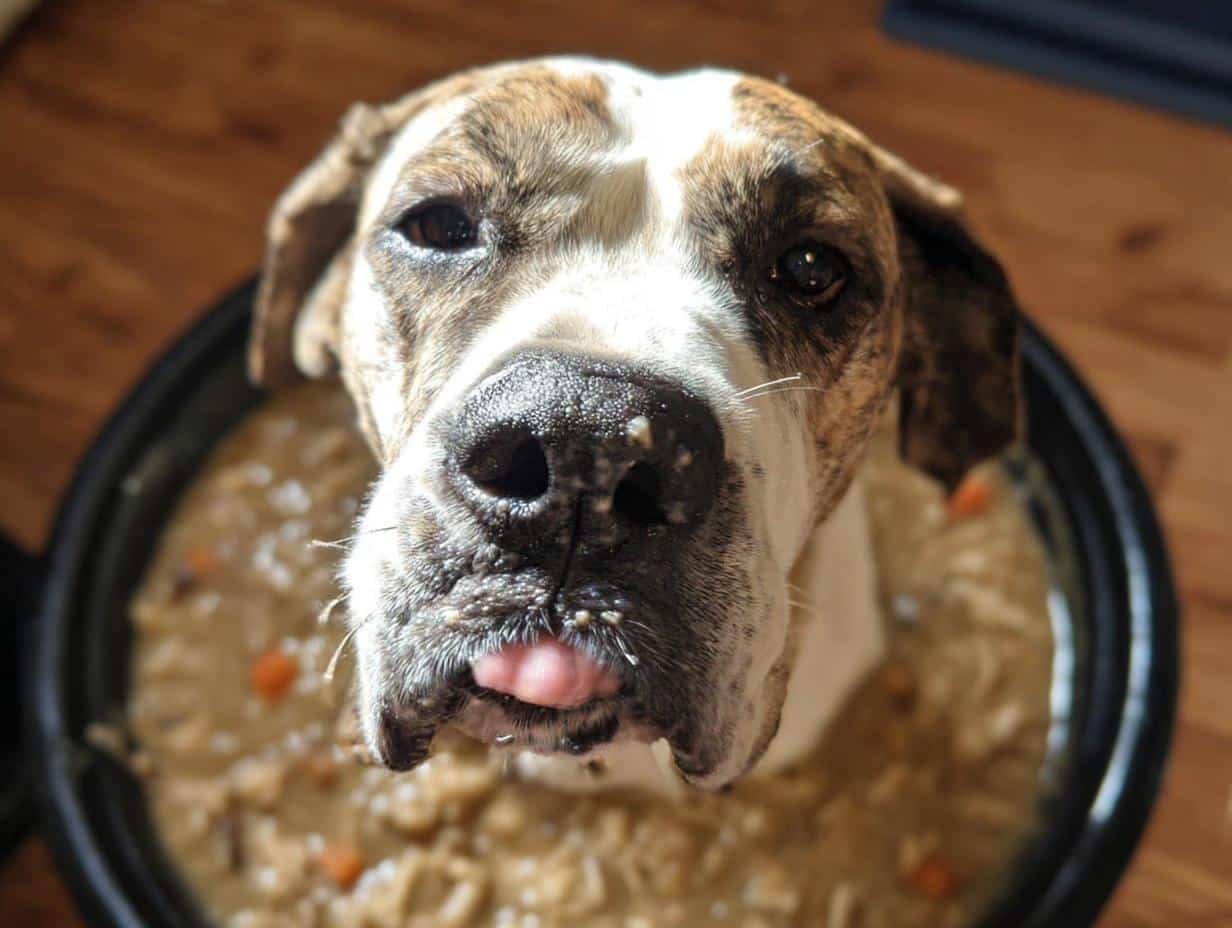
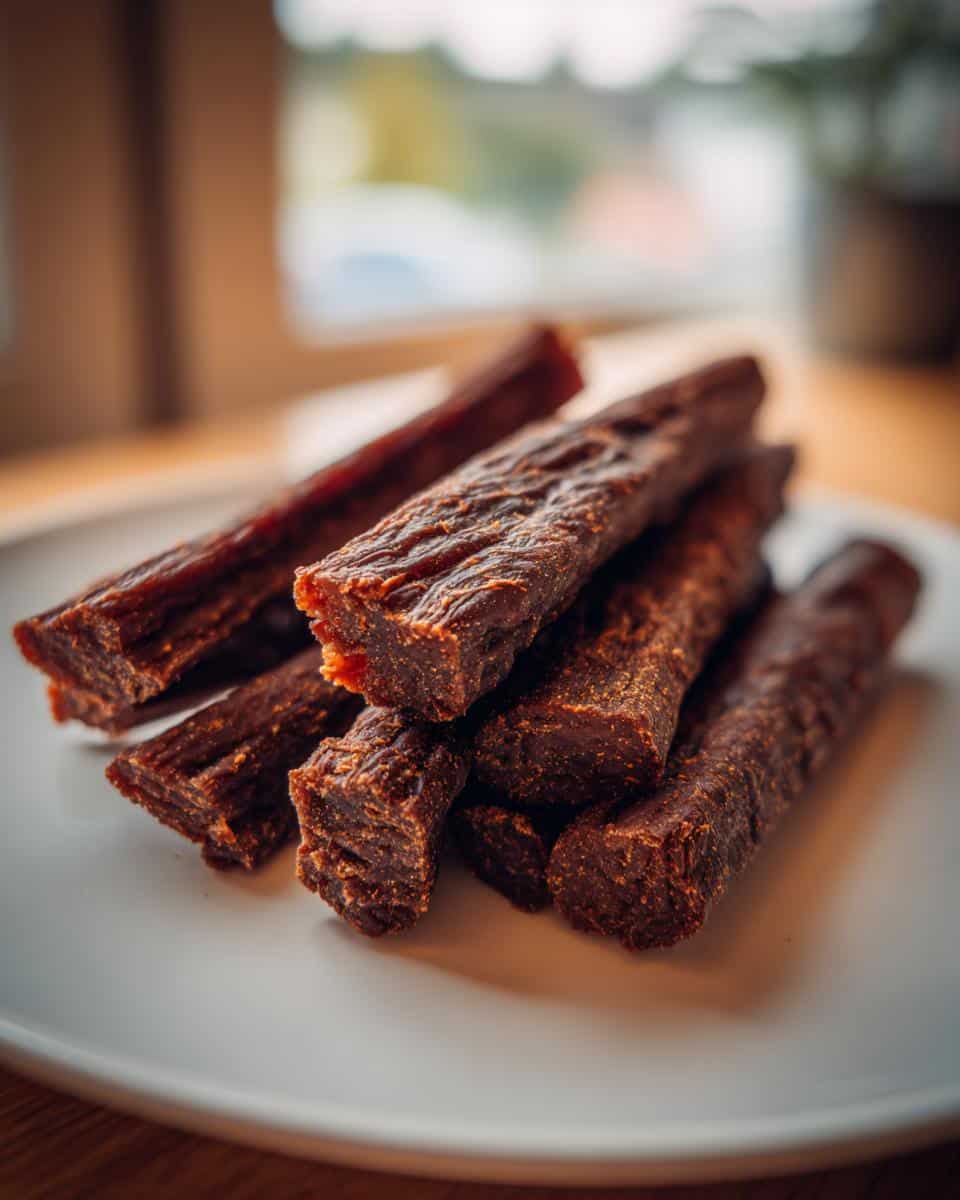
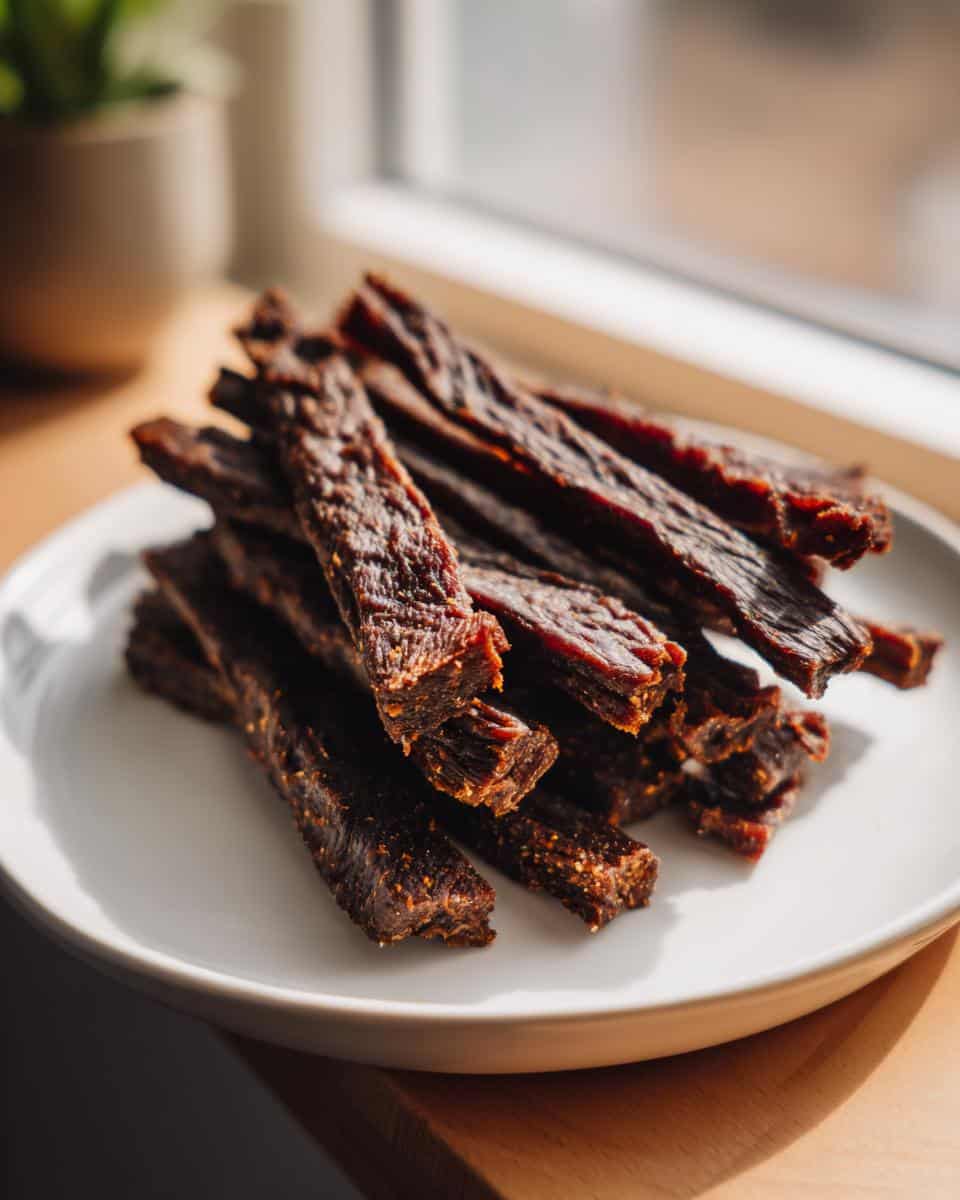
Oh my goodness, there is nothing quite like watching my dog, Buster, go absolutely bonkers for a homemade treat. You know how sometimes those store-bought things just feel… questionable? I spent forever trying to find a simple, chewy reward that didn’t have ingredients lists a mile long or weird dyes. That’s how I landed on these amazing Beef & Sweet Potato Chews for Dogs.
Seriously, they only take three main things, and they turn out perfectly chewy—Buster’s absolute favorite texture! I developed this version because he’s obsessed with sweet potatoes, and I wanted a way to sneak a little extra goodness into his snack rotation. Trust me, if you want to spoil your pup with wholesome, high-quality rewards, you need these Beef & Sweet Potato Chews for Dogs in your life right now. They are so easy, you won’t believe you haven’t been making them all along!

Once you mix up the dough, you can head over and see how I make my easy chicken biscuit recipes too, if you need more variety!
Why You Need to Make These Beef & Sweet Potato Chews for Dogs
Honestly, these hits of flavor are worth the ten minutes of prep time. There is just something satisfying about knowing exactly what your dog is gobbling down. Forget those dusty packets from the store; these are the real deal!
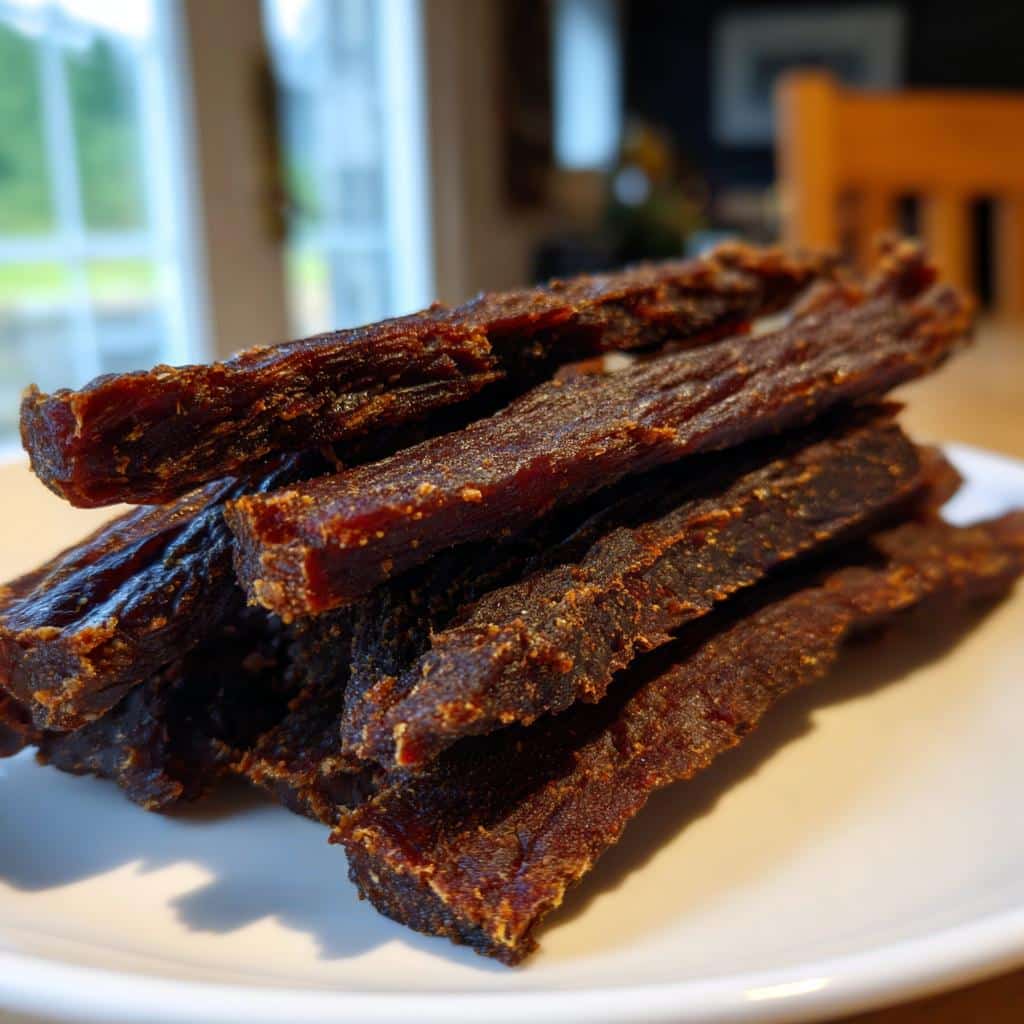
- The texture is spot-on! They come out perfectly firm and chewy—great for a satisfying crunch without being too hard.
- So simple! We’re working with just three basic ingredients, so cleanup is a breeze.
- You control the quality. Using lean ground beef means you skip all the mystery fillers.
If you like having simple options on hand, you might also want to check out my roundup of 14 easy homemade dog treats for more ideas. Plus, these pair wonderfully with my sweet potato dog biscuit recipe when you want something less beefy!
Essential Equipment for Perfect Beef & Sweet Potato Chews for Dogs
You don’t need a commercial kitchen for these treats, thankfully! Prep is super quick because the tools are basic. You absolutely need a sturdy mixing bowl—one big enough to really get your hands in there later on when the dough gets stiff.
Next up is your baking sheet, of course. But here’s my little trick for truly even drying: after you line that sheet with parchment paper, I actually recommend using two sheets stacked together, especially if your beef is on the fattier side. It lets the bottom bake a little slower and helps everything dry out perfectly so you get that great chewiness. It’s a game-changer, trust me!
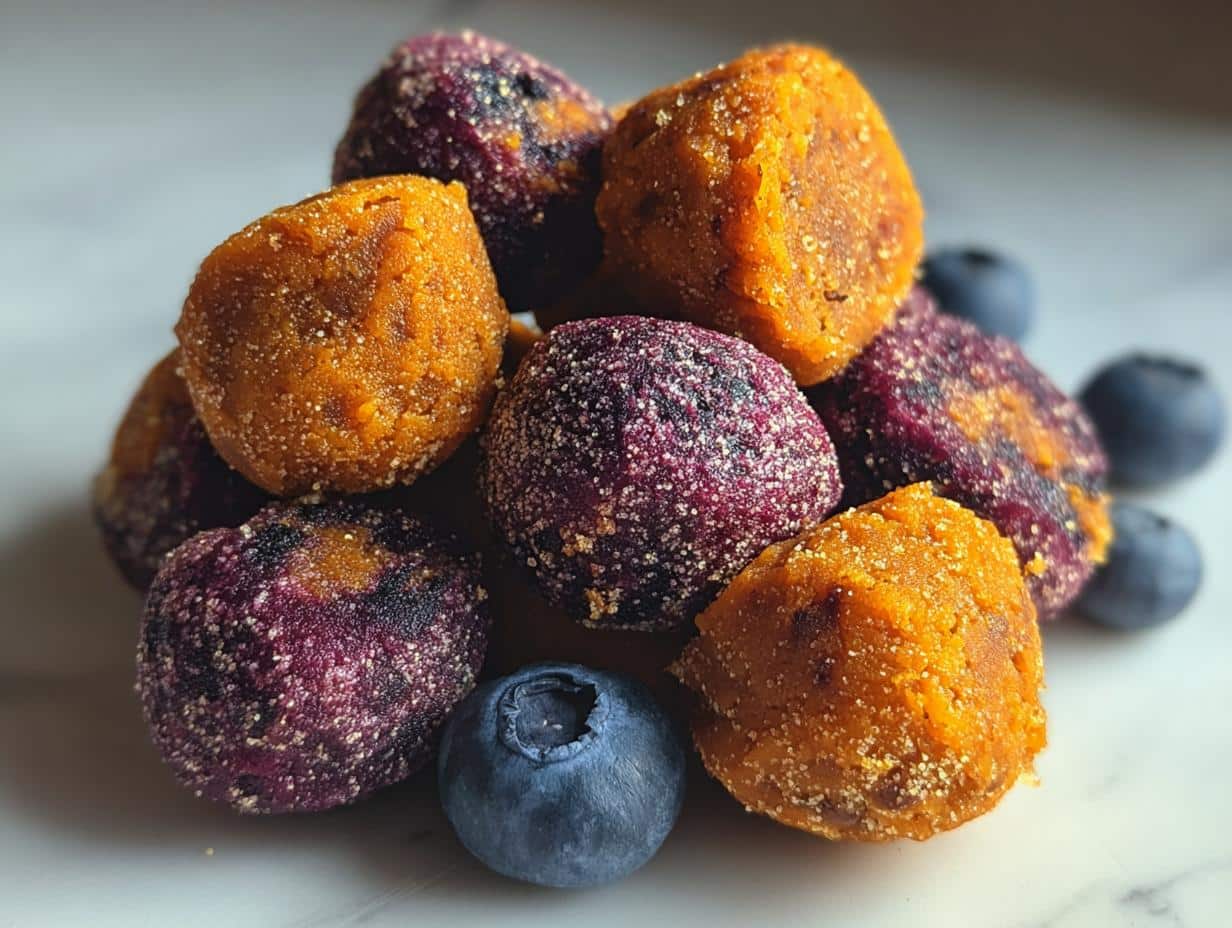
If you want to see how I use a baking sheet for softer treats, check out my blueberry dog biscuit recipe!
Gathering Ingredients for Your Beef & Sweet Potato Chews for Dogs
Okay, let’s talk ingredients. This is where we keep things super clean! You only need one pound of ground beef, and please, make sure it’s lean. Nobody wants an excess of grease soaking into our wonderful chews. We pair that with one medium sweet potato.
The third star is the flour—we start with about half a cup of whole wheat flour. Now, if your pup is sensitive or you’re keeping things grain-free this week, don’t panic! You can swap that out for oat flour; it works beautifully here and keeps the integrity of the chew.
These are such great rewards because they’re so simple, check out my guide on 3-ingredient homemade dog treats for even more minimalist recipes!
Ingredient Notes and Substitutions
The sweet potato is the binder here, but it has to cooperate! You must cook it until it is really soft, so it mashes easily into the beef. If you are in a rush, just pierce your sweet potato several times with a fork and nuke it in the microwave until it yields easily.
Don’t skip mashing it thoroughly before adding it to the bowl. Lumps mean uneven texture in the final chew, which dogs often reject! Remember that oat flour substitution—it’s a reliable swap if wheat just isn’t sitting right with your furry friend.
Step-by-Step Instructions for Making Beef & Sweet Potato Chews for Dogs
Alright, let’s get baking! This process moves pretty quickly, so have everything ready to go beforehand. First things first, you absolutely must get that oven heated up to 350°F (175°C). Grab that parchment paper we talked about and line your baking sheet—don’t skip this, it makes everything easier later!
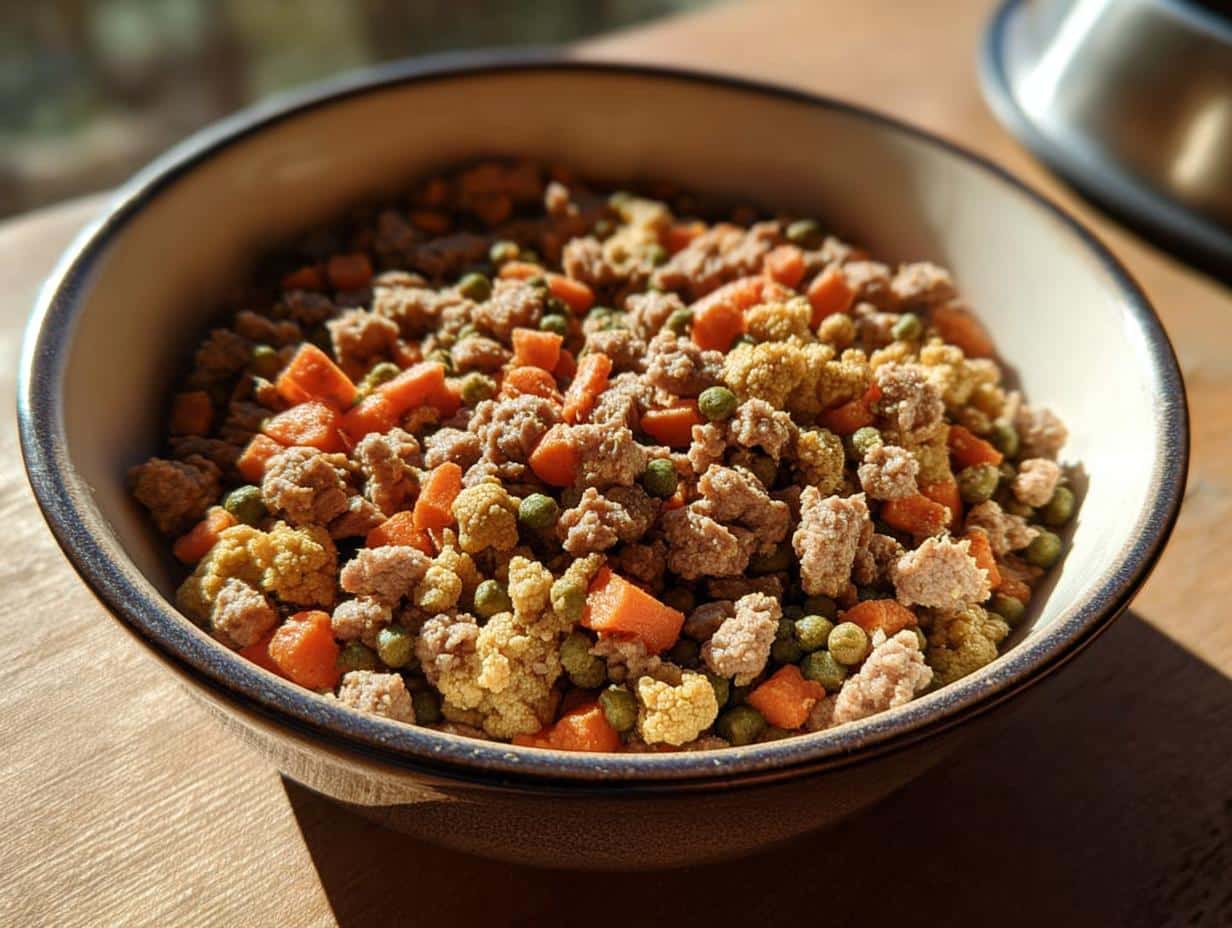
Next is the fun part where it starts looking like dog food dough! Toss your lean ground beef, that beautifully mashed sweet potato, and your flour of choice into that big mixing bowl. You want to combine these guys until they really look like one thing, not three separate piles sitting next to each other.
If you want a peek at how I construct meat-based sticks, check out my recipe for beef and vegetable chew sticks for inspiration on forming shapes!
Mixing the Dough for Your Beef & Sweet Potato Chews for Dogs
When you first start mixing, you might use a spoon, but honestly, you’ll want to switch to your hands! The mixture gets sticky and needs a good knead to come together properly. Keep working it until that dough is uniform, meaning no streaks of raw beef or potato peaks poking out. The goal is a cohesive ball that you can easily handle without it falling apart instantly.
Baking and Drying for Maximum Chewiness
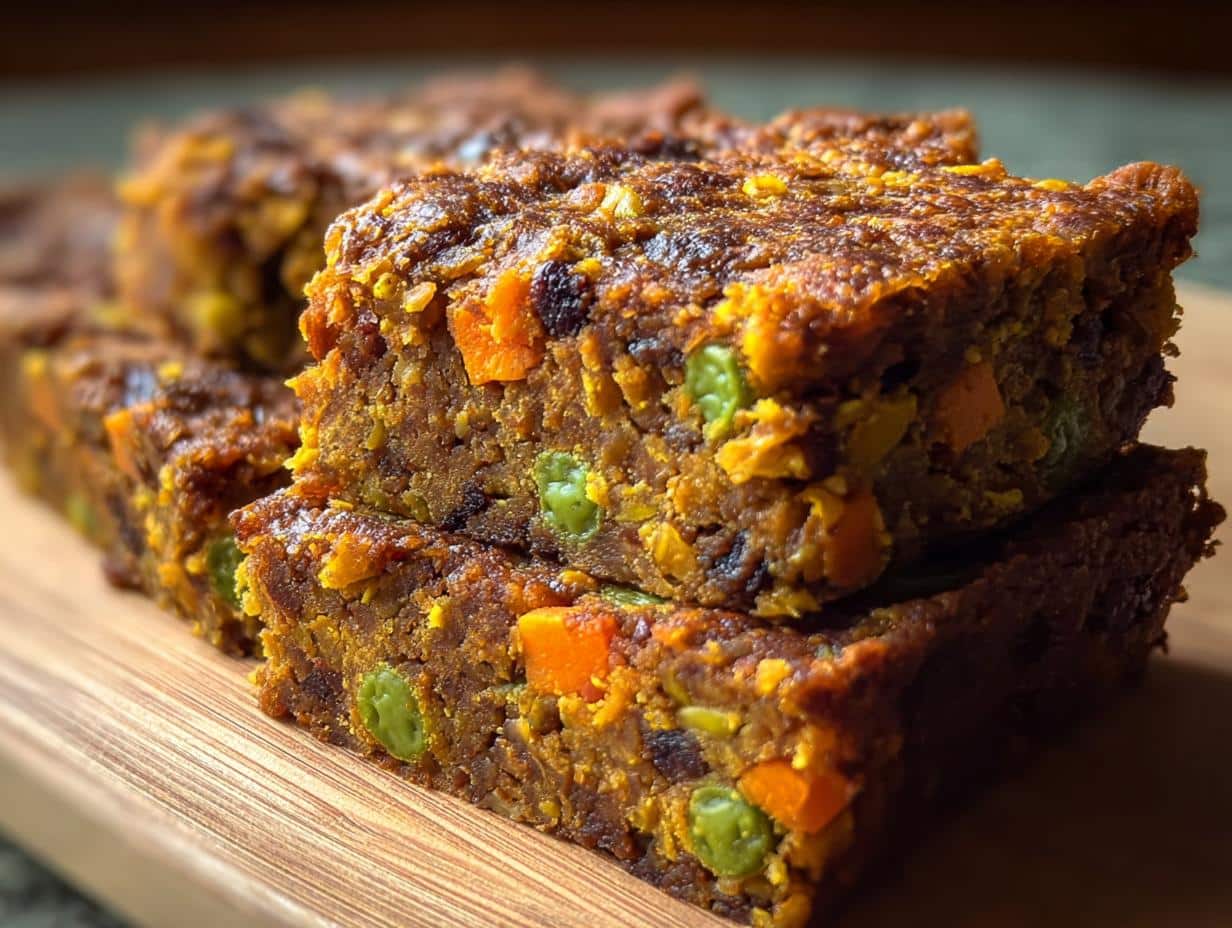
Once all that dough is rolled thin—I aim for about a quarter of an inch—cut it into your desired strip or shape pieces. Lay them out carefully on that parchment-lined sheet.
You’ll bake these beauties for a good 40 to 45 minutes. But here’s the real secret to that satisfying chew: when the time is up, just turn the oven off. Leave the door cracked open slightly, and let those chews cool down inside completely. This slow cooling process dries them out perfectly, turning them from soft dough into rock-solid, happy-dog snacks!
Tips for Success When Making Beef & Sweet Potato Chews for Dogs
Even with such a simple recipe, a few little habits will really push these chews from “good” to “dog-approved obsession.” My number one tip revolves around the sweet potato mash. If you leave even small chunks in there, when they bake, those chunks steam and create pockets that won’t dry out properly. Seriously, mash it until it’s baby food!
Secondly, don’t get too ambitious when you roll it out. If you go thicker than about 1/4 inch, they will stay too soft in the middle, even after the full bake time. We are aiming for a good, long drying process, not just a light bake. Thinner means chewier!
If you’re looking for other ways to make meat treats that drive yours wild, check out my guide on beef and vegetable chew sticks for dogs. Also, I have another super easy guide for simple natural dog chew recipes if you need a break from the oven time!
Storage and Making Ahead with Your Beef & Sweet Potato Chews for Dogs
Since these homemade chews don’t have the crazy preservatives found in store-bought stuff, we need to treat them nicely. The best spot for a batch you plan to use up quickly is an airtight container right in the refrigerator. That usually keeps them fresh and firm for about a week.
But what if you bake a giant batch, like I always seem to do? Freezing is your friend! Pop them into a freezer-safe bag or container, and they last ages longer. Want them to survive even longer? Just bake them a little bit extra next time—make sure they are super firm and dry before you turn that oven off. That extra drying time equals a longer shelf life!

For other make-ahead ideas, you should look into my recipe for beef and vegetable roll; it’s great for freezer prep!
Serving Suggestions for These Dog Chews
Okay, so you’ve got these amazing, homemade chews ready to go. When do you pull them out? Training sessions are the absolute perfect time! Because they are packed with yummy beef and sweet potato, they make super high-value rewards that will get your pup paying attention instantly. They are also fantastic for an occasional mid-day snack when you just want to give a good boy or girl a little something special.
I always keep a few tucked away in my pocket for impromptu good behavior moments. If you’re working on puppy manners, you might also love checking out my list of the 10 best puppy treat recipes for specialized training!
Frequently Asked Questions About Beef & Sweet Potato Chews for Dogs
It’s natural to have questions when you’re trying out a new treat recipe, especially since we’re dealing with our best friends! I’ve collected a few things people ask me most often about these chews. They are super straightforward, but a little clarification goes a long way in ensuring you make the best possible snacks.
If you want to catch up on more general dog treat tips, feel free to browse my main recipe blog page!
Are these Beef & Sweet Potato Chews for Dogs safe for puppies?
For older puppies who have already started on solid food, these chews are generally fine because they only use whole food ingredients. However, if you’ve got a tiny little pup still on a very restricted diet, I always suggest checking with your veterinarian first. Puppies can be sensitive, and you want to ensure they can handle the density of the chew. Better safe than sorry when they are that little!
Can I use a different type of meat instead of beef?
Oh, absolutely! You definitely can switch up the protein source. Ground turkey or lean ground chicken work wonderfully as substitutes for the beef—just make sure whatever you pick is as lean as possible. Fats can cause digestive upset or just make your treats greasy and spoil them faster. Keep it lean and you’re golden!
Share Your Success with These Beef & Sweet Potato Chews for Dogs
Now it’s your turn to make some happy tails wag! I truly hope your pups love these Beef & Sweet Potato Chews for Dogs as much as Buster does. Seriously, snap a picture of your dog enjoying one and tag me—I love seeing my recipes in action!
Let me know in the comments how they turned out, and if your pup has a favorite way to eat them. If you’re looking for a new sweet reward next time, definitely check out my pumpkin yogurt dog treats!
Beef & Sweet Potato Chews for Dogs
Ingredients
Equipment
Method
- Preheat your oven to 350°F (175°C). Line a baking sheet with parchment paper.
- In a mixing bowl, combine the ground beef, cooked sweet potato, and flour.
- Mix the ingredients thoroughly until a uniform dough forms. You may need to use your hands for the final mixing.
- Roll the dough out on a lightly floured surface to about 1/4 inch thickness.
- Use a knife or a cookie cutter to cut the dough into small, chew-sized strips or shapes.
- Place the cut pieces onto the prepared baking sheet.
- Bake for 40 to 45 minutes, or until the chews are firm and dry throughout.
- Turn off the oven and allow the chews to cool completely inside the oven with the door slightly ajar for extra drying.
- Store the finished chews in an airtight container in the refrigerator for up to one week, or freeze for longer storage.