Do you ever look at those complicated ingredients lists on store-bought dog treats and just shudder? I totally get it. Keeping up with our furry best friends’ dental health shouldn’t involve a chemistry degree!
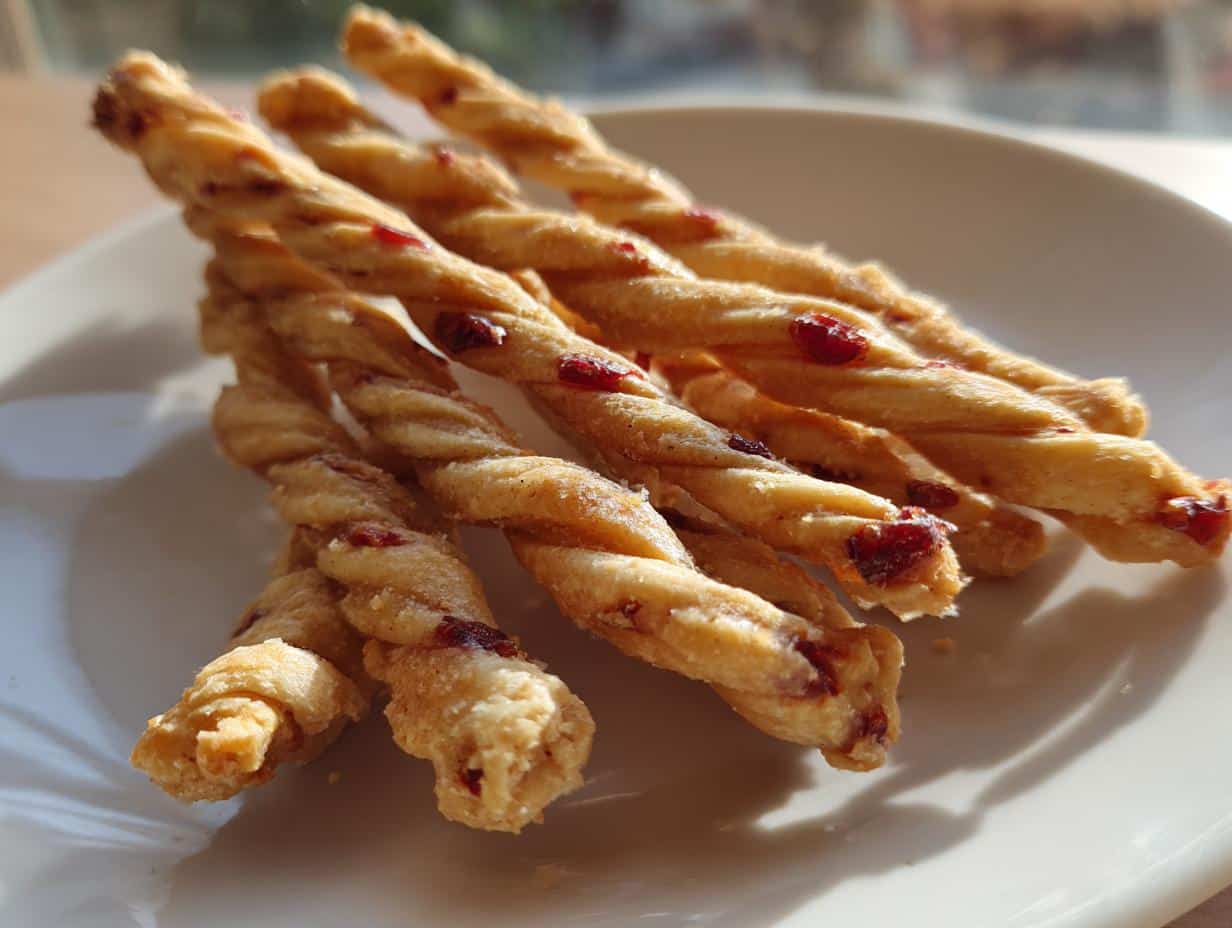
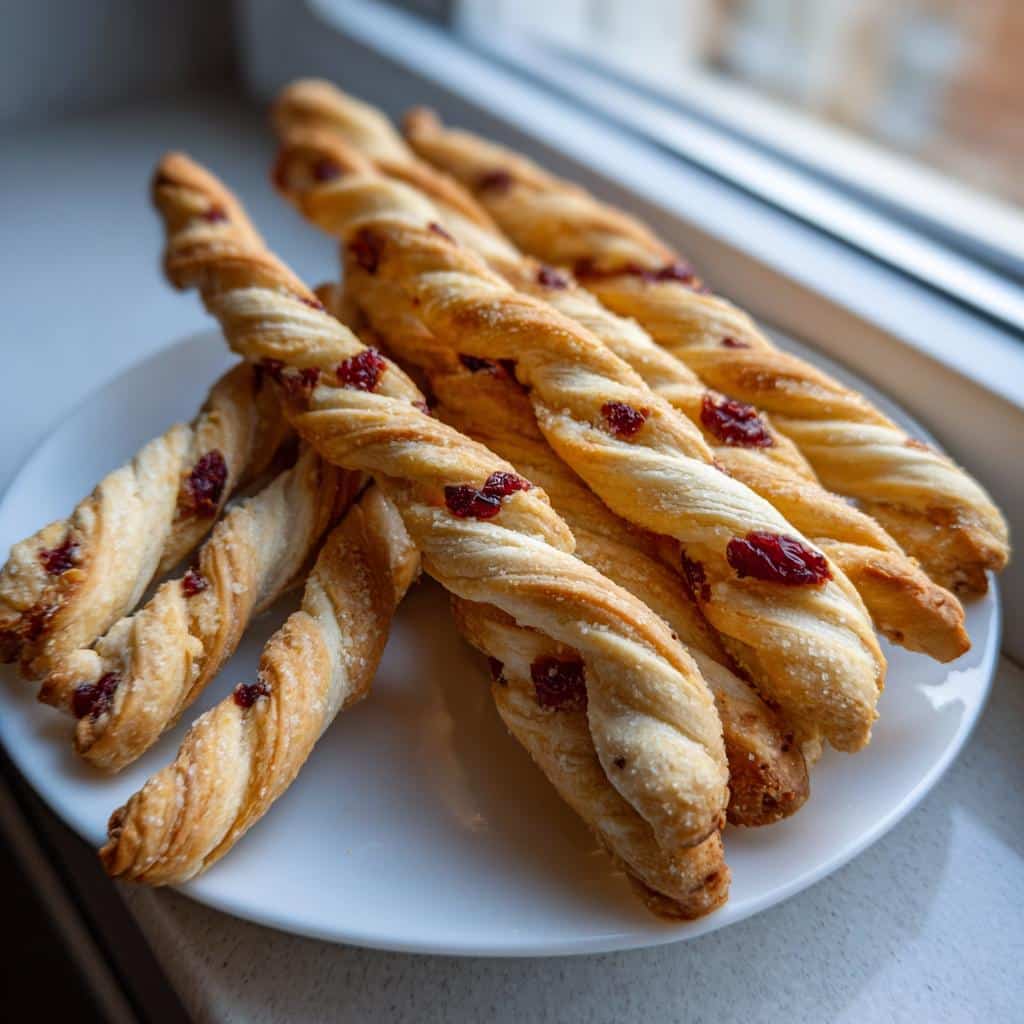
That’s why I absolutely *insist* on whipping up these homemade Apple & Cranberry Dog Dental Sticks. They come together so fast—less than 45 minutes total! Knowing exactly what goes into cleaning Scout’s teeth, using real fruit and simple flour, just gives me such peace of mind. These sticks are slightly crunchy, perfectly portioned, and loaded with yummy apple and tart cranberry flavor that dogs just adore.
Why You Need Homemade Apple & Cranberry Dog Dental Sticks
Honestly, when you make these yourself, you skip all the mystery fillers you find in packaged snacks. It’s all about knowing your pup is getting the good stuff, period. These Apple & Cranberry Dog Dental Sticks are a game-changer for busy pet parents who still want the best!
Here’s why I dump the store-bought bag for these:
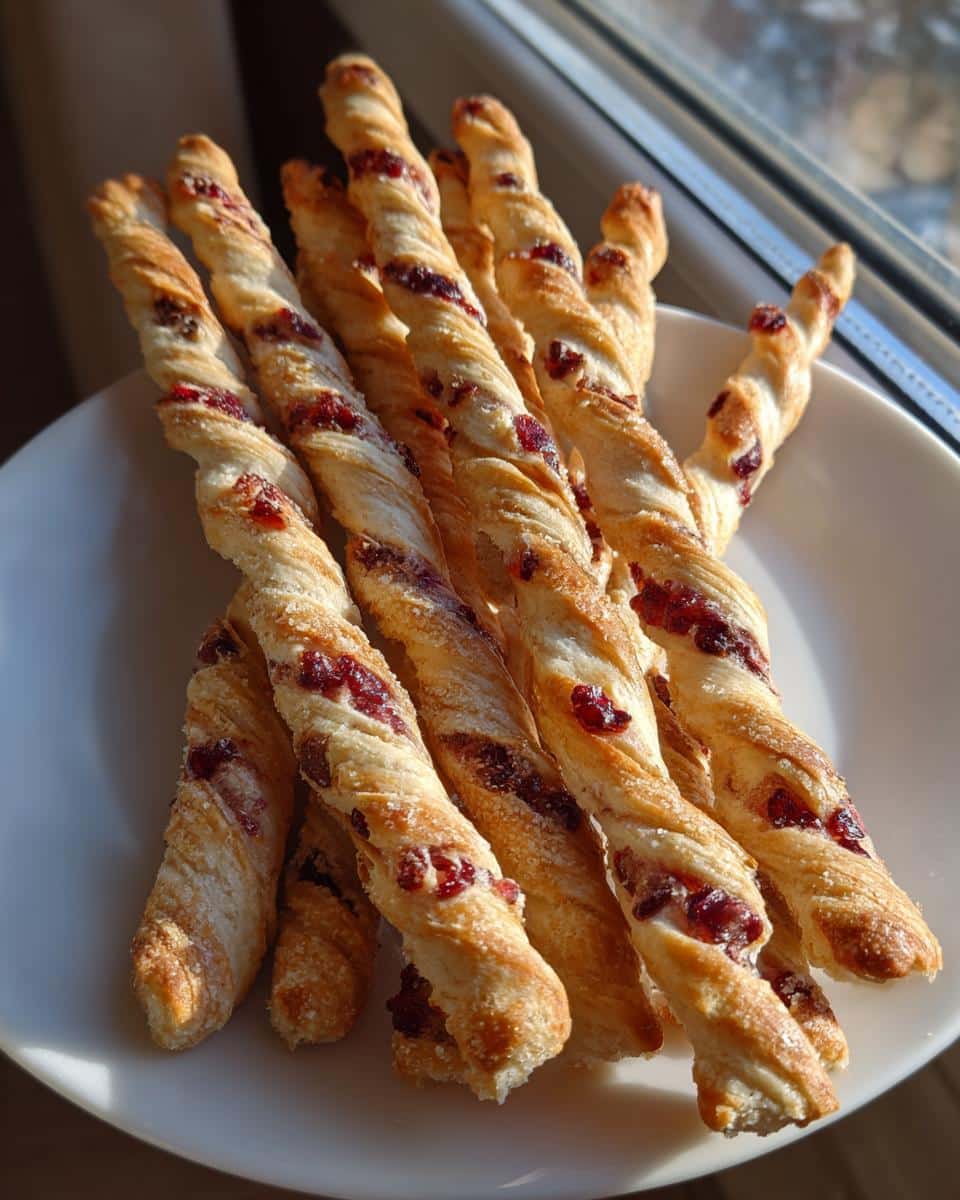
- Real Dental Action: They bake up wonderfully hard and crunchy. That satisfying chew helps scrape plaque away while they enjoy the treat. It’s functional snacking!
- Natural Goodness: We are using actual applesauce and real dried cranberries. No weird colors or artificial flavors here—just whole ingredients. If you want more tips on what makes great homemade dog fuel, check out my general guide.
- Zero Junk: You control the sugar and salt. I don’t feel guilty handing these over because I know the only sweetness comes from the fruit itself. They’re healthier than most simple dog chews out there!
It’s peace of mind baked right in, and my dog, Scout, can definitely tell the difference!
Gathering Ingredients for Your Apple & Cranberry Dog Dental Sticks
Okay, before we get to the messy, fun part, we need to gather our crew! These Apple & Cranberry Dog Dental Sticks rely on just a handful of super basic, wholesome items. I always try to source the best whole wheat flour I can find, or I’ll swap in oat flour if I’m making a grain-free batch for a friend!
When you look at this list, you’ll see how straightforward the backbone of this dog treat really is. Before you start mixing, make sure those cranberries are chopped up nicely—otherwise, they might roll around unevenly. If you want to see how different fruits pair with apples, check out my recipe for other apple and cranberry pairs!
Dough Ingredients List
This is everything you need for the dough. Make sure you have the applesauce ready to go!
- 1 cup Whole wheat flour, Or oat flour for grain-free
- 1/2 cup Unsweetened applesauce
- 1/4 cup Dried cranberries, Finely chopped
- 1 large Egg
- 1 tsp Cinnamon, Optional
Equipment Needed for Perfect Apple & Cranberry Dog Dental Sticks
You truly don’t need a fancy setup for these incredible Apple & Cranberry Dog Dental Sticks! I always grab my trusty mixing bowl, a solid rolling pin, and whatever baking sheet I can clear off quickest—usually the one that needs cleaning anyway, ha!
Pro tip: I swear by lining that baking sheet with parchment paper every single time. It saves you from scrubbing baked-on cranberry bits later. It’s the simplest thing, but it makes cleaning up after making all these wonderful dog treats so much less of a chore.
Step-by-Step Instructions for Apple & Cranberry Dog Dental Sticks
This is where the magic happens! Don’t rush through these steps; a little care here means you get those perfect, sturdy dental sticks for Scout. Remember, we want crunch so they actually help clean those teeth, which means paying attention to the heat!
For ease, get your oven warmed up first. We need it ready to go at 350°F (175°C). And, as I mentioned, make sure that baking sheet is already lined with parchment paper. Trust me, your future self will thank you for that prep work! If you want some more amazing ideas for truly easy dog treats, I have a whole section on that!
Preparing the Dough and Shaping the Apple & Cranberry Dog Dental Sticks
First things first: toss all your dough ingredients—the flour, applesauce, chopped cranberries, the egg, and that optional cinnamon—right into your mixing bowl. I use a sturdy wooden spoon because my hands always do a better job than the mixer for this kind of dough. Mix it until it actually starts to look like dough. It should be stiff!
If you find it’s just too wet and sticky—like mud, not dough—just whisk in another tablespoon of flour until it holds shape. Then, dust your counter lightly and roll it out. Aim for about a quarter of an inch thick. Think sturdy, not cracker-thin. Then, using a knife or a pizza cutter, slice it into long strips, about half an inch wide. I love taking each strip and giving it a little twist before placing it on the sheet. It really helps give them that satisfying texture.

Baking and Drying for Maximum Crunch in Your Apple & Cranberry Dog Dental Sticks
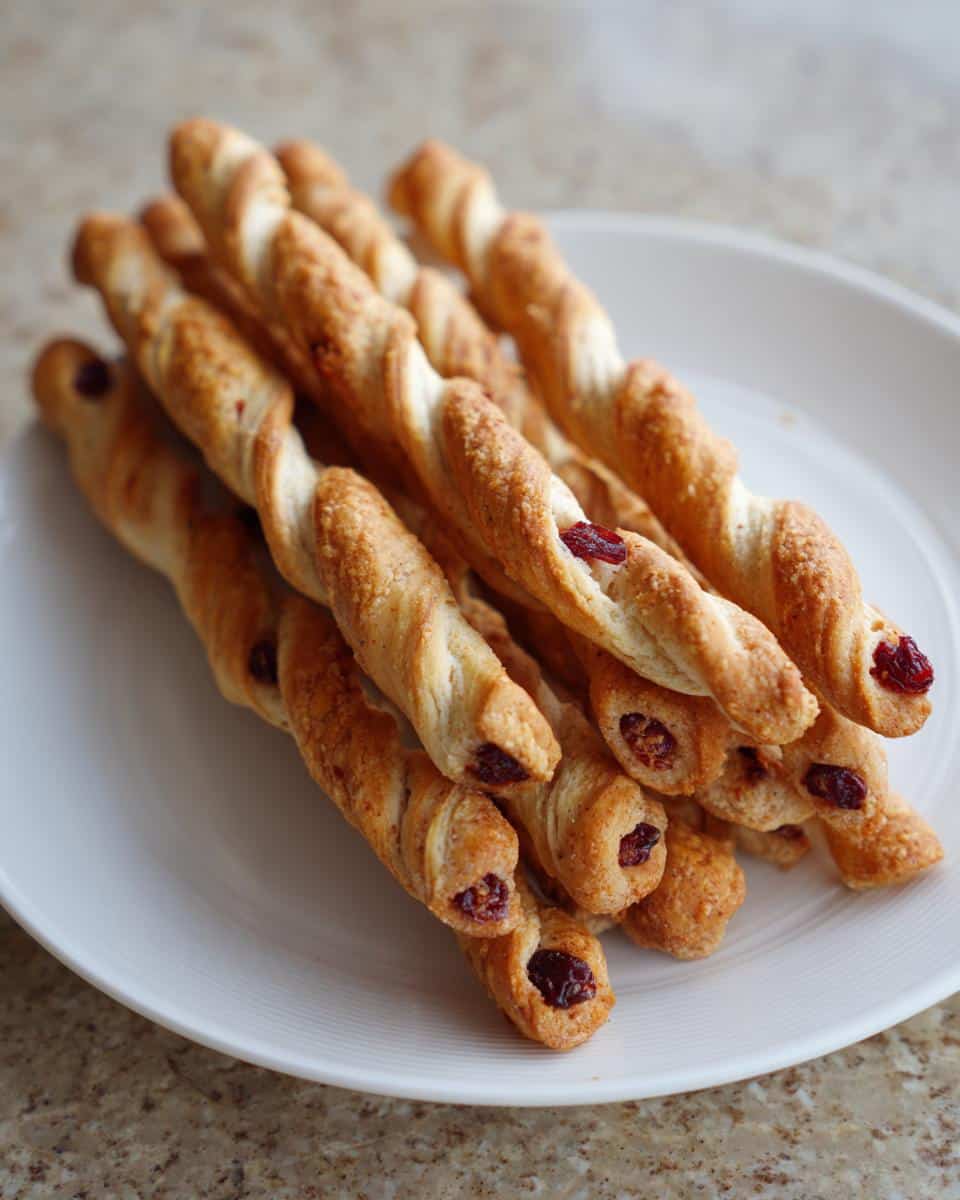
Pop those newly shaped Apple & Cranberry Dog Dental Sticks onto the lined baking sheet and slide them into that preheated oven. They need about 20 to 25 minutes. You are looking for them to be firm and just starting to turn a light golden brown around the edges. Don’t overbake them yet, though!
This next part is the absolute secret to making them dental chews instead of soft cookies: once the time is up, turn the oven OFF. Seriously! Then, prop the door open just a tiny bit—a wooden spoon works great to keep it ajar. Let those sticks sit in the cooling oven for another 10 minutes. This slow drying process sucks out all the remaining moisture, guaranteeing that hard, crunchy texture that works wonders on doggy plaque. Once cooled completely, they are ready for testing by your toughest critic!
Expert Tips for Making Perfect Apple & Cranberry Dog Dental Sticks
I think the best recipes have a little room for personality, right? Even though these Apple & Cranberry Dog Dental Sticks are simple, there are a few things I learned through trial and error that really nail the texture every time. You want them hard enough to scrub those teeth, but not so hard that they break your dog’s bite!
First off, don’t skip on chopping those cranberries finely. If they are left too big, they can create weak spots in the dough, and your sticks might snap unevenly. Also, if whole wheat flour feels too heavy for your pup, definitely swap it for oat flour like I noted—it keeps them nicely dense.
Regarding doneness, remember that final cooling phase in the oven? That is non-negotiable for crunch! If you pull them out too soon and they still feel slightly soft when cool, just pop them back into a turned-off oven for another 10 minutes. You can always find more great advice over at my guide on pumpkin and applesauce variations, too!
Storage and Shelf Life for Your Apple & Cranberry Dog Dental Sticks
Since we baked these beauties until they were perfectly dry and crunchy, storing them correctly is crucial to maintain that texture and keep them safe for your dog. Nobody likes a stale or soft dental chew!
When these Apple & Cranberry Dog Dental Sticks are completely cool—I mean *stone cold*—you want to get them into an airtight container right away. Don’t cover them while they are still warm, or you’ll trap moisture and ruin that hard-earned crunch!
At room temperature, stored in a dark, dry pantry, they easily last up to one week. That’s usually enough time for Scout to demolish a batch, but if you’re a larger household or you made a huge batch, I highly recommend the freezer.
- Room Temperature: Airtight container is key. Keeps well for about 7 days.
- Freezer Storage: Pop them into a heavy-duty freezer bag or a sealed container. They last for a couple of months, easy! When you want to give one, just thaw it on the counter for about 15 minutes.
Having a stash in the freezer means you always have a healthy dental chew ready to go. Plus, having extra on hand is always smart when you’re whipping up other great dog snacks!
Variations on Apple & Cranberry Dog Dental Sticks
While the apple and cranberry pairing is just divine—classic, right?—you can certainly play around a little bit once you’ve mastered the basic texture of these dental sticks! The most important thing is to keep the dough firm enough so they bake up hard and provide that awesome scrubbing action for your dog’s teeth.
If your dog has questionable breath, try adding a teaspoon of finely chopped fresh parsley to the mix along with the cinnamon (if you use it). Parsley is totally safe and smells so fresh!
You could also try swapping out the fruit slightly instead of the applesauce. Maybe use a little pureed sweet potato? Just make sure you keep the liquid amount about the same so the dough stays stiff. For more fun ideas on shape and fruit combos, you absolutely must check out my apple and zucchini chew sticks recipe. It’s another winner!
Frequently Asked Questions About Apple & Cranberry Dog Dental Sticks
It’s funny how everyone always has the same few questions when I share this recipe! It makes total sense, though. When you are making homemade dog treats, you want to be 100% sure you’ve got everything right. Here are the things folks ask me most often about these crunchy dental sticks!
Are Apple & Cranberry Dog Dental Sticks safe for puppies?
That’s a great question about the youngsters! These Apple & Cranberry Dog Dental Sticks are perfect for adult dogs because they need that chewing resistance to really freshen their breath and scrub their teeth. For tiny puppies, though, they might be a bit too hard right off the bat. Their little teeth are still toughing it out!
If you have a nibbler who is just starting on chews, after they cool, you can just spritz them lightly with water to soften them up just a tad before serving. That makes them easier on those baby teeth without ruining the flavor. Once they have a solid adult bite, they should handle these homemade dental chews just fine!
Can I use regular flour instead of whole wheat flour in these Apple & Cranberry Dog Dental Sticks?
Oh, I’ve seen folks try that! I really, really advise against using plain white flour if you can help it. While it will hold the dough together just fine, it doesn’t offer much substance or fiber for your dog. We are going for high-quality, nutritious dog treats here, right?
If you look back at the ingredients, I wrote in a note specifically mentioning oat flour if you need a grain-free version, and that works beautifully. Sticking to whole wheat or oat flour gives your dental stick the necessary structure and a little nutrition boost. It’s worth the extra buck for the good flour, trust me!
How do these dental sticks help clean my dog’s teeth?
This is the main reason we bother making these instead of just soft cookies—the cleaning power! It’s really simple physics. Because we bake these Apple & Cranberry Dog Dental Sticks until they are super dry and firm, they provide serious abrasion when your dog gives them a good chew. They aren’t designed to dissolve instantly.
As your dog bites down and grinds through that crunchy texture, the edges and surfaces work like a mild scouring pad right along the gum line and between the teeth. It’s not a substitute for a real scrubbing brush, of course, but making these a regular, healthy part of their snack routine definitely helps reduce that soft plaque buildup. That satisfying crunch is functional!
Nutritional Snapshot of Apple & Cranberry Dog Dental Sticks
I always get asked if these homemade Apple & Cranberry Dog Dental Sticks are ‘healthy’—and they are, made with whole foods! But to give you an honest idea of what you’re handing over to your best friend, here’s the general breakdown. Remember, since we’re using whole wheat flour and real fruit, these numbers are based on my estimates for one stick.
If you’re interested in other homemade options that taste just as great, you might want to check out my apple cinnamon dog cake recipe for special occasions!
Here is the estimated nutritional profile per stick when divided into 12 servings:
- Calories: Approximately 80 kcal
- Protein: About 3g
- Fat: Only 1g
- Carbohydrates: Roughly 15g
- Fiber: 1g
- Sugar: Around 2g (naturally from the fruit, which is why we keep them crunchy!)
Just a little side note, because this is homemade food and not lab-tested: these are just good estimates! They give you a solid idea so you know you’re keeping the fat and sugar very low compared to commercial options. It’s all about moderation and knowing what wonderful things you’ve put into your dog’s bowl!
Apple & Cranberry Dog Dental Sticks
Ingredients
Equipment
Method
- Preheat your oven to 350°F (175°C). Line a baking sheet with parchment paper.
- In a mixing bowl, combine the flour, applesauce, chopped cranberries, egg, and cinnamon (if using).
- Mix the ingredients until a stiff dough forms. If the dough is too sticky, add flour one tablespoon at a time.
- On a lightly floured surface, roll the dough out to about 1/4 inch thickness.
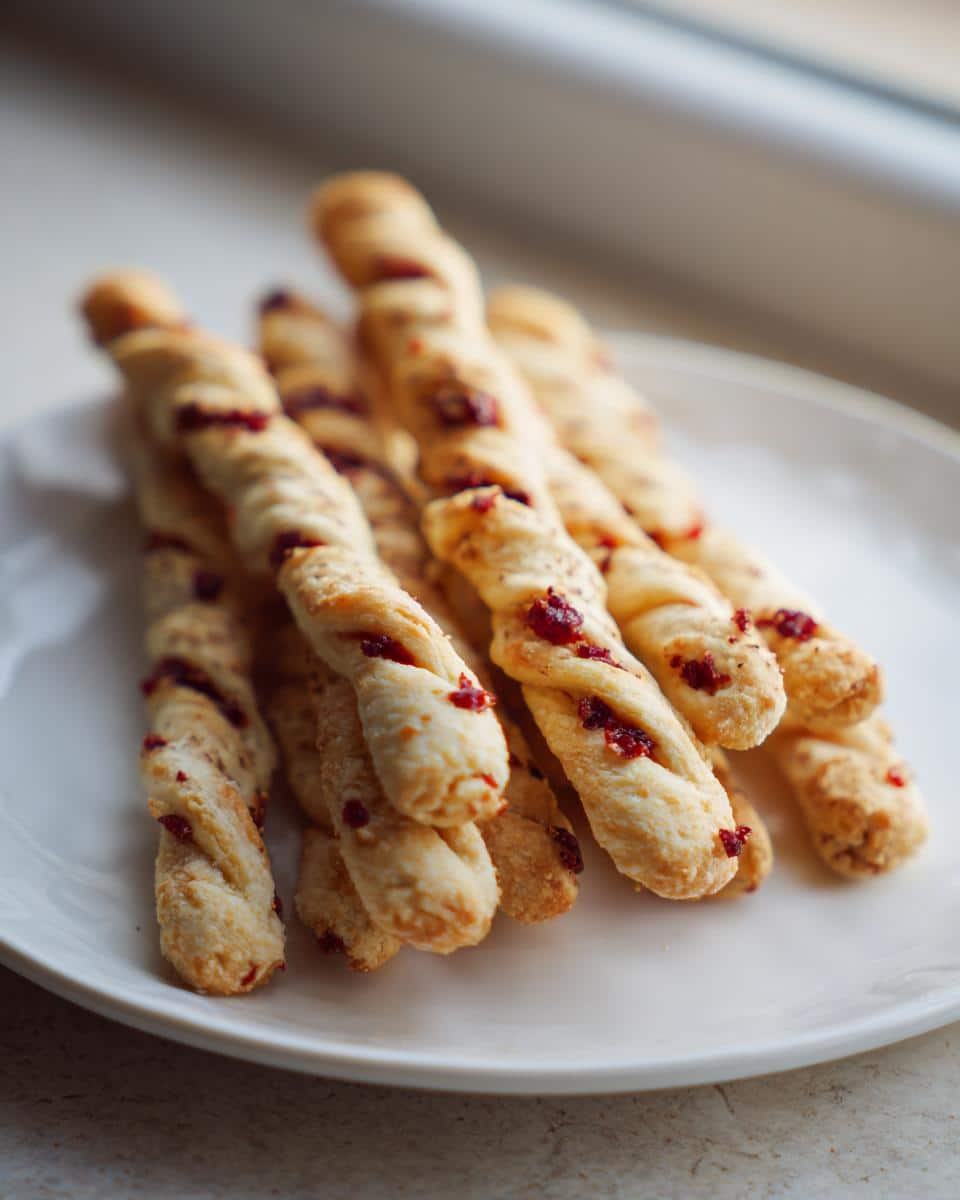
- Use a knife or a pizza cutter to cut the dough into long, thin strips, about 1/2 inch wide and 4 to 5 inches long, resembling dental sticks.
- Place the strips on the prepared baking sheet. You can gently twist each stick once or twice for texture.
- Bake for 20 to 25 minutes, or until the sticks are firm and lightly golden brown.
- Turn off the oven and leave the sticks inside with the door ajar for another 10 minutes to dry out completely. This helps them become crunchy.
- Let the dental sticks cool completely before giving them to your dog or storing them.


