
When I’m looking for a quick, safe snack for Buster, I get overwhelmed by ingredient lists these days! Honestly, my dog deserves better fuel than all those mystery powders. That’s why I keep circling back to the absolute basics, and folks, these two-ingredient apple and banana dog treats are my secret weapon. They use what you probably already have rotting slightly on the counter, and Buster absolutely loses his mind over them. Trust me, after years of testing safe, homemade dog snacks, simplicity always wins, especially when it comes to fruit-based goodness!
We’re talking about real food here, the stuff you recognize. If your pup has any kind of sensitivity, starting with just apple and banana is the best way to go before you start mixing in flours or peanut butter. You can find some other great simple ideas over at puppy treat recipes if you’re looking ahead, but these two are the undisputed champions for a Tuesday afternoon!
Why These Simple Apple and Banana Dog Treats Are a Must-Make
Honestly, the best part about these apple and banana dog treats is how low-effort they are, which means I’m less likely to skip making them! If you’re tired of reading long labels like I am, this recipe is your answer. It’s all about simple goodness your dog can actually recognize and digest.
Here’s why I keep coming back to this batch:
- Only Two Ingredients! Seriously, that’s it. No fillers, no mysterious powders, just fruit. It makes me feel great about what I’m feeding my best friend.
- Nutrient Boost: Bananas give a nice bit of potassium, and apples bring healthy fiber. It’s a great little health kick disguised as something they think is a giant indulgence.
- Perfect Training Size: Since you drop them by the spoonful, you get a ton of little discs perfect for those quick reward moments during training sessions. Plus, you can check out some other great three-ingredient treats for more ideas!
Who doesn’t love a treat that’s healthy for the pup and crazy easy for us? It’s a total win-win in my book.
Gathering Ingredients for Your Apple and Banana Dog Treats
You won’t believe how sparse this ingredient list is! It’s a testament to keeping things pure when you’re making real food for your dog. Since we are only using two items, you really need to make sure they are perfect before you even pull out the mixing bowl. I always say that knowing *exactly* what state your fruit needs to be in is the secret to getting those perfect, firm discs when they come out of the oven.
This recipe is fantastic because it relies on natural sweetness. No added sugar, no hidden anything! If you’re looking at these two fruits and wondering if they can really cut the mustard, just check out all the great info on apple and banana dog recipes; they are powerhouses!
Ingredient Preparation Notes for Apple and Banana Dog Treats
This is where we earn that trustworthiness badge, people. Every detail counts when you only have two ingredients!
- The Banana: Make sure this banana is truly ripe—you know, the kind that’s starting to get those little brown freckles all over the skin. Those spots mean it’s sweeter and much easier to mash down into a smooth puree. We don’t want any big chunks hiding in there!
- The Apple: The apple needs a little more work because we want the moisture, but we don’t want harsh chunks. You absolutely must peel it, core it, and then grate it very finely. Think almost paste-like when you grate it—this way, it disappears into the banana mash and keeps the treats moist without being too rough for your pup’s tummy.
Get those two parts prepped exactly like this, and you’re halfway to success before the oven even starts warming up!
Essential Equipment for Baking Apple and Banana Dog Treats
Okay, before we even talk about mixing that glorious fruit mash, let’s get our tools ready. If you’ve ever tried to mix a gooey banana mash in a shallow plate, you know why setting up your workspace first is non-negotiable! This recipe is so basic, you might not even need anything fancy, but having the right gear makes cleanup a breeze. I learned the hard way that the right kind of paper is essential for easy release!
You’ll need these few items lined up before you start. It’s like setting up your baking station for success. If you happen to need ideas for other yummy additions, sometimes I look up things like blueberry dog biscuits to see what else I can safely toss in on a different day!
- Baking Sheet: Gotta have a solid surface! Any standard baking sheet you use for human cookies works perfectly fine here. We aren’t making giant slabs, so size isn’t a huge concern.
- Parchment Paper: This is my non-negotiable item! While you absolutely *could* grease your pan, don’t waste the time. Lining the sheet with parchment paper means you can slide the whole thing off in one go once they cool down. Trust me on this; it saves so much frustration when you try to peel off sweet, sticky fruit treats.
- Mixing Bowl: A medium-sized bowl is plenty. Since we’re only dealing with one banana and one apple, you don’t need your biggest mixing bowl taking up counter space.
- Fork or Potato Masher: This is for attacking the banana. I usually grab a fork because I don’t want to dirty the good potato masher for such a small job, but use whichever tool feels best in your hand for getting that banana nice and smooth before that grated apple comes into play!
Once these four things are out, you are officially ready to get mashing and baking!
Step-by-Step Instructions to Make Perfect Apple and Banana Dog Treats
Time to get mixing! This process is so straightforward, I promise you won’t even break a sweat. Baking these apple and banana dog treats is really just about getting your oven hot and making sure you combine those two fruits just right. You’ll feel like a rockstar baker when you see how quickly this comes together. If you’ve ever wanted to move on to something slightly more complex, maybe check out these sweet potato and banana recipes later, but for now, we stick to the basics!
Preheating and Mixing the Apple and Banana Dog Treats Base
First things first, let’s get that oven ready to go! You want to preheat it to 350°F (175°C). While that’s heating up, line a baking sheet with that parchment paper we talked about. Don’t skip the paper, please!
Now, grab your bowl and attack that banana. You need to mash it until it’s totally smooth. I usually just use a fork—it takes a minute of good elbow grease, but you want zero giant lumps left behind. Once the banana is looking like pudding, it’s time for the apple.
Dump in all that finely grated, peeled apple you prepared earlier. Mix it all up really well. You’re aiming for a thick, slightly chunky batter where the apple is suspended evenly in the banana. Give it a good stir until it feels uniform.
Forming and Baking Your Apple and Banana Dog Treats
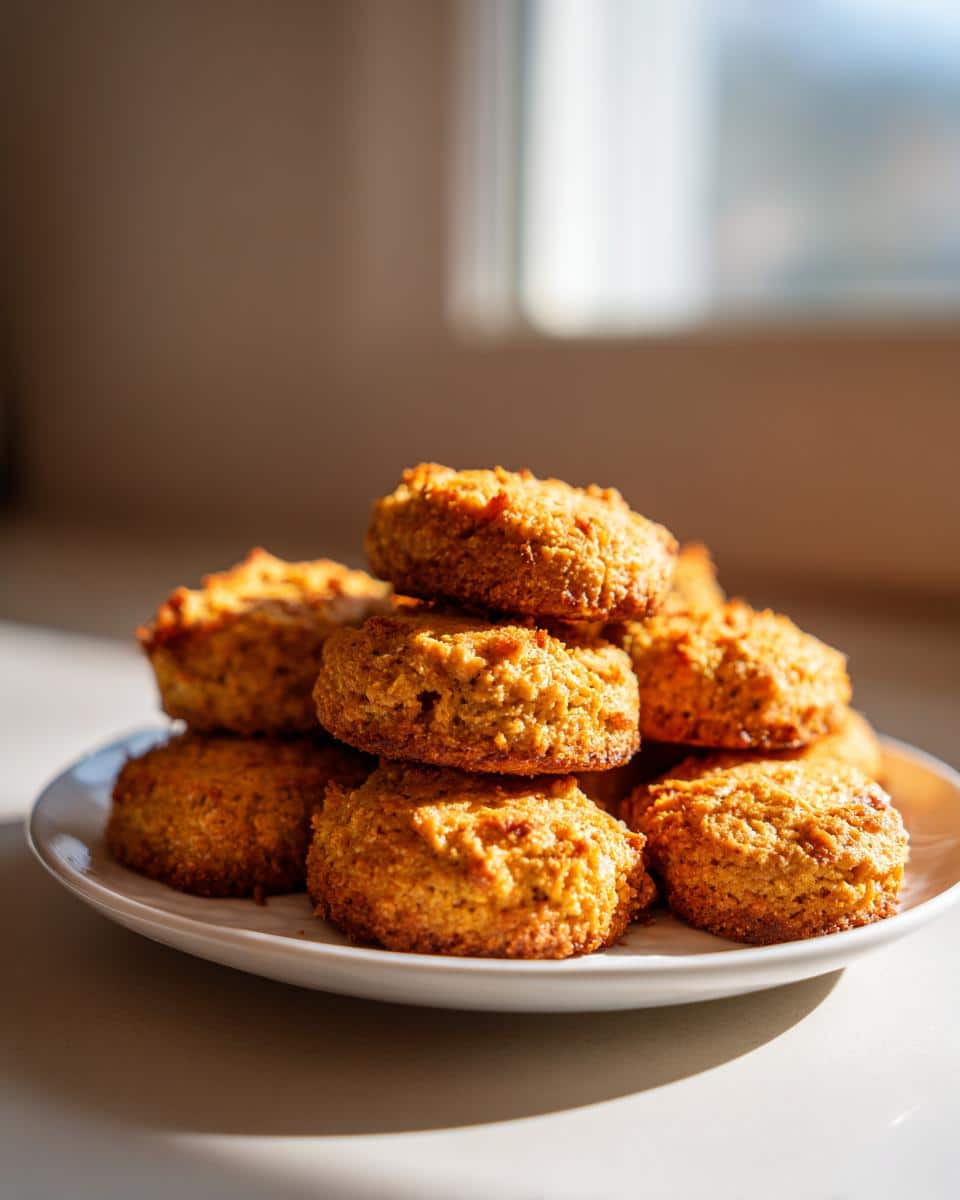
This is my favorite part, where the magic turns into actual treats! Grab a rounded tablespoon of that fruit mixture and carefully drop it onto your lined baking sheet. I try to keep them mostly separated from each other so they bake evenly.
Once they are all plopped down, take the back of your spoon and gently flatten each little mound just a bit. We’re making discs, not mountains! They won’t spread much because there’s no flour or leavening agent in there, so shape them how you want them to look when they’re done.
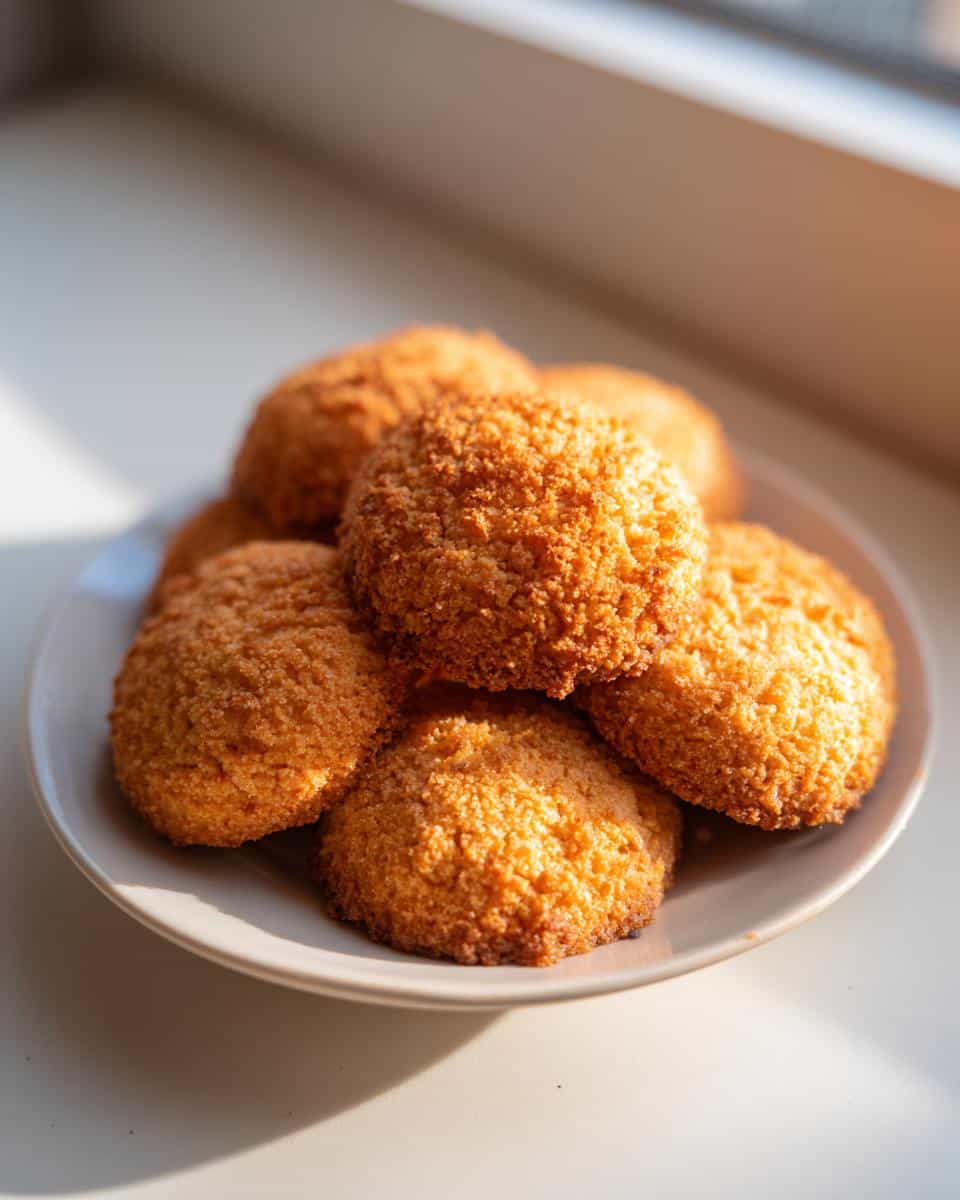
Pop that sheet into your preheated oven. You’re looking at 25 to 30 minutes. The key visual cue is the edges—you want them to look firm and just starting to barely brown. If you made them thicker, they might need closer to 30 minutes. If they look pale or damp, give them another five minutes. Once they look firm, pull them out! You can see how easy it is working with just fruit, unlike some of those more complicated peanut butter banana bites!
Crucial final step: Let them cool completely right there on the baking sheet! If you try to move them too soon, they might just squish back into a banana-apple mess. Patience pays off here!
Tips for Success When Making Apple and Banana Dog Treats
Now that you know the basic steps, let me give you a few insider tips so these apple and banana dog treats turn out absolutely perfect every single time. Since we are skipping flour, we are relying completely on the moisture and natural stickiness of the fruit, and that requires a little bit of finesse when flattening them out.
When you go to drop those spoonfuls onto the parchment paper, if your mixture feels way too wet and soupy—almost like baby food—you might need to grate your apple a little finer or let it sit for five minutes to absorb some excess moisture from the banana. If the mixture is holding its shape but squishing out weirdly when flattened, that’s okay! Just keep a light hand with the back of the spoon.
I remember one batch where I used an apple that was just slightly underripe, and oh boy, those treats were tricky. They baked up but stayed a little too soft in the middle even after 30 minutes. That was my lesson learned! If your fruit is less ripe than usual, you might need to bake them for an extra 5 to 7 minutes, or even drop your mounds slightly thinner on the sheet. Always watch the edges first—that light browning is your real signal that they are truly set. We want them firm so they don’t collapse when you pick them up.

Trust me on the cooling process too; don’t rush it! They firm up considerably while they rest on that hot pan outside the oven. If you’re interested in sneaking in some other amazing fruit ingredients next time, you might want to check out these carrot apple crunchies for inspiration. Happy baking!
Storage and Making Ahead with Your Apple and Banana Dog Treats
Now that you’ve got a sheet full of delicious, healthy apple and banana dog treats, we need to talk about keeping them fresh! Since these are just fruit—no preservatives whatsoever—they won’t last forever on the counter like those store-bought crunchy things. But don’t worry, storing them is super easy, and you can totally bake a huge batch ahead of time for those busy weeks!
For daily snacking, I usually keep one small batch out on the counter for a couple of days, but if I’m being smart, I go straight to the fridge. Pop those cooled treats into a good, airtight container. In the refrigerator, they stay perfectly fresh and slightly chewy for up to one week. This is my preferred method because they stay nice and dense.
If you made a triple batch (and you totally should!), the freezer is your best friend. You know those frozen banana treats? These work great alongside them! Just make sure they are completely cooled first! Place them in a freezer-safe bag or container, making sure to squeeze out as much air as possible. You can keep them rock-solid and delicious for up to three months. When you want to serve a few, just pull them out the morning before and let them thaw on the counter, or give them a quick zap in the microwave if Buster is giving you those sad eyes!
Variations on Simple Apple and Banana Dog Treats
I know I keep harping on the two-ingredient nature of these apple and banana dog treats, and don’t get me wrong, they are perfect as is! But sometimes Buster gets bored, or maybe I just have a rogue herb sitting around that I know he loves. If you’re feeling adventurous in the kitchen and want to safely level up your recipe, I’ve got a couple of ways to switch things up without compromising that pure, healthy vibe.
Because we are working with a very wet base (just mashed fruit!), any additions need to be manageable. I always recommend adding ingredients that are already soft or that pack a minimal amount of dry texture. Think about things that are safe and already familiar to your dog’s diet.
If you want to get really fancy, you could always look up a different fruit combo, like the apple cranberry dog treats sometime, but for this base formula, try these simple tweaks:
- A Hint of Herb Magic: This is my go-to trick! If your dog likes greens, a tiny pinch of dried parsley or even a whisper of dried mint mixed in with the banana and apple adds a nice, fresh scent. You only need about half a teaspoon for the whole batch of dough. It’s completely safe and makes the treats smell amazing to us humans, too!
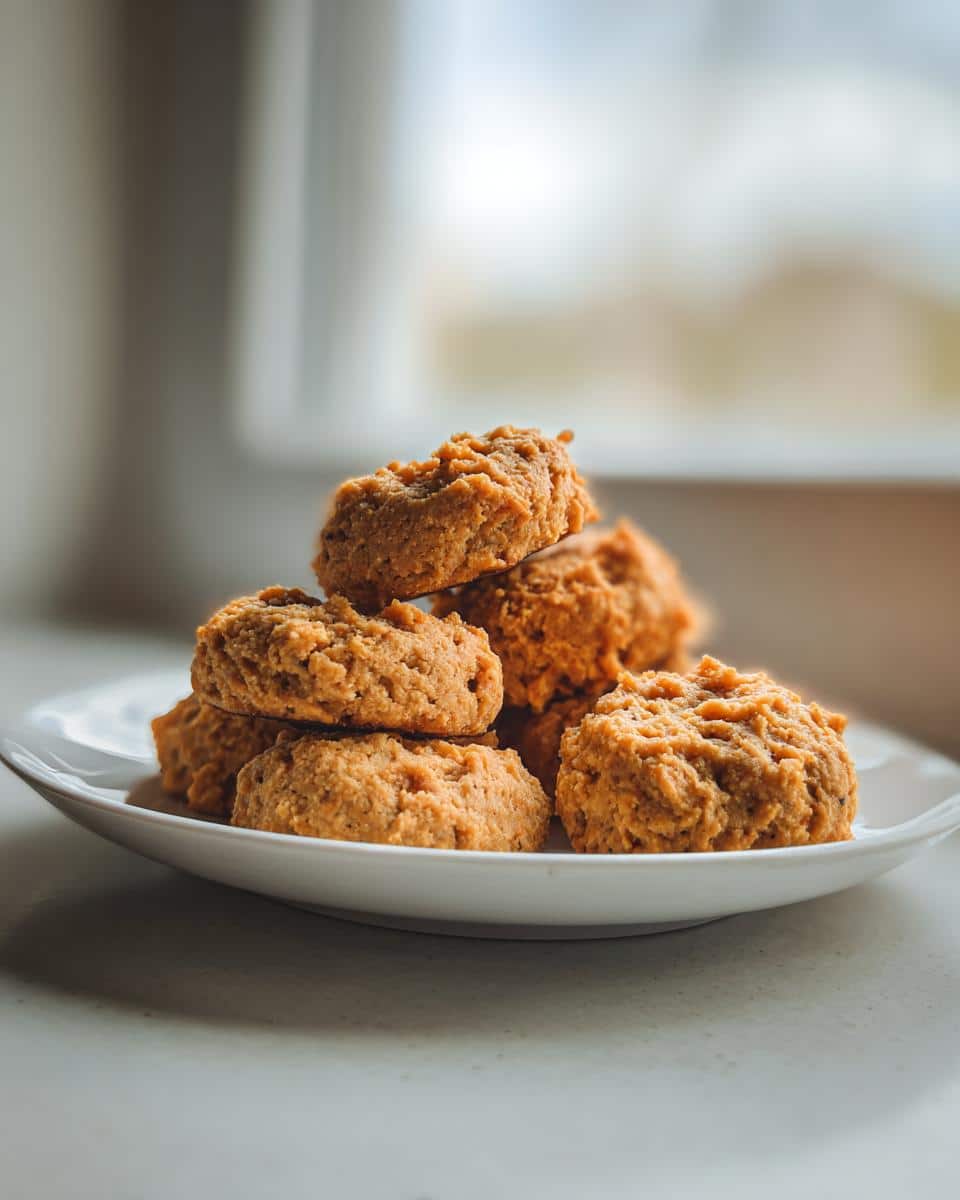
- Switching Up the Ratio: Sometimes I use a slightly riper banana, which makes the mixture sweeter and softer, and other times I use a firmer, slightly tart apple. If you use two small, firm bananas and just half a medium apple, you’ll get a slightly denser, less liquid treat that might bake up crunchier faster. Play with the fruit balance based on what you have available!
- Swap the Banana: If for some reason your dog can’t have bananas (which is rare, but happens!), you can substitute that same amount of mashed banana with cooked, mashed sweet potato or pumpkin puree. Just make sure whatever you use is completely plain—no sugar or spice added! This completely changes the flavor profile, but keeps the fruit/veg base intact.
See? Even sticking to a super simple base doesn’t mean you can’t experiment a little bit! Just keep those additions minimal so you don’t end up with a runny mess that won’t set in the oven.
Frequently Asked Questions About Apple and Banana Dog Treats
I always get a ton of questions whenever I post about my simplest dog snacks! It makes total sense; we want to make sure that anything we bake for our pups is totally safe and tastes great for them. People often ask about texture and what exactly makes these apple and banana dog treats different from the crunchy things they sell in bags. Here are the main things I hear most often. If you’re ever doing research on other biscuit styles, you might stumble upon things like chicken dog biscuits, which require totally different handling, so always check the needs for each recipe!
Are these apple and banana dog treats safe for all dogs?
They are super safe, provided you follow the most important rule: You absolutely, positively must remove all the seeds and the core from the apple! Apple seeds contain trace amounts of cyanide, and while one or two won’t hurt, why take the chance? Beyond that, if your dog has a known allergy to either banana or apple, skip it, naturally. Otherwise, just plain banana and plain apple are fantastic, digestible fruits that most dogs love.
Can I make these apple and banana dog treats crunchy instead of soft?
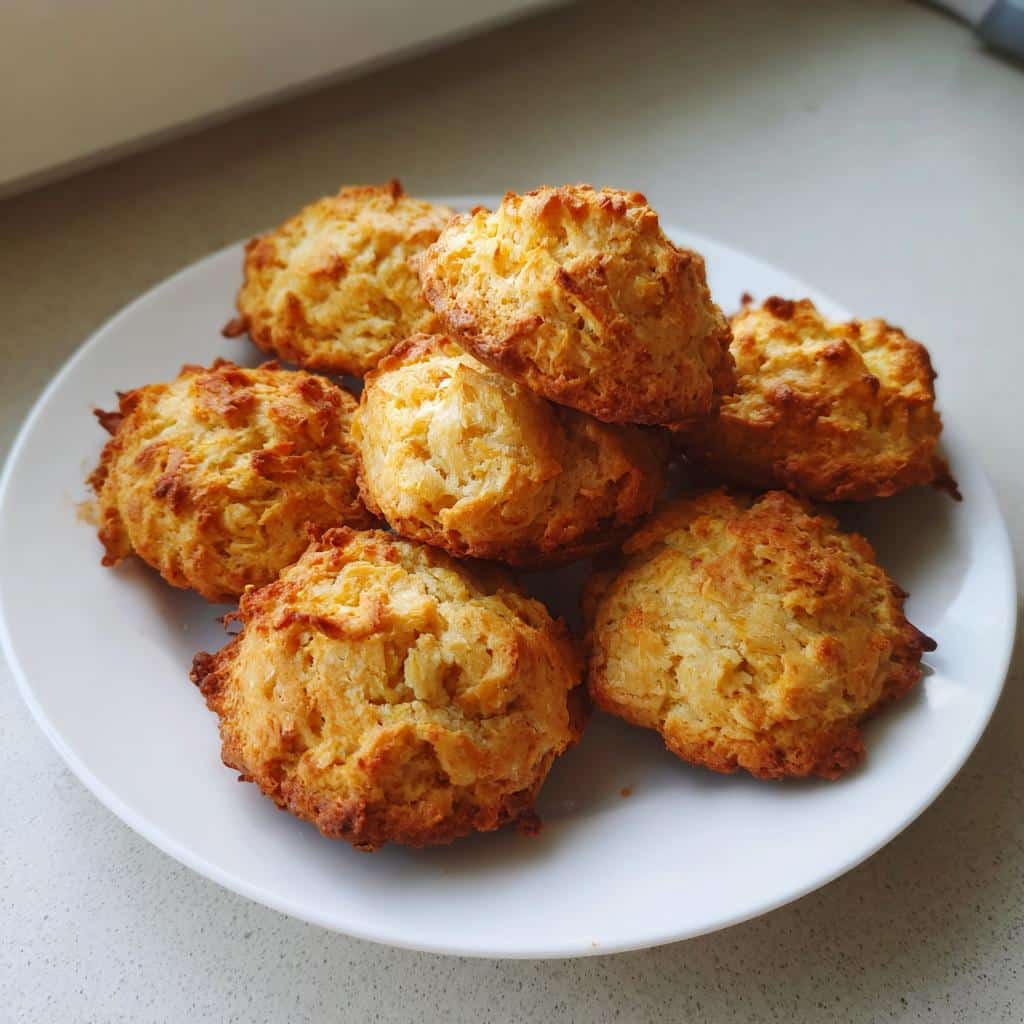
Oh, absolutely you can! If your dog prefers a real snap in their snack—or if you just want them to last a little longer on the counter before hitting the fridge—you just need to adjust your shape and time. The texture here is mostly determined by how thick you flatten those little mounds you drop onto the sheet. To get crunchier bites, make sure you flatten them down really thin, aiming for maybe a quarter of an inch thick max. Then, let them bake closer to that 30-minute mark, or even five minutes longer if you see the edges looking dry. They will harden up nicely as they cool down on the sheet!
If you want to experiment with more texture later on, maybe look into how people handle their chicken dog biscuits, as those are usually baked until totally dehydrated for maximum crunch, but for fruit treats, baking until firm is usually the best goal!
Estimated Nutritional Snapshot for Apple and Banana Dog Treats
I always get asked if these little apple and banana dog treats are “healthy,” since I talk so much about keeping ingredients simple. And listen, while I’m not a canine nutritionist or anything—I’m just a home cook who loves her dog—we can put together a rough idea of what Buster is getting when he devours one of these. Remember, because we aren’t adding flour, oats, or fat, these are extremely light!
This is just an *estimate* based on the standard sizes of one medium apple and one large banana. The exact numbers will swing based on how ripe your banana is or how big your apple turns out to be, but this gives you a great baseline for a healthy snack.
Per one small disc-shaped treat, you’re looking at:
- Calories: Around 30 calories
- Protein: Almost 0 grams (since there’s no meat or dairy!)
- Fat: Almost 0 grams (we aren’t adding any oil or butter!)
See? It’s just pure fruit goodness! These are low-calorie little bites, which means you don’t have to feel guilty if you give Buster an extra one while you’re sitting on the couch watching TV—though remember, even healthy treats should be given in moderation! Knowing the health benefits of simple homemade snacks like this is why I always encourage people to check out posts like why homemade dog biscuits are great. It really puts into perspective the quality of food we’re serving them!
Apple and Banana Dog Treats
Ingredients
Equipment
Method
- Preheat your oven to 350°F (175°C). Line a baking sheet with parchment paper.
- In a mixing bowl, mash the ripe banana until smooth. You can use a fork or a potato masher.
- Grate the peeled and cored apple. Add the grated apple to the mashed banana and mix well to combine the ingredients.
- Drop rounded tablespoons of the mixture onto the prepared baking sheet. Flatten each mound slightly with the back of a spoon to form small discs.
- Bake for 25 to 30 minutes, or until the edges are firm and lightly browned. The exact time depends on how thick you made the treats.
- Remove the treats from the oven and let them cool completely on the baking sheet before serving them to your dog.


