Okay, let’s talk about making your furry best friend’s day a whole lot happier… and healthier! You know how much we love spoiling our pups, right? Well, I started making these Chicken Pumpkin Jerky – Recipe for Dogs treats because I wanted something super simple and totally good for my own little guy, Buster. He goes absolutely bonkers for them! Seeing him wag his tail so hard his whole body wiggles makes all the effort so worth it. Plus, knowing exactly what’s going into his treats gives me such peace of mind. Seriously, forget those mystery ingredients at the pet store; this is the real deal, made with love right in your own kitchen.
Why You’ll Love This Chicken Pumpkin Jerky – Recipe for Dogs
Honestly, one of the best parts about whipping up these Chicken Pumpkin Jerky – Recipe for Dogs is how darn easy it is! You’ll barely break a sweat. Plus, it’s a total win for your pup’s health. We’re talking simple, good-for-them ingredients, and you get to skip all those weird preservatives you find in store-bought stuff. And talk about cost-effective! Making these yourself saves a ton of money compared to buying fancy jerky treats. It’s just so satisfying knowing you’re giving your furry buddy something made with pure love and wholesome goodness. Trust me, your dog will thank you!
Gather Your Ingredients for Chicken Pumpkin Jerky
Alright, time to get our paws on the good stuff! For these amazing Chicken Pumpkin Jerky – Recipe for Dogs, you really don’t need much, which is just perfect. Grab yourself a pound of good ol’ boneless, skinless chicken breast. I always try to get the smoothest pieces I can find, makes for easier slicing later. Then, you’ll need about half a cup of plain pumpkin puree. And please, please, please make sure it’s PLAIN pumpkin puree! No pie filling or anything fancy with spices. That stuff is a big no-no for our pups. I usually get mine from a local farmer’s market if I can, but any good quality plain puree works great. Quality ingredients make all the difference, you know?
Ingredient Notes and Substitutions
So, about that pumpkin: it’s super important that it’s just plain pumpkin, nothing else added. Pumpkin is fantastic for dogs – it’s great for their digestion and packed with good stuff like fiber and vitamins. But once you start adding sugar or spices like cinnamon or nutmeg, you can definitely upset their tummies. So, stick to the plain stuff! As for the chicken, breasts are really ideal because they’re lean and dry out nicely into jerky. You *could* technically use thighs, but they have more fat and might not dry as well, making them spoil faster. So, for the very best jerky, chicken breast is definitely the way to go. Trust me on this one!
Essential Equipment for Your Chicken Pumpkin Jerky
Alright, let’s chat about what you’ll need to snag from your kitchen drawers to make these fantastic Chicken Pumpkin Jerky – Recipe for Dogs! You don’t need anything super fancy, honestly. First up, you’ll want a really sharp knife for slicing that chicken nice and thin – about 1/8th of an inch, remember? A good cutting board is a must for that, of course. Then, you’ll need a mixing bowl to coat the chicken, a trusty baking sheet, and some parchment paper to keep things from sticking. Oh, and don’t forget a wire cooling rack for after they’re done, and an airtight container to keep your doggy delights fresh!
Step-by-Step Guide to Making Chicken Pumpkin Jerky
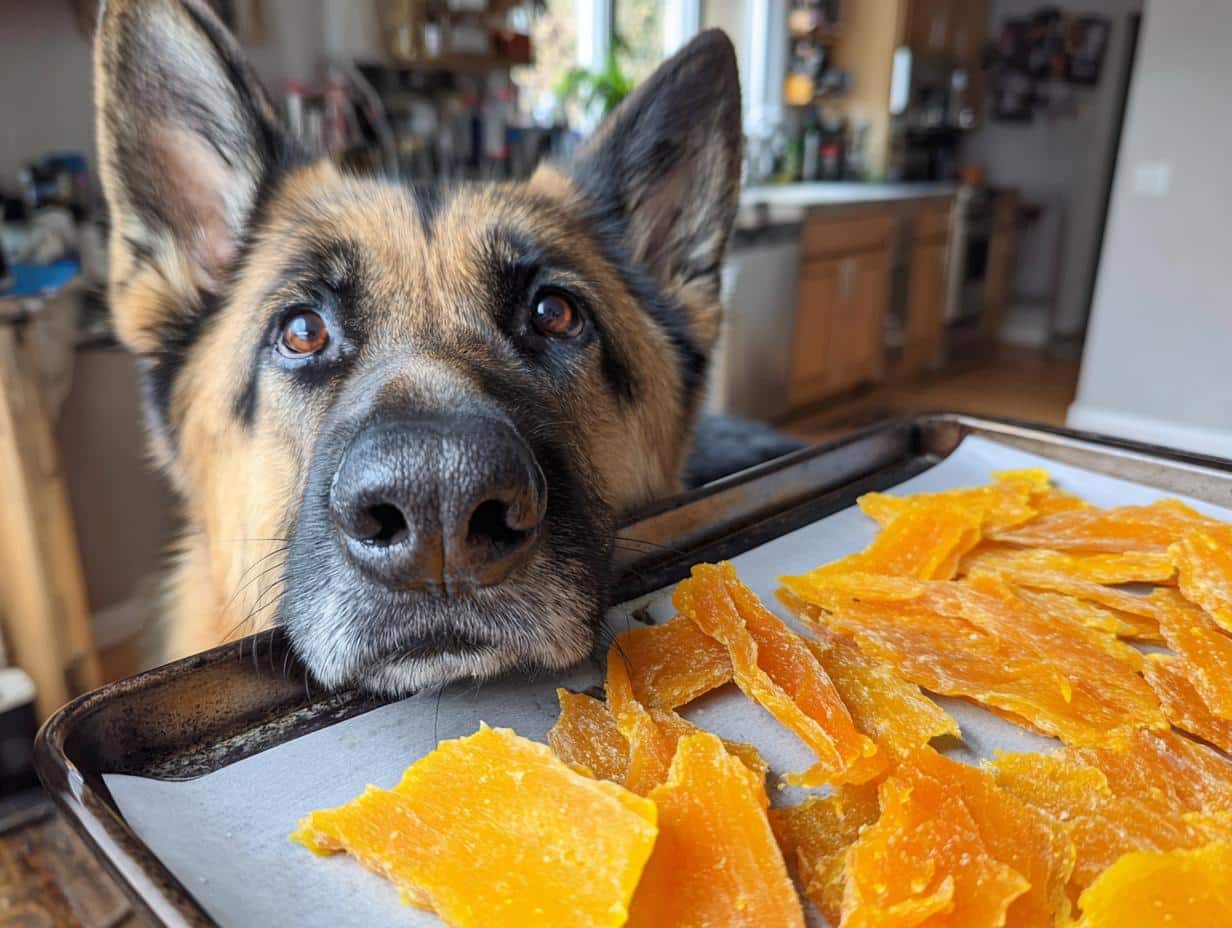
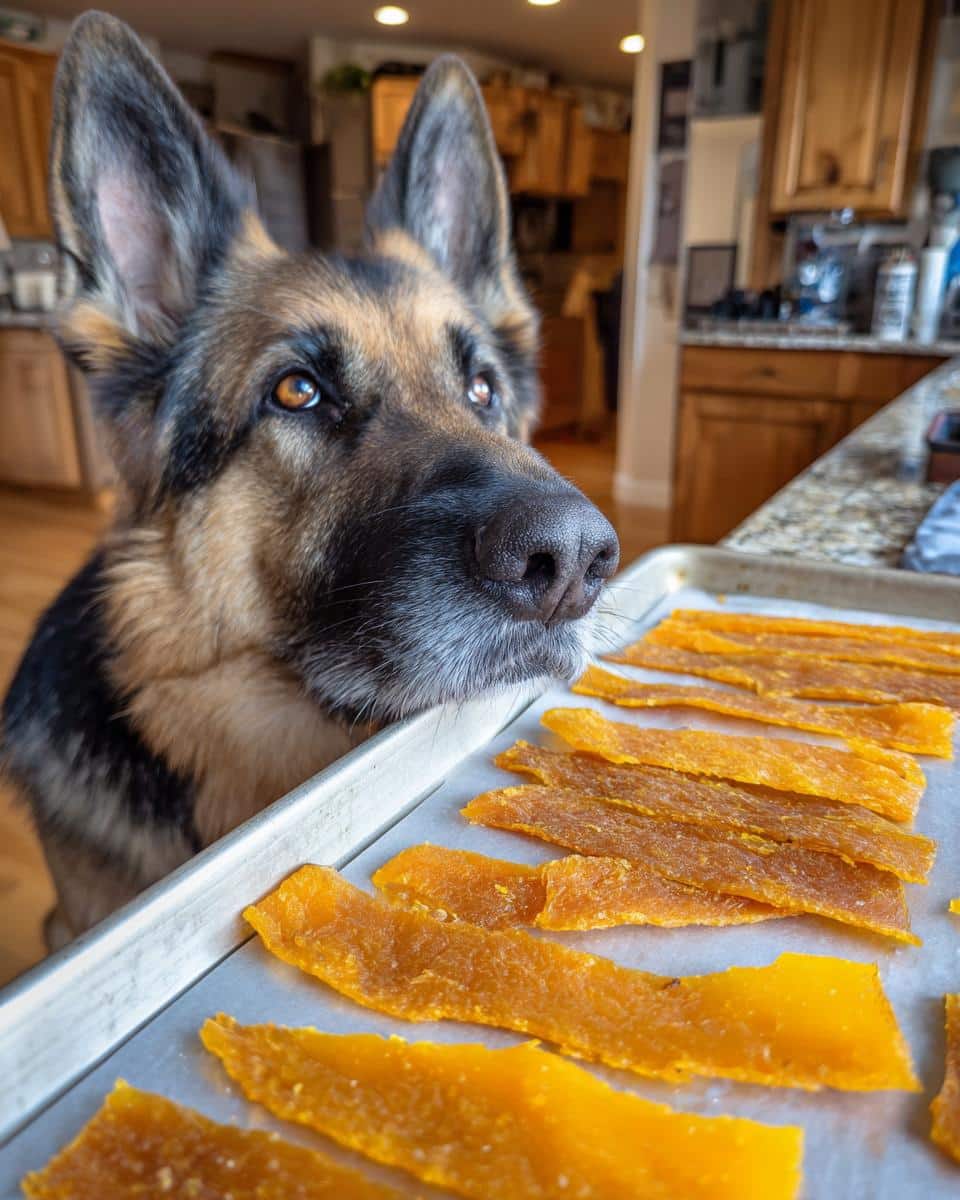
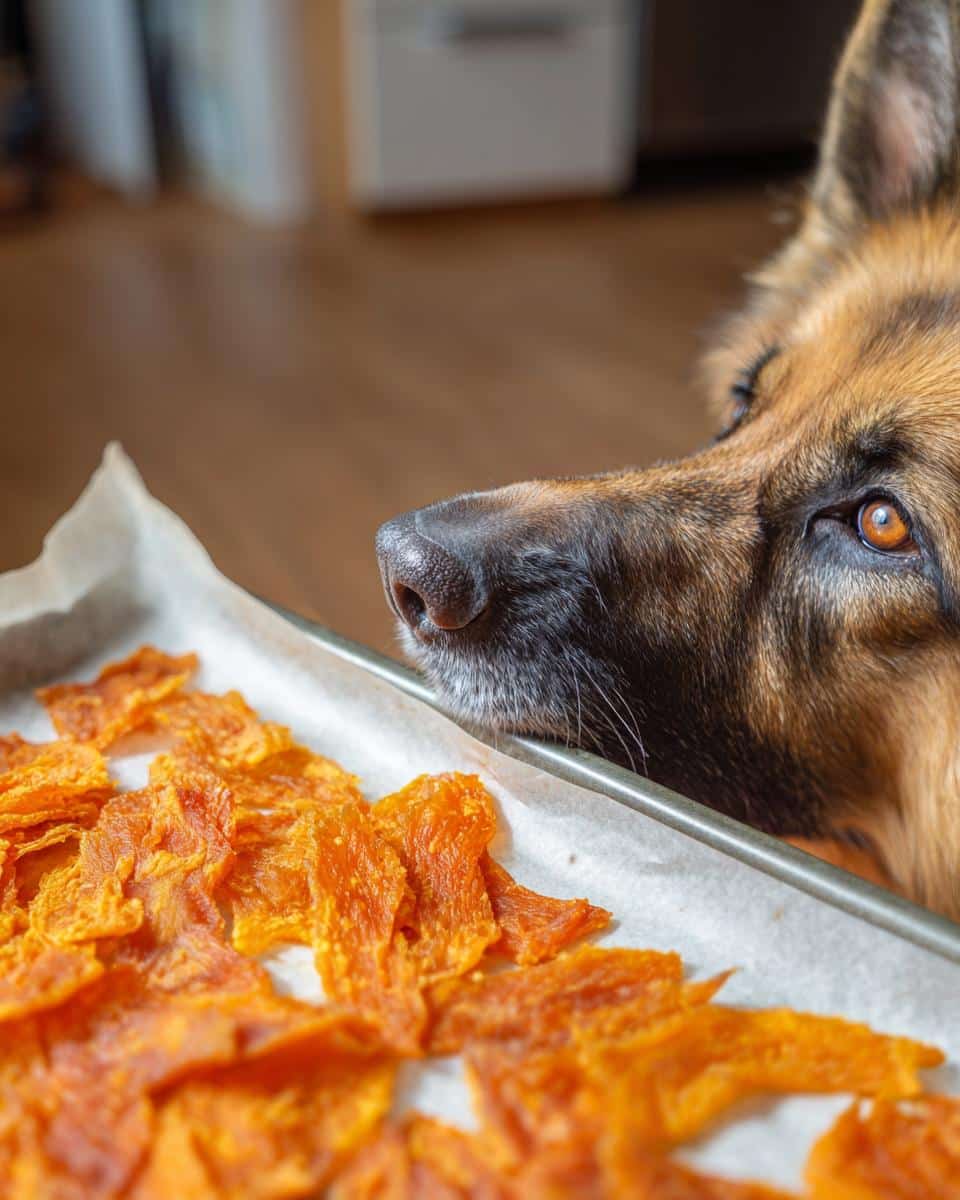
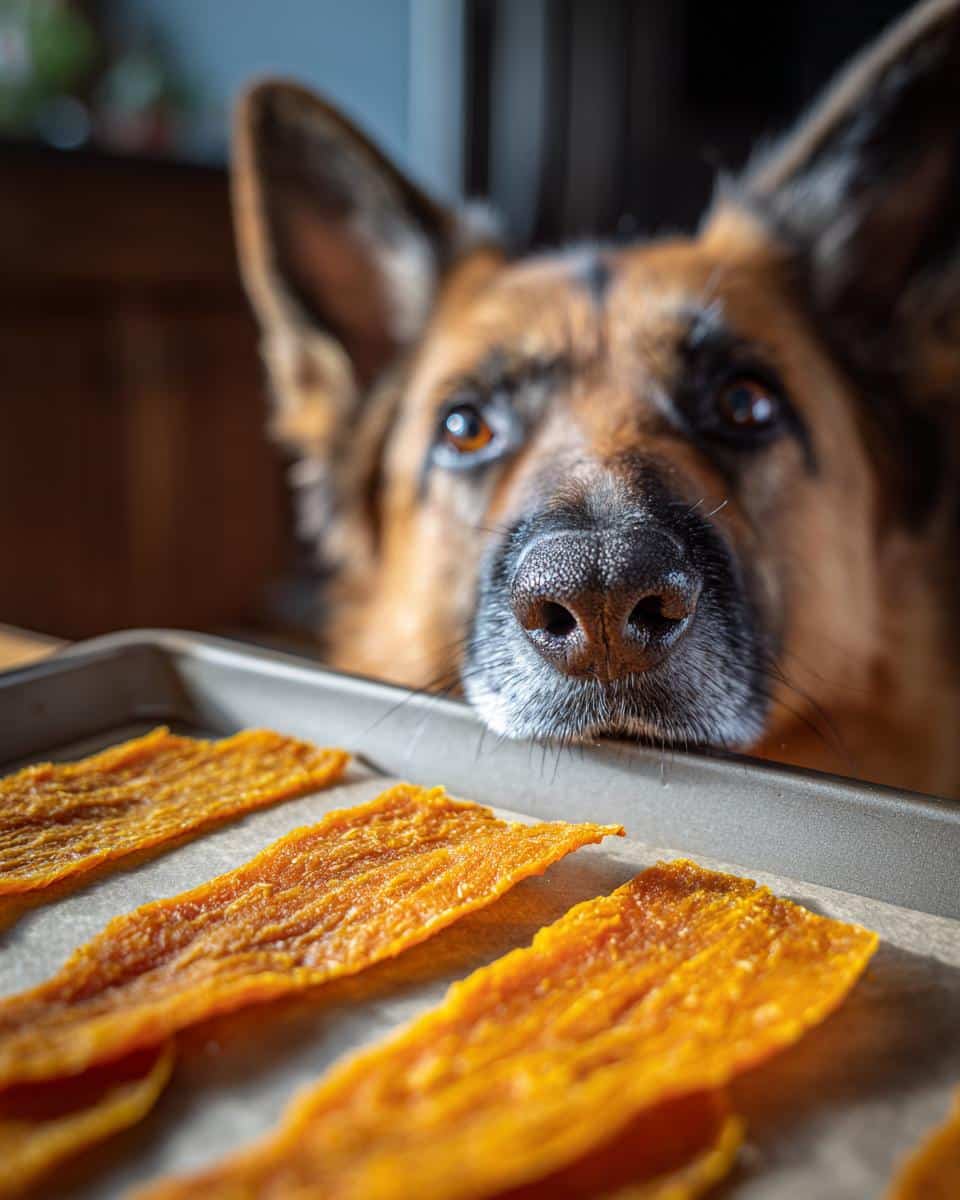
Alright, let’s get down to business and make these amazing Chicken Pumpkin Jerky – Recipe for Dogs! It’s honestly easier than you think, and so super rewarding. First things first, get that oven preheating to a nice, low 200°F (95°C). Low and slow is the name of the game here! While that’s warming up, grab a baking sheet and line it with parchment paper. This is going to save you a ton of cleanup, trust me. Now, take your chicken breast and slice it super thin, I’m talking about 1/8th of an inch thick. Try to keep them as even as possible so they all dry at the same rate. Next, dump those chicken slices into your mixing bowl with that lovely plain pumpkin puree. Give it all a good mix – you want every piece of chicken to be coated in that yummy pumpkin goodness. If you’re curious about all the benefits plain pumpkin offers our pups, you can check out what the AKC has to say about it! Once they’re all dressed up, lay them out in a single layer on your prepared baking sheet. Don’t let them overlap! Then, pop them into the oven for about 3 to 4 hours. About halfway through, go ahead and flip them over. You’ll know they’re ready when they’re dry and firm to the touch. Finally, take them out and let them cool completely on a wire rack. This is crucial before you give them to your pup!
Tips for Perfect Chicken Pumpkin Jerky
So, you’ve got your jerky prepped and in the oven, but let’s talk about getting it *just* right every single time. My biggest tip? Slice that chicken as evenly as you possibly can. If you have some thick pieces and some paper-thin ones, the thin ones will turn into jerky way before the thick ones are even close to done, and you’ll end up with a mix of burnt bits and chewy pieces. Not ideal! I usually use a sharp chef’s knife and really focus on keeping that thickness consistent. When you’re checking for doneness, feel them. You want them to be firm and dry, but not so brittle that they shatter. If you give them a gentle bend, they should feel leathery, not wet or mushy. If they feel a little too hard and break easily, you might have gone a *smidge* too long, but they’ll still be tasty! It just takes a little practice to get that perfect texture down. And remember, the pumpkin really helps keep them from getting *too* hard, which is why we love it!
Storing and Serving Your Homemade Dog Treats
Okay, your amazing Chicken Pumpkin Jerky – Recipe for Dogs is all cooled down and ready to go! The best part is how easy they are to store. Once they’re completely cool, pop them into an airtight container. You can keep them in the fridge for up to two weeks – they usually last that long, but my pup, Buster, usually inhales them way faster! For longer storage, or if you just want to make a big batch and tuck some away, the freezer is your friend. They’ll keep well there for a couple of months. Remember, these are treats, super healthy ones, but still treats! So, serve them up in moderation as part of a balanced diet. A couple a day is usually plenty for my guy!
Frequently Asked Questions About Chicken Pumpkin Jerky
You’ve probably got a few questions buzzing around after making these yummy Chicken Pumpkin Jerky – Recipe for Dogs! I know I always do when I try something new. Let’s clear a few things up. Like, can you swap out the chicken breast for something else? Or how do you really, *really* know when that jerky is perfectly done? And what about adding other goodies? I’ve got you covered with the deets!
Is Chicken Pumpkin Jerky Safe for All Dogs?
For the most part, yes! This Chicken Pumpkin Jerky – Recipe for Dogs is super safe and healthy, especially because we’re sticking to plain pumpkin and chicken. However, like with any new food, it’s always a good idea to introduce it slowly, especially for puppies or dogs with sensitive tummies. If your dog has any specific health conditions, like kidney issues or is on a special diet, it’s always best to check with your vet first, just to be extra sure. But generally, this is a fantastic, wholesome treat!
Can I Make This Recipe in a Dehydrator?
Oh, absolutely! If you have a food dehydrator, it’s practically made for jerky. It’s actually a bit more energy-efficient than the oven for this! You’ll want to set your dehydrator to around 160°F (71°C), which is the temperature recommended for safely dehydrating meat. Then just lay your pumpkin-coated chicken slices on the trays, making sure they have space around them for air to circulate. It usually takes about the same amount of time, maybe 4 to 6 hours, depending on your dehydrator and how thin you sliced the chicken, so keep an eye on it and test for doneness.
Estimated Nutritional Information
So, you’re probably wondering what’s actually *in* these delicious Chicken Pumpkin Jerky treats! Based on the recipe, each little piece is estimated to have about 50 calories. You’ve also got roughly 1 gram of fat, a solid 8 grams of protein to keep those muscles happy, and just 2 grams of carbohydrates. Keep in mind these are just estimates, you know? The exact numbers can wiggle a bit depending on the brands you use and how thick you slice your chicken. But overall, pretty darn wholesome for your pup!
Share Your Chicken Pumpkin Jerky Creations!
Now it’s your turn to be the star baker for your furry friend! Have you made these Chicken Pumpkin Jerky – Recipe for Dogs yet? I’d absolutely LOVE to hear about it! Did your dog go crazy for them like mine does? Maybe you tried a little variation or had a funny kitchen mishap – spill the beans in the comments below! Feel free to share photos of your pup absolutely devouring these homemade goodies. It really makes my day to see your dogs enjoying them as much as mine does!