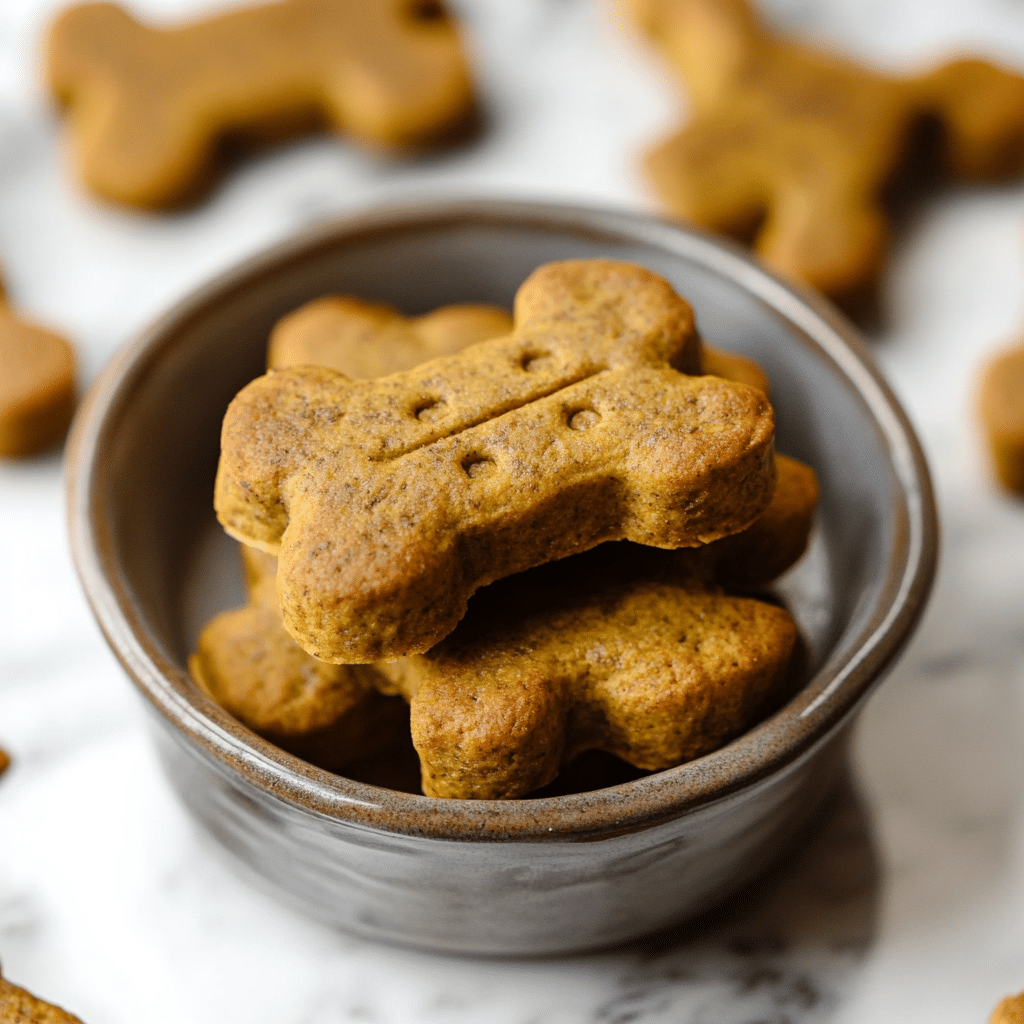
Homemade baked dog treats are more than just a way to spoil your furry friend—they’re a healthy, budget-friendly alternative to store-bought snacks. In this guide, we’re diving deep into everything you need to know about baking your own dog treats at home. From must-have ingredients to baking techniques, storage hacks to vet-approved recipe ideas, this article has it all.
Whether you’re baking for fun, your dog’s health, or even thinking of starting your own treat brand, we’ve got you covered. Let’s explore how to make delicious, nutritious, and tail-wagging treats from your own kitchen.
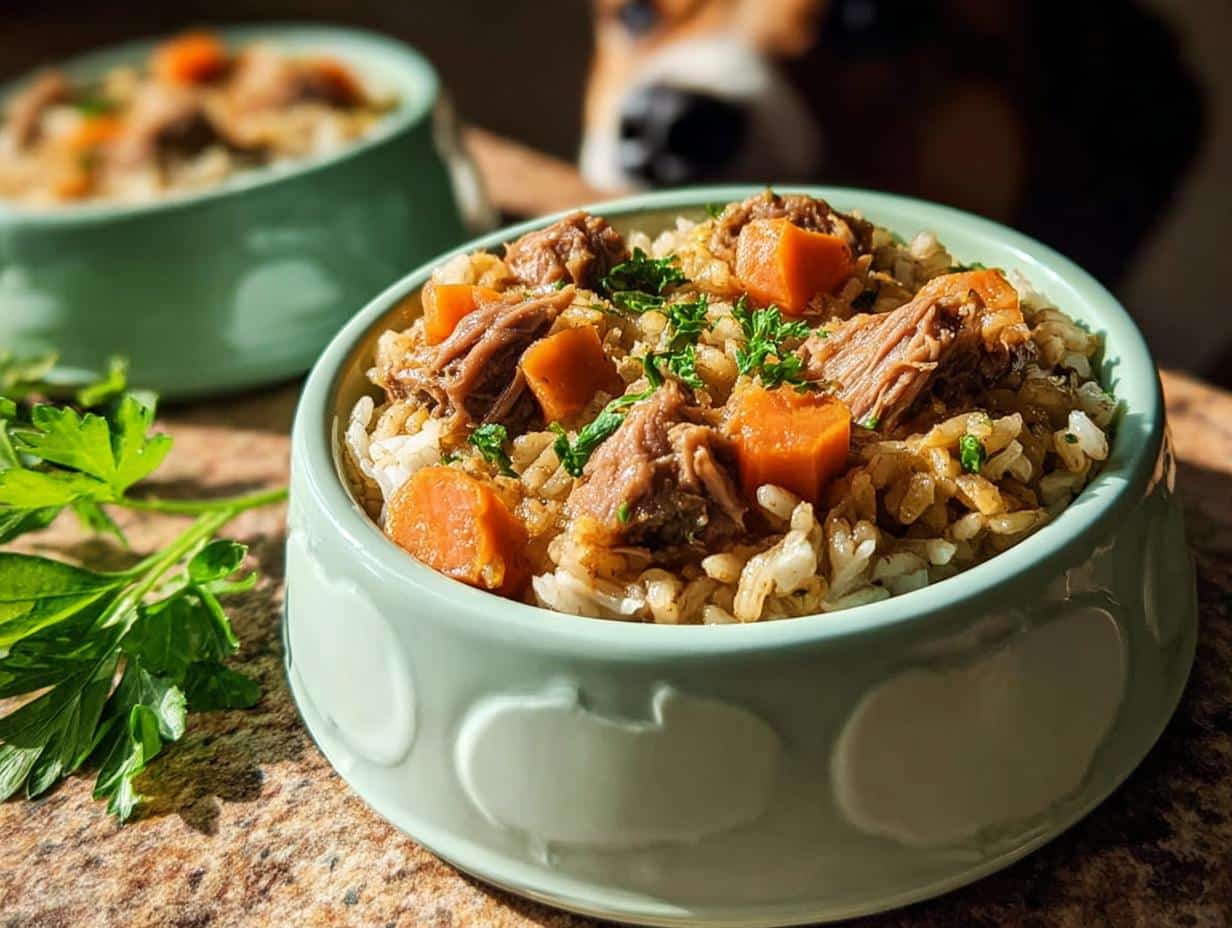
Don’t miss our Easy Sweet Potato and Banana Dog Treats recipe if you’re looking to start with something healthy and simple.
1. Why Choose Homemade Baked Dog Treats?
Healthier Alternative to Store-Bought Treats
Store-bought dog snacks can contain preservatives, fillers, and artificial flavors. Baking your own treats gives you complete control over what goes into your pup’s belly. You get to choose every ingredient—organic oats, peanut butter, pumpkin, and more—ensuring a cleaner, safer snack.
Budget-Friendly and Sustainable
Homemade treats are far more affordable than premium store-bought ones. You can make dozens of biscuits for the price of a single commercial pack. Plus, using leftovers like mashed sweet potatoes or bananas reduces waste.
Tailored to Dietary Needs
Does your dog have allergies, sensitivities, or food restrictions? You can tailor recipes to be:
- Grain-free
- Dairy-free
- High-protein
- Low-fat
If you’re new to this, check out our Grain Free Dog Treat Recipes for some excellent ideas.
2. Essential Ingredients for Baked Dog Treats
Dog-Safe Pantry Staples
Let’s keep it simple. Here’s what you’ll need:
| Ingredient | Benefits |
|---|---|
| Pumpkin purée | Great for digestion, rich in fiber |
| Peanut butter | Tasty protein boost (ensure xylitol-free) |
| Oats or whole wheat flour | Digestible fiber source |
| Eggs | Excellent protein and binder |
| Sweet potatoes | Packed with vitamins and antioxidants |
What Ingredients to Avoid
Not all “human food” is safe for dogs. Avoid:
- Chocolate
- Raisins
- Garlic
- Onion
- Xylitol (deadly artificial sweetener often found in peanut butter)
Always double-check ingredients before baking. When in doubt, consult your vet.
Flavor Boosters That Dogs Love
You can safely enhance flavor using:
- Cinnamon (in moderation)
- Coconut oil
- Applesauce (unsweetened)
- Banana
For something quick, try Frozen Carrot Dog Chews when it’s hot out—they’re easy and affordable!
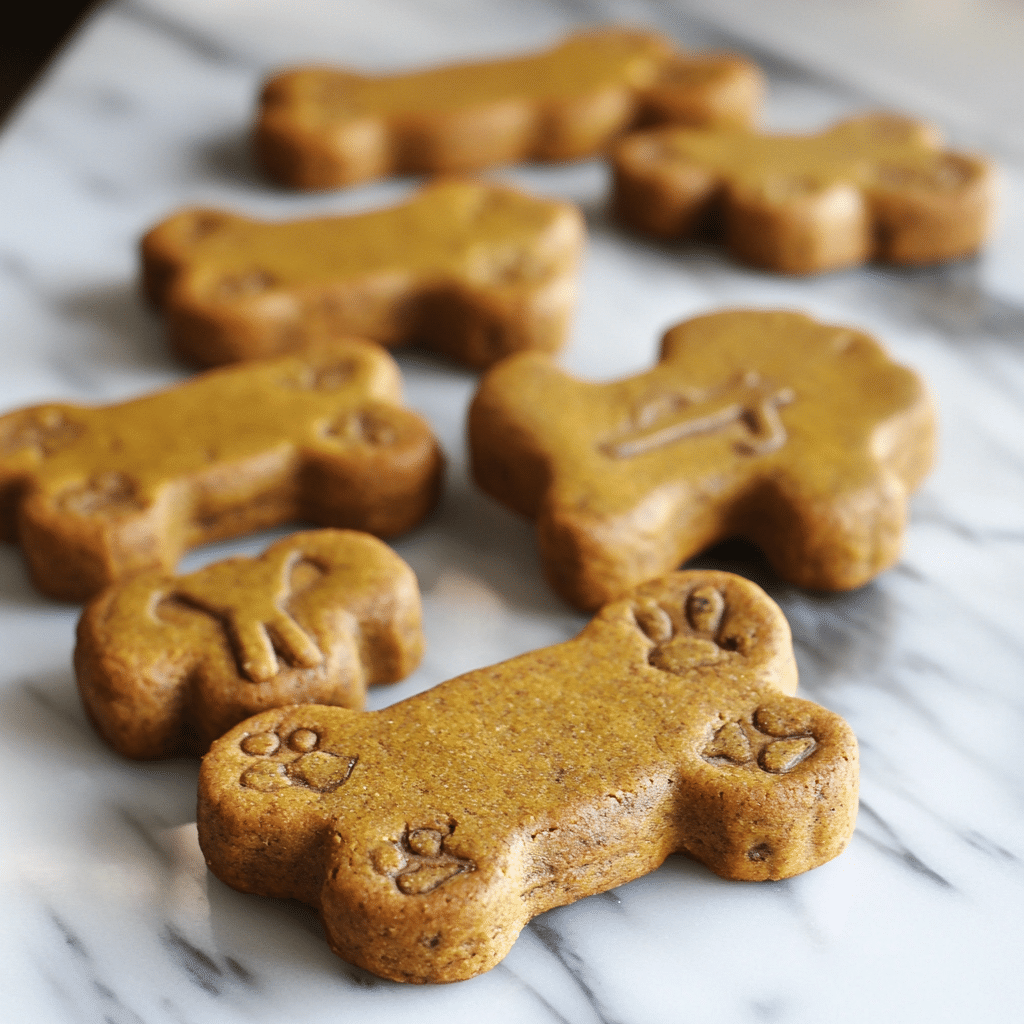
3. Step-by-Step Guide to Baking Dog Treats
Choosing the Right Bakeware and Tools
While you don’t need anything fancy, the right tools make things easier:
- Silicone molds for fun shapes
- Rolling pin and bone-shaped cookie cutters
- Parchment paper for non-stick baking
- Airtight containers for storage
Simple Starter Recipe (Banana & Oat Biscuits)
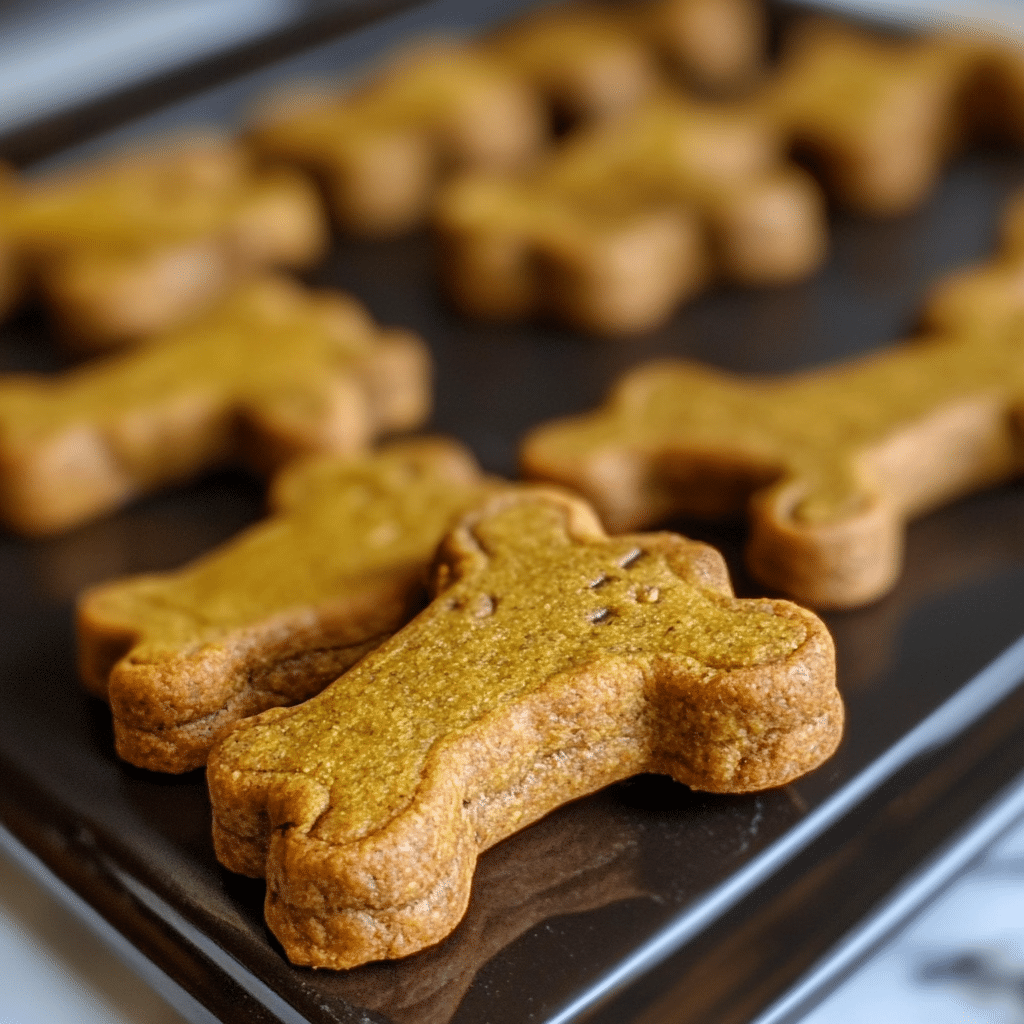
Here’s a quick go-to recipe that most dogs love.
Ingredients:
- 1 ripe banana (mashed)
- 1 ½ cups rolled oats
- 1 egg
Instructions:
- Preheat oven to 350°F (175°C).
- Mix all ingredients until a dough forms.
- Roll out and cut into shapes.
- Bake for 20-25 minutes or until golden.
- Cool completely before serving.
Want something chewy? Soft Dog Treats with Homemade Peanut Butter are perfect for senior dogs or picky eaters.
4. Storing and Preserving Your Homemade Treats
Shelf Life and Best Storage Methods
Homemade treats don’t contain preservatives, so proper storage is key.
| Treat Type | Storage Method | Shelf Life |
|---|---|---|
| Baked (dry) | Airtight jar in pantry | 7-10 days |
| Moist treats | Fridge | 5-7 days |
| Freeze-dried | Freezer | 2-3 months |
To extend shelf life, dehydrate the treats after baking. You can even invest in a basic food dehydrator for longer-lasting snacks.
Freezing Tips for Long-Term Use
If you’re batch-baking, freezing is your best friend:
- Use zip-lock bags or vacuum-sealed pouches
- Label with the recipe and date
- Defrost treats for 15 minutes before serving
Looking for inspiration? Try our Easy DIY Freeze-Dried Dog Treats for a crunchy, preservative-free option that lasts.
5. Creative Homemade Dog Treat Recipes to Try
Peanut Butter & Pumpkin Biscuits
This combo is not only tasty but also great for digestion. Use canned pumpkin (not pie filling) and xylitol-free peanut butter.
Ingredients:
- 1 cup pumpkin purée
- ½ cup peanut butter
- 2 cups whole wheat flour
- 1 egg
Instructions:
- Mix ingredients to form a dough
- Roll out, cut shapes
- Bake at 350°F for 30 minutes
These treats smell so good you might be tempted to try one!
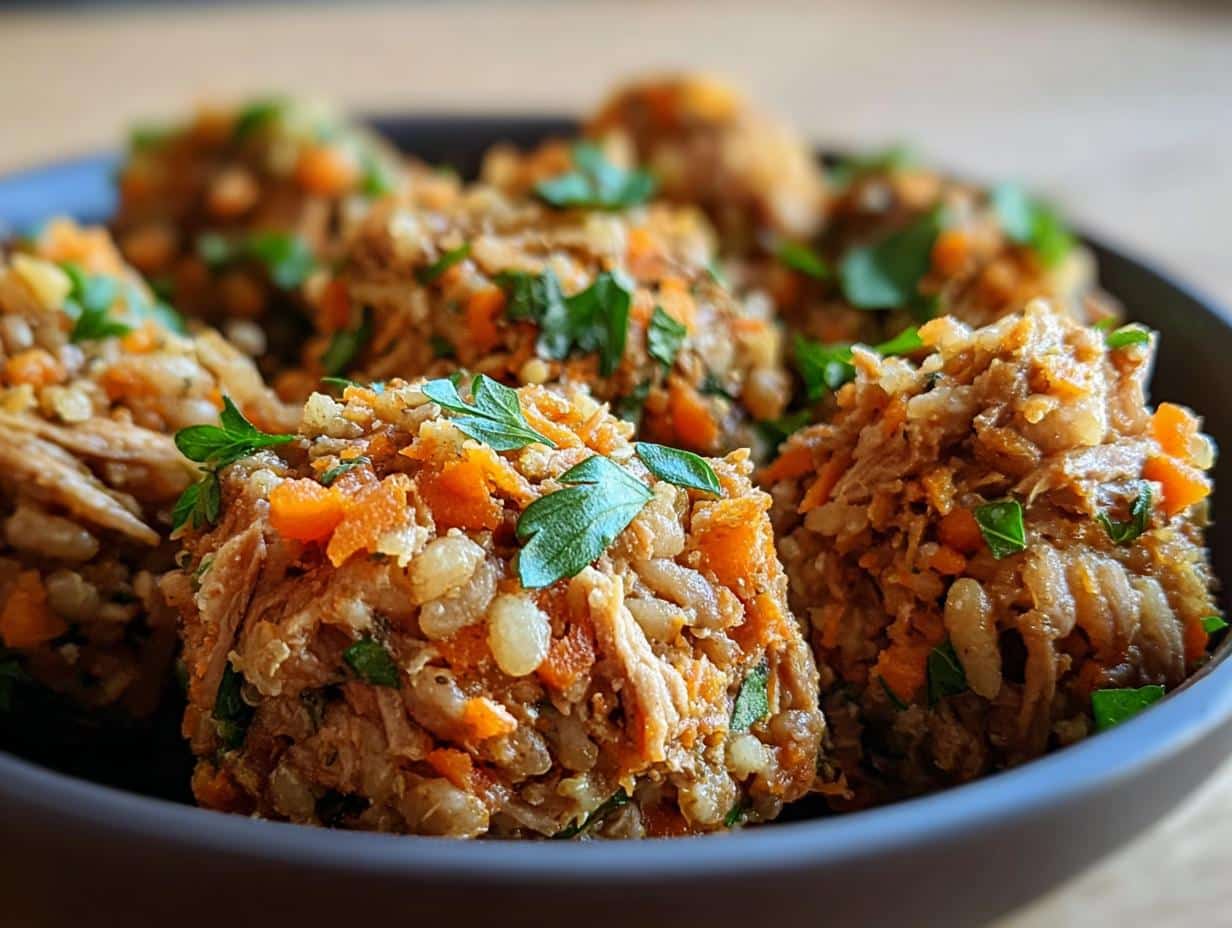
Chicken and Brown Rice Bites
Protein-rich and satisfying, these are ideal for active dogs.
Ingredients:
- 1 cup shredded cooked chicken
- ½ cup cooked brown rice
- 1 egg
- 1 tbsp parsley (optional)
Bake as mini muffins or patties at 350°F for 20 minutes.
Don’t miss our take on Peanut Butter and Banana Dog Cake—perfect for birthdays!
6. Baking Tips for Perfect Dog Treats Every Time
Texture Matters: Crunchy vs. Chewy
- For crunchy treats, bake longer and let them cool in the oven with the door cracked open.
- For chewy treats, bake for a shorter time and store in the fridge.
Adjusting for Allergies and Food Sensitivities
If your dog can’t tolerate grains, substitute oat flour or coconut flour.
Avoid dairy or eggs? Use unsweetened applesauce or mashed banana as a binder.
Always test new recipes with a small batch to see how your dog reacts.
7. How to Introduce New Treats into Your Dog’s Diet
Start Slow and Monitor Reactions
Don’t give your dog 5 new treats in one day. Introduce one type at a time, especially if your dog has a sensitive stomach.
Watch for signs of food intolerance like:
- Loose stools
- Itching or paw licking
- Excessive gas
Balance Treats with Your Dog’s Overall Diet
Treats should make up no more than 10% of your dog’s daily calorie intake. If you’re treating often, reduce meal portions slightly.
Need help managing a picky eater? Read our post on dog dieting tips (link internally when available).
8. Fun Ways to Package Homemade Treats (Gift Ideas & Storage)
Gift Ideas for Dog Lovers
Turn your homemade dog treats into adorable gifts:
- Use mason jars, tie with paw-printed ribbon
- Add a personalized tag with the dog’s name and ingredients
- Package themed treats (e.g., Halloween bones or Christmas trees)
Great for birthdays, adoption days, or as holiday gifts!
Selling Your Treats: What to Know
Considering a small business? Check local laws:
- You may need to register with your state’s Department of Agriculture
- Labels must include ingredients and expiration dates
- Keep your kitchen clean and allergen-free
We’ll dive deeper into turning treats into profit in an upcoming post.
9. Safety Guidelines for Homemade Dog Treats
Vet-Approved Ingredients List
Always double-check with your vet, especially if your dog is on medication or has health issues. Stick to:
- Lean meats (boiled or baked)
- Pumpkin, carrot, and sweet potato
- Blueberries, apples (no seeds), bananas
- Brown rice and oatmeal
Storage Safety to Prevent Spoilage
Homemade treats don’t have preservatives—so proper handling matters:
- Always store in airtight containers
- Label your treats with bake date
- If treats smell “off,” throw them out
When in doubt, freeze extra portions. That way, your pup always has fresh snacks ready to go.
FAQs
1. Are homemade baked dog treats healthier than store-bought?
Yes! Homemade treats contain no fillers, artificial preservatives, or harmful chemicals. You control every ingredient, ensuring a cleaner, more nutritious snack for your dog.
2. What ingredients should I avoid in dog treats?
Avoid chocolate, grapes, raisins, garlic, onion, xylitol, and too much salt. Always check ingredient safety with a vet before trying new recipes.
3. How long do homemade baked dog treats last?
Generally, they last 7–10 days in the pantry, 2–3 weeks in the fridge, or up to 3 months in the freezer if stored properly.
4. Can I freeze homemade dog treats?
Absolutely! Freezing is ideal for preserving freshness. Use airtight containers or freezer bags and defrost a few treats at a time as needed.
5. How often should I give my dog treats?
Treats should make up no more than 10% of your dog’s daily calorie intake. They’re great for training or as a supplement—not a meal replacement.
6. Are baked or raw treats better for dogs?
Baked treats are generally safer, easier to store, and less likely to harbor bacteria. Raw treats should only be given under vet guidance.
Conclusion
Homemade baked dog treats are one of the best ways to show your furry friend some love while keeping them healthy. They’re easy to make, budget-friendly, and fully customizable for dietary needs. Plus, baking for your pup adds a little fun and joy to your kitchen time.
Whether you’re whipping up a quick peanut butter biscuit or planning a doggie birthday cake, making treats at home ensures every bite is safe and satisfying.
Looking for inspiration? Try our Grain-Free Dog Treat Recipes for a delicious, allergy-friendly option your dog will devour.
For more recipes follow me on PINTEREST