Home > Recipes > Amazing Peanut Butter Pumpkin Dog Treats
Amazing Peanut Butter Pumpkin Dog Treats
emma
September 9, 2025
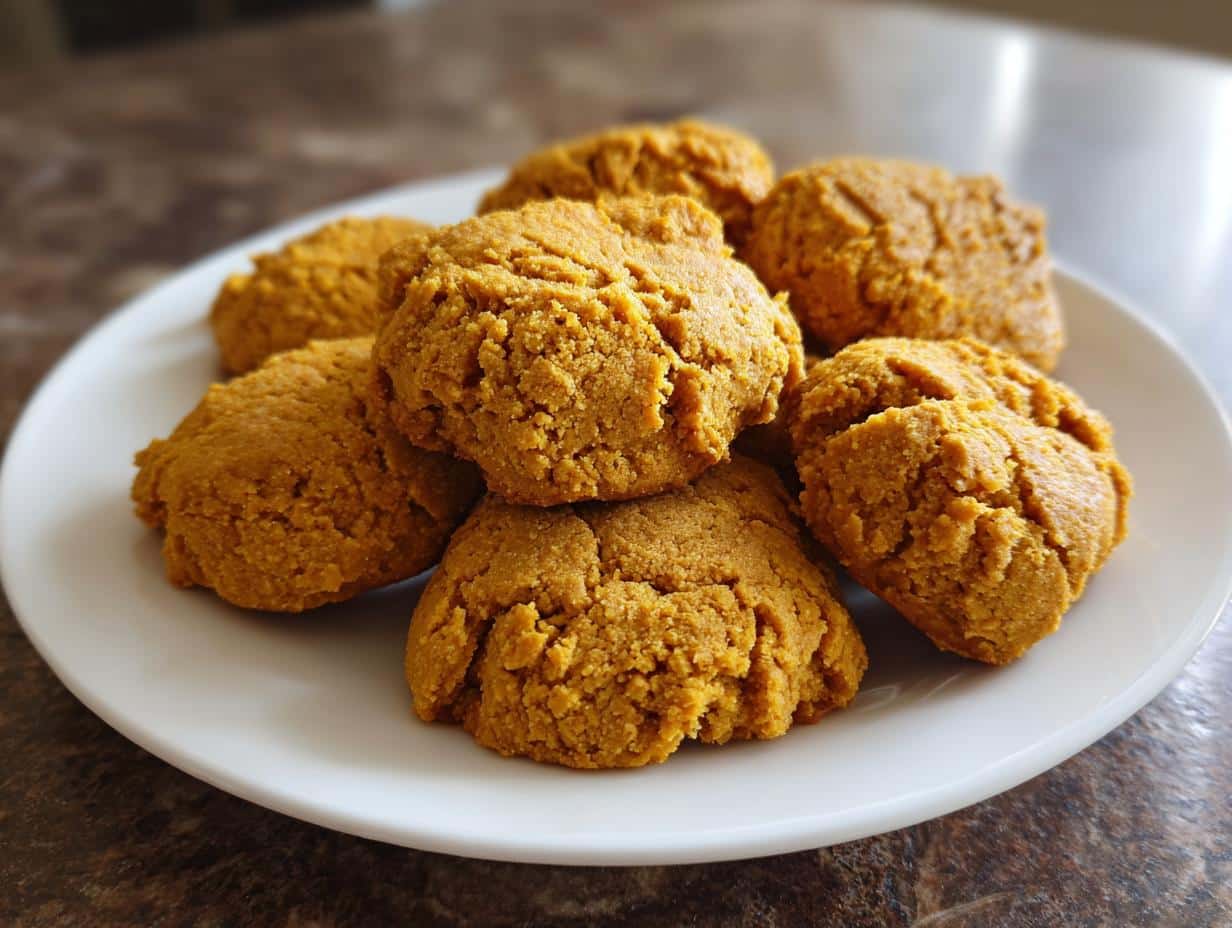
Oh my goodness, do I have a treat for you and your best furry friend! If you’re anything like me, you love spoiling your pup with goodies, but you also want to know exactly what’s going into their tummies. That’s why I am SO excited about these homemade Peanut Butter Pumpkin Baked Dog Treats. Seriously, whipping these up is a breeze, and seeing my own dog, Buster, go absolutely bonkers for them makes it totally worth it. They’re packed with good stuff, and honestly, who can resist that combo? Get ready to be your dog’s favorite person!
Why You’ll Love These Peanut Butter Pumpkin Baked Dog Treats
Honestly, making these treats for your furry bestie is a total win-win. Here’s why you’ll be whipping up batches like crazy:
Super Simple: Like, seriously easy. No fancy skills needed!
Wholesome Goodness: You know exactly what’s in them – all good stuff!
Your Dog Will Go Nuts: The combo of peanut butter and pumpkin is irresistible to most pups. Get ready for happy dances!
Budget-Friendly: Way cheaper than store-bought fancy treats.
Gather Your Ingredients for Peanut Butter Pumpkin Baked Dog Treats
Let’s get down to business with the *really* important stuff – what you need to make these yummy little guys! I always make sure I’ve got everything on hand before I start, mainly because Buster (my golden retriever) starts pacing and giving me the puppy-dog eyes the second he smells pumpkin and peanut butter. It’s pretty serious business around here!
Essential Ingredients for Peanut Butter Pumpkin Baked Dog Treats
Okay, so first things first, you need to grab these things from the store or your pantry:
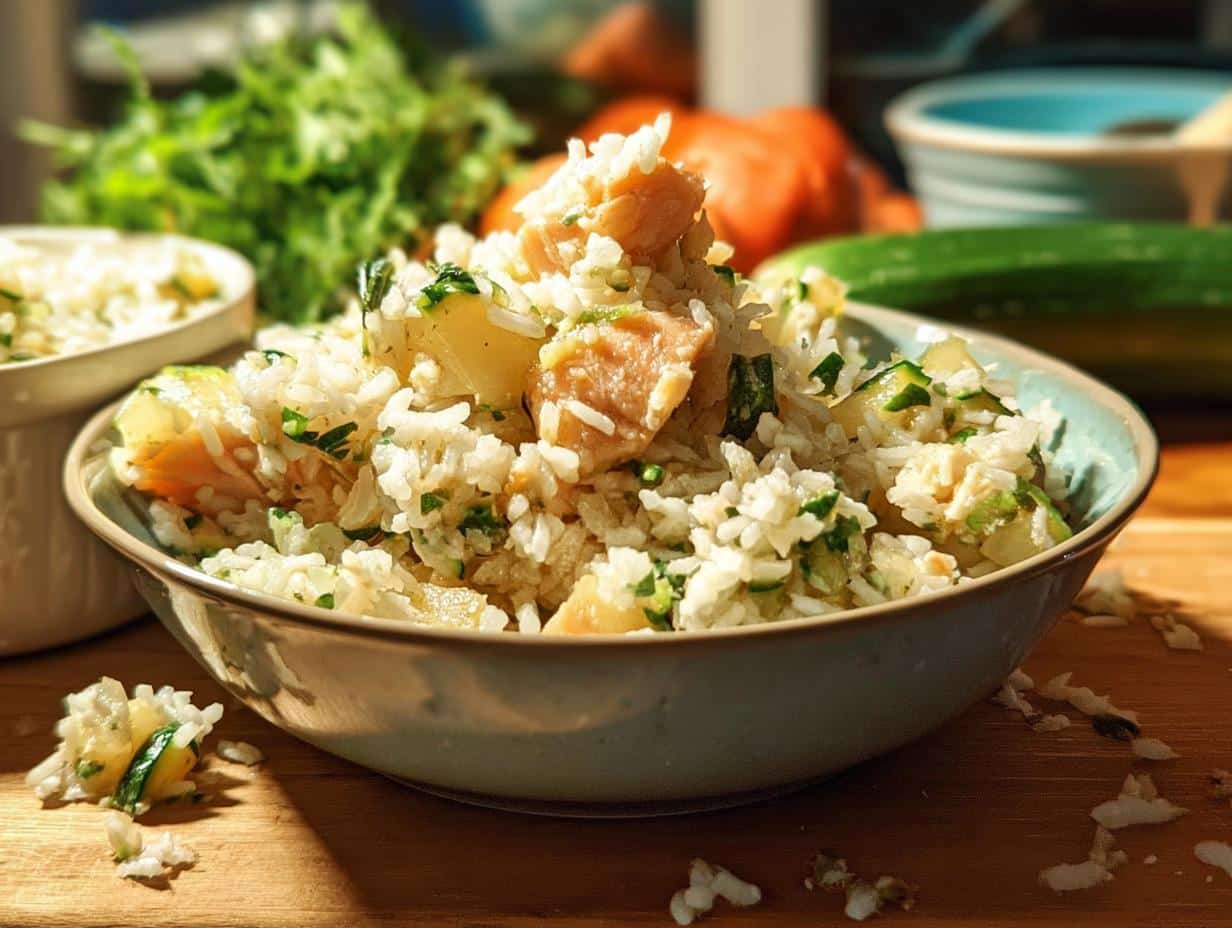
1 cup pumpkin puree, unsweetened: Make sure it’s just plain pumpkin puree, not the pie filling kind with all the extra spices and sugar. The natural stuff is best for dogs! It’s loaded with fiber and vitamins, which is super good for their digestion.
1/2 cup creamy peanut butter: This is Buster’s absolute favorite part, I swear. But here’s a *super* important note: make sure it does NOT contain xylitol. This stuff is toxic to dogs, so always double-check the label! We want happy dogs, not sick ones.
2 large eggs: These help bind everything together and add a little protein boost. Just give them a quick whisk in a bowl before you start mixing everything else.
2 1/2 cups whole wheat flour: This is our base. It gives the treats structure. I like using whole wheat because it’s pretty wholesome.
Ingredient Notes and Substitutions
Now, a few little tidbits and options for ya! Sometimes you might need to swap things out, and that’s totally cool. If you’re looking to go gluten-free for your pup, you can swap the whole wheat flour for oat flour or even almond flour. Just know that almond flour can make the treats a little more delicate, so be extra gentle when you’re rolling and cutting them out.
Also, if your peanut butter jar is looking a little sad and oily on top, just give it a good stir to bring it all back together before measuring. The consistency really matters here!
Step-by-Step Guide to Making Peanut Butter Pumpkin Baked Dog Treats
Alright, get your aprons on because we’re about to make some magic happen for your pup! Making these Peanut Butter Pumpkin Baked Dog Treats is super straightforward, I promise. It’s really just a few simple steps, and soon you’ll have a whole stash of happy tail wags. I always make sure my oven is preheating while I’m mixing, so it’s ready to go the second these treats are shaped. It’s a little trick to save time, especially when Buster is hovering around, hoping for a taste test! For more tips on making baking easier, check out my dog treat baking tips.
Mixing the Peanut Butter Pumpkin Dough
Okay, first things first, get yourself a big ol’ bowl. We’re going to dump in that lovely pumpkin puree, the peanut butter (remember, xylitol-free!), and those lightly beaten eggs. Give it all a good stir until it’s nice and combined – think smooth and creamy, almost like a thick, healthy pudding. Then, we’ll gradually add in that whole wheat flour. Keep mixing until a dough starts to form. It should be firm enough to handle, not super sticky, but not crumbly either.
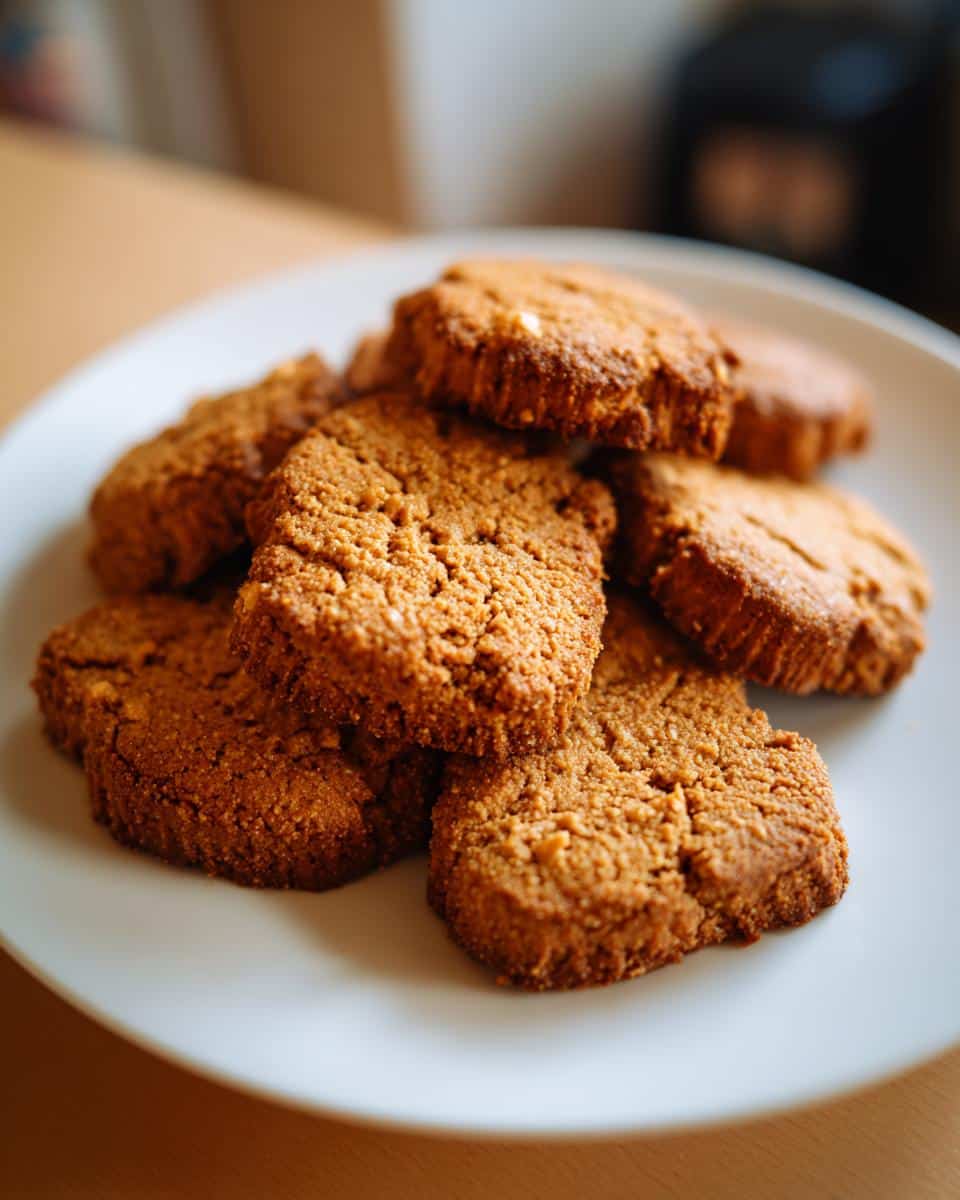
Shaping and Cutting Your Dog Treats
Now for the fun part! Lightly flour a clean surface – your counter or a big cutting board works great. Plop that lovely dough out onto it and roll it out to about 1/4 inch thickness. You don’t want it too thin, or they’ll be super brittle, and not too thick so they bake all the way through. Bust out your favorite cookie cutters – bone shapes are always a hit, but any fun shape will do! Press them down firmly and cut out your treats.
Baking the Peanut Butter Pumpkin Dog Treats to Perfection
So, your oven should be all preheated to 350°F (175°C) by now. Line a baking sheet with some parchment paper. Why parchment? Oh, it makes clean-up a DREAM, trust me. Carefully place your cut-out treats onto the prepared baking sheet, giving them a little space between each one. Pop them into the oven and bake for about 20 to 25 minutes. You’ll know they’re ready when they feel firm to the touch and are lightly golden on the bottom. They won’t puff up a ton, which is totally normal!
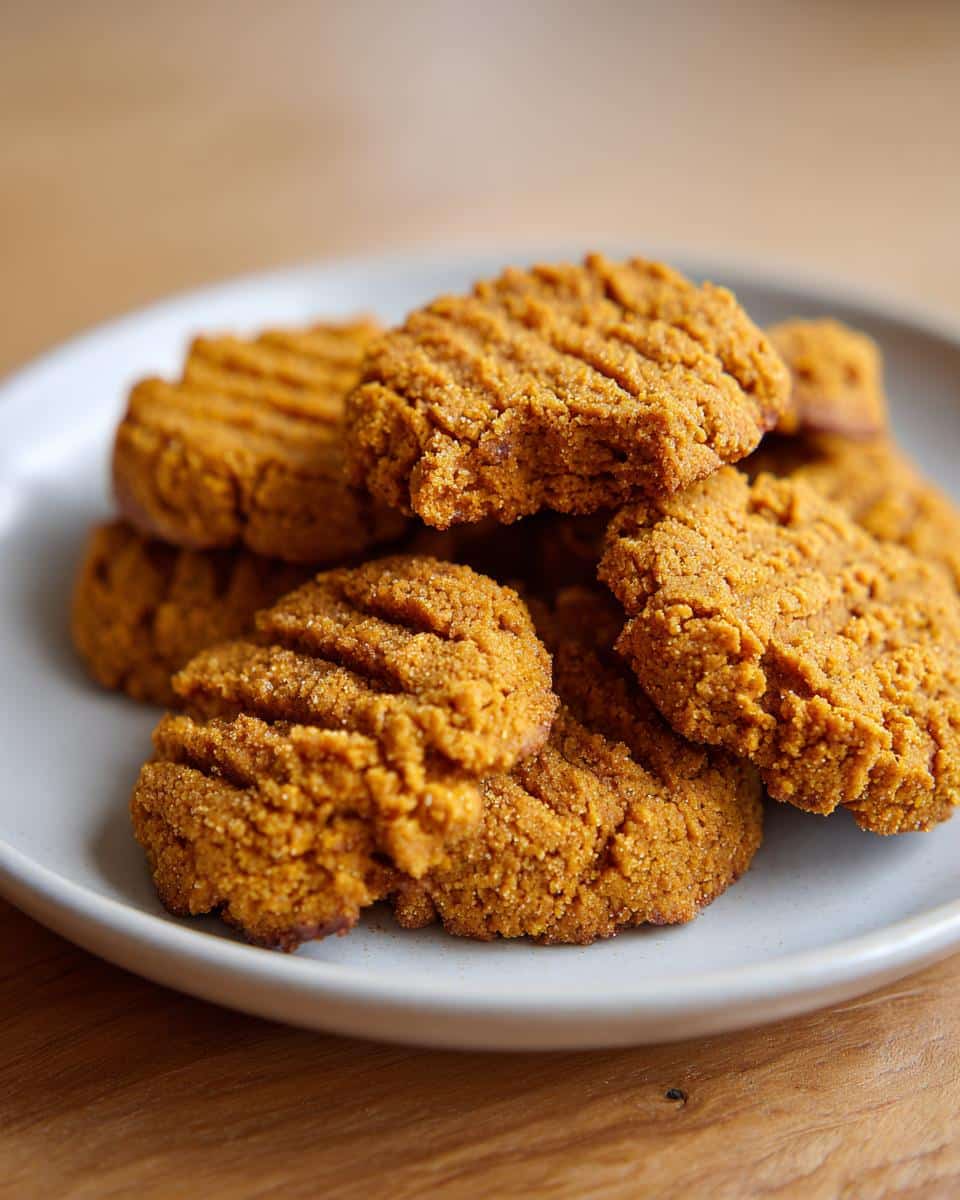
Cooling and Storing Your Homemade Dog Treats
This step is CRUCIAL, even though it’s super hard to wait! Once they’re out of the oven, leave them on the baking sheet for a minute or two, then transfer them to a wire rack to cool completely. Seriously, let them cool *all the way down*. If you put them in a container while they’re still warm, they can get all gummy and sad. Once they’re totally cool, store them in an airtight container in the fridge. They’ll stay yummy and fresh for about a week!
Tips for Baking Perfect Peanut Butter Pumpkin Dog Treats
You know, even with the simplest recipes, sometimes things can be a little finicky! So, let’s chat about how to nail these Peanut Butter Pumpkin Baked Dog Treats every single time. It’s all about a few little tricks that make a big difference in the final outcome. Think of me as your kitchen cheerleader!
Achieving the Right Dough Consistency
If your dough feels too sticky to handle, don’t panic! Just add a tablespoon of flour at a time until it’s easier to work with. On the flip side, if it seems too dry and crumbly, a tiny splash of water or pumpkin puree can work wonders. You want it soft, pliable, and just slightly tacky.
Oven Temperature and Baking Time Variations
Ovens can be SO different, right? Mine sometimes runs a little hot! If your treats seem to be browning too quickly, you might want to lower the oven temp by about 10-15 degrees for your next batch. Likewise, if they’re not firming up within 25 minutes, give them a few extra minutes. Just keep an eye on them!
Frequently Asked Questions About Peanut Butter Pumpkin Baked Dog Treats
Okay, so you’ve got your treats cooling, but you might still have a few burning questions! That’s totally normal. Here are some of the things people usually ask me about these yummy little snacks.
Can I make Peanut Butter Pumpkin Baked Dog Treats gluten-free?
Oh yes, absolutely! In the ingredients section, I mentioned you can totally swap out the whole wheat flour for oat flour or even almond flour if your pup needs a gluten-free option. They turn out great!
How long do these homemade dog treats last?
Because we’re using all-natural ingredients and no preservatives, these homemade dog treats are best kept in an airtight container in the refrigerator. They stay fresh and tasty in there for about a week. Some people even freeze them in batches!
Is pumpkin safe for dogs?
Yes, pumpkin is actually super good for dogs in moderation! It’s packed with fiber, which can help with both diarrhea and constipation. Plus, it’s got vitamins A, C, and E. Just make sure you’re using plain, unsweetened pumpkin puree, not pie filling!
Estimated Nutritional Information for Peanut Butter Pumpkin Baked Dog Treats
So, let’s talk numbers! While every dog is different and what *exactly* goes into your homemade treats might vary a bit depending on your brand of peanut butter or flour, I’ve done my best to give you a ballpark of what’s in each yummy Peanut Butter Pumpkin Baked Dog Treat. Think of this as a general guide!
As a rough estimate, each treat has about **75 calories**, around **4g of fat**, a good **3g of protein**, and **8g of carbohydrates**. It’s pretty balanced, right? This info helps you keep track of your pup’s daily intake, especially if they’re on a special diet or have specific needs. Always remember, these are estimates, so adjust as you see fit for your furry friend!
Share Your Peanut Butter Pumpkin Baked Dog Treats Creations!
Okay, my friends, now it’s YOUR turn! I’ve shared my heart (and my kitchen!) to bring you these amazing Peanut Butter Pumpkin Baked Dog Treats. I’d LOVE to hear how your pups liked them! Drop a comment below, tell me if they did the happy dance, or even share a pic of your furry friend enjoying their special treat. You can tag me on social media too – I can’t wait to see your creations!
Dont forget Delicious Chicken Veggie Patties
For more recipes follow me on PINTEREST