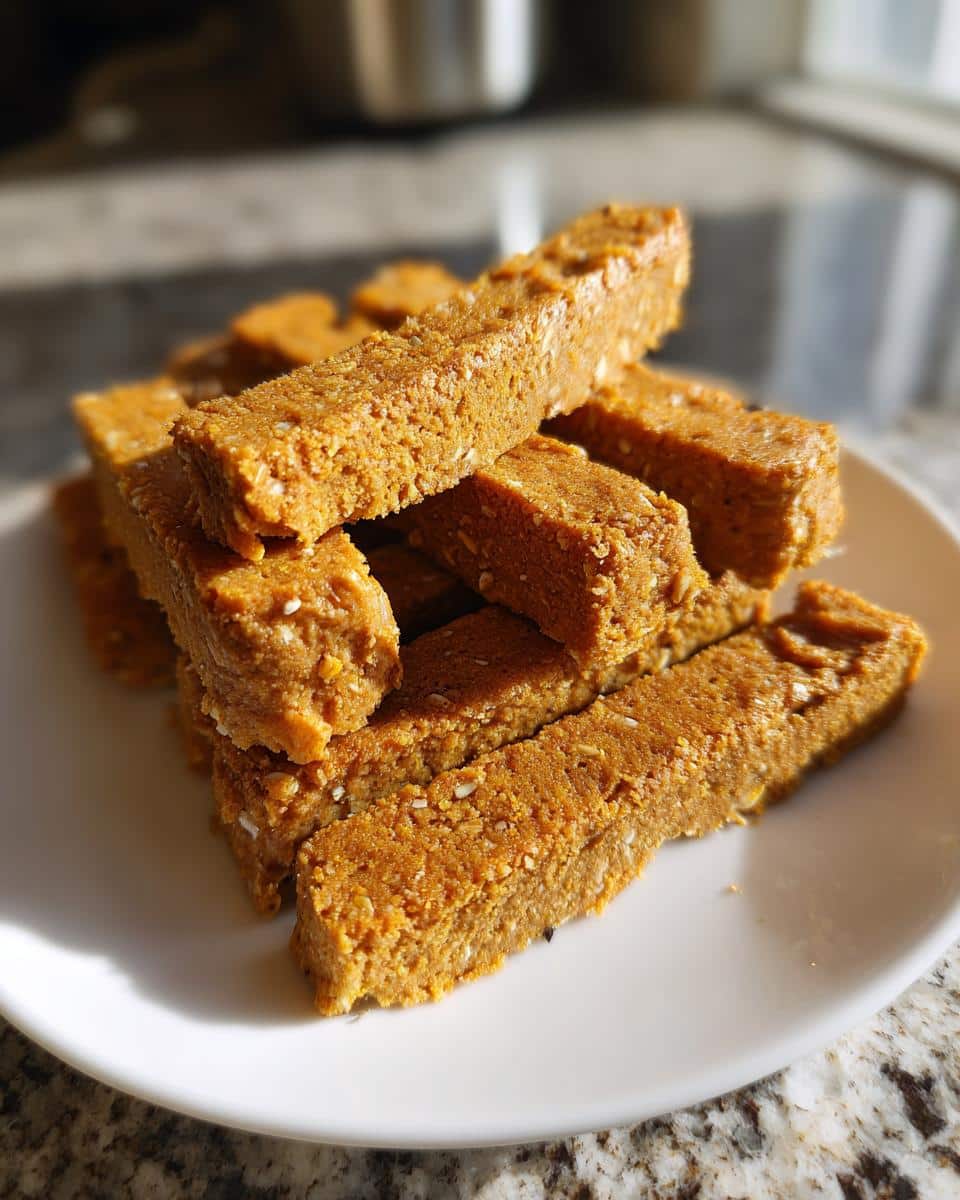
If you’re anything like me, you look at those fancy dog biscuit bags at the store and sigh. Sure, they look nice, but who knows what’s actually in there? That’s why I’ve spent ages tweaking this recipe until it was absolutely perfect. Forget complicated steps or weird ingredients—these Peanut Butter and Oat Chew Sticks are the real deal. They come together in less time than it takes to make a cup of coffee, and my goofy Labrador, Buster, loses his mind every time he smells the peanut butter hitting the bowl! Seriously, these simple, wholesome Peanut Butter and Oat Chew Sticks are my go-to for training rewards. If you need even more inspiration for quick training rewards, you should definitely check out some of my other easy peanut butter dog treats. They are so easy, and you know exactly what your best buddy is chewing on.
Why You Should Make Peanut Butter and Oat Chew Sticks Today
Honestly, making your own treats is just better, plain and simple. You save a ton of money compared to buying premium store brands, and you get total control over what your pup is eating. It’s peace of mind in a perfectly chewy stick!
- You know exactly what’s going into the dough—no weird fillers here!
- They are incredibly fast to whip up; think 15 minutes prep time, tops.
- We are being super careful about the peanut butter, meaning zero risk of toxic xylitol, which is a massive win for safety.
If you want even more quick wins for homemade goodies, have a look at my favorite 14 easy homemade dog treats. You won’t regret making these chew sticks today!
Essential Ingredients for Perfect Peanut Butter and Oat Chew Sticks
Okay, let’s talk supplies! The beautiful thing about these Peanut Butter and Oat Chew Sticks is that they rely on pantry staples. We’re making 24 sticks in total, and honestly, the prep time is just 15 minutes. That means you’re looking at delicious, homemade dog treats ready in about 35 minutes!
The most important part of this list, and I can’t stress this enough from a safety standpoint, is the peanut butter. You absolutely *must* make sure whatever jar you grab is completely free of xylitol. That artificial sweetener is super toxic to dogs, so please double-check that label before you even start preheating the oven. If you’re looking for recipes that don’t require baking at all, you might want to check out my guide on no-bake peanut butter oatmeal treats, but for these chew sticks, we need the oven!
Treat Ingredients Breakdown
Here’s exactly what you need to gather before we get started:
- Whole Wheat Flour: You’ll need 1 cup. If your dog has a slight wheat sensitivity, feel free to swap this out for oat flour, but the whole wheat gives them a lovely texture.
- Rolled Oats: 1 cup goes in here. Quick oats work perfectly fine if that’s what you have on hand!
- Peanut Butter: Half a cup of your favorite, **xylitol-free** peanut butter. This is the glue and the flavor star, so make it good!
- Egg: Just one large egg to bind everything up nicely.
- Water: About 1/4 cup. This is where we adjust if the dough seems too stiff—I always keep a little extra nearby just in case.
Step-by-Step Guide to Preparing Peanut Butter and Oat Chew Sticks
Okay, now for the fun part! I know sometimes baking for your dog can feel like a huge chore, but I promise this whole process for the Peanut Butter and Oat Chew Sticks is super straightforward. We’re aiming for that perfect blend of soft and firm so they can really sink their teeth in. First things first, crank that oven up to 350°F (175°C). Don’t forget to line your baking sheet with parchment paper—no one wants to scrape sticky peanut butter dough off a hot pan!
If you are looking for another super simple recipe once these are done, you might want to check out this guide on making a simple peanut butter oat biscuit for your dog. It’s great for variety!
Mixing and Forming the Peanut Butter and Oat Chew Sticks Dough
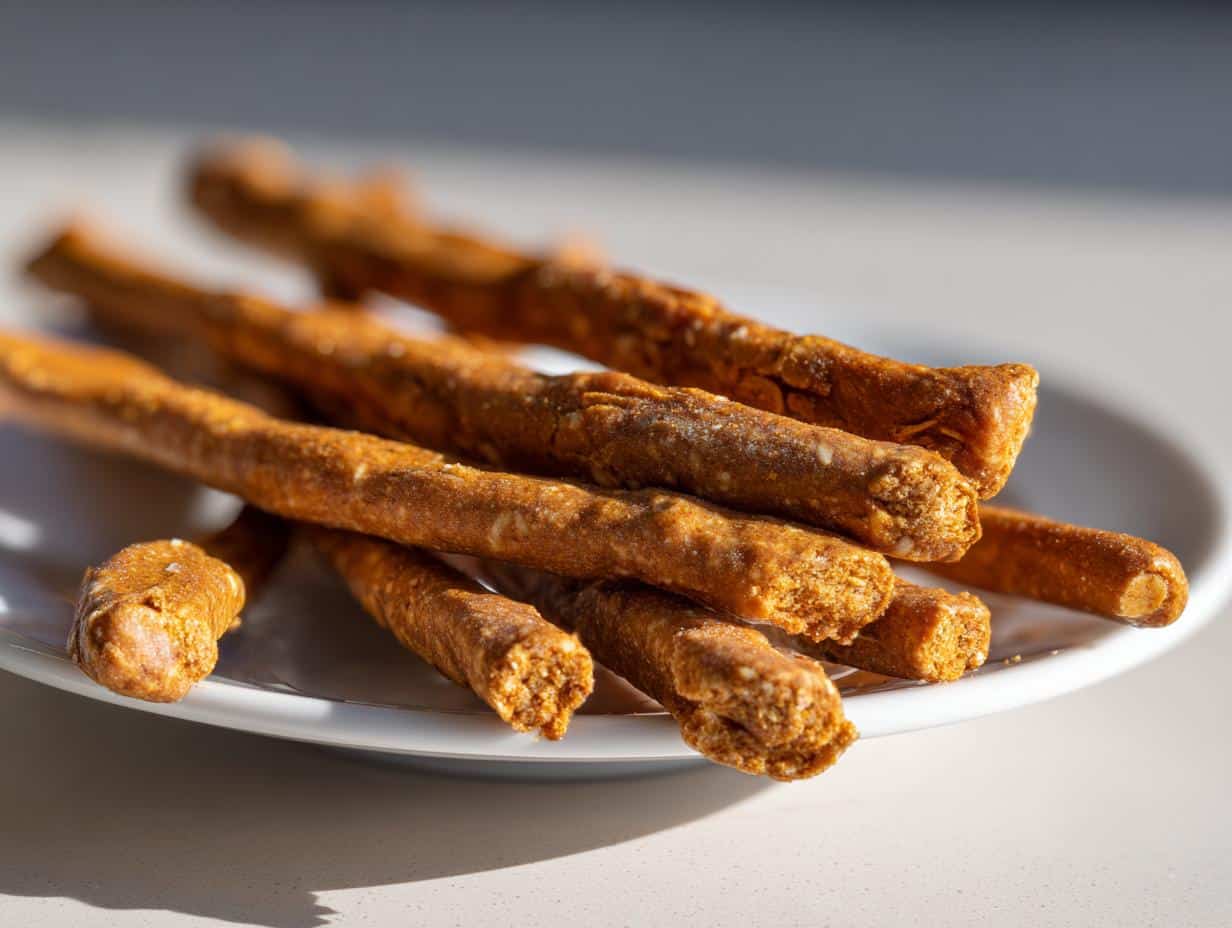
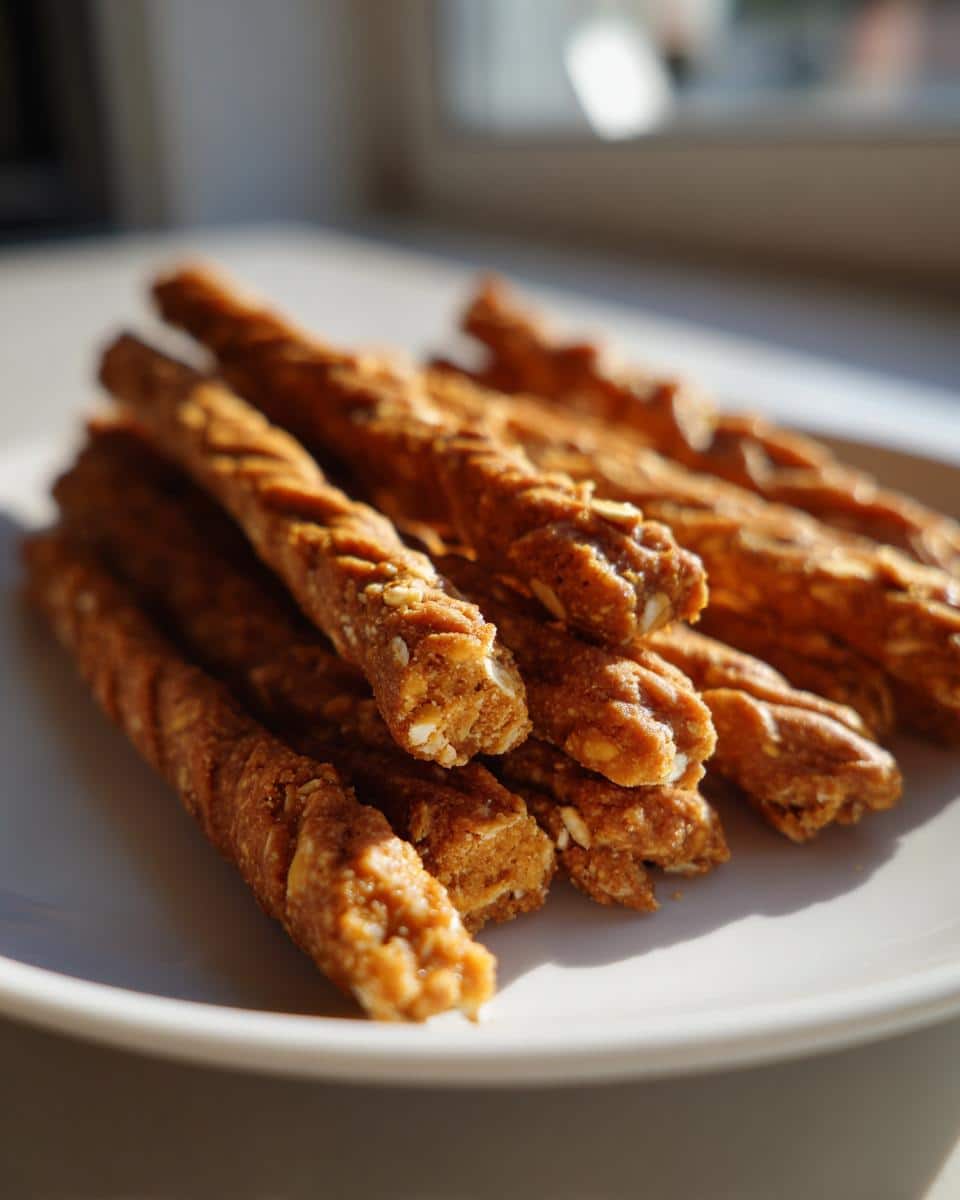
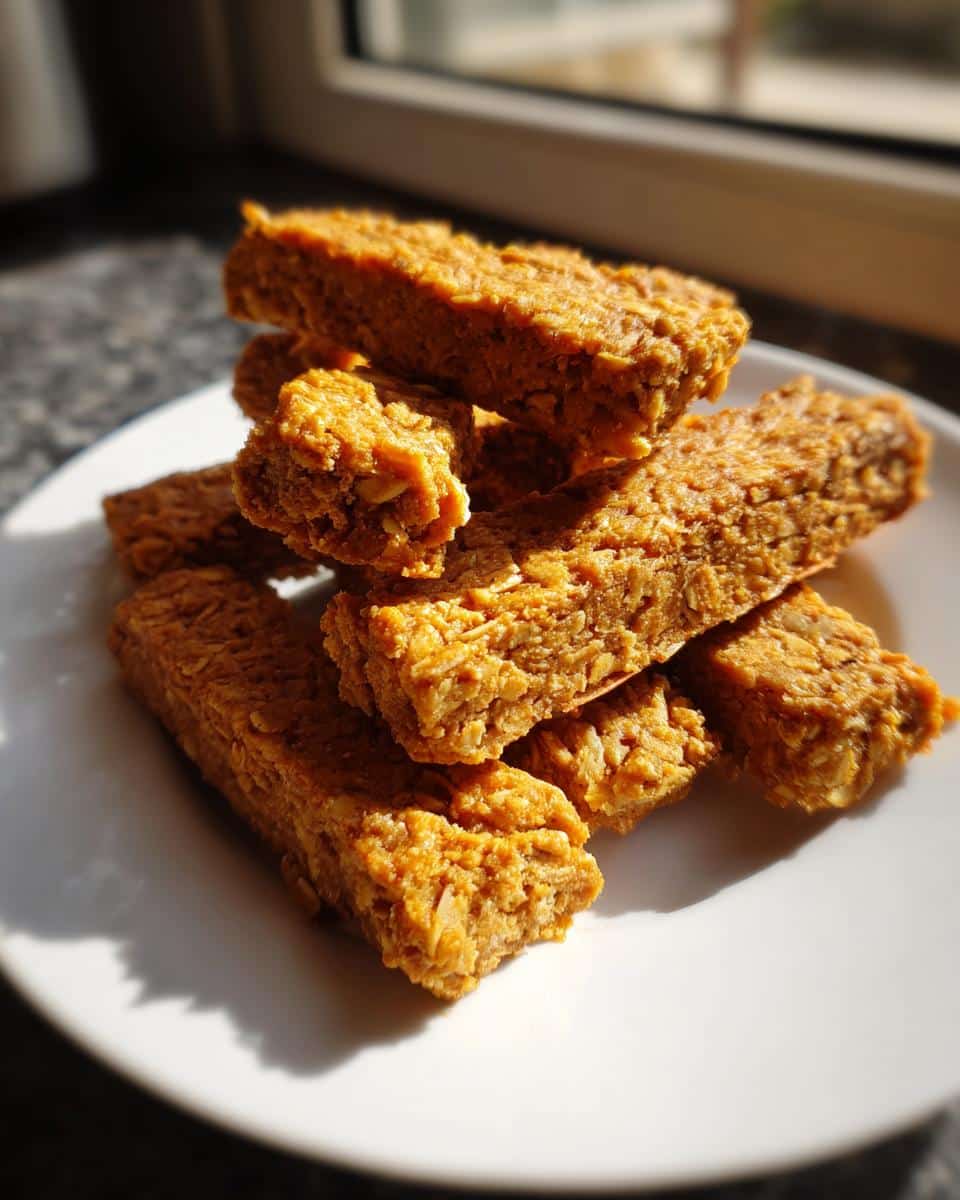
We start like most good baking projects: dry ingredients first! Whisk your flour and rolled oats together in that mixing bowl. Then, make a little well in the center and drop in your peanut butter and that single egg. Mix it up until it looks suitably shaggy and crumbly—don’t worry if it seems dry at this point. Now, slowly stream in that 1/4 cup of water while you mix by hand. You want a firm dough, but if it’s just staring back at you like a hard rock, add water just a teaspoon at a time until it holds together. Once it’s ready, dust your counter lightly, roll it out even—aim for about a quarter of an inch thick—and then get cutting! I like mine about 4 inches long and half an inch wide, which makes for a great little chew stick.
Baking and Cooling Your Peanut Butter and Oat Chew Sticks
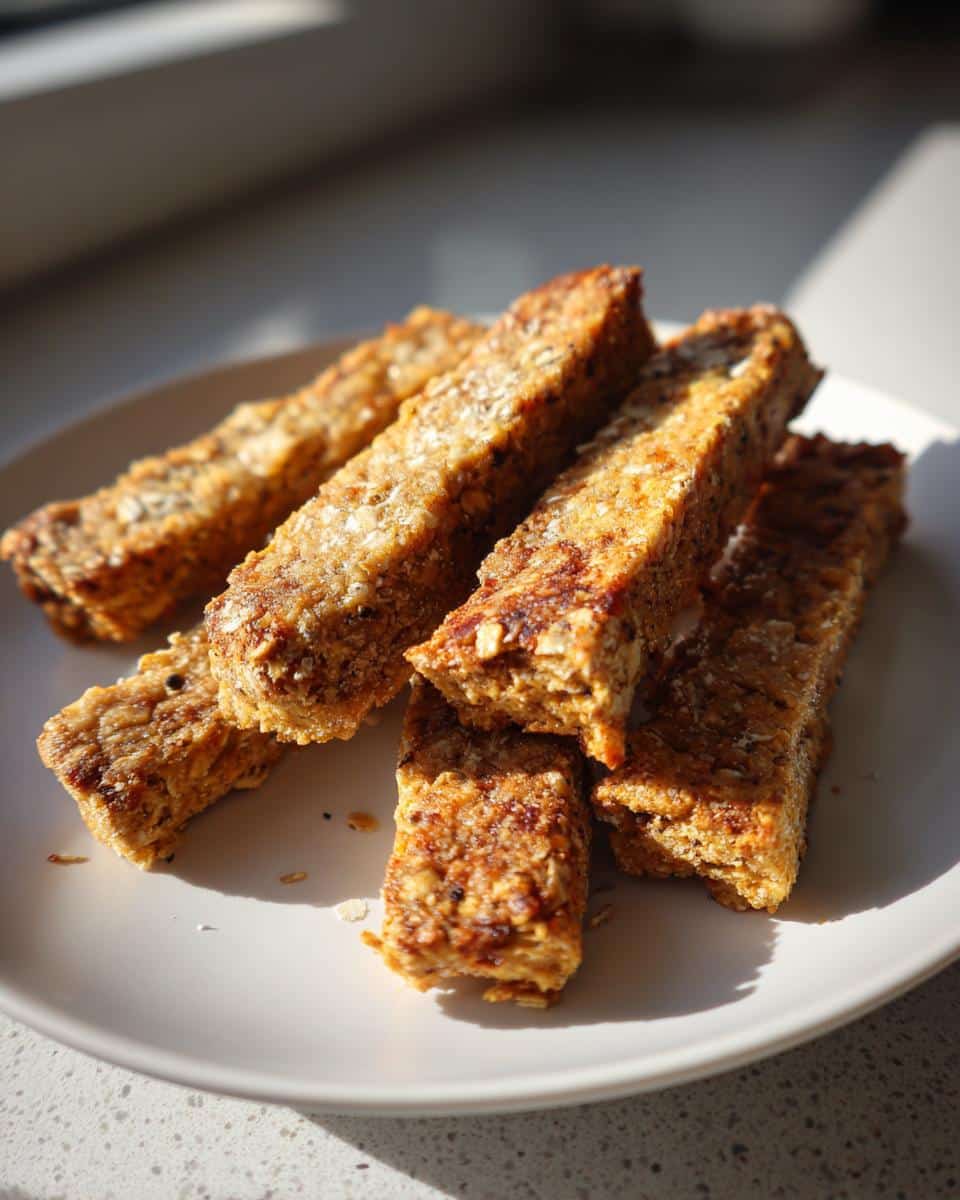
Lay those sticks out on your prepared sheet spaced just a tiny bit apart. They go into the 350°F oven for about 18 to 20 minutes. You’re looking for the edges to just start looking lightly golden brown. This is my secret expert tip, though—don’t pull them out immediately! Turn the oven off completely, prop the door slightly ajar, and just leave the sticks inside for ten more minutes. This final, gentle bake in residual heat really helps dry them out and locks in that perfect chewy texture we’re after. Once they’re cool? Watch them disappear!
Tips for Making the Best Peanut Butter and Oat Chew Sticks
Even though this recipe is so simple, there are just a couple of little tricks I’ve learned over the years that really take these Peanut Butter and Oat Chew Sticks from “good” to “Buster-steals-the-whole-batch” good! You want happy chewing time for your pup, right? I’ve actually got a few extra posts saved about other super easy recipes, like this one for 3-ingredient homemade dog treats, if you get hooked on DIY!
First up, let’s go back to the dough consistency. When you mix in that water, you might think it looks too stiff, especially because you’re working with oat flour and whole wheat flour—they absorb moisture differently than standard baking flour. If you’re struggling to get it to come together, don’t panic! Add water a dash at a time, no more than a teaspoon total. You want firm enough to roll without sticking badly, but not so dry that it cracks into a million pieces. A stiff dough equals a crunchy stick, and we want chewable!
My second biggest tip, which I mentioned before but it bears repeating because it’s critical for your dog’s safety: You simply *must* use xylitol-free peanut butter. Peanut butter is the star flavor, but if you grab the wrong jar with that sneaky artificial sweetener? It’s a huge mess, and frankly, scary. Always default to a natural brand that only lists peanuts and salt. That way, you know the fats and proteins are good for fuel, not dangerous for your furry friend.
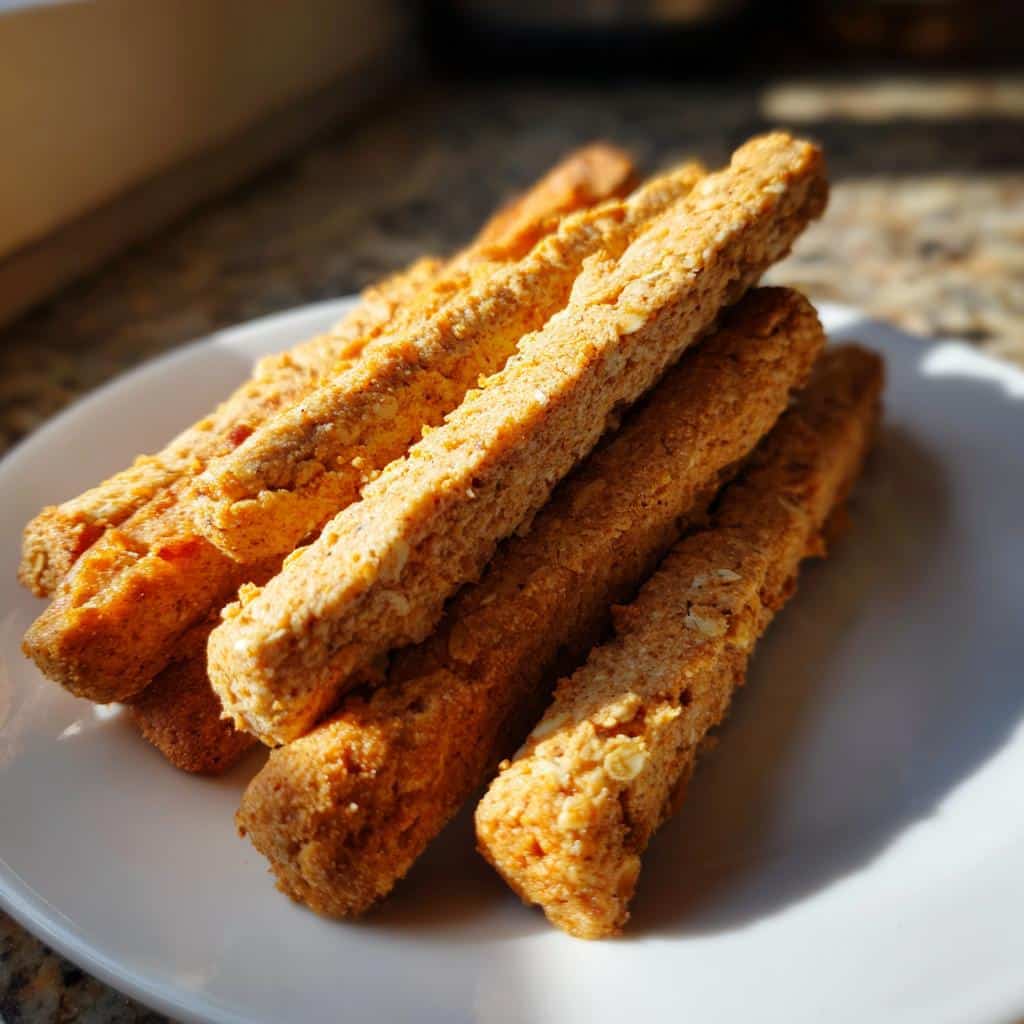
Finally, if you’re aiming for a bit more crunch instead of that lovely chewiness—maybe your dog is a serious power-chewer—you can adjust the final drying step. Instead of turning the oven off and leaving them ajar for 10 minutes, pull them out right when the timer rings, flip them over gently, and let them cool completely on a wire rack outside of the oven heat. That faster cool down usually makes them set up a bit harder. For me, the slower dry-out gives the perfect texture for something called a “chew stick.”
Ingredient Notes and Substitutions for Peanut Butter and Oat Chew Sticks
When you’re whipping up these wonderful Peanut Butter and Oat Chew Sticks, the ingredient list is super short, which is fantastic! But even with just five things, we need to follow a couple of rules to make sure they bake up right and—most importantly—are safe for our pups. I’ve tinkered around with this recipe, especially when my pantry was running low, so I can give you the best advice on what you can switch out and what you absolutely cannot change.
For starters, let’s look at the whole wheat flour. I love using it because oats are great, but whole wheat flour gives these sticks a little more structural support. It adds some nice dietary fiber too, which is always a bonus when you’re treating your dog! But I know some folks prefer to stick strictly to oat-based things, and that’s totally doable. If you’re swapping, just use oat flour instead of whole wheat in a one-to-one ratio. Remember, oat flour is just oats that have been blended super fine, and it works beautifully as a substitute here.
Now, back to the non-negotiable item: the peanut butter. Seriously, this is important! If you need more training inspiration that calls for this ingredient, you might want to look up some great ideas in my post on peanut butter dog training treats. When picking your peanut butter, for the third time, check for xylitol. It’s a sweetener sometimes added to “low-sugar” or “natural” brands that is deadly to dogs. You want the simple stuff: ground peanuts, maybe a little salt. That’s it. Stick to that, and your Peanut Butter and Oat Chew Sticks will be delicious and safe!
The water is the only real ‘wild card’ here, and only because whole wheat flour can sometimes be thirstier than others depending on how it was milled. Don’t feel locked into that 1/4 cup measurement. If your dough is crumbling apart like dry sand when you try to bring it together, splash in another tiny teaspoon of water until it just comes together into a firm ball. Once you can grab it and give it a squeeze without it cracking, it’s perfect.
Storing Your Homemade Peanut Butter and Oat Chew Sticks
Making 24 of these beautiful Peanut Butter and Oat Chew Sticks is great, but you need a plan for keeping them fresh! Since these treats are baked until they are nice and dry, they hold up really well compared to softer, moister dog chews. I always find that having a stash ready for training sessions is a game-changer, so storage is key.
If you’re planning to use most of them within a week—which, lets be honest, Buster usually manages—you can just keep them right there on your counter. Pop them into a sturdy, airtight container. That keeps out dust and moisture, which is really what makes any baked good go stale too quickly. Honestly, they generally stay perfectly fine at room temperature for about one full week.
But what if you baked a double batch? Or you know you won’t get through all 24 sticks before day eight? Don’t even think about throwing them out! Freezing these Peanut Butter and Oat Chew Sticks is ridiculously easy, and they freeze like a dream. I usually separate them into smaller, freezer-safe bags or containers. You can just toss them straight into the freezer, and they last for months that way! When it’s chow time, just pull out a small batch the night before you need them, and they thaw perfectly.
If you’re looking for other simple recipes that are easy to keep on hand for training, you absolutely have to check out my guide on a simple natural dog chew recipe. It’s another keeper for the freezer stash!
Understanding the Health Benefits of Peanut Butter and Oat Chew Sticks
When I’m making these Peanut Butter and Oat Chew Sticks, I’m not just making a tasty snack; I’m loading up Buster with some real goodness, too! That’s the beauty of making dog food yourself—you skip all the questionable fillers you see advertised everywhere else. These sticks are actually little nutritional powerhouses, especially since they have that great fiber boost from the oats. I always feel good knowing I’m giving him something that helps his digestion!
And, of course, there’s the peanut butter. It gives your dog a nice dose of protein and those healthy fats that keep their coat shiny. They taste amazing to the pups, but for us? They’re just a great, wholesome way to say “Good boy!” Why not check out some more great info on the health benefits of dog biscuits while you’re thinking about healthy snacks?
So, these aren’t just filler treats; they’re fiber-rich and protein-packed fuel for playing fetch!
Frequently Asked Questions About Peanut Butter and Oat Chew Sticks
When you’re diving into making homemade goodies like these Peanut Butter and Oat Chew Sticks, you always end up with a few lingering questions! I’ve tried to cover the most important things people ask me after baking their first batch. If you’re really interested in stepping up your dog kitchen game, you should take a look at my collection of 10 easy homemade dog food recipes, too!
Can I make these Peanut Butter and Oat Chew Sticks grain-free?
That’s a great question, especially if your pup has a sensitivity to wheat or regular oats. The short answer is yes, you can absolutely try to make these grain-free! You’ll need to swap out the whole wheat flour, obviously. I’ve had success using chickpea flour or even coconut flour as a direct one-to-one replacement for the flour. Now, heads up: coconut flour is super absorbent, so you might need to add another splash or two of water to get that dough to come together. Also, beware that the texture will change. They usually end up a little more crumbly than chewy when you swap out the grains, since the oats are what really help them hold that fantastic chew!
How long do these treats last if stored properly?
Since these Peanut Butter and Oat Chew Sticks are baked until they are quite dry, they are pretty stable, which is wonderful! If you keep them sealed up tight in a truly airtight container—like a good Tupperware or a nice cookie jar—they should stay fresh and perfectly fine right on your counter at room temperature for about a week. After that, they might start losing that fresh-baked quality. If you know you won’t finish them in seven days, definitely bag them up and toss them in the freezer! They freeze beautifully and you can just thaw out a few sticks whenever you need them.
Are these treats suitable for puppies?
Generally, yes, but you need to use a little extra caution with puppies! Puppies have very tender little tummies, and while oats are generally easy to digest, peanut butter can be quite rich because of the fat content. I would not recommend giving these to brand-new weanlings or very young puppies. If your puppy is a bit older—say, over 4 months—you can offer a small piece, but definitely watch how they react. If they seem fine, that’s great! But always treat new foods sparingly when you deal with a growing pup.
Share Your Homemade Peanut Butter and Oat Chew Sticks Creations
Well, that’s the whole secret to my favorite Peanut Butter and Oat Chew Sticks! I really, truly hope you and your furry best friend love these as much as Buster does. He acts like I’ve given him steak every time I pull these golden, chewy sticks out of the oven. There is nothing better than seeing that tail wagging over something you made with simple, good ingredients.
Now, I need to know what you think! Did your dog approve? I’m dying to hear which brand of xylitol-free peanut butter you grabbed and how long it took for your batch to disappear. Was your dough stiff or soft? Please drop a rating for the recipe below with as many stars as you think these deserve! Star ratings really help other folks see just how reliable this recipe is.
And honestly, if you managed to snap a cute picture of your dog enjoying one of these homemade Peanut Butter and Oat Chew Sticks—especially if they are trying to sneak a few more off the counter—please share it! You can tag me on social media, or just upload it in the comments section here. I love seeing my recipes come to life in other kitchens! If you end up wanting more fun, easy DIY projects for your pup, check out my section on DIY dog treat trends on Pinterest for massive inspiration. Happy baking, and happy chewing!
Peanut Butter and Oat Chew Sticks for Dogs
Ingredients
Equipment
Method
- Preheat your oven to 350°F (175°C). Line a baking sheet with parchment paper.
- In a mixing bowl, combine the flour and rolled oats.
- Add the peanut butter and egg to the dry ingredients. Mix until crumbly.
- Gradually add the water, mixing until a firm dough forms. If the dough is too stiff, add a teaspoon of water at a time.
- Roll the dough out on a lightly floured surface to about 1/4 inch thickness.
- Cut the dough into long, thin strips, approximately 1/2 inch wide and 4 inches long, to form the chew sticks.
- Place the sticks on the prepared baking sheet. Bake for 18 to 20 minutes, or until edges are lightly golden brown.
- Turn off the oven and leave the sticks inside with the door slightly ajar for 10 minutes to dry out further. This helps them become chewier.
- Remove from the oven and let cool completely before serving to your dog.