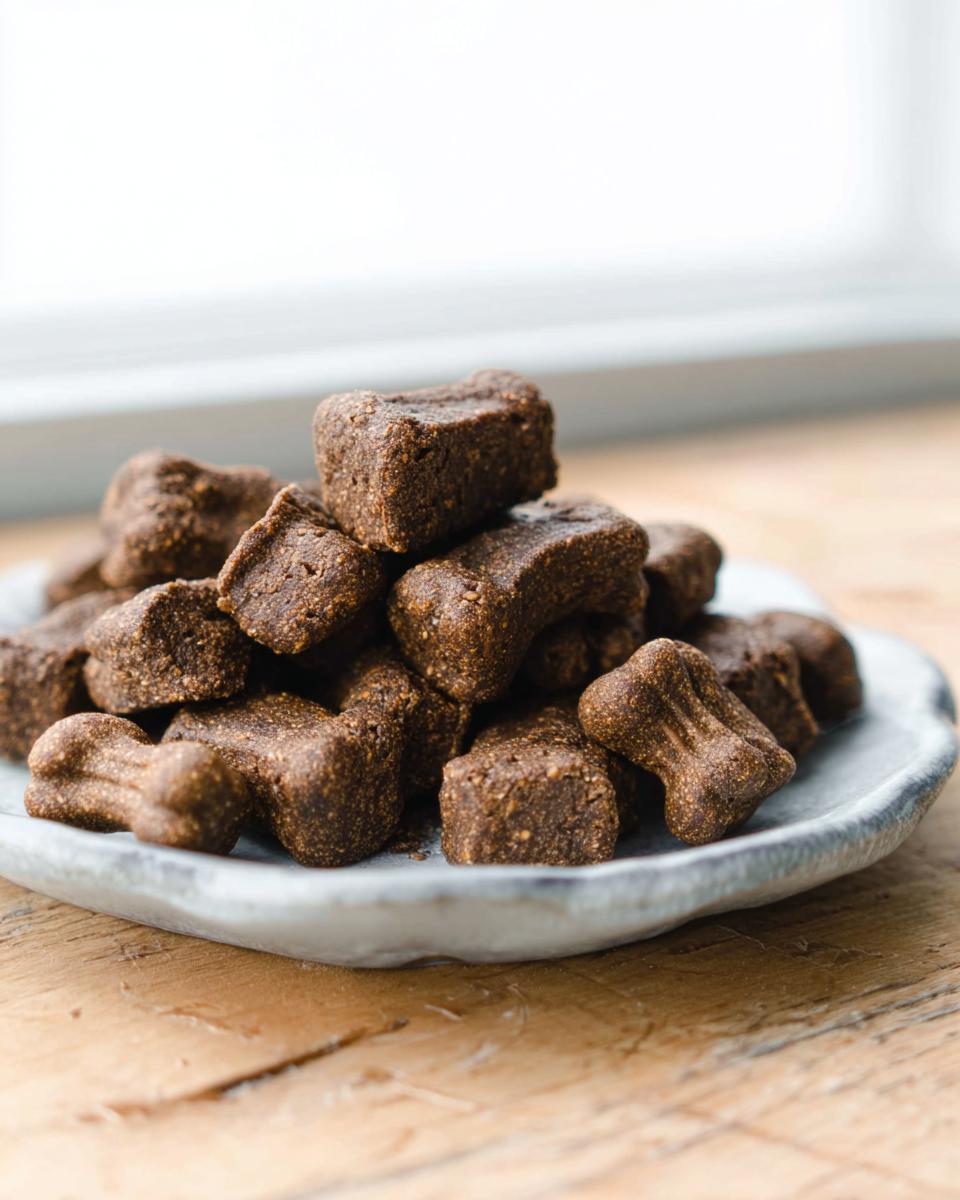
Doesn’t your best friend deserve a reward that’s loaded with amazing flavor and nothing artificial? I know I always struggle with finding treats that pass my own clean-eating standards. That’s why I jumped headfirst into making my own, especially when I discovered how to incorporate nutrient-dense ingredients like chicken liver. Forget those weird, brightly colored biscuits! We’re talking about making incredible, smell-so-good high-value rewards like these amazing Chicken Liver & Catnip Squares. Trust me, seeing your dog’s reaction when you pull these out is 100% worth the minimal effort. We want food that supports their energy, not slows them down!
Who Should Make These Chicken Liver & Catnip Squares?
If you’re anything like me, you want to know exactly what fuels your furry family members. This recipe is perfect for every dog owner who is serious about ingredient control but doesn’t want to spend hours in the kitchen trying to master complicated baking. Are you looking for a high-value reward that stops your pup in their tracks during tough training sessions? Then these low-fuss Chicken Liver & Catnip Squares are your new secret weapon. Let’s ditch the fillers and give them the real nutrition they deserve. You can find more simple ideas over here at 10 Easy Pup Kitchen Creations.
The Tone and Style for Your Chicken Liver & Catnip Squares Recipe
When we make these treats, we’re keeping things real, friendly, and super easy! Forget stuffy cookbooks; this is like getting a tip from your neighbor who bakes the best snacks. My main goal is to make sure you feel totally capable of whipping up these Chicken Liver & Catnip Squares without feeling stressed. We’ll keep the instructions direct and simple, always encouraging you along the way. If I can do it while juggling everything else, so can you! Check out some other simple ideas for DIY Natural Dog Treats.
My Journey to Perfecting Chicken Liver & Catnip Squares
I had this stubborn phase with rigorous training sessions when Buster was a puppy—we were trying to master ‘stay’ outside, and nothing worked!
Every store-bought reward was either gone in a second or he’d just sniff it dismissively. I needed that jackpot treat, something so unbelievably good he’d ignore squirrels and sirens. That’s when I remembered how much he goes wild for liver. When I started experimenting, I knew I had to keep the core simple, which led me straight to the concept behind the Chicken Liver & Catnip Squares.
The first batch was… chunky. But the smell! He lost his mind just from the blending part! Slowly, I refined the texture until it was just right—easy to chew but still substantial enough for a high-reward moment. Now, they are my absolute non-negotiable training essentials. If you want the inside scoop on my healthy habits journey, you can read more over at my About Me page!

Essential Ingredients for Your Chicken Liver & Catnip Squares
Okay, listen up! When you’re baking for your dog—especially something as exciting as these Chicken Liver & Catnip Squares—the quality of your ingredients matters way more than when you make human food. We aren’t messing around with fillers here. We’re using real stuff that packs a nutritional punch, which is crucial if we want these to be high-value training treats. The recipe data I’m working from is solid; it relies on simple components to create irresistible flavor and a great binding texture.
You can find out why chicken and parsley are great pals in dog treats over here at Chicken Parsley Biscuits, but for our squares, we focus on that amazing liver smell!
For the Chicken Liver & Catnip Squares Base
You’ll need four main things for the batter, and don’t skip the prep work on the oats—it makes a difference!
- Chicken Liver: You need exactly 1 pound of raw chicken liver. Make sure you trim off any excessive fat or connective tissue before you blend it up.
- Uncooked Oatmeal: Grab about 2 cups. We aren’t using whole oats though; you have to pulse these in your blender first until they look like flour. Trust me on this step!
- Eggs: Two good, large eggs will help bind everything together perfectly.
- Coconut Oil: Just 1 tablespoon, melted. This helps carry the flavor and keeps things tender.
Step-by-Step Instructions for Making Chicken Liver & Catnip Squares
Alright, this is where the magic happens! Don’t let the blender part intimidate you; it actually cuts down on the mess way more than using a big stand mixer for these Chicken Liver & Catnip Squares. We are aiming for about 90 perfect little treats here, so grab your equipment. Remember, we’re keeping it simple, which is why I love this recipe so much compared to those complicated biscuit recipes out there. For visual aids on using molds, you can sneak a peek at my tips on Dog Treats Using Silicone Molds.

Preparing the Mixture for Your Chicken Liver & Catnip Squares
First things first, get that oven warmed up to 350°F. You want it nice and ready to go! Now, take those 2 cups of uncooked oatmeal and pop them straight into your blender. Pulse, pulse, pulse until you have a fine flour consistency. Don’t leave big chunks—we want smooth squares, not crumbly ones!
Once you’ve got your oat flour, gently add the pound of chicken liver pieces, those two eggs, and the tablespoon of melted coconut oil right on top. Now, blend everything together. You need to keep blending until you get a nice, uniform liquid batter. It should smell powerful, but hey, that’s just the liver working its wonders!
Baking and Finishing Your Chicken Liver & Catnip Squares
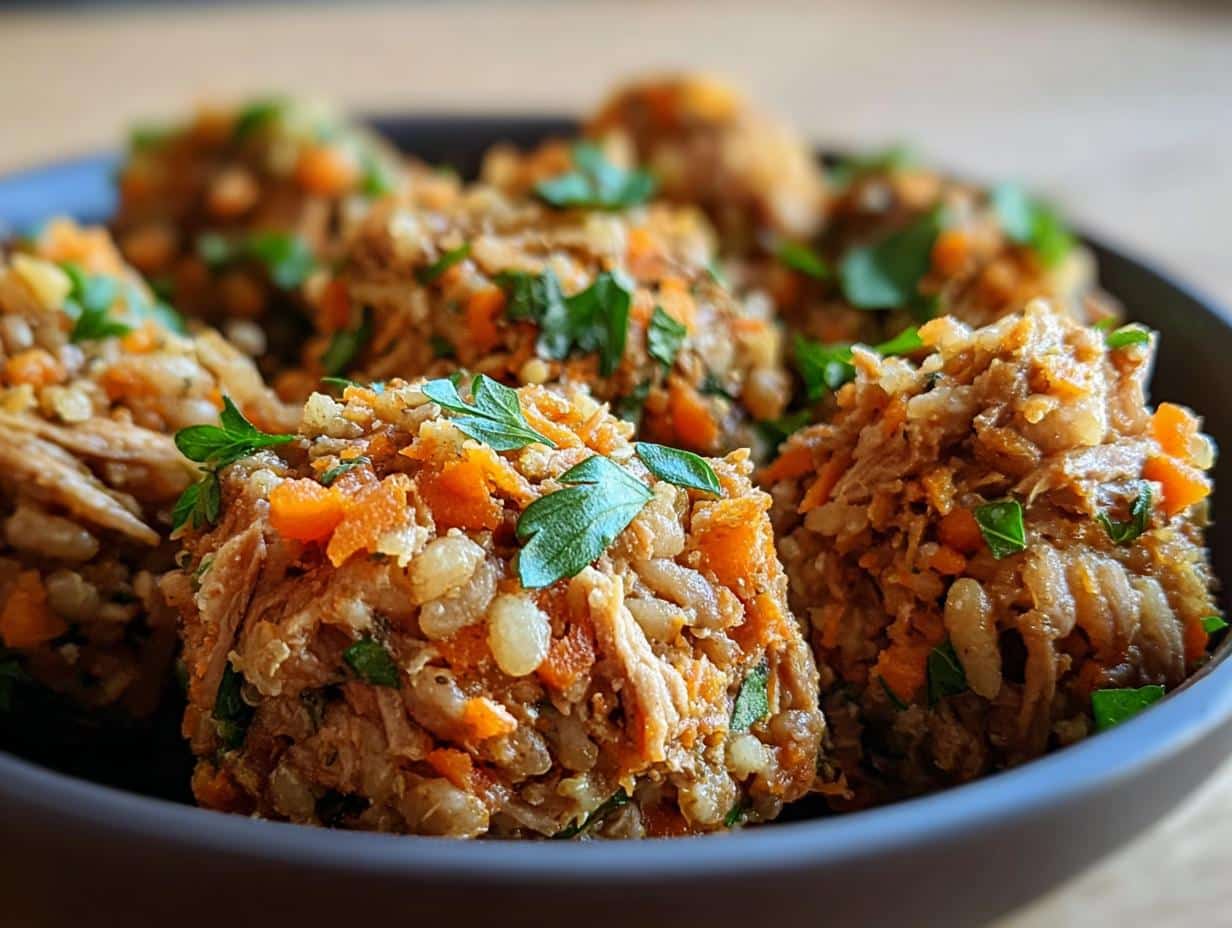
Time to fill those molds! Since we are making Chicken Liver & Catnip Squares, stability is key. Place your silicone molds onto a firm baking sheet—this makes moving them in and out of the oven so much easier. Pour that blended liver mixture evenly into the cavities.
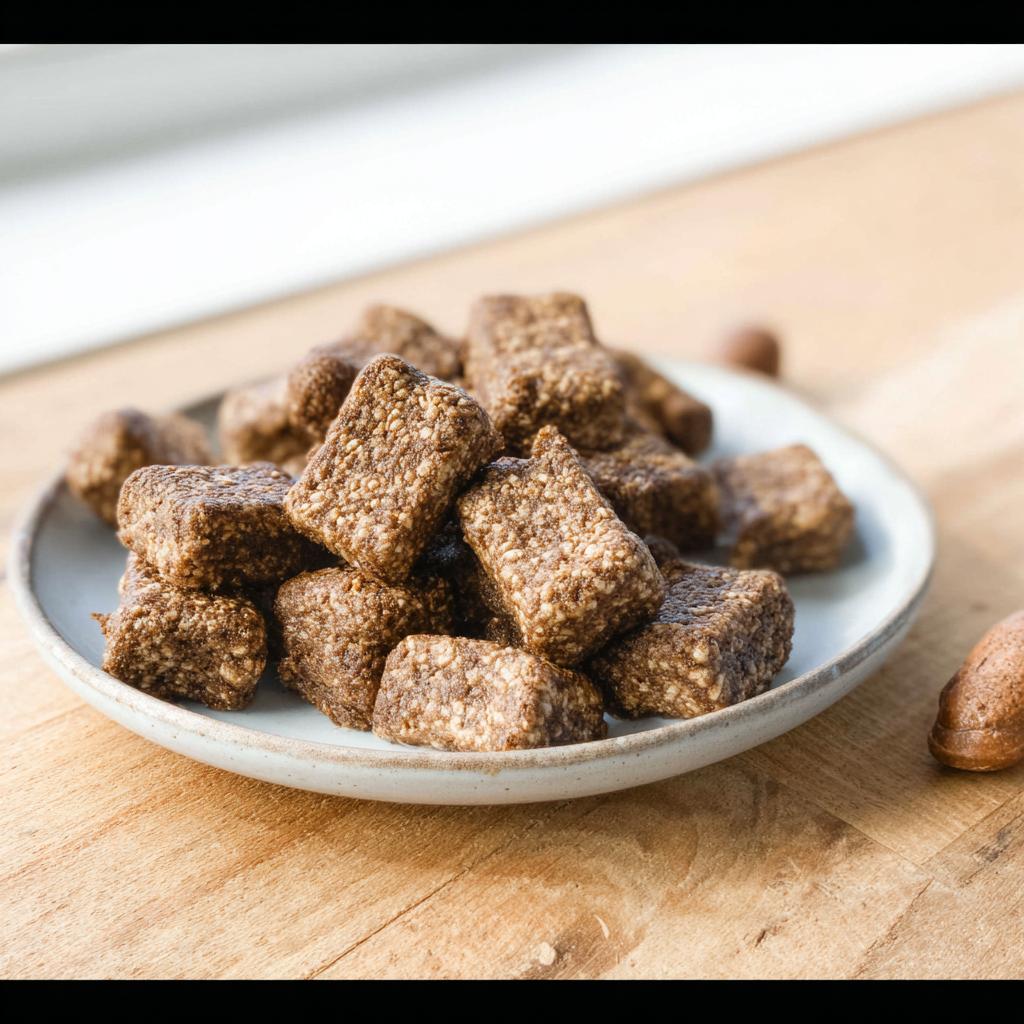
Pop the sheet into your preheated oven and bake everything for exactly 30 minutes. Seriously, set a timer! After that half-hour, pull them out. They should look firm on top. Let them cool completely. Once they are cool, pop them out of the molds. If you skipped the molds and used a greased baking sheet instead, now’s the time to cut the baked slab into nice, neat little squares. Store these amazing rewards in an airtight container right in the refrigerator.

Tips for Success with Chicken Liver & Catnip Squares
I picked up a few tricks over the months making these irresistible Chicken Liver & Catnip Squares that I just have to pass along. First, if you don’t have those silicone molds, don’t stress for a second! Just use any rimmed baking sheet you have, grease it really well, and pour the entire batter in as one layer. Cool it completely, and then slice it into squares. It’s honestly just as easy!
Also, let’s talk about the binder. The recipe calls for pulsing oatmeal into flour, but you can totally swap that out if you need to. If you just have regular all-purpose flour or whole wheat flour on hand, you can try using about 1 ¾ cups instead. It changes the texture slightly, making them a bit crisper, but they still smell amazing to the pups!
For storage, remember these are fresh, so they must stay cold. Keep them in the fridge in an airtight container—they’ll stay good for about a week, which is plenty of time for training rewards! For more fantastic baking guides, check out these 14 Easy Homemade Dog Treats.
Storage and Serving Suggestions for Chicken Liver & Catnip Squares
Since these Chicken Liver & Catnip Squares are made without all the weird preservatives found in the store-bought bags, we have to treat them right in the kitchen!
Listen closely: always store them in a truly airtight container. Do not leave them on the counter; they need the cold environment of the refrigerator to stay fresh and safe. They’ll last beautifully in there for about a week—which should be plenty of time to use them up!
I only pull these out when I absolutely need that high-value jackpot reward. Think long recall practice outside, or asking my little guy to stay while the mail carrier walks past. These aren’t your casual ‘good job walking nicely’ treats; these are for when you need maximum impact! You can find more ideas for those fun moments over at our page on 12 Easy Appetizers and Snack Ideas.
Frequently Asked Questions About Chicken Liver & Catnip Squares
I always get questions when I share these liver treats—people are curious about the ingredients, and that’s great! Asking questions shows you care about what you’re feeding your pup. Since these are rich, high-value Chicken Liver & Catnip Squares, moderation is key, especially if your dog has a sensitive tummy.
If you’re ever worried about introducing something new, even homemade stuff, it’s always smart to chat with your vet first. They know your dog’s specific needs best, which is so important for true clean wellness! For general tips on keeping your dog healthy, feel free to browse through my favorite articles on Dog Food Tips.
Are Chicken Liver & Catnip Squares safe for all dogs?
They are generally super safe because they are made from whole food ingredients, but you have to serve them in moderation. Chicken liver is rich! Think of these Chicken Liver & Catnip Squares as high-value cookies, not dinner replacements. If your dog has a known issue with rich foods, introduce just one tiny piece first to see how they handle it. If you want to dive deeper into vet-approved ideas, check out the 10 Best Vet-Approved Recipes.
Can I substitute the oatmeal in these Chicken Liver & Catnip Squares?
Yes, you absolutely can switch out the oatmeal if you don’t have it or if your dog has a sensitivity to it! The original recipe notes mention a couple of easy swaps. If you want a firmer square, you can use about 1 ¾ cups of standard all-purpose flour or whole wheat flour instead of grinding the oats. Or, if you’re still sticking with oats but want to skip the pulsing step, 2 full cups of pre-made oat flour works like a charm, too!
Nutritional Information for Your Homemade Dog Treats
Because we are making these Chicken Liver & Catnip Squares right in our own kitchens using simple, recognizable ingredients, we don’t have a lab testing everything, naturally! So, consider this a great estimate based on the ingredients we use. Since we get about 90 little treats out of one batch, the numbers stay wonderfully small.
On average, each square comes in at just about 12 calories. That is such a fantastic low count for a treat that drives your dog wild! Because liver is the main component, they will be higher in protein than your average biscuit, which is great for active pups. For cleaner wellness habits and to learn more about dog food trends, take a look over here at that section on Diet Dog Food. This way, you can reward them often!
Share Your Chicken Liver & Catnip Squares Creations
Now that you know how easy it is to make these incredible Chicken Liver & Catnip Squares, I absolutely want to see them! Drop a rating below—did your dog go nuts for the liver smell? Seriously, share your photos and tell me how training went with your new high-value rewards!
Seeing your success keeps me inspired to share more clean, simple recipes over at Pup Kitchen Creations!
By EMILIA, founder of MeltItClean.com
By Hi, I’m EMILIA, the founder of MeltItClean.com – your digital space for natural weight loss, real wellness habits, and clean-living inspiration that actually fits your life.
For years, I struggled with the ups and downs of dieting. I tried everything — juice cleanses, low-carb crazes, fitness challenges — but I always ended up back where I started: tired, bloated, and frustrated. I didn’t just want to “lose weight” — I wanted energy, mental clarity, glowing skin, and confidence without sacrificing my joy or sanity.
After years of experimenting, learning, and unlearning, I discovered a simple truth: your body is already powerful — it just needs support, not restriction. That’s when I created Melt It Clean — a site dedicated to real transformation through clean, intentional, and nourishing daily habits that anyone can follow.
My goal was simple: build a place where people could feel informed, supported, and empowered without being overwhelmed by wellness fads.
Chicken Liver & Oatmeal Dog Treats
Ingredients
Equipment
Method
- Preheat your oven to 350°F.
- Place oatmeal in a blender. Pulse to grind the oats into flour.
- Add liver, eggs, and coconut oil on top of the blended oats in the blender.
- Blend until well combined and a liquid forms.
- Place silicone cookie/candy molds on a baking sheet for stability. Pour the mixture into the molds.
- Bake at 350°F for 30 minutes.
- Store the treats in an airtight container in the refrigerator.