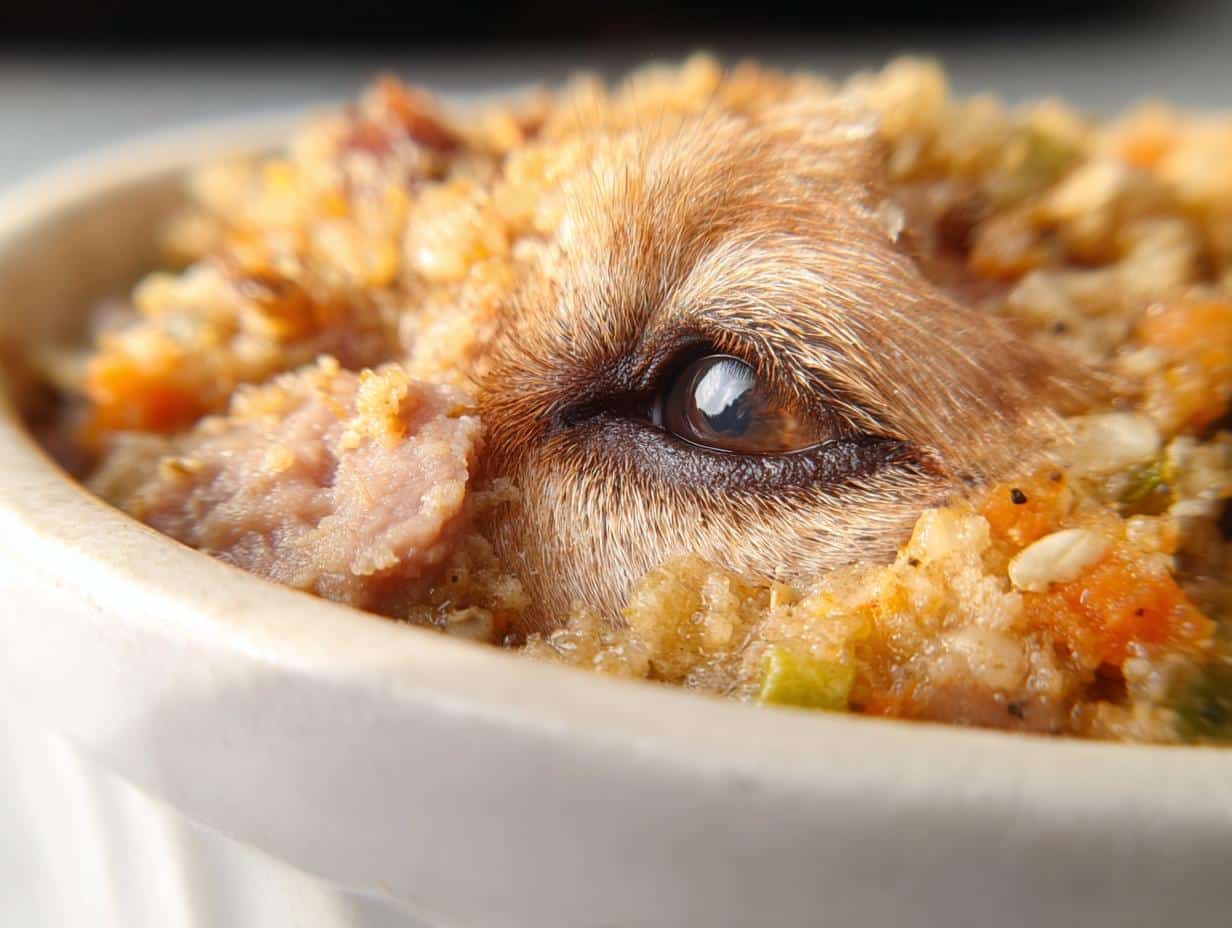
If you’re anything like me, your dog deserves snacks that are just as wholesome as what you make for yourself. I got tired of reading complicated ingredient labels filled with mystery fillers, so I started looking for something truly natural. That’s when I nailed down this recipe for Butternut Squash Dog Treats, and my pup goes wild for them!
Seriously, these are the best dog food additions because they only have four simple things in them. I started making these right around the time my old guy, Buster, started getting a little sensitive to store-bought crackers. These homemade treats are so easy, and knowing exactly what’s going into his belly makes me feel so much better as a pet parent.
Why You Will Love These Butternut Squash Dog Treats
I know you just want the best for your furry family member, right? That’s why I keep coming back to this recipe. They aren’t just tasty for the pups; they’re genuinely good for them too. You can feel great about what you’re feeding them after pulling these from the oven.
- They are packed with dog-friendly nutrients from real butternut squash.
- You only need four staple ingredients—no weird stabilizers or preservatives here!
- Making a big batch is super fast, meaning less time in the kitchen for you.
- My hardest-to-please taste-tester absolutely devours these every time we bake a batch. Plus, looking at other easy pumpkin dog treats recipes, I know how much dogs love that autumn squash flavor!
Essential Ingredients for Perfect Butternut Squash Dog Treats
When we talk about keeping things healthy, the ingredients list has to be short and sweet. That’s the beauty of these butternut squash dog treats—there’s nothing in here I wouldn’t eat myself, texture aside, of course! Trust me, avoiding the bad stuff is key for happy tummies all around.
You only need four powerhouse players for this recipe. Make sure you have your butternut squash puree pre-measured and totally cooled down before you start mixing. Nobody wants warm dough!
- Butternut Squash Puree: You need one full cup, and listen closely—it must be cooked and cooled! If you used roasted squash, make sure it’s smooth as silk.
- Whole Wheat Flour: Two cups go in here, but don’t panic if your dog is sensitive; you can swap this for oat flour, which I’ve heard great things about.
- Peanut Butter: Two tablespoons are needed, but this is vital: it HAS to be xylitol-free. That artificial sweetener is poison for dogs, so double-check that label every single time.
- Cinnamon: Just one teaspoon brings that warm spice that makes these dog treats irresistible, and it’s totally safe for canines in small amounts. Check out these 3 ingredient homemade frosty paws dog treats for more simple inspiration!
Equipment Needed for Homemade Butternut Squash Dog Treats
You don’t need a fancy kitchen setup for this recipe, which is honestly one of my favorite parts! Keeping things simple means you can whip up a batch of these healthy dog snacks whenever the mood strikes. Grab these three basic tools, and you are set!
You’ll need:
- A sturdy mixing bowl for bringing all those good flavors together.
- A standard baking sheet—line it up with parchment paper first so cleanup is a breeze.
- A rolling pin to get that dough nice and flat before cutting; you want consistent thickness so they bake evenly.
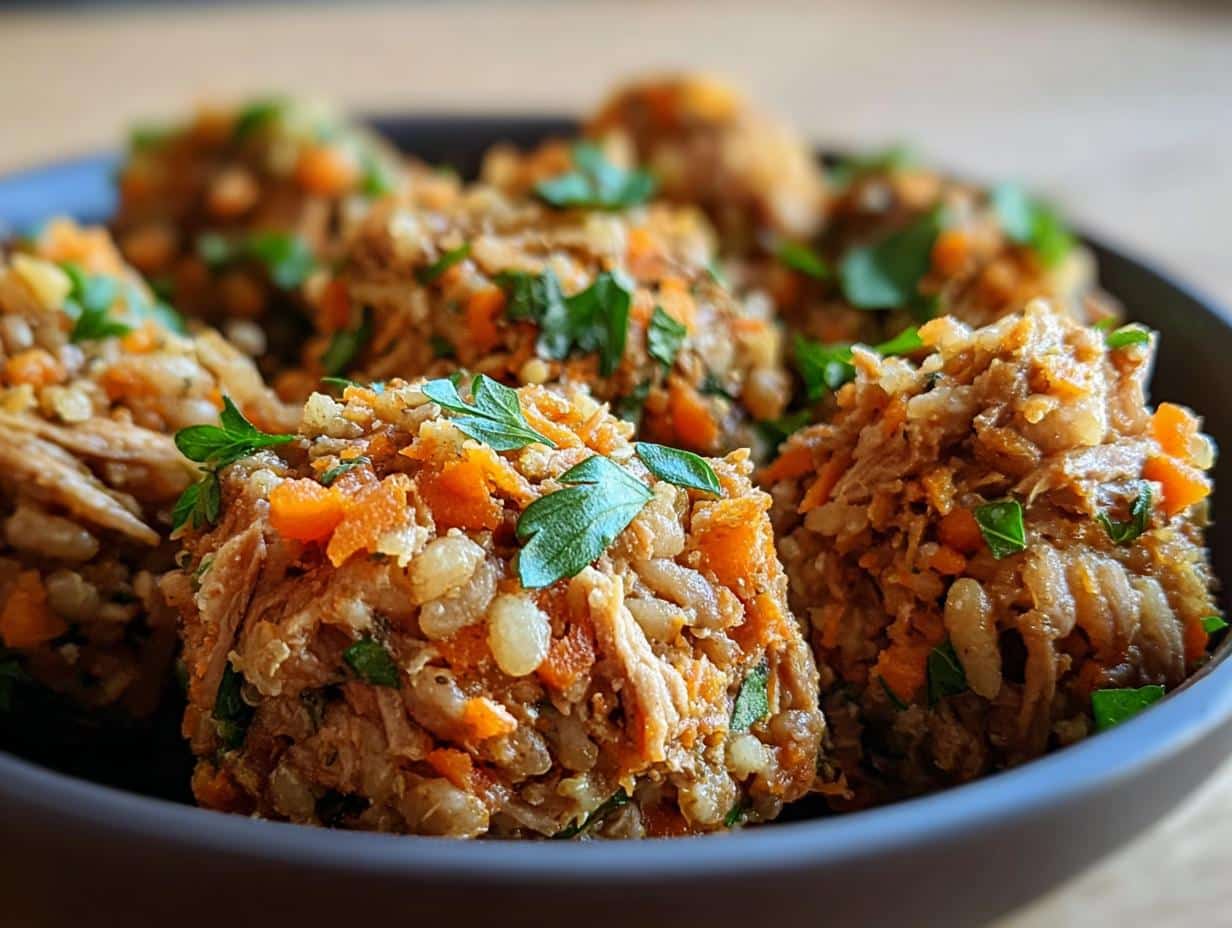
Step-by-Step Instructions for Butternut Squash Dog Treats
Listen, the process for these butternut squash dog treats is so smooth, you’ll wonder why you haven’t been making them forever. It’s basically mixing wet, adding dry, rolling, and baking. Before you even touch the squash puree, get your equipment ready!
- Get the Oven Ready: First things first, pop that oven to 350°F (175°C). You want it hot and ready to go. Then, grab your baking sheet and line it perfectly with parchment paper. This step stops anything from sticking, which is a lifesaver.
- Combine the Wet Stuff: In your main mixing bowl, toss in that cooled butternut squash puree, your xylitol-free peanut butter, and the little bit of cinnamon. Just give it an initial swirl with a spoon until it looks combined.
- Introduce the Flour: Now, we add the flour gradually. I mean it—little by little! If you dump all two cups in at once, you’ll end up with a crumbly mess. Mix until *just* combined.
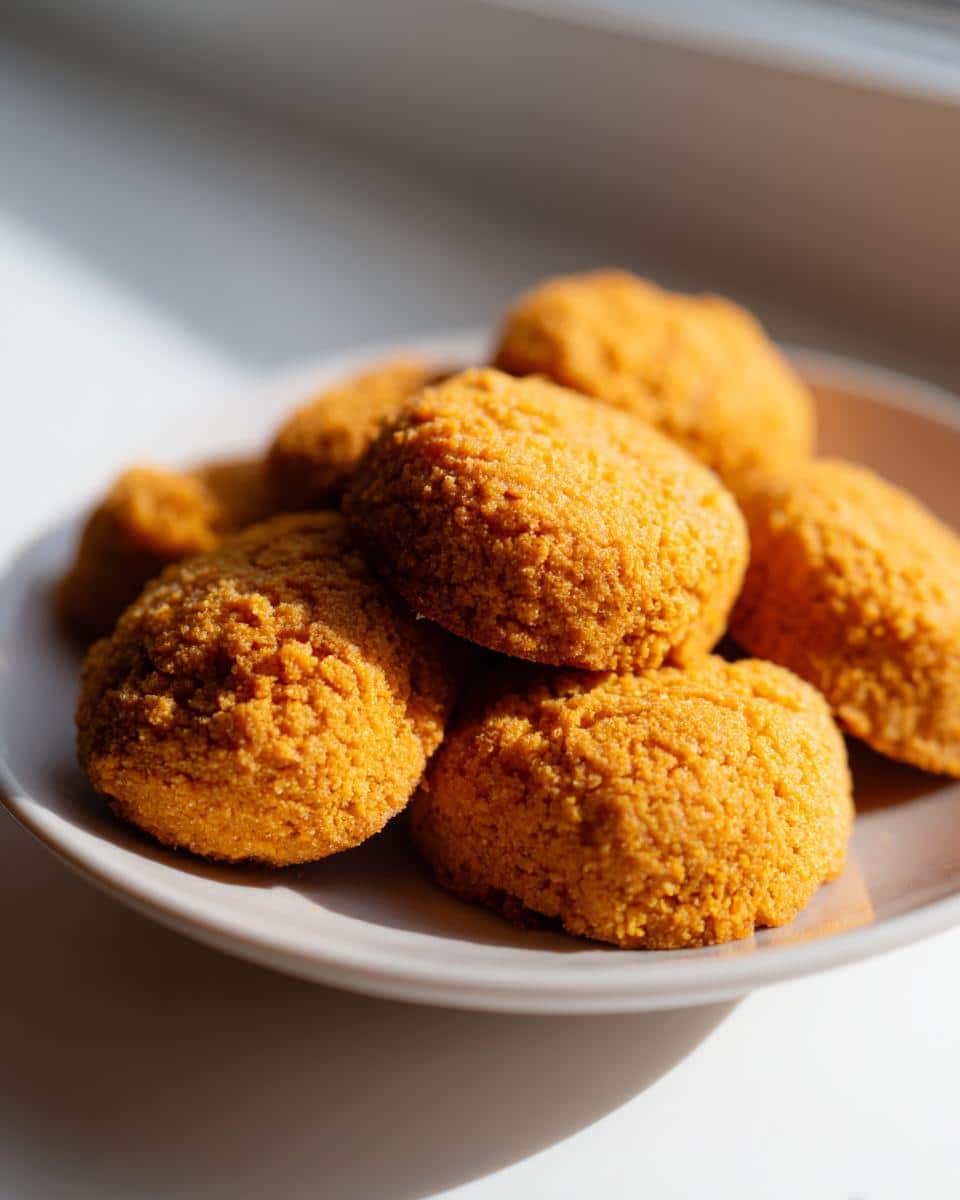
- The Dough Test (My Expert Tip!): Remember, you are looking for a stiff dough. If it still feels sticky or gooey after adding most of the flour, add a tiny sprinkle more. If it gets too hard to mix, you’ve gone too far! It should look like play-dough, ready to be handled.
- Time to Roll: Lightly dust your counter with a little extra flour. Pat the dough down and use your rolling pin to flatten it out. Aim for about a 1/4 inch thick. Consistency is key here if you want them all done around the same time; some of the best puppy treat recipes need this attention to detail!
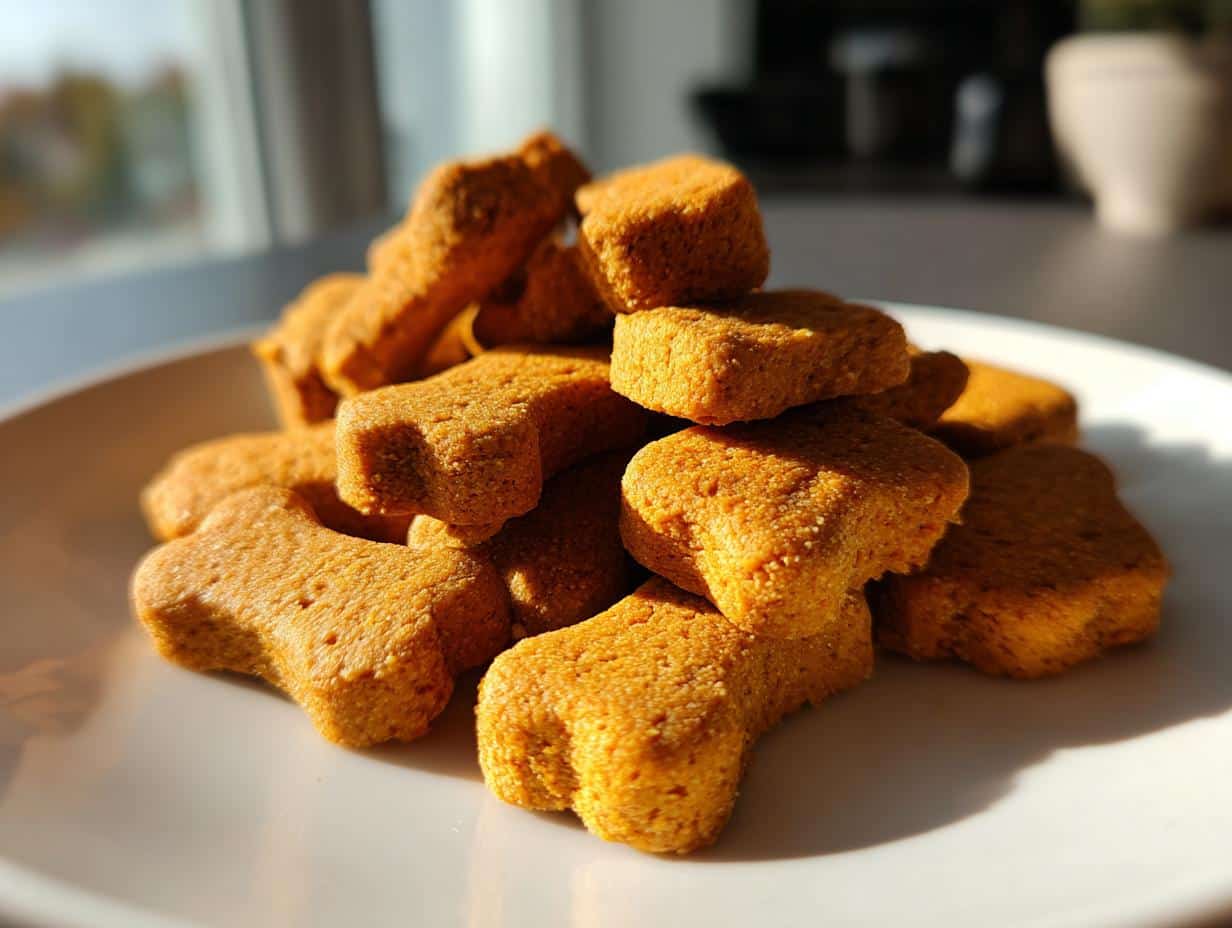
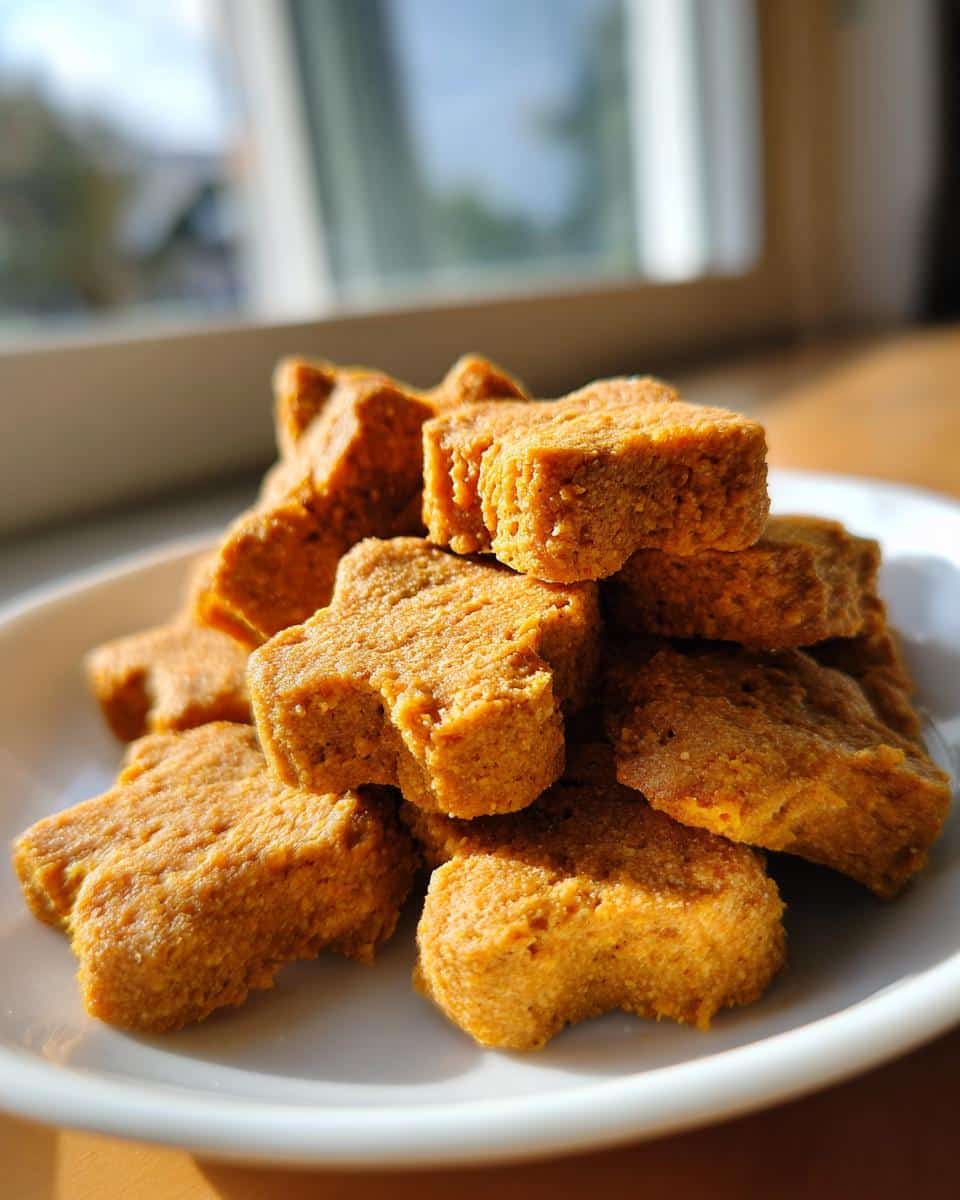
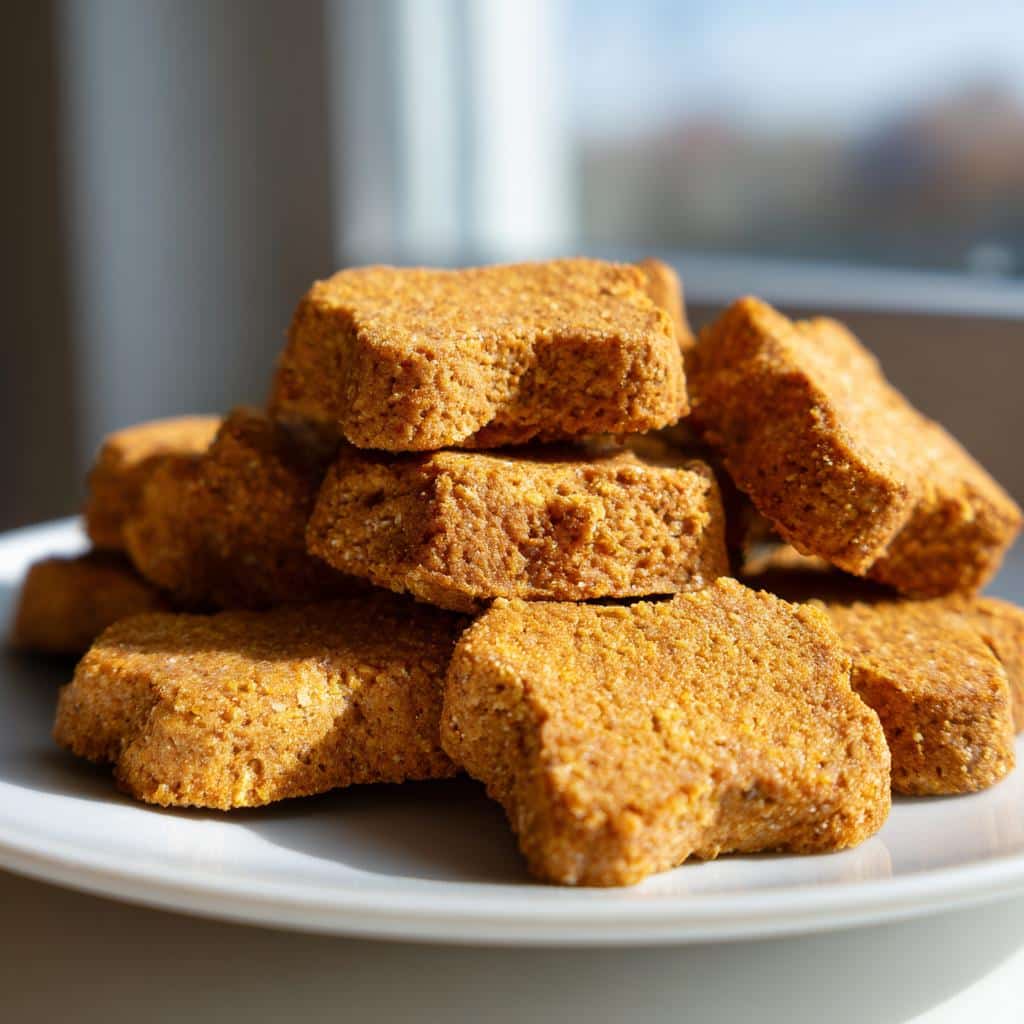
- Cut Fun Shapes: Grab whatever cute cookie cutters you have! Dogs don’t care about fancy edges, but they love fun shapes. Give them a little press down nice and firmly to make sure they cut cleanly.
- Pan Placement: Carefully move those cut-out butternut squash dog treats onto your parchment-lined sheet. Make sure they aren’t touching—they won’t spread like human cookies, but we want even airflow around each one.
- Bake Time: Slide that sheet into the hot oven for about 20 to 25 minutes. You’re looking for edges that are just lightly kissed with brown and a treat that feels firm when you tap it gently. After they come out, learning from other pumpkin yogurt dog treats recipes, always let them cool completely on a wire rack before giving one to your best friend.
Tips for Success When Making Butternut Squash Dog Treats
Even though this recipe is super simple, a few little tricks can make the difference between a good batch and the BEST batch of healthy dog snacks. I’ve learned these the hard way, so you don’t have to waste that precious squash!
First, the moisture level of your puree is everything. If your puree is watery, your dough will be a nightmare to roll out, trust me. You want thick, creamy puree. If yours seems wet, let it sit in a sieve lined with cheesecloth for an hour beforehand to drain off any extra liquid.
Second, don’t skip the cool-down period for those baked goodies. They firm up a lot as they fully cool on the rack. If you try to test them when they are warm, they might crumble apart, and that’s just sad waste! Remember, the cooling time is just as important as the bake time, kind of like cooling pie crust when making blueberry dog biscuits.
Finally, when rolling, use flour sparingly on your surface, but press firmly when you cut the shapes. A gentle press might not seal the edges enough, leading to breakage once hard. A firm, decisive cut gives you nice, clean edges that hold their shape perfectly!
Ingredient Substitutions for Your Butternut Squash Dog Treats
I know not everyone stocks whole wheat flour, or maybe your dog needs something a little easier on the tummy. It’s great that we have options when making these homemade butternut squash dog treats! The ingredient list is short, but you still have some flexibility.
The most common swap I get asked about is the flour. If you’re out of whole wheat or keeping things grain-free-ish, go ahead and use oat flour instead! Oat flour works wonderfully; it keeps that nice structure when you roll it out. Just measure it cup-for-cup where you would use the wheat flour.
Now we *must* talk about the peanut butter again. I can’t stress this enough: always, always, always check that label for xylitol. It’s a silent danger, and even if you substitute the flour, you can’t compromise on the peanut butter safety. Treat this rule like law!
If, for some reason, you were making a sweet potato version, like those sweet potato dog biscuit recipes, you’d use the same process here. Butternut squash is just as good and easy to puree, making for fantastic, healthy dog snacks!
Storage and Freezing Instructions for Butternut Squash Dog Treats
Okay, you’ve successfully made 30 amazing, healthy dog snacks! Now you have to store them correctly so they stay fresh for your pup. Since we didn’t use any weird preservatives, these treats need a little special handling compared to the store-bought stuff.
The best way to keep them fresh for day-to-day snacking is an airtight container right in the refrigerator. They should stay perfectly good for about a week that way. Don’t leave them sitting out on the counter!
If you made a giant batch, which I always do, you absolutely must freeze them. Pop them into a freezer-safe bag or container, and they will last for months! When Buster gets impatient, I just pull out a little handful and let them thaw on the counter for about ten minutes. It’s so easy compared to mixing up a new batch of pumpkin applesauce dog treats!
Frequently Asked Questions About Butternut Squash Dog Treats
I know when you’re making something new for your best friend, you always have a few nagging questions rattling around. Don’t worry; I’ve gotten asked all of these before, so let’s clear up the confusion about these wonderful butternut squash dog treats so you can bake with confidence!
Are these treats safe for puppies?
That’s a great safety question! Generally, yes, these are safe for older puppies once they are weaned and used to solid food. Since the ingredients are so simple, they are easy to digest. However, puppies have sensitive stomachs, so when you first introduce them, start small—maybe just half a treat to see how they react. Skip the whole batch until you know your little one tolerates the fiber!
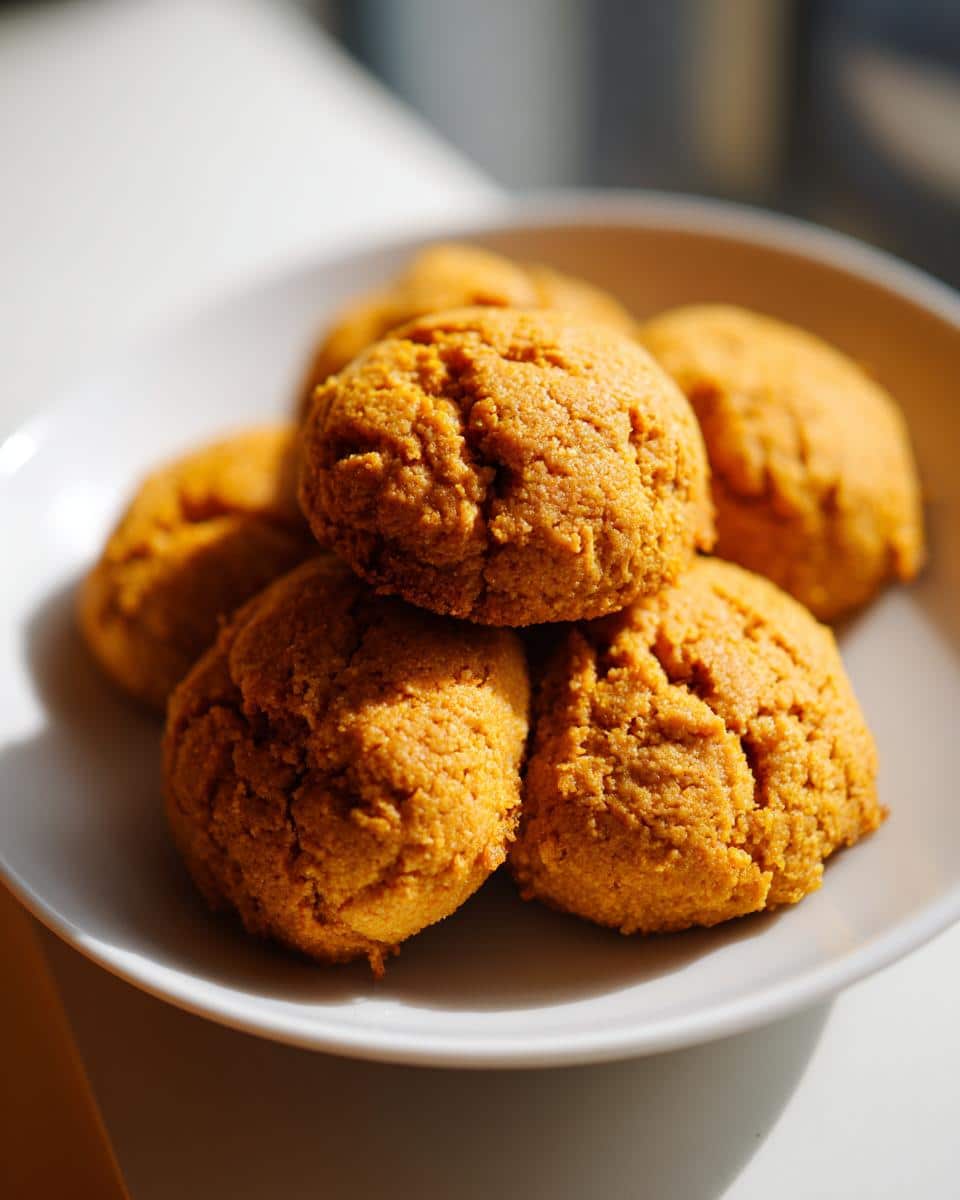
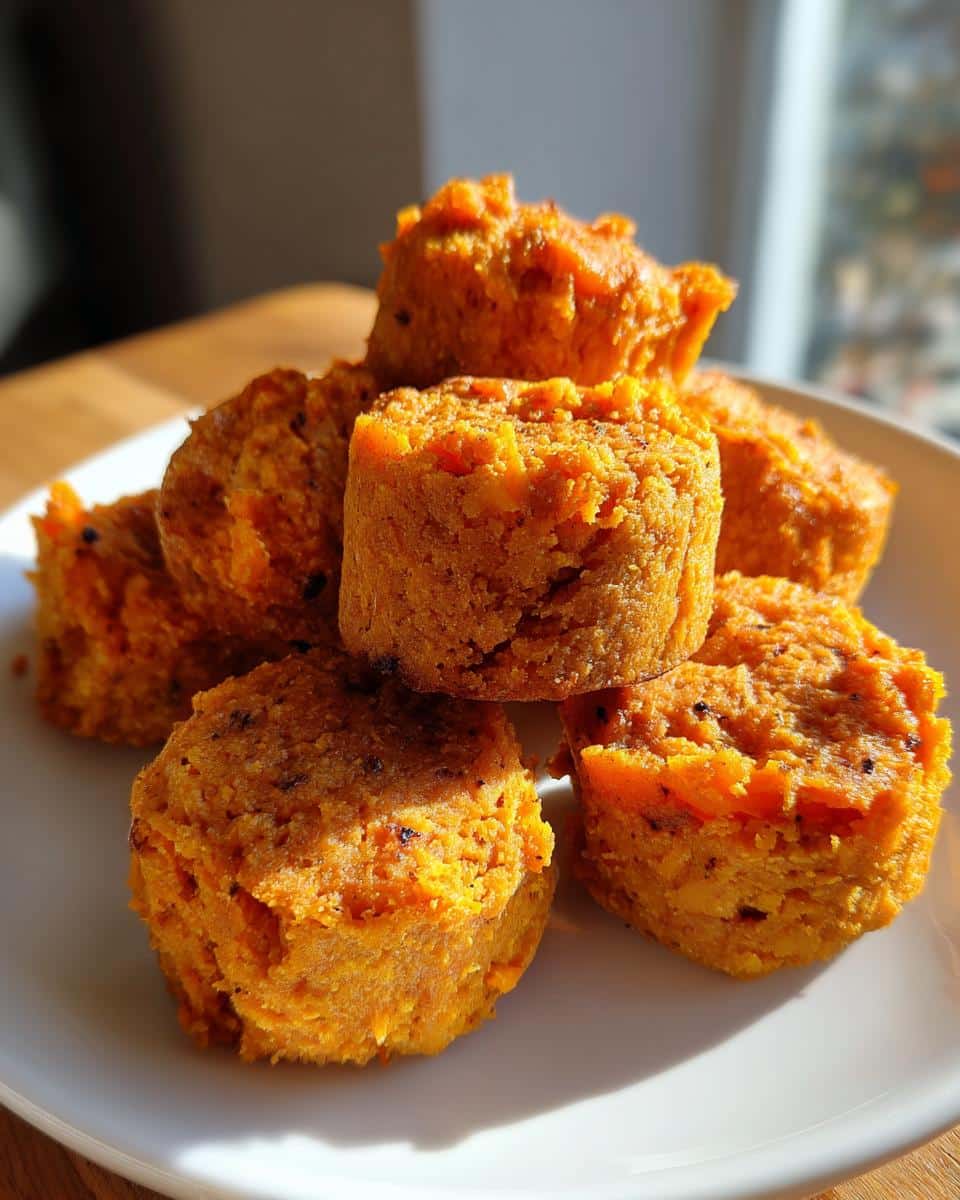
What should the texture of the finished treat be like?
The texture is important for keeping these healthy dog snacks firm! You want them to be firm all the way through once they are completely cooled. They shouldn’t crumble apart when you pick them up, but they also shouldn’t be hard as a rock. If they are too soft after baking, that usually means your puree was a little too wet, or you needed a couple more minutes in the oven. If yours end up a little softer, you can always bake them again for five minutes to dry them out.
Can I use canned pumpkin instead of butternut squash?
Absolutely, you can! Pumpkin and butternut squash are nutritional cousins when it comes to dog treats. If you use canned pumpkin, make sure it is 100% pure pumpkin, NOT pumpkin pie filling. The filling has too much sugar and spices, which aren’t ideal for our pups. If you have to switch, use the same measurement for the puree!
Do these Butternut Squash Dog Treats taste like spice?
No! That one teaspoon of cinnamon is mostly for warmth and is beneficial in those small amounts, but your dog won’t taste a heavy spice profile. They mostly taste the savory squash and the peanut butter. They aren’t sweet like human cookies, making them perfect dog food additions. If you want to try another flavor variation later, check out my notes on making oat dog cookies!
Estimated Nutritional Information for Butternut Squash Dog Treats
It’s the responsible thing to do, even if they are just homemade snacks. I always keep track of what’s going into Buster’s bowl, and I know you do too! These numbers give us a good baseline for understanding the goodness packed into each one of these healthy dog snacks.
Keep in mind that these are just estimates, you know? How much you roll the dough out, or if you use oat flour versus wheat flour—that slightly changes things. But based on the recipe measurements, here is what you can generally expect per dog biscuit:
- Calories: About 100
- Carbohydrates: 15 grams
- Protein: 3 grams
- Fat: 3 grams
- Fiber: 2 grams
That fiber content from the squash is fantastic, by the way! It’s why these are so much better than grabbing a bag off the shelf. Always remember that these values apply to a single treat cut to the size we discussed, so if you make tiny little bites, the numbers go down, obviously. If you’re looking for other protein-packed ideas, take a peek at my dog biscuit recipes with chicken next time!
Butternut Squash Dog Treats
Ingredients
Equipment
Method
- Preheat your oven to 350°F (175°C). Line a baking sheet with parchment paper.
- In a mixing bowl, combine the butternut squash puree, peanut butter, and cinnamon.
- Gradually add the flour to the wet ingredients, mixing until a stiff dough forms.
- Lightly flour a clean surface. Roll the dough out to about 1/4 inch thickness.
- Use cookie cutters to cut out shapes for your dog treats.
- Place the cut-out treats on the prepared baking sheet.
- Bake for 20 to 25 minutes, or until the edges are lightly browned and the treats are firm.
- Let the treats cool completely on a wire rack before serving or storing.