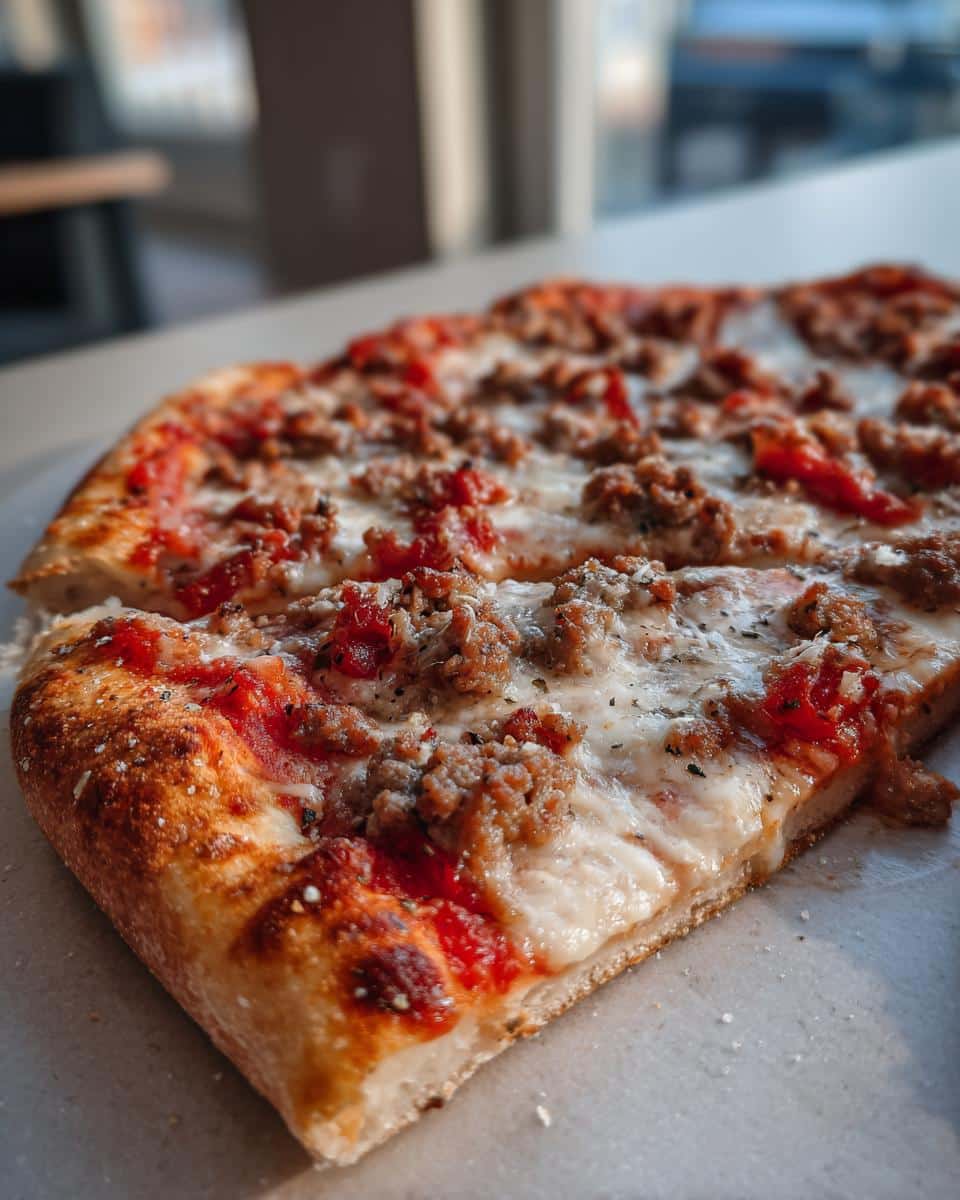
Oh my gosh, you know those nights when you just want to order your favorite takeout, but then you look down and see those puppy-dog eyes staring? I totally get it! Sharing human foods can be scary because so much of what we eat is a big no-no for our furry friends. But guess what? I cracked the code on safe, homemade indulgence! We’re making a totally safe, simple Dog Friendly Pizza using barely any ingredients. Watching my little guy gobble this down makes me feel like we’re having a real pizza night together. Trust me, this recipe is a keeper for special treat time.
Gathering Ingredients for Your Dog Friendly Pizza
Okay, before we even think about mixing anything, we have to talk about ingredients. This is where most people mess up when trying to make anything for their dogs, and we absolutely can’t have any hidden nasties in this Dog Friendly Pizza!
Everything needs to be plain, people! No salt, no onion powder, absolutely no garlic. I’m talking about the most basic versions of these items. Think about it: if you wouldn’t eat it plain off the cutting board, your dog shouldn’t either. We’ve broken this down into two simple groups so you don’t miss a thing.
For the Dog Friendly Pizza Crust
This crust is super basic, which is exactly what we want.
- 1 cup Whole wheat flour (If your pup has a sensitive tummy, use oat flour instead—it works like a charm for gluten-free doggos!)
- 1/2 tsp Baking powder
- Approximately 1/4 cup Water (Add this slowly, you might need a splash more or less depending on your flour!)
For the Dog Friendly Pizza Topping
This is the fun pepperoni and cheese part, but dog-safe style, of course.
- 2 tbsp Plain tomato paste (Seriously, check the label! We want zero onions or garlic lurking in there.)
- 1/4 cup Shredded low-sodium mozzarella cheese (Optional! Use just a tiny sprinkle if you decide to include cheese.)
- 2 tbsp Cooked, crumbled lean ground beef or chicken (Make sure it’s plain—no seasoning whatsoever!)
Essential Equipment for Making Dog Friendly Pizza
We truly are making this easy, friends. While I usually pull out every single gadget in my kitchen, for this simple Dog Friendly Pizza, we only need the basics. Having the right tools makes the process fly by, and that means more time for playing fetch afterward!
You don’t need a fancy stand mixer for this dough. In fact, hand-mixing is often better to avoid overworking it. Here’s what you’ll grab from the cupboard:
- One reliable mixing bowl. Nothing fancy, just big enough to get your hands messy!
- A standard baking sheet. This is what we bake our little pizza right on.
- Parchment paper. I never skip this step! Lining the sheet with parchment means zero sticking, and cleanup is just wiping the paper clean. You’ll thank me later when you don’t have to scrub caramelized cheese off your pan.
Step-by-Step Instructions for Dog Friendly Pizza
Now for the best part—actually making this fun stuff! When I make this for my dog, I try to keep everything moving quickly so that dough doesn’t get fussy. It’s really straightforward, but these little steps are key to ensuring you get a great, bendy crust instead of a hard cracker.
Preparing the Oven and Mixing the Dog Friendly Pizza Dough
First things first, get that oven warmed up! You’re aiming for 375°F (190°C). While it heats, line your baking sheet—remember, parchment paper is your best friend here for easy cleanup later. Grab your mixing bowl and toss in the flour and the baking powder. Give those two a quick whisk just to make sure they are introduced properly.
Now, slowly start pouring in that water. Don’t dump it all in at once! You want to mix until you get a stiff dough. Sometimes my flour is drier than other days, so you might need a teaspoon more or less. Stop mixing when it just comes together into a manageable ball that isn’t sticky anymore. We aren’t kneading bread here!
Shaping and Topping Your Dog Friendly Pizza
Lightly dust a clean surface—maybe your cutting board or counter—with a bit more flour. Take your dough ball and roll it out until it’s pretty thin, aiming for about a 1/4 inch thickness all over. You want that crisp-style crust, not a deep dish! Carefully transfer this onto your lined baking sheet.
Next up, the sauce! Take your plain tomato paste and spread it thin across the dough. Be sure to leave a little edge bare around the perimeter; that’s the crust boundary! Then, sprinkle that cooked, unseasoned meat all over, followed by your optional tiny amount of mozzarella cheese. Keep the toppings light!
Baking and Cooling the Dog Friendly Pizza
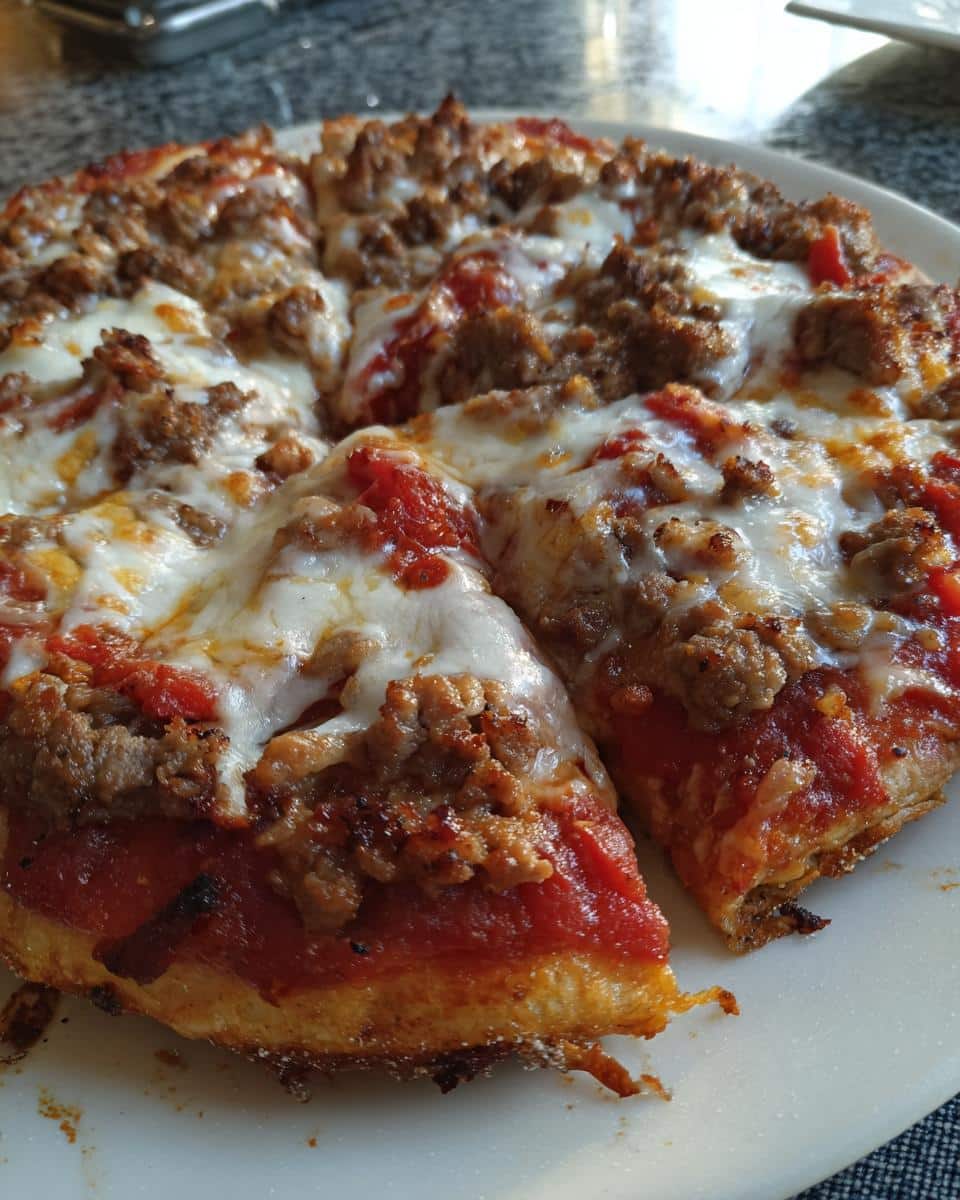
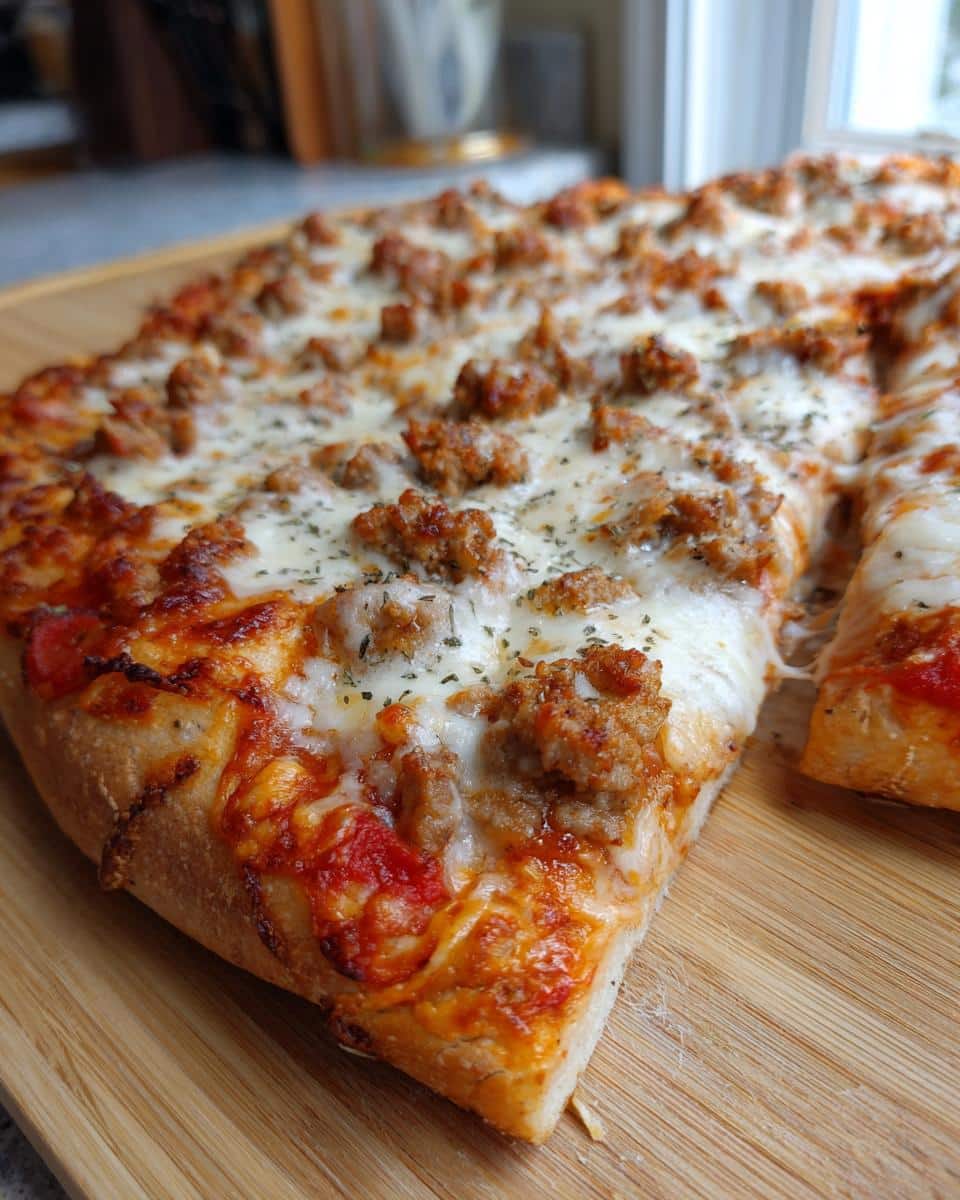
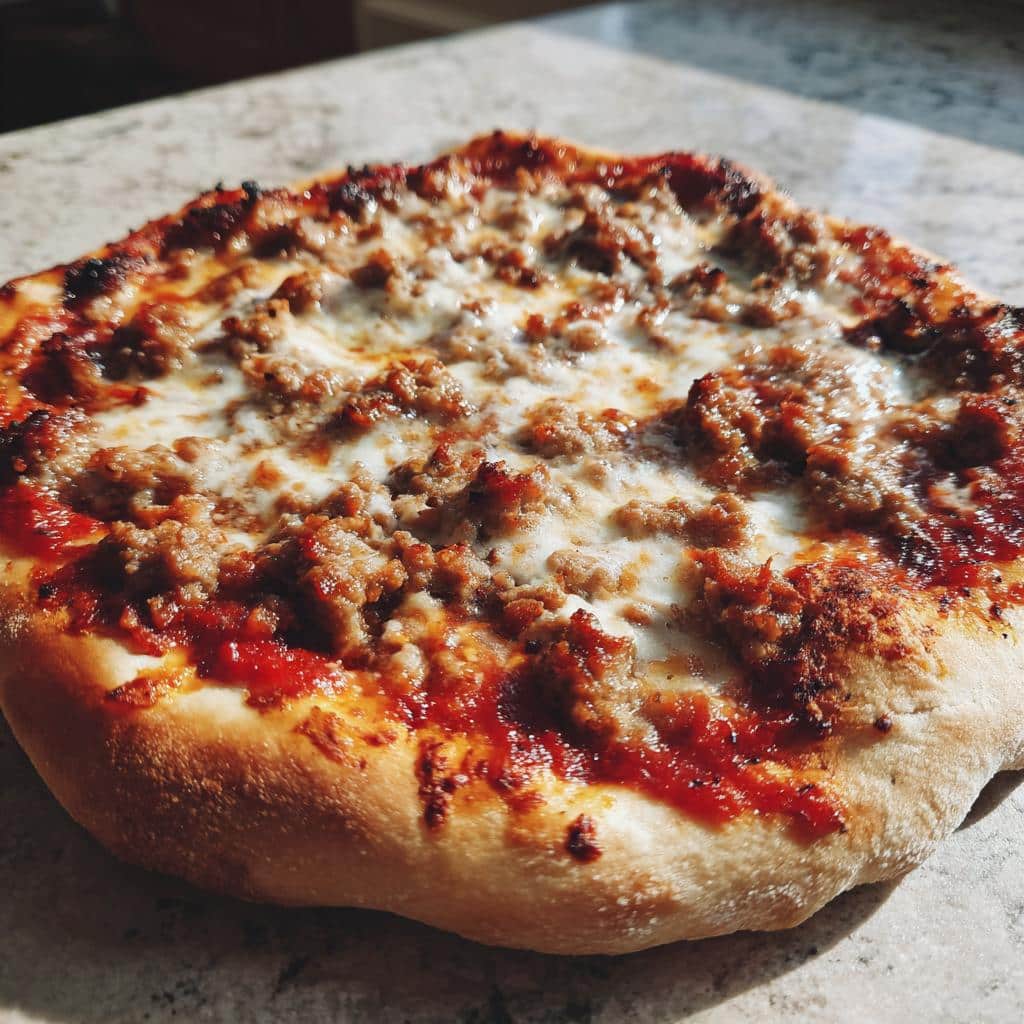
Pop that baking sheet right into your preheated oven. It won’t take long at all! Bake this little Dog Friendly Pizza for about 12 to 15 minutes. You know it’s done when the crust looks firm and has a barely golden tint to the edges, and if you used cheese, it’s melted.
This part is super important for safety: let it cool completely! I mean it. Hot pizza crust can burn your dog’s mouth easily. I usually pull it out, let it sit on the pan for about ten minutes, and then transfer it to a cooling rack. Once it’s room temperature, that’s when you cut it into the tiny, safe squares you’ll use for treating. Never serve it warm!
Tips for Perfect Dog Friendly Pizza Every Time
We all want our dogs to enjoy this treat, so let’s make sure this Dog Friendly Pizza turns out just right and doesn’t result in a sticky mess on my baking sheet!
The biggest thing I’ve learned over the years is that dough consistency is everything. If your dough feels too wet when you try to roll it out—like it’s spreading out on its own—you need to add flour, maybe just a tablespoon at a time. It should feel somewhat stiff, like playdough, before you roll it thin. If it’s too dry and crumbly, add water back, just a teaspoon!
When it comes to the meat, you absolutely cannot guess on this. I always cook the ground meat (whether it’s beef or chicken) in a separate pan first, right? Drain every single bit of fat off that meat. We don’t want any greasy residue seeping into our crust. Once it’s crumbled and drained, it’s safe to sprinkle on top.

My personal favorite tip, and this is a big one for serving, is cutting etiquette. You might be tempted to slice it like a giant human pizza, but remember this is a special treat, not a meal replacement. I use a pizza cutter and slice it into tiny little squares—think postage stamp size for smaller dogs. That way, the whole small pizza lasts longer, and you can share those little bites over several days!
Also, if you find the edges are browning way faster than the center, just slide a piece of aluminum foil loosely over the edges halfway through the baking time. This shields them and lets that dough center cook through properly before it turns into charcoal. We’re going for lightly golden, not crispy black!
Ingredient Notes and Safe Substitutions for Dog Friendly Pizza
Because we are making this Dog Friendly Pizza for our best friends, we have to be super critical about the ingredients we use. Even something simple like flour has options depending on your dog’s needs, and that’s where experience really shines through in the kitchen!
I know buying specialty flour can be a pain, but it’s important for some pups. If you know your dog is sensitive to gluten—which many dogs are, even if they don’t show immediate symptoms—you must make the swap in the crust. Whole wheat flour is great for most, giving a nice structure, but oat flour is a superstar alternative. It blends beautifully and keeps that crust soft enough without causing tummy troubles later.
Let’s talk protein. I suggested plain ground beef or chicken because that’s usually what people have on hand that’s unseasoned. But if you’re cleaning out the pantry and only have something else, you have options! You can absolutely use plain canned fish, like tuna or salmon, but listen closely: it has to be packed in *water*, not oil, and you must drain it completely. Nobody wants a greasy crust seeping fat into the parchment paper!
If you skip the cheese entirely (which is totally fine, a lot of dogs are lactose sensitive anyway), you might feel like the topping is a bit dry. To compensate just a tiny bit without adding more dairy, you can mix your cooked meat crumbles with about half a teaspoon of plain, unsalted pumpkin puree. It works wonders for texture and is fantastic for digestion. It’s my little trick when I want something extra special in their Dog Friendly Pizza topping!
Remember, the absolute rule remains: if it contains any spices, salt, sugar, or garlic/onion powder, it’s a hard pass. We are keeping this clean so we can serve it guilt-free!
Serving Suggestions for Your Dog Friendly Pizza Treat
I know, I know, they look so good that you might be tempted to just hand over half the pizza right then and there, but hold your horses! This Dog Friendly Pizza is designed exclusively as a special occasion treat, not a free-for-all meal supplement. We put time and effort into making sure it’s safe, so let’s make sure we use it responsibly!
Think of this as a celebratory snack—maybe for finishing a training session strong, or for a movie night when you absolutely *must* have pizza. Because the crust is made with whole wheat flour, it has a bit more substance than a standard cracker, so portion control is key. I always stick to those tiny little squares I mentioned earlier.
When serving up these little pizza squares, I always make sure there is fresh, cool water available nearby. Even though our ingredients are simple, any new snack—even a safe one—can make a dog thirsty. Plus, hydration is always good!
For something extra special, especially if you’re serving this on a warm day, try pairing a piece with a little dab of something plain and liquidy. My current obsession (which I make separately, of course!) is plain bone broth. I keep my broth refrigerated so it’s nice and cool. A tiny drizzle right over the crust, or just serving a little bowl of chilled broth alongside the pizza piece, makes my dog sit up like he just won the lottery. It feels fancy, but it’s just clean, simple hydration added to a fun treat moment!
Never feed this pizza as part of their regular meal. It should be given separately, maybe an hour or two after their usual bowl of kibble. Keep those main meals balanced, and use this delicious Dog Friendly Pizza as the fun bonus it’s meant to be!
Storage and Reheating Instructions for Dog Friendly Pizza
So, the good news is that this Dog Friendly Pizza doesn’t disappear in five minutes, even though my dog wishes it would! If you managed to save a few of those tiny squares—which, good for you!—you need to store them correctly so they stay fresh and safe for later snack time.
The most important thing to remember is that since we didn’t use any harsh preservatives, we need to treat leftovers like you would any homemade baked good. That means they need to go into the fridge fairly quickly. Don’t leave them sitting out on the counter for hours!
Grab an airtight container. I prefer glass containers because they don’t absorb odors, but any container that seals tightly works best. Pop those cooled pizza pieces inside, seal it up tight, and slide it into the refrigerator. These little treats should keep perfectly well for about three to four days. Honestly, mine rarely make it past day two because my dog figures out where I hid them, but four days is a safe bet for the crust integrity.
Now, let’s talk about reheating. My default setting for dog treats is “nope” on the reheating front, especially for something thin like this Dog Friendly Pizza crust. Reheating can sometimes dry it out or, worse, overheat anything in the cheese/meat topping, which we don’t want.
My best advice is always to serve them cold, straight from the fridge, or let them sit on the counter for about 15 minutes to come closer to room temperature. If they are still a little chilly, that’s totally fine with my pup!
If you absolutely must warm it up for a super cold day, do it delicately. I mean *delicately*. Pop a single square on a microwave-safe plate for just five or six seconds—no more! You are aiming to take the chill off, not to cook it again. If you want to go the toastier route, an air fryer set on the lowest setting for about two minutes gives a nice slight crispness to the crust without drying out the inside too much. But truly, room temperature is your safest and easiest option!
Frequently Asked Questions About Dog Friendly Pizza
It’s natural to have questions when you’re cooking human-style food for your dog! We want to make sure this Dog Friendly Pizza is the best and safest treat it can be. I’ve gathered the questions I get asked most often by friends bringing their pups over for pizza night!
Can I use regular pizza sauce instead of tomato paste for my Dog Friendly Pizza?
Whoa there! That’s a big, flashing warning sign! Please, please, please do not use regular store-bought pizza sauce on your Dog Friendly Pizza. Standard sauces are totally loaded up with seasonings—especially onion powder, garlic powder, and loads of salt. Those alliums (onion and garlic) are actually toxic to dogs, even in dried powder form.
We stick strictly to plain tomato paste because it’s just concentrated tomatoes. Double-check that label to make sure there isn’t any added sugar or spice mix. If you haven’t already, going with plain tomato paste is the safest call every single time!
Is this Dog Friendly Pizza suitable for puppies?
This is a great, cautious question. Because puppies have such sensitive, developing little tummies, I always say introduce *any* new food, including this Dog Friendly Pizza, very slowly. The digestive system of a little one isn’t ready to handle richer treats yet.
If your puppy is under six months old, I’d hold off unless your veterinarian specifically gives you the go-ahead. For older puppies, maybe start with just the plain crust piece first, without any toppings, just to see how they handle the whole wheat flour. If they do great after a day or two, then try a bite-sized piece of the fully dressed pizza. Always introduce new snacks one at a time so you know exactly what they are reacting well to!
How often can my dog eat this Dog Friendly Pizza treat?
Since this recipe uses flour and some cheese, we definitely can’t treat this like their daily kibble! This Dog Friendly Pizza should be reserved for special, occasional spoiling. I usually only make this once a month, or maybe when we are genuinely having a party.
Because it’s a treat, it should make up less than 10% of their total daily caloric intake. Stick to those tiny squares we discussed earlier, and you are keeping it fun without ruining their balanced diet.
What if my dog can’t have cheese?
No worries at all! I mentioned cheese is optional, and you should absolutely skip it if your dog has any known dairy sensitivities. Dairy isn’t a necessity in their diet, and it definitely doesn’t cause issues if left off this Dog Friendly Pizza.
If you skip the cheese, you might notice the topping seems a little sparse. If you want to add a little binder back in, use that trick I mentioned earlier: mix the cooked meat with just a tiny spoon of unsalted pumpkin puree. It keeps the moisture up without adding any dairy they can’t handle. They won’t even notice the cheese is missing!
Share Your Homemade Dog Friendly Pizza Creation
Whew! That’s the entire process for whipping up a safe, savory Dog Friendly Pizza. Honestly, the biggest reward isn’t even the perfectly baked crust; it’s seeing your dog’s face when they realize they’re getting a special slice!
I’m just so eager to hear what you think! Did your pup go bonkers for it? Was the whole wheat crust crunchy enough? Did you manage to keep the tomato paste plain? Please, I need to know the details!
If you made this recipe, I would be thrilled if you could drop a rating in the stars below. Even better? Snap a picture of your furry coworker enjoying their hard-earned treat and tag me on social media! Seeing those happy moments is truly what makes sharing these recipes worthwhile. Let’s celebrate our best friends safely!
Dog Friendly Pizza
Ingredients
Equipment
Method
- Preheat your oven to 375°F (190°C). Line a baking sheet with parchment paper.
- In a mixing bowl, combine the flour and baking powder.
- Gradually add the water to the dry ingredients and mix until a stiff dough forms. You may need slightly more or less water.
- On a lightly floured surface, roll the dough out into a thin circle, about 1/4 inch thick. Transfer the dough to the prepared baking sheet.
- Spread the plain tomato paste thinly over the dough, leaving a small border for the crust.
- Sprinkle the cooked meat and the optional cheese evenly over the tomato paste.
- Bake for 12 to 15 minutes, or until the crust is firm and lightly golden. The cheese should be melted if you used it.
- Let the pizza cool completely before cutting it into small, manageable pieces for your dog.