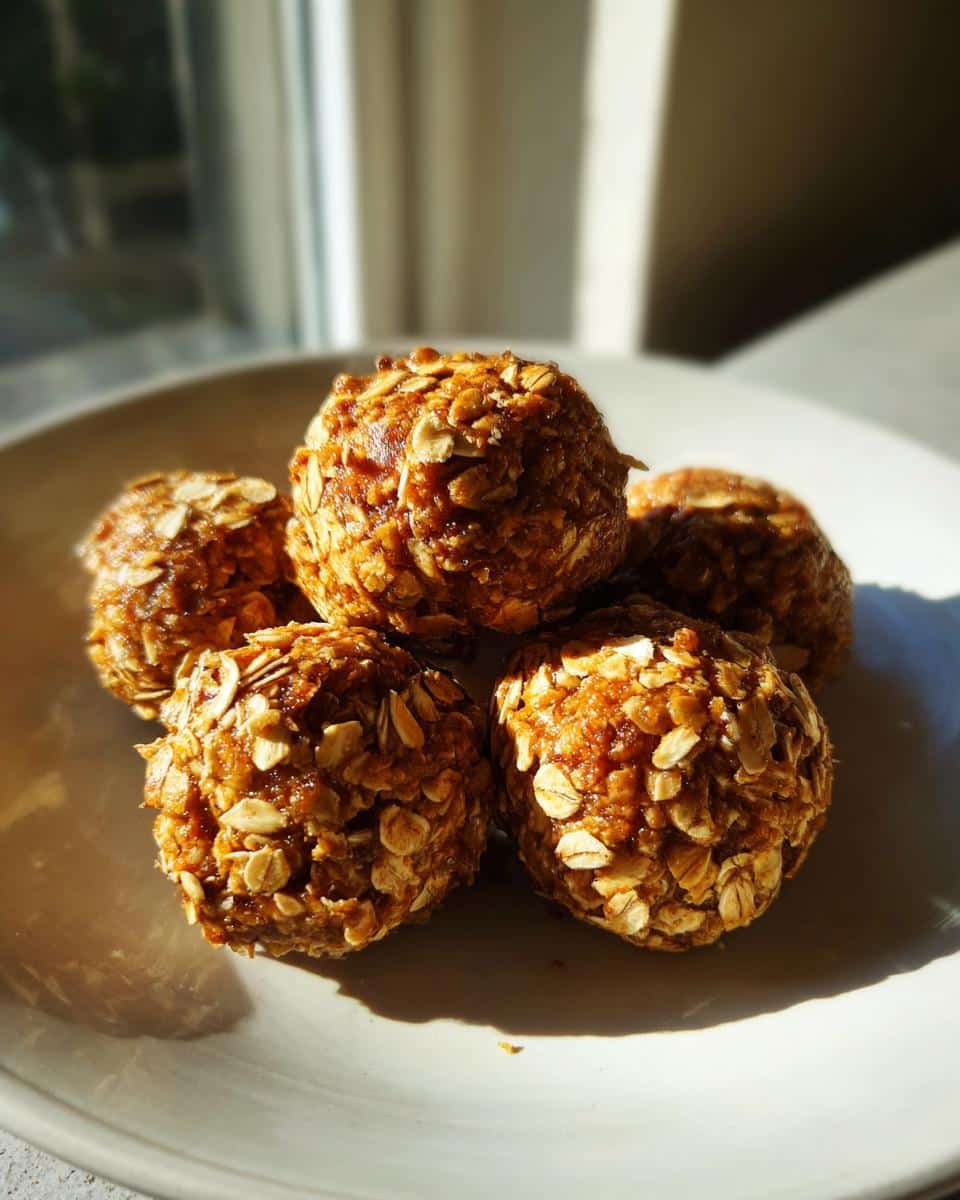
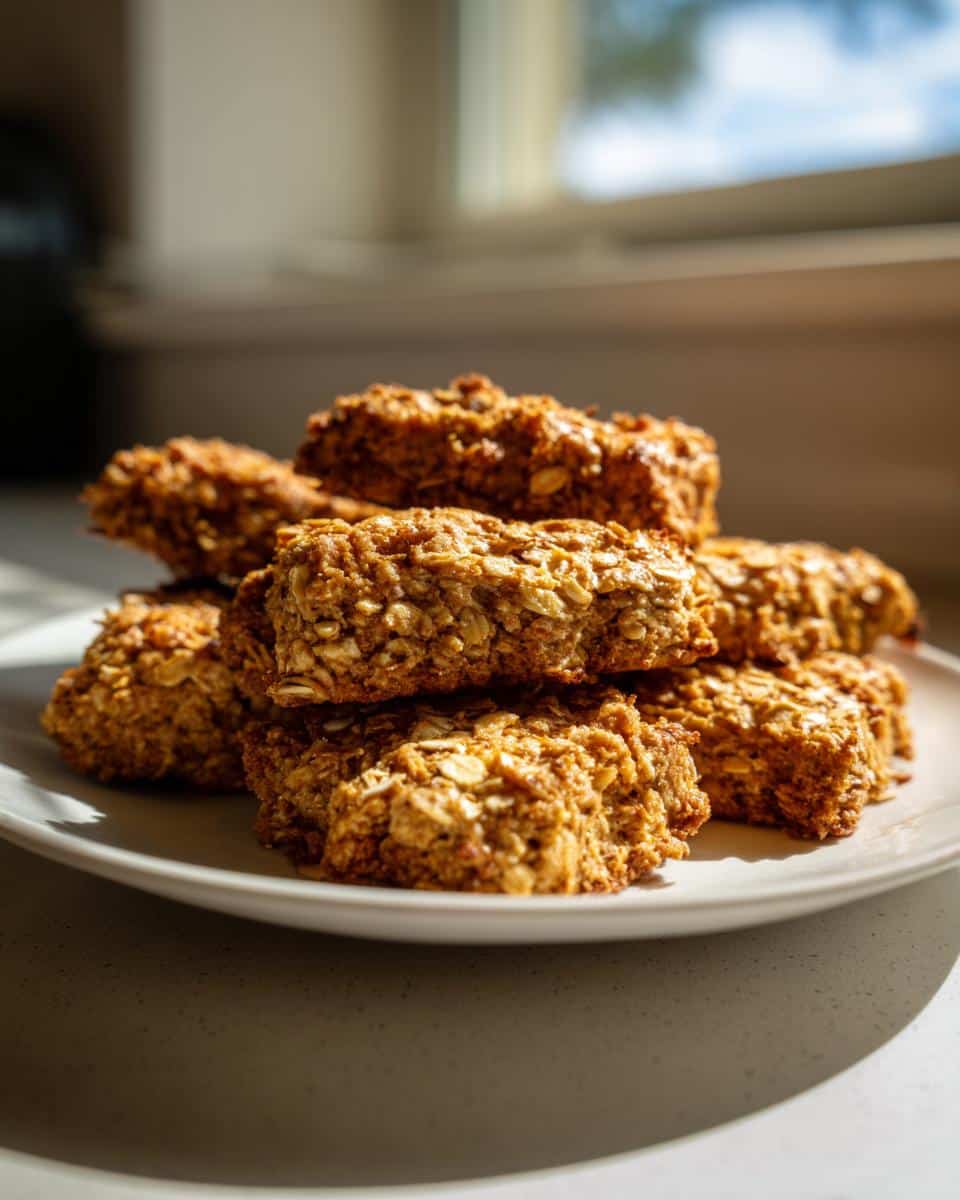
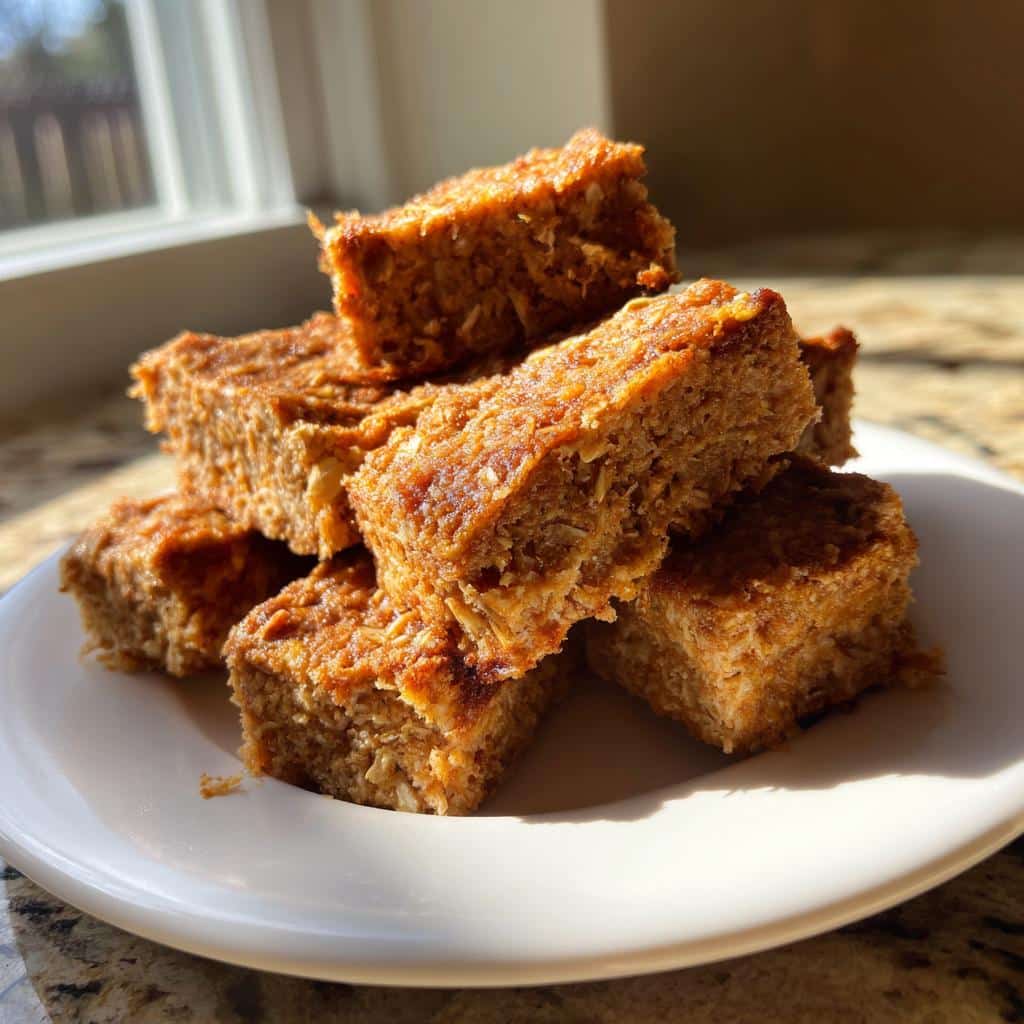
Oh my goodness, if you’ve been scrolling through the internet looking for easy, healthy homemade dog snacks, stop right now! Seriously, put your phone down and grab a can opener because we are making the absolute easiest baked treats today. My pup, Buster, goes absolutely bananas for these Salmon & Oat Treats. I mean, he hears the rolling pin come out and he’s doing his little happy dance by the pantry. What I love most is that they use just five simple ingredients. No weird fillers, no strange chemicals—just good, honest food baked fresh for your best friend. If you want more quick recipes like this, you should definitely check out my list of 14 easy homemade dog treats. Trust me, these treats are going to be your new go-to, and they require almost no effort!
Why You Will Make These Salmon & Oat Treats Often
I know you’re busy, and I know you want the best for your furry pal, which is why I keep coming back to this recipe time and time again. These Salmon & Oat Treats just tick every single box. They’re fast, they’re packed with good stuff, and honestly, the dogs go absolutely wild for that savory salmon flavor.
- They only need five ingredients—that’s it! Keeping pantry staples stocked means I can whip these up whenever the mood strikes.
- They bake up crunchy, which is essential for keeping those doggy teeth clean, but they aren’t rock hard.
- We are using real salmon here, which is fantastic for healthy coats. Who needs fancy supplements?
- The prep time is honestly under 15 minutes. You can have these mixed before your coffee even cools down.
- They freeze beautifully, which means you can bake a huge batch and have them ready for weeks. If you’re looking for even more ideas, have a peek at my 15 easy homemade dog treats post!
- No weird additives or preservatives, ever. You know exactly what your dog is enjoying.
- They make my kitchen smell faintly fishy and wonderful while they bake—a scent Buster recognizes instantly!
Gathering Ingredients for Your Salmon & Oat Treats
Okay, let’s talk supplies! The beauty of these Salmon & Oat Treats is that most of this probably lives in your pantry already. You won’t need anything fancy, which keeps the cost way down. Building trust with your pup means being honest about what goes into their food, so here’s the short list we need. If you’re ever curious about making slow-cooker options, check out my guide on homemade dog food in the crockpot—it’s another favorite!
For the dry team, you require one cup of rolled oats—and this is important—they need to be ground into flour first. We pair that with one cup of whole wheat flour. Then comes the good stuff: one full cup of drained canned salmon, one large egg, and just a splash of water if the dough needs coaxing.
Essential Equipment for Perfect Salmon & Oat Treats
You don’t need a professional kitchen to whip up these amazing Salmon & Oat Treats, honey. Honestly, I keep the equipment list super short because who has time for washing a million fussy parts?
First off, you absolutely need a sturdy mixing bowl. You’re going to be squishing that dough around, and you don’t want batter flying everywhere when Buster starts sniffing around your ankles hoping for a taste!
Next up is the baking sheet. Don’t even think about skipping the parchment paper here, okay? I learned that the hard way. These treats have a bit of healthy oil from the salmon, and if you think scrubbing fishy, baked-on flour off aluminum is fun, you are clearly mistaken! Parchment paper means slide the whole thing off, and cleanup is basically nonexistent. It’s non-negotiable if you want to keep your sanity!
Finally, you’ll rely on your rolling pin. This is key because we need to get that dough nice and thin—about a quarter of an inch, which my grandma always said was “thick enough to hold its shape, thin enough to bake crispy.” If you want to see a recipe that uses a few more gadgets but is still fantastic, check out my blueberry dog biscuit recipe—it’s a bit fancier texture-wise!
Step-by-Step Instructions to Bake Salmon & Oat Treats
This is where the magic happens, and honestly, it’s not complicated at all! I’m aiming for about 30 perfect little Salmon & Oat Treats, and these steps take us right there in under an hour total time. Remember that article I wrote about oat dog cookies? These are even faster, thanks to the canned salmon doing most of the heavy lifting!
Preparing the Oven and Dry Ingredients for Salmon & Oat Treats
First thing first: we need heat! Preheat your oven right now to 350 degrees Fahrenheit, which is 175 Celsius if you use the metric system. Get that baking sheet lined with parchment paper because, as we discussed, we are not scrubbing that off later.
Now for the oats. Don’t just dump them in! You need to grind those rolled oats in your food processor until they look exactly like regular flour. I swear, using oat flour instead of the whole oats makes these Salmon & Oat Treats so much richer and gives them that perfect snappy texture we want. Once that oat flour is ready, mix it gently in your bowl with the whole wheat flour.
Mixing the Dough and Forming the Salmon & Oat Treats
Time to introduce the wet ingredients! Toss in that drained can of salmon and the one big egg with your flours. Mix it all up. You want a stiff dough, kind of firm, but don’t panic if it looks a little crumbly at first. That’s normal!
If the dough is fighting you and won’t come together, add water just a tiny splash—maybe one tablespoon at a time. You don’t want soup! As soon as it pulls into a solid ball, stop adding liquid. Dust your counter lightly and use your rolling pin to flatten it out to about a quarter of an inch thickness across the board. Then you just cut your shapes—squares are fastest, but cookie cutters are fun if you have the patience! Pop them onto your lined sheet, and they’re ready to bake for 20 to 25 minutes until they are firm.

Tips for Success When Making Salmon & Oat Treats
I’ve made these Salmon & Oat Treats so many times I could practically do it in my sleep, but over time, I’ve picked up a few tricks that really help guarantee success. You want every batch to be consistent, right? Nothing is worse than thinking you made a stellar batch only for half of them to burn because you weren’t paying attention near the end!
My very first tip, and this relates back to rolling, is thickness consistency. If you roll half the dough thin and the other half thick, you’ll end up with pale, soft centers on the thick ones and charcoal edges on the thin ones. Try to keep that rolling pin moving evenly to hit that 1/4 inch mark across the entire sheet. Aim for uniformity!
Second—and please listen to me on this one—watch the browning near the end. Because we are using canned salmon, the texture is a little denser than a super dry biscuit dough. They might look done at the 20-minute mark, but often they need that extra five minutes to really dry out and firm up. They should be lightly golden brown on the edges, not dark brown. If you see them getting too dark too fast, just tent a piece of foil loosely over the pan. You can see how I handle texture in my sweet potato dog biscuit recipe too, where monitoring texture is key.
Finally, cooling is not optional! You must let these cool completely on that wire rack before you even think about putting them in a container. If you seal them up while they are even slightly warm, the trapped steam will ruin that crispy texture we worked so hard to achieve. They turn soggy fast! Cool them fully, then box them down. They’ll stay perfect for days.
Storing and Keeping Your Homemade Salmon & Oat Treats Fresh
Okay, so now you have about thirty beautiful, crunchy Salmon & Oat Treats cooling on the rack! What do you do next? This is the easy part, but we have to be smart so they don’t go soft on us.
Once they are completely cool—and I mean bone dry, no residual warmth—toss them right into an airtight container. I have a few cute tins strictly reserved for homemade goodies. They’ll stay fresh and perfectly snackable in the refrigerator for up to a whole week. That’s great for week-to-week feeding!
But if you’re like me and like to bake HUGE batches (especially since they are so fast to make), you absolutely have to freeze them. Pop the extras into a freezer-safe bag or container. They last ages frozen, and pulling out a few for the week is zero fuss. If you usually make treats like my pumpkin applesauce dog treats, this freezing method works just as well for these savory bites!
Ingredient Notes and Substitutions for Salmon & Oat Treats
Whenever I talk about these Salmon & Oat Treats, people always ask about the ingredients, and that’s fair! We want to make sure we’re not accidentally swapping something out that ruins the texture or, worse, upsets a sensitive tummy. When I first dreamed up this recipe, I was looking for something super convenient, which is why I stuck with canned salmon.
Canned salmon is just brilliant for this application. It’s already cooked, it’s packed in water (so we control the liquid!), and it mashes up so easily into the dough. You get that fantastic salmon flavor and beneficial oils without having to bake raw salmon first, which would totally change the dough consistency. Plus, it’s usually cheaper, which is always a win for us home bakers!
For the flour base, I specified whole wheat flour as standard. It’s just a great, sturdy flour that pairs wonderfully with the oats and gives the treats that excellent crunch. However, if your dog has issues with wheat—and you know your pup best—you can usually swap that whole wheat portion out for something like brown rice flour. It’s a completely safe swap, though you might notice the dough is slightly drier, so just be ready to add that extra tablespoon of water if you go that route. If you’re looking at other savory options, my peanut butter chicken broth recipe uses a slightly different base, but you can often adapt dog-safe flours there too!
Frequently Asked Questions About Salmon & Oat Treats
I always get a million questions when I post about these goodies, mostly because everyone wants to make sure these Salmon & Oat Treats are absolutely perfect for their furry family member. It’s so important to know the little modifications you can make! If you have a new puppy, you might want to look at my guide on the 10 best puppy treat recipes to see what else they might enjoy.
Can I use fresh salmon instead of canned for these Salmon & Oat Treats?
Yes, you certainly can! I defaulted to canned because it’s so easy and already has that soft, mashed texture that works right into the dough. If you use fresh salmon, you’ll need to cook it first—poach it or bake it lightly until it flakes easily. Once it’s cooked, flake it really well. Because the fresh salmon won’t be packed in water like the canned version, you might find your dough is slightly drier or you need less added water overall. Start with less water than the recipe calls for and only add more if the dough absolutely won’t come together.
What is the best way to cut shapes for these dog biscuits?
Oh, this is my favorite shortcut! While using a cute bone-shaped cookie cutter is adorable, if you’re making a big batch of these Salmon & Oat Treats, honestly, just use a knife or a pizza cutter to slice the dough into little squares or rectangles when it’s rolled out. Squares are far more efficient, they bake evenly because they’re all the same shape, and you waste way less dough around the edges. Save your cute cutters for holidays!
I often see people asking about making these grain-free, which is tricky because oats and wheat are the main structure builders here. To answer that one: swapping both flours out for something like chickpea flour might work, but it dramatically changes the texture. If you want to stick close to this recipe while making them grain-free, you’d need to test substituting both flours for things like coconut flour or almond flour, but be warned—you’ll need much less liquid, and the final texture will be very different!

Share Your Baked Salmon & Oat Treats
Now it’s your turn! I’ve shared my absolute favorite way to make these savory Salmon & Oat Treats, and now I need to know what your taste-testers thought. Did Buster give you the high-five of approval? Tell me everything!
Please hop down to the comments below and leave a rating. Were these a hit? Did you tweak the recipe in a fun way that worked for your dog? I love hearing all your stories and seeing how you batch-bake these tasty snacks.
If you snapped a picture of your happy pup enjoying their fresh-baked goodness, please share it on social media and tag me! It genuinely makes my day to see happy dogs enjoying wholesome food made with love. For more baking adventures or just general dog musings, feel free to browse over at my recipe blog! Happy baking, friend!
Salmon and Oat Dog Treats
Ingredients
Equipment
Method
- Preheat your oven to 350 degrees Fahrenheit (175 degrees Celsius). Line a baking sheet with parchment paper.
- Grind the rolled oats in a food processor or blender until they resemble flour. Place the oat flour and whole wheat flour in a mixing bowl.
- Add the drained salmon and the egg to the dry ingredients. Mix until a stiff dough forms. If the dough is too dry, add water one tablespoon at a time until it comes together.
- On a lightly floured surface, roll the dough out to about 1/4 inch thickness.
- Use a cookie cutter to cut out shapes or cut the dough into small squares.
- Place the treats on the prepared baking sheet. Bake for 20 to 25 minutes, or until firm and lightly browned.
- Let the treats cool completely on a wire rack before serving or storing.