Does your best friend finish dinner and immediately try to give you the world’s smelliest kiss goodbye? Oh, I know that feeling! It’s why I always have a batch of homemade mint pet treats on hand. Seriously, these simple mint pet treats are my secret weapon against doggy breath. They’re incredibly easy to whip up, bursting with that refreshing, natural mint flavor dogs seem to genuinely love, and they’re totally homemade, which means I know exactly what’s going into my pup’s belly. I started baking these years ago when my own dog, Buster, got a little too fond of sniffing the compost bin—trust me, sometimes you just need nature’s breath mint!
Why These Simple Mint Pet Treats Are a Must-Make
Honestly, there are so many reasons to ditch the store-bought stuff and give these a try. When you make your own mint pet treats, you take control of the ingredients, and that’s huge. You know there’s no weird filler, just good, wholesome stuff.
For your pup, the benefit is obvious—that fresh mint is amazing for keeping morning kisses slightly less terrifying! But for you, the baker, it’s just so satisfying:
- They come together quicker than running to the pet store. We’re talking maybe 15 minutes of active time!
- The dough is stiff and easy to manage. Seriously, no mess or fuss.
- They bake up crispy, which dogs absolutely adore in a biscuit.
If you’re looking for an easy entry point into homemade dog biscuits, this is it. They are perfect sanity savers.
Gathering Ingredients for Your Mint Pet Treats
Okay, while these are officially mint pet treats, what’s really great is how few ingredients you need! You probably have half this stuff in your pantry already. When I measure these out, I try to be precise because we want that perfect biscuit snap, not something soft and cakey. But don’t stress too much; this recipe is super forgiving, which is why I love it.
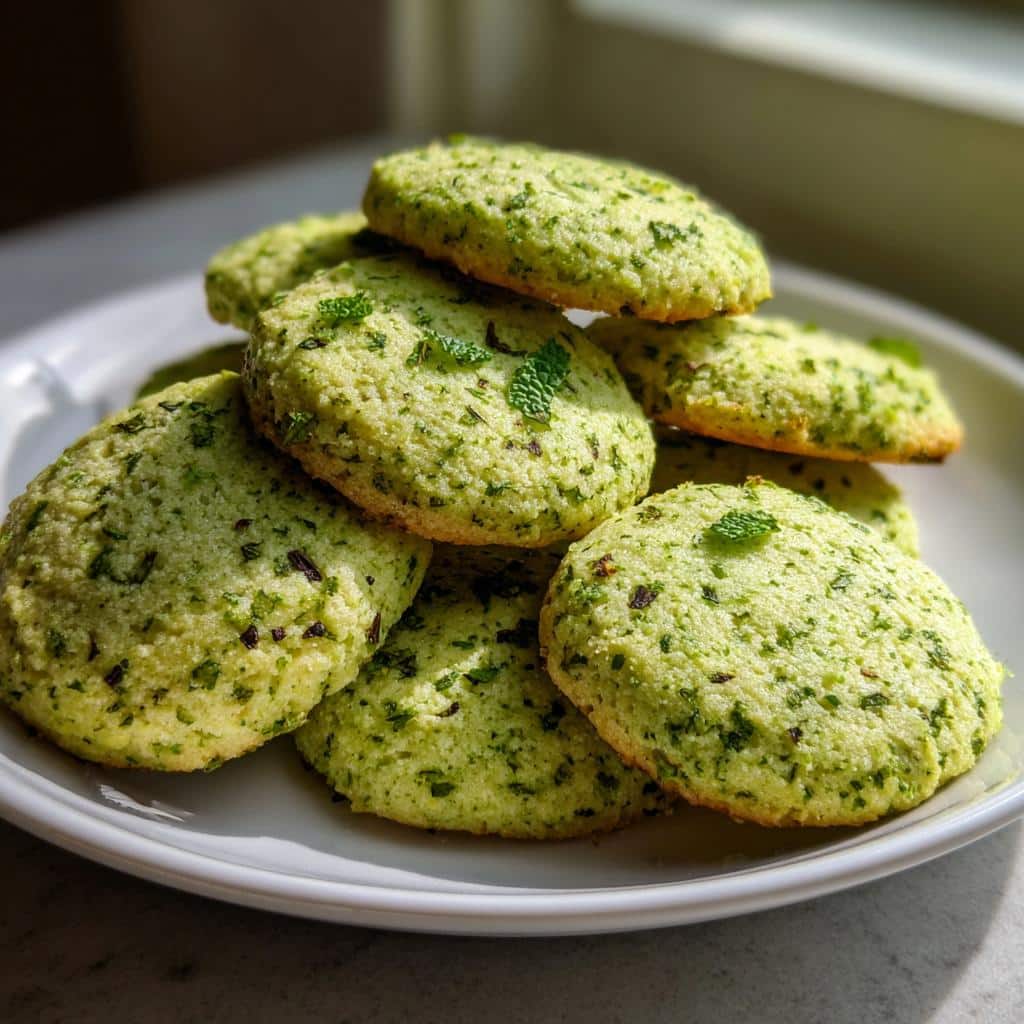
If you want the absolute best results, make sure that mint is chopped finely—we don’t want big chunks taking up space where flour should be! These few simple items build the foundation for amazing dog biscuits.
Dry Components
First up, we mix the dry stuff. We need:
- 2 cups of Whole Wheat Flour (or if you’re out, all-purpose works just fine, same amount!)
- 1 teaspoon of Baking Powder (This gives them just a tiny bit of lift, nothing crazy.)
Wet Components and Fresh Mint
This is where the magic and the freshness come in! The egg and water are essential—they are the glue that holds everything together so you can roll it thin. Remember:
- 1/2 cup of Fresh Mint Leaves, and I mean finely chopped. You want those minty oils released right into the dough.
- 1 large Egg
- 1/4 cup of Water (Keep this handy; you might need a splash more if your dough seems too crumbly.)
Step-by-Step Instructions for Perfect Mint Pet Treats
Following these steps is easy, but pay close attention to that dough stage—that’s where most people mess up their mint pet treats! Once you get the oven preheated to 350°F (175°C), get that baking sheet ready with parchment paper. I learned the hard way that trying to place these directly on a bare pan means you lose half your batch to sticking, so don’t skip the paper!
My biggest expert tip? When you mix in the egg and water, mix until it *just* comes together into a stiff dough. If you keep adding water because it looks dry, you’ll end up with soft gingerbread instead of a crisp biscuit. It should feel strong enough to roll out without sticking too much.
Preparation and Mixing the Mint Pet Treats Dough
You need to start by combining your dry bits—the flour and baking powder—in one bowl. Then, you toss in all that gorgeous, finely chopped mint. Make sure you work that mint in really well here; you want the flavor distributed everywhere! Now, beat that egg in a separate little cup, add the water, and pour that wet mixture into the dry ingredients.
Use your hands or a sturdy spoon and mix it until it looks cohesive. Resist the urge to add too much liquid! You’re aiming for a dough that is firm—stiff, even—which is what guarantees that lovely snap later on.
Rolling, Cutting, and Baking Your Mint Pet Treats
Time for the fun part! Dust your counter lightly with flour and get rolling. We want these about dog biscuits 1/4 inch thick. Thicker means they stay chewier, so thinner means crunchier, which is usually what we want for storing them well. Cut out your shapes—I use little bones, naturally—and get them onto that prepared sheet.
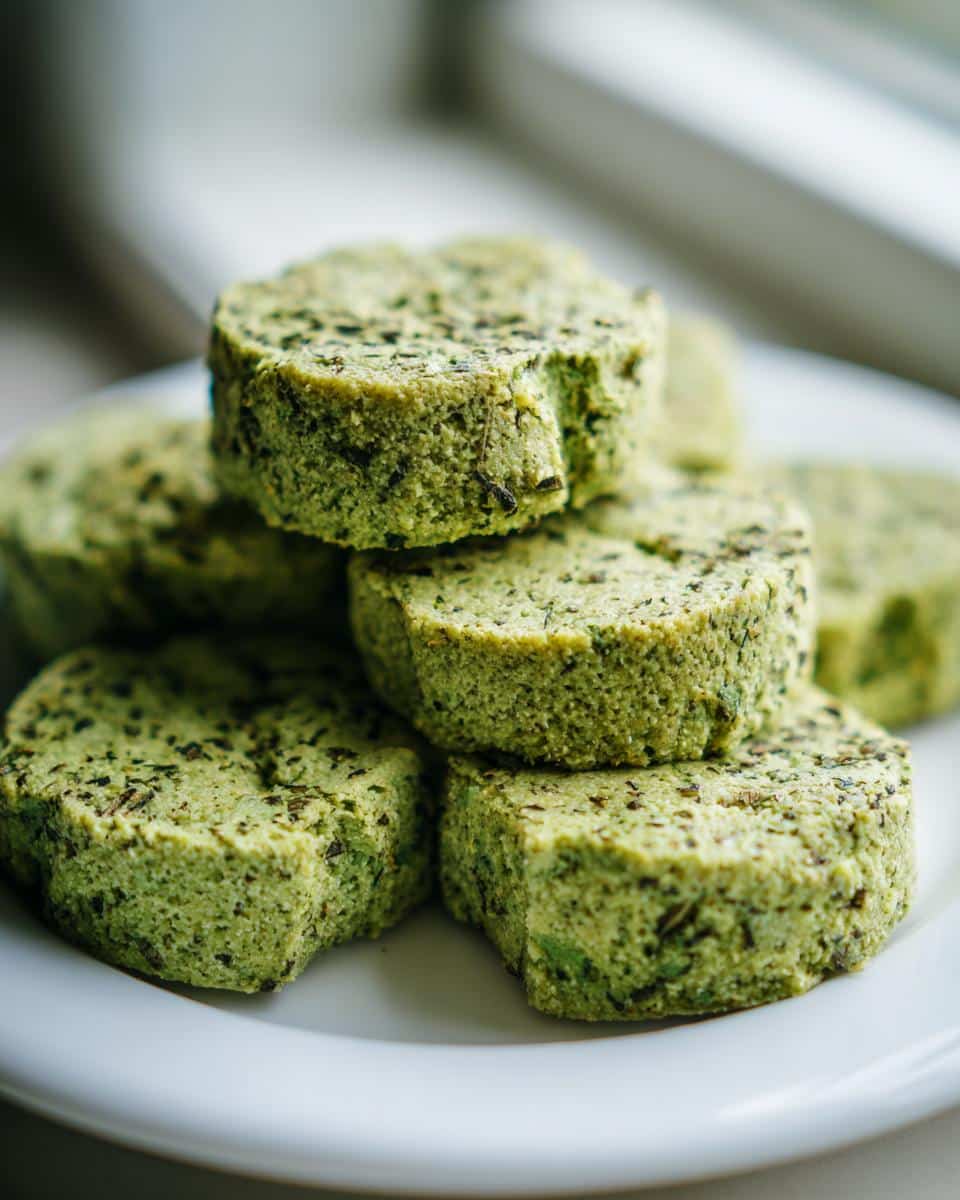
Into the oven they go for about 18 to 20 minutes. You’re looking for the edges to just barely start turning golden brown. If they look pale, give them two more minutes. Let them cool completely on a rack before you let the doggies test them out. Cooling solidifies that crunch!
Expert Tips for Making the Best Mint Pet Treats
I’ve made dozens of batches of these mint pet treats, and I’ve picked up a few little tricks that I think really elevate them from basic to beloved. First, regarding that fresh mint: don’t chop it and then let it sit around! Once you chop mint, those oils start escaping fast. I always chop mine right before I start mixing the dry ingredients so that those fragrant oils are still really active when they hit the flour mixture.
Another thing that trips people up is the rolling surface. If you’re using whole wheat flour, it can sometimes grab the rolling pin a bit more than white flour. My fix? I lightly dust the rolling pin itself with whole wheat flour instead of overloading the counter. I had one batch last spring where I accidentally used bread flour instead of all-purpose, and the dough was so tough! I saved it by beating the egg with an extra teaspoon of water; it took the edge off and made it pliable again. It’s all about feeling how the dough is telling you it needs to be handled!
Ingredient Notes and Substitutions for Mint Pet Treats
When making these fantastic mint pet treats, using the right flour really matters. I almost always stick with whole wheat flour because, let’s be honest, if I’m going to bother baking healthy treats, I want the fiber for my dog, Rusty! It just feels better knowing I’m adding a bit more goodness into his kibble-free snacks.
If you don’t have whole wheat on hand, don’t panic; swapping it out for regular all-purpose flour is perfectly fine, it just won’t have that extra fiber boost. See? Trustworthy recipes have room for minor swaps!
Also, about that mint—please, please use fresh. You won’t get the same vibrant flavor if you try dried. When you use that fresh plant material, you’re getting natural oils that taste good and smell great, which is the whole point of these little breath fresheners.
Storing Your Homemade Mint Pet Treats Safely
This is where I earn your trust as a fellow dog owner! Baking amazing mint pet treats is one thing, making sure they stay safe and good for your pup for more than two days is another. Since these are made with simple, real ingredients and no preservatives—unlike those bags at the big box store—we have to be smart about storage.
The key to longevity is making sure they are totally cooled down before you seal them up. If you put warm biscuits in a container, you’re basically trapping steam, and that leads to soft, possibly moldy treats. Don’t do it!
Here’s how I handle my batches. If I know Buster is going to tear through these in a few days—which usually happens—I just go for room temperature storage. Since these are hard dog biscuits, they hold up nicely. Pop them in an airtight container, and they are good for about a week. I keep mine in a cute tin on the counter, but away from direct sun.
Now, if I bake a huge batch (and honestly, I usually do, because what’s the point of turning on the oven for just 30 treats?), I definitely use the freezer. Freezing locks in the freshness perfectly! Once they are completely cool, I put the agreed-upon amount for the week in a zip-top freezer bag, squeezing out as much air as possible, and pop them in. They last for a couple of months this way, easy peasy. When you want some, just pull out what you need and let them thaw on the counter for an hour. It’s perfect, and you always have fresh breath solutions on hand!
Frequently Asked Questions About Mint Pet Treats
It’s funny, even with the simplest recipes, people always have questions simmering! That’s smart, though. We want to make sure our mint pet treats are perfect for our pups. Here are a few things I get asked all the time about these little refreshers.
Are these mint pet treats safe for puppies?
That’s a big safety check right there! Generally speaking, yes, once your puppy is reliably eating solid food—usually around 8 to 10 weeks old—they can have these. Remember, they are firm dog biscuits, so you need to watch how they chew them; if your puppy is still tiny and losing teeth, maybe save these until they are a little older. And just like with any treat, moderation is key! Keep these as a special reward, not a meal replacement.
Can I use dried mint instead of fresh mint in these dog biscuits?
Honestly, I really, really push for fresh mint here. The fresh leaves contain oils that release during baking, creating that vibrant, clean taste we’re aiming for. Dried mint is just okay; it loses a lot of its punch. If you absolutely must use dried, you should probably use about a quarter of the amount, maybe 1 to 2 tablespoons, because dried herbs are much more concentrated. But be warned, the resulting mint pet treats might be less refreshing overall.
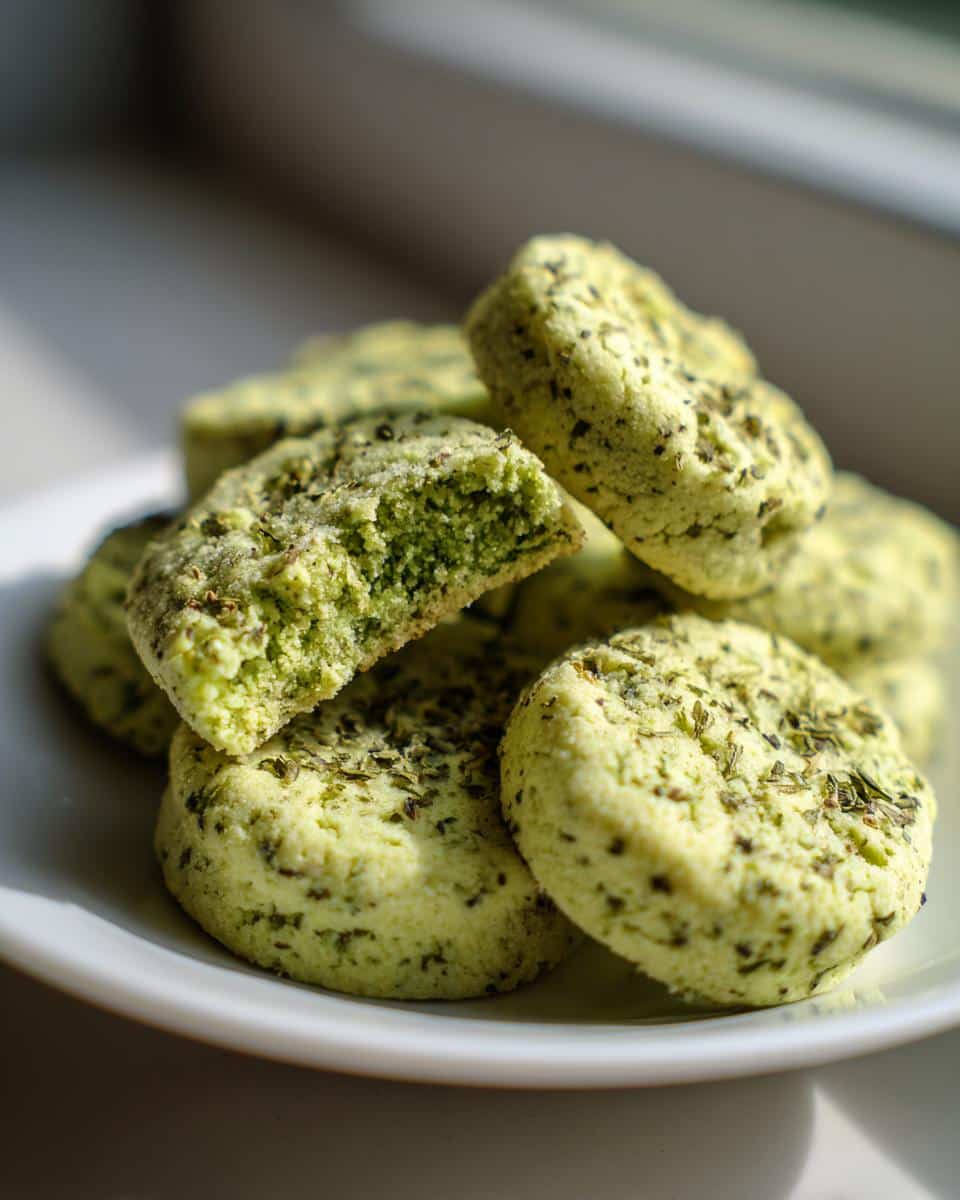
How hard should the finished mint pet treats be?
These are meant to be hard, crunchy dog biscuits, not soft cookies. They should snap when you break them in half, and they shouldn’t crumble easily under light pressure. This hardness is what helps keep them fresh longer, which is great for storage! If yours come out softer than you’d like, just pop them back into the turned-off oven for another 10 minutes as it cools down. That extra drying time really sets the crunch.
Estimated Nutritional Snapshot for These Mint Pet Treats
So, here’s the disclaimer upfront: Since I’m baking in my kitchen and not a certified lab, these numbers are my best guess based on standard flour and ingredient databases. Don’t treat this as a veterinarian’s strict diet plan, okay? But it’s really helpful to know generally what you’re handing over when you give your dog one of these mint pet treats.
Because these are meant to be quite dry and firm—like a classic biscuit—they end up being pretty low in fat compared to some softer, cakey dog recipes out there. When I divide the total yield (about 30 treats) by the ingredients list, I come out with something that looks like this per treat:
- Calories: Roughly 40-45 kcal per biscuit. That’s a great treat budget for a quick reward!
- Fat: Around 1.5 grams. This low count comes from using minimal fat sources; it’s mostly bound up in the flour.
- Protein: About 1 gram. Mostly coming from that single egg we use to bind everything.
- Carbohydrates: Approximately 7-8 grams. This is the bulk, made up by the flour.
The main thing to remember is that these are snacks! They’re intended to be refreshing little rewards, not a major part of their daily nutritional intake. They’re mostly just fuel to make your dog happy after bath time or a long walk!

Share Your Homemade Mint Pet Treats Experience
Now it’s your turn! I’ve told you all my little secrets for getting Buster to stop breathing hot air in my face, but I want to hear how these simple mint pet treats worked out for your furry family members.
Did your pup go crazy for that fresh minty smell? Send me a picture! I absolutely love seeing photos of dogs giving my recipes a glowing review—usually with a goofy grin or a half-eaten biscuit stuck to their snout. You can tag us on social media or drop a photo right down below!
If you have any lingering questions about swapping flour or dealing with a tricky dough batch, fire away in the comments. I’m always here to troubleshoot, or just cheer you on! Don’t forget to click those stars and give me a rating if your dog approved of these homemade dog biscuits. Happy baking, and happy sniffing!
Simple Mint Dog Treats
Ingredients
Equipment
Method
- Preheat your oven to 350°F (175°C). Line a baking sheet with parchment paper.
- In a large mixing bowl, combine the flour and baking powder.
- Add the chopped mint leaves and mix them into the dry ingredients.
- In a separate small bowl, lightly beat the egg. Add the egg and water to the dry mixture. Mix until a stiff dough forms.
- On a lightly floured surface, roll the dough out to about 1/4 inch thickness.
- Use cookie cutters to cut out shapes. Place the shapes on the prepared baking sheet.
- Bake for 18 to 20 minutes, or until the edges are lightly golden brown.
- Let the treats cool completely on a wire rack before serving them to your dog.