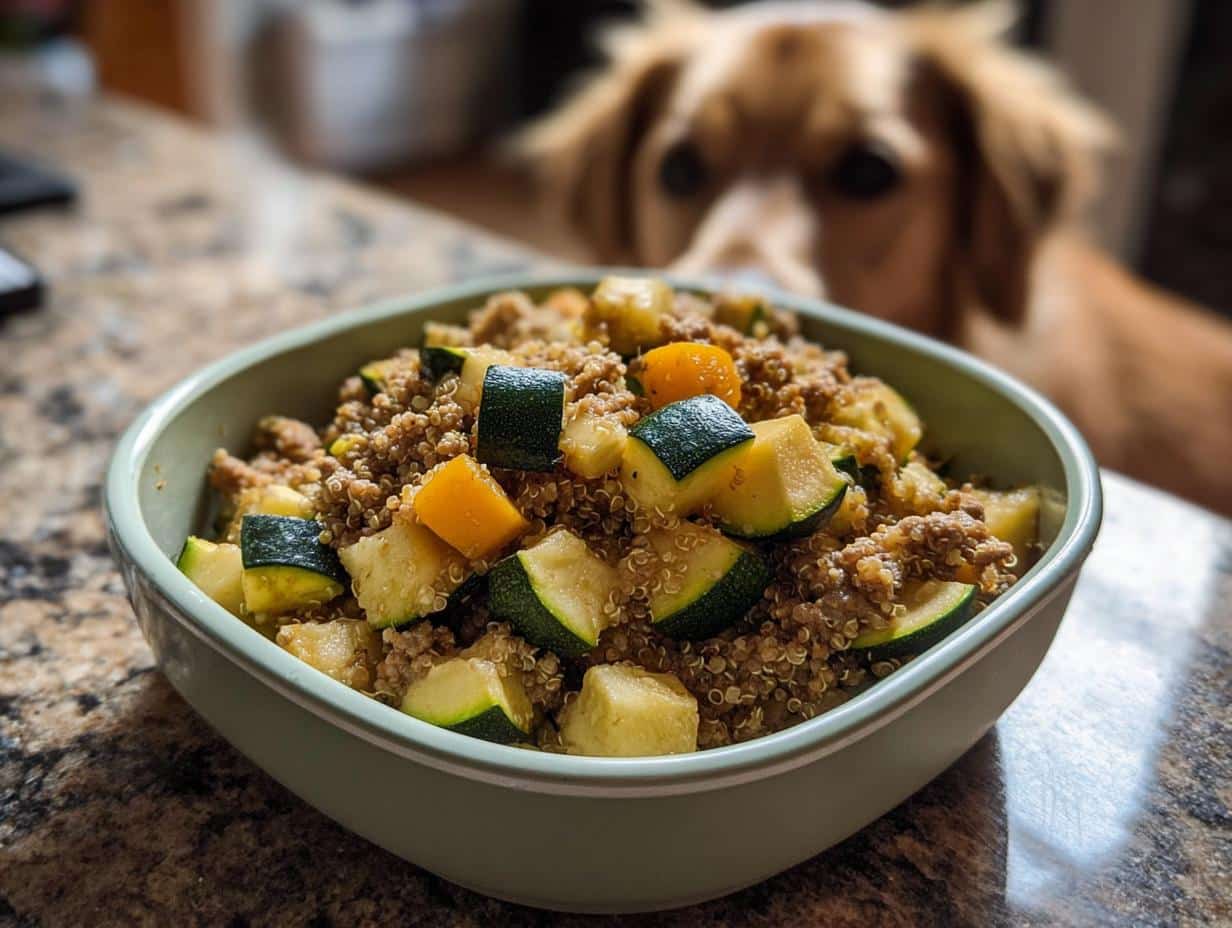
When you’re focused on keeping your own plate clean and fueling your body right, it’s easy to start looking at Fido’s food bowl with a critical eye too. I spent years trying to find balance in my own eating habits, and guess what? That desire for simple, whole ingredients naturally spilled over to my dog, Buster. We all want treats we can trust, which is why I love simple homemade snacks like these amazing Oat dog cookies. But sometimes, what they really need isn’t just a treat, it’s a balanced little meal boost. That’s where simple nutrition comes in. This recipe, using wholesome whitefish and brown rice meal, offers that perfect, gentle foundation. It’s all about supporting their powerful bodies with food that makes sense – just like we aim for over at MeltItClean.com!
Defining the Audience for Simple Oat Dog Cookies
So, who is this recipe for? Honestly, if you’re the type of pet parent who reads labels and worries about mysterious fillers in store-bought snacks, these Oat dog cookies are exactly what you need. This is for the busy dog owner who wants to ditch the highly processed stuff but doesn’t want to spend hours fussing with complicated gourmet recipes.
If your pup has a nervous tummy or sensitive skin, this simple, grain-inclusive cookie is a fantastic gentle treat option. We keep the ingredients basic so they work for almost everyone. If you’re looking for more straightforward options, check out these other easy dog cookie recipes, but these oat ones are my go-to for reliability!
Tone and Style for Making Oat Dog Cookies
When we talk about making these wonderful Oat dog cookies, I keep things super friendly, just like I talk to my friends when they ask me for kitchen advice. Forget the fancy culinary terms; this needs to be straightforward and practical!
My goal is to sound like I know what I’m talking about—because trust me, I’ve learned the hard way about what works and what doesn’t for clean living—but I never want you to feel overwhelmed. This recipe is accessible, whether you’re a baking whiz or someone who rarely touches flour. It’s about simple steps for simple, healthy rewards.
My Experience Baking Oat Dog Cookies for the First Time
I remember the exact moment I realized that the expensive, brightly colored bags of dog treats I was buying just weren’t cutting it. Buster, my golden retriever, started getting this weird rash, and I immediately thought, “What am I feeding him?” It mirrored my own past struggles with food sensitivities!
I was already deep into cleaning up my pantry—cutting out artificial anything—so I figured, why should his snacks be any different? I needed something basic. I looked around my kitchen, saw the big canister of rolled oats I used for my morning bowls, and an idea struck. Oats are gentle, right? So I started tinkering.
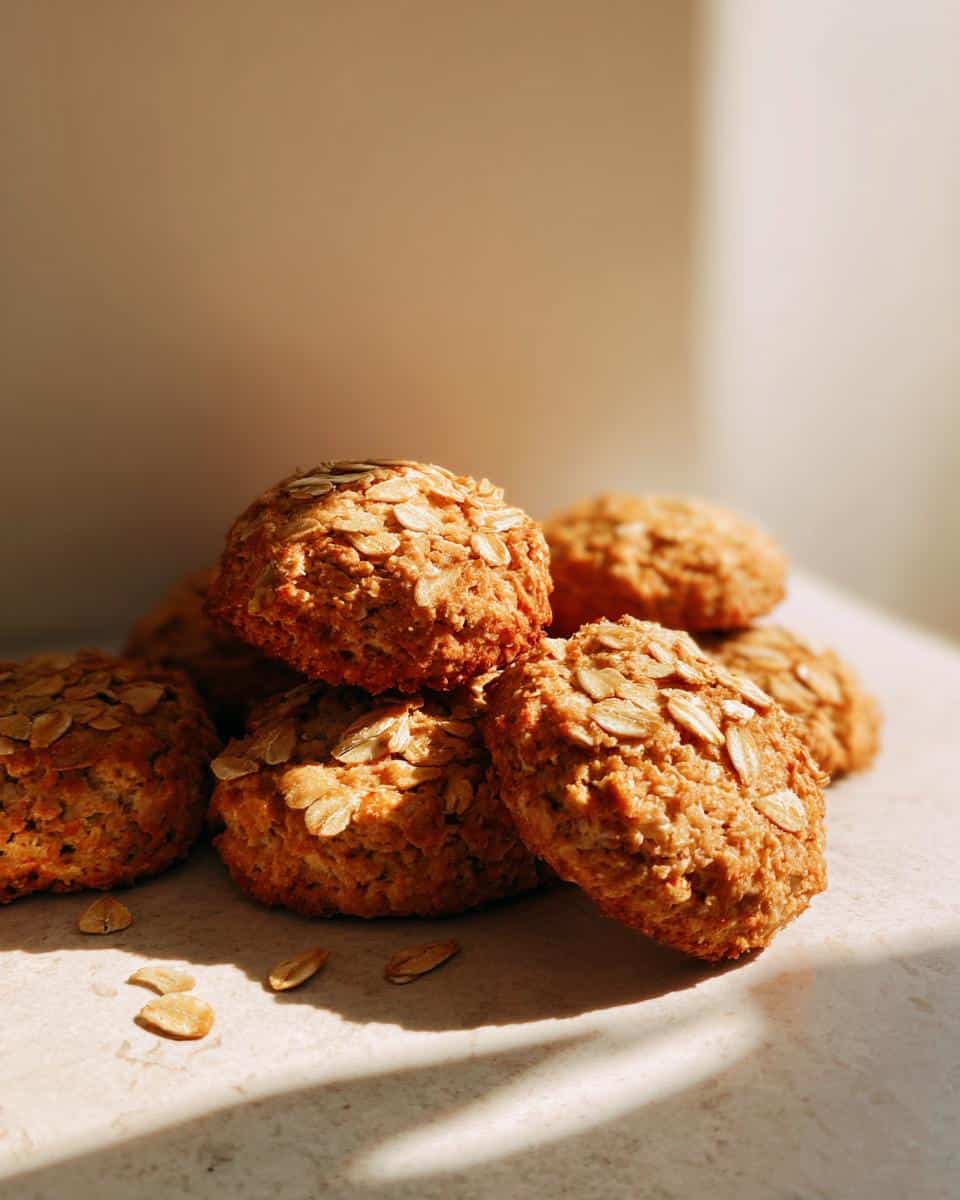
My first batch of Oat dog cookies? They were ugly! Seriously lopsided. But Buster went wild for the peanut butter smell. That first genuine, happy tail-wag sold me completely. It was the start of realizing clean eating isn’t just for us; it’s for the whole family. You can find more ideas in this great collection of homemade dog treats recipes, but the simplicity of the oat cookie is hard to beat!
Essential Equipment for Your Oat Dog Cookies
Okay, let’s talk tools! You absolutely do not need a fancy stand mixer or any weird gadgets for these cookies. Look, if I can manage this chaos in my kitchen, anyone can. We’re keeping this low-effort, high-reward.
- A good, sturdy mixing bowl – you need something deep because when we start mixing, things can splash a bit.
- A standard baking sheet.
- Parchment paper. Seriously, don’t skip this. It saves your cleanup time, and no one has time for stuck dough!
- A small cookie cutter or the rim of a drinking glass for shaping.
Mixing Bowl and Baking Sheet Prep
When you grab your mixing bowl, make sure it’s large enough to handle combining the dry ingredients and then incorporating the wet ones without spilling over the sides. Trust me, I learned that trick the hard way!
For the baking sheet, lining it with parchment paper is the single best thing you can do. It ensures no sticking, and cleanup basically disappears. If you’re worried about the dough shrinking during baking, you can even fold the parchment paper slightly up the sides to give yourself a little backstop. It’s all about making the process smooth!
Precise Ingredients for Simple Oat Dog Cookies
Now we get down to the good stuff—the simple fuel that makes these Oat dog cookies so doggone good! I’ve listed everything exactly as I use it. Don’t stress if you’re missing one item; a few swaps are fine, but these ratios are what got Buster to perfection!
- 1 cup Whole Wheat Flour (or just use regular all-purpose, it’s fine!)
- 1 cup Rolled Oats (the classic kind, not instant ones!)
- 1/2 tsp Baking Soda
- 1 large Egg
- 1/2 cup Peanut Butter (This is important, pay attention to the note!)
- Approximately 1/2 cup Water (we’ll mix this in slowly)
When you grab your peanut butter, you absolutely must check the label. I cannot stress this enough—xylitol is poison for dogs, and it sneaks into some “healthy” brands! I always grab the classic, unmodified stuff. If you click over to this collection of peanut butter treats, you’ll see this ingredient pop up all the time because dogs love it so much!

Ingredient Notes and Substitutions for Oat Dog Cookies
For the flour, whole wheat adds a nice nutrient bump, but if your dog is sensitive to wheat, plain all-purpose flour works perfectly well for these Oat dog cookies. The most crucial part, like I mentioned, is double-checking that peanut butter! No xylitol, ever.
The water measurement is just a starting point. We’re aiming for a stiff, workable dough, not a batter that oozes everywhere. You control the consistency here. If your peanut butter was extra oily, you might need less water. It’s all about feel!
Step-by-Step Instructions for Perfect Oat Dog Cookies
Follow these steps closely, and you’ll have batch after batch of perfect Oat dog cookies. It really is that simple, but timing matters! We want happy dogs, not burnt bottoms.
- Get Hot: First thing’s first—preheat your oven! Set it right to 350 degrees Fahrenheit (that’s about 175 Celsius if your oven runs hot). While that’s warming up, grab your baking sheet and line it up neatly with that parchment paper we talked about.
- Dry Mix: Grab your big bowl. You want to whisk together the whole wheat flour, the rolled oats, and that little bit of baking soda. Just a quick mix to make sure the leavening agent is evenly spread out before we start adding the wet stuff.
- Wet Whip: In a separate, smaller bowl—don’t dirty up the big one yet!—whisk your egg really well with the peanut butter. Make sure you scrape the sides so it’s all incorporated; we don’t want streaks of plain egg.
- Combine Everything: Now pour that peanut butter mixture right into your big bowl of dry ingredients. Mix it gently at first. This is where the water comes in.
Mixing and Dough Formation for Oat Dog Cookies
When combining the wet and dry for these Oat dog cookies, you must add the water slowly. Start with about a third of the water and mix until it starts coming together. You’re looking for a stiff dough, almost like Play-Doh, not runny batter. Keep adding the water, tablespoon by tablespoon, until you can pick up the dough and it holds its shape firmly. If you add too much, you’ll end up with flat, thin crisps instead of nice, satisfying cookies!
Keep mixing until it’s just combined. Overmixing develops the gluten too much, and we want softness, not toughness! You can grab more ideas on recipes similar to this one, like Pumpkin Peanut Butter Dog Cookies, for inspiration.
Baking and Cooling Your Dog Treats
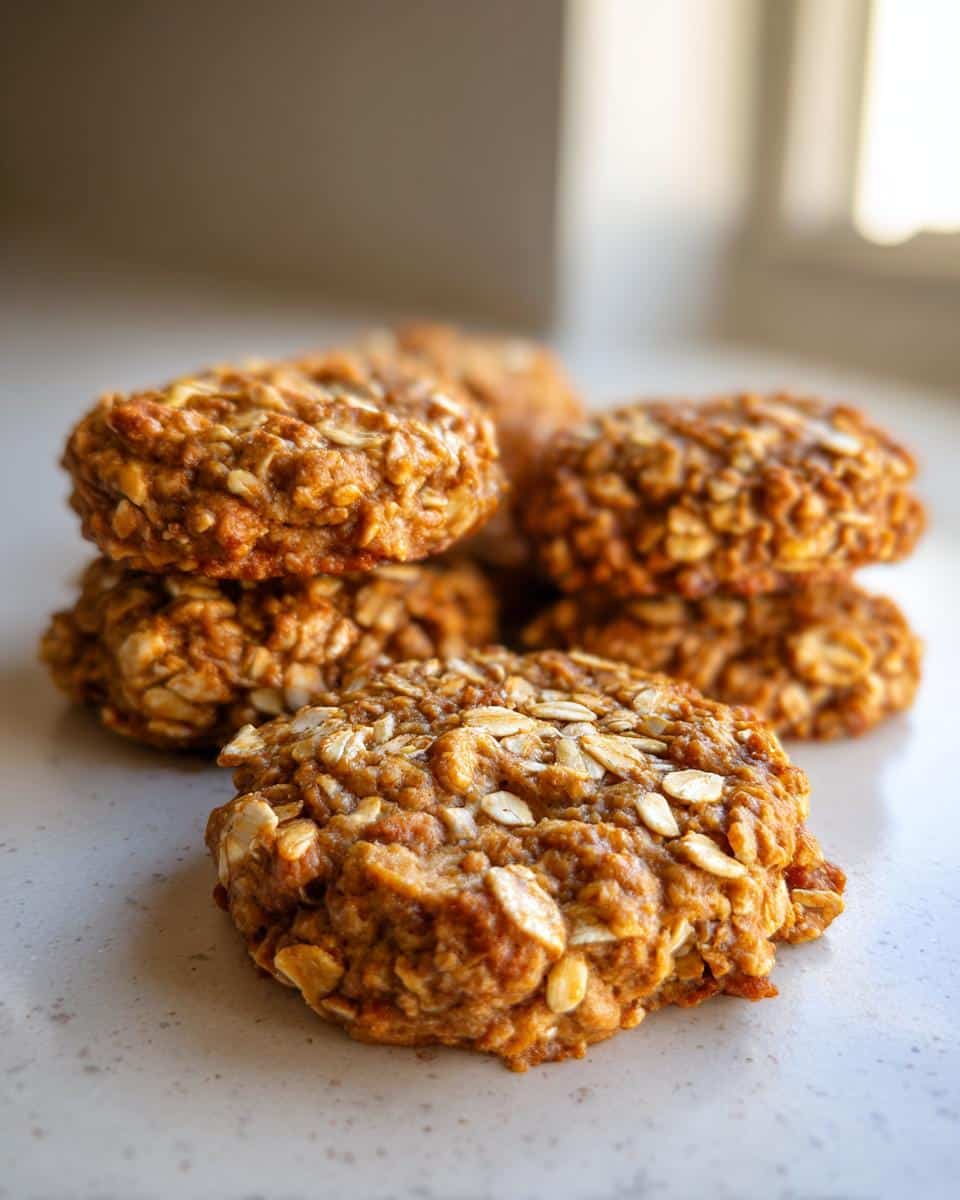
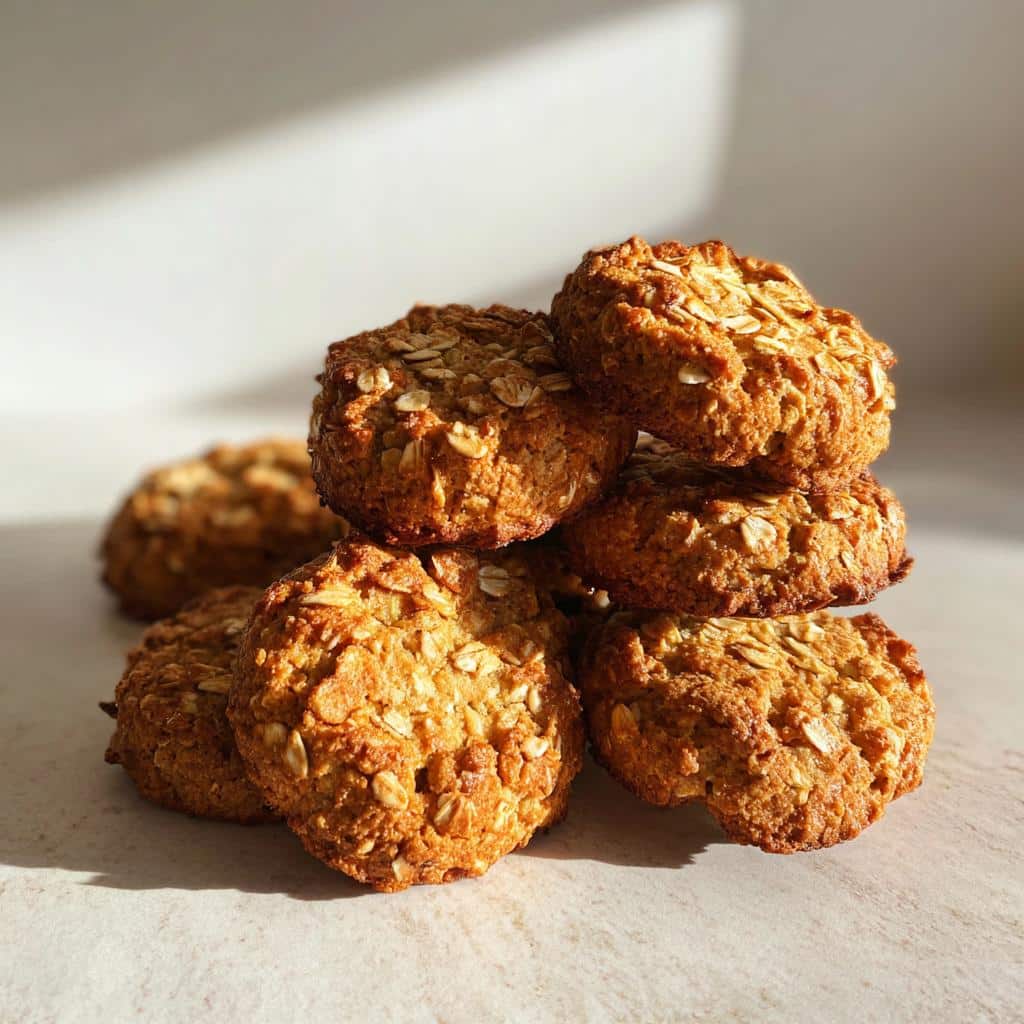
Once your dough is rolled out to about 1/4 inch thick and cut into cute shapes, put them on the parchment-lined sheet. Into the oven they go for 18 to 20 minutes. You’re looking for them to be lightly golden around the edges. When they come out, they’ll still feel a little soft, and that’s fine! They firm up as they cool. Let those Oat dog cookies cool completely on a wire rack before you let your pup near them. Hot cookies are a no-go for sensitive little mouths!
Tips for Success When Making Oat Dog Cookies
Even simple recipes like this can have little hiccups, so I want to share my top three ‘fix-it’ tips that I learned through trial and (sometimes) slightly burnt error. These little secrets make a huge difference between an okay cookie and a perfect one for your dog!
First up: controlling the dough texture. If your dough ends up way too sticky after adding the water—and keep in mind, sometimes peanut butter is runnier than others—don’t panic and add another half-cup of flour! That’ll just result in hard hockey pucks. Instead, wrap that sticky dough ball tightly in plastic wrap and stick it in the fridge for about 20 minutes. Chilling firms it right up, making it perfectly rollable. It’s like instant patience!
My second big tip is all about cooling. If you leave these cookies on the hot baking sheet after they come out of the oven, steam gets trapped, and they can end up soft or even soggy in the middle, even if they look done. As soon as they are lightly golden, slide that parchment paper right off the hot metal and onto a cooling rack. Air circulation underneath is key to getting that nice, sturdy texture dogs love.
Finally, for a chewier cookie versus a crispier one, play with thickness and baking time. If you are aiming for a softer bite (maybe for an older dog), roll the dough out slightly thicker—maybe 3/8 of an inch—and pull them out right at the 18-minute mark. For harder, crunchier treats that last longer, roll them thin and let them bake the full 20 minutes. If you want some fun flavor swaps, definitely check out these easy pumpkin dog treats for inspiration on mixing it up next time!
Storage and Making Ahead with Oat Dog Cookies
Okay, thank goodness we made 24 delicious little Oat dog cookies! Now we have to keep them fresh. Honestly, these are best when they’re fresh, but life is busy, so making a big batch ahead of time is totally smart. You can store them right on the counter in an airtight container for about one full week. As long as the container seals nice and tight, they should keep perfectly fine.
If you want them to last longer—maybe you’re going on a trip or just want to stock up—the freezer is your best friend! Wrap them up securely, maybe in a freezer bag, and they’ll be great for up to three months. When you want to serve one, just let a couple thaw on the counter for about 15 minutes. Easy peasy!
Frequently Asked Questions About Oat Dog Cookies
It’s always so smart to ask questions before you start serving homemade treats! Even though these Oat dog cookies are simple, knowing the ins and outs—especially concerning what’s safe for your best friend—is vital. Here are a few things I hear most often when people try this recipe for the first time.
Can I substitute the whole wheat flour in these Oat Dog Cookies?
Oh, absolutely! If you know your dog has a slight sensitivity to wheat, or if you’re just out of whole wheat, you can totally swap it out. Oat flour works wonderfully as a direct substitute, or even rice flour! Just make sure that whatever flour you use, it’s plain and unbleached. If you swap flours, you might need to nudge the water amount just a tiny bit to get that perfect stiff dough we talked about for the Oat dog cookies.
Are these Oat Dog Cookies safe for puppies?
This is such an important safety check! Generally, yes, once puppies are fully weaned (usually around 8 weeks old), they can handle simple, gentle foods like these. However, puppies have small stomachs! I always advise giving a tiny, broken piece first to see how they react. Because these are sturdy treats, you’ll definitely want to break the Oat dog cookies into smaller, more manageable bites for little ones. Don’t let a puppy gulp down a whole one!
If you’re sticking to strict puppy food guidelines, remember that treats should only make up about 10% of their total daily intake. You can see some other great options here if you’re looking for more variety in easy homemade dog treats!
Estimated Nutritional Snapshot for Oat Dog Cookies
I always feel a little iffy throwing out exact numbers for homemade dog treats because we know how much the brands of peanut butter or even the flour can change things! But for folks like me who like to keep a general eye on the big picture, I ran these ingredients through a calculator. This is just an *estimate* per cookie, based on the specific measurements listed, so take it as a general guideline, not a strict lab result!
Remember, these are treats, not their main meal, so quality fuel is the goal here, not strict macro counting for your pup!
- Estimated Calories Per Cookie: 60-70 kcal
- Estimated Fat Content: 3g
- Estimated Protein Content: 2g
- Estimated Carbohydrates: 7g
The main bulk of calories comes from that yummy peanut butter and the carbohydrates from the oats and flour. If you are using low-fat peanut butter, you can shave a tiny bit off those fat numbers, but honestly, a little healthy fat is good for their coat!
Share Your Homemade Oat Dog Cookies
I truly hope you and your furry family enjoy making these simple little cookies as much as Buster and I enjoy eating them! Baking for them is such a joy, isn’t it? It connects us to what we’re putting into our own bodies—it just feels right.
I would absolutely LOVE to hear how your batch turned out! Seriously, don’t be shy. Were they crispy or slightly chewy? Did your dog give you that signature ‘more, please’ stare?
Drop a comment down below. Let me know if you gave them a star rating, and tell me what your dog thought about their homemade snack! For more inspiration and healthy lifestyle chats, you can always pop over to my main hub at my blog section!
By EMILIA, the founder of MeltItClean.com – your digital space for natural weight loss, real wellness habits, and clean-living inspiration that actually fits your life.
Hi, I’m EMILIA, the founder of MeltItClean.com – your digital space for natural weight loss, real wellness habits, and clean-living inspiration that actually fits your life.
For years, I struggled with the ups and downs of dieting. I tried everything — juice cleanses, low-carb crazes, fitness challenges — but I always ended up back where I started: tired, bloated, and frustrated. I didn’t just want to “lose weight” — I wanted energy, mental clarity, glowing skin, and confidence without sacrificing my joy or sanity.
After years of experimenting, learning, and unlearning, I discovered a simple truth: your body is already powerful — it just needs support, not restriction. That’s when I created Melt It Clean — a site dedicated to real transformation through clean, intentional, and nourishing daily habits that anyone can follow.
My goal was simple: build a place where people could feel informed, supported, and empowered without being overwhelmed by wellness fads.
Simple Oat Dog Cookies
Ingredients
Equipment
Method
- Preheat your oven to 350 degrees Fahrenheit (175 degrees Celsius). Line a baking sheet with parchment paper.
- In a large bowl, mix the flour, rolled oats, and baking soda together.
- In a separate bowl, whisk the egg and peanut butter until combined.
- Add the wet ingredients to the dry ingredients. Mix well. Add water slowly, mixing until a stiff dough forms. You may not need all the water.
- Roll the dough out to about 1/4 inch thickness. Use a small cookie cutter or the rim of a glass to cut out shapes.
- Place the cutouts onto the prepared baking sheet. Bake for 18 to 20 minutes, or until lightly golden brown.
- Let the cookies cool completely on a wire rack before giving them to your dog.