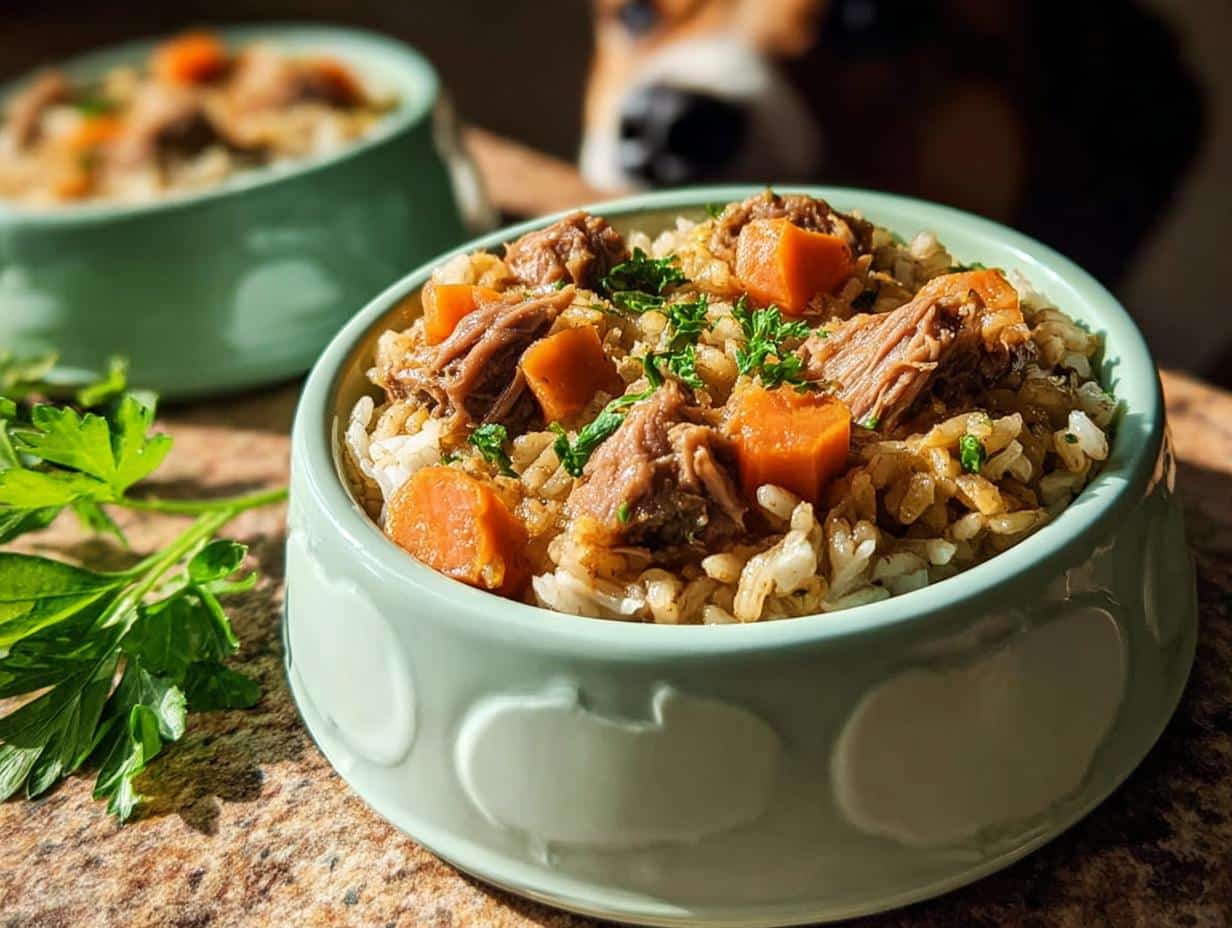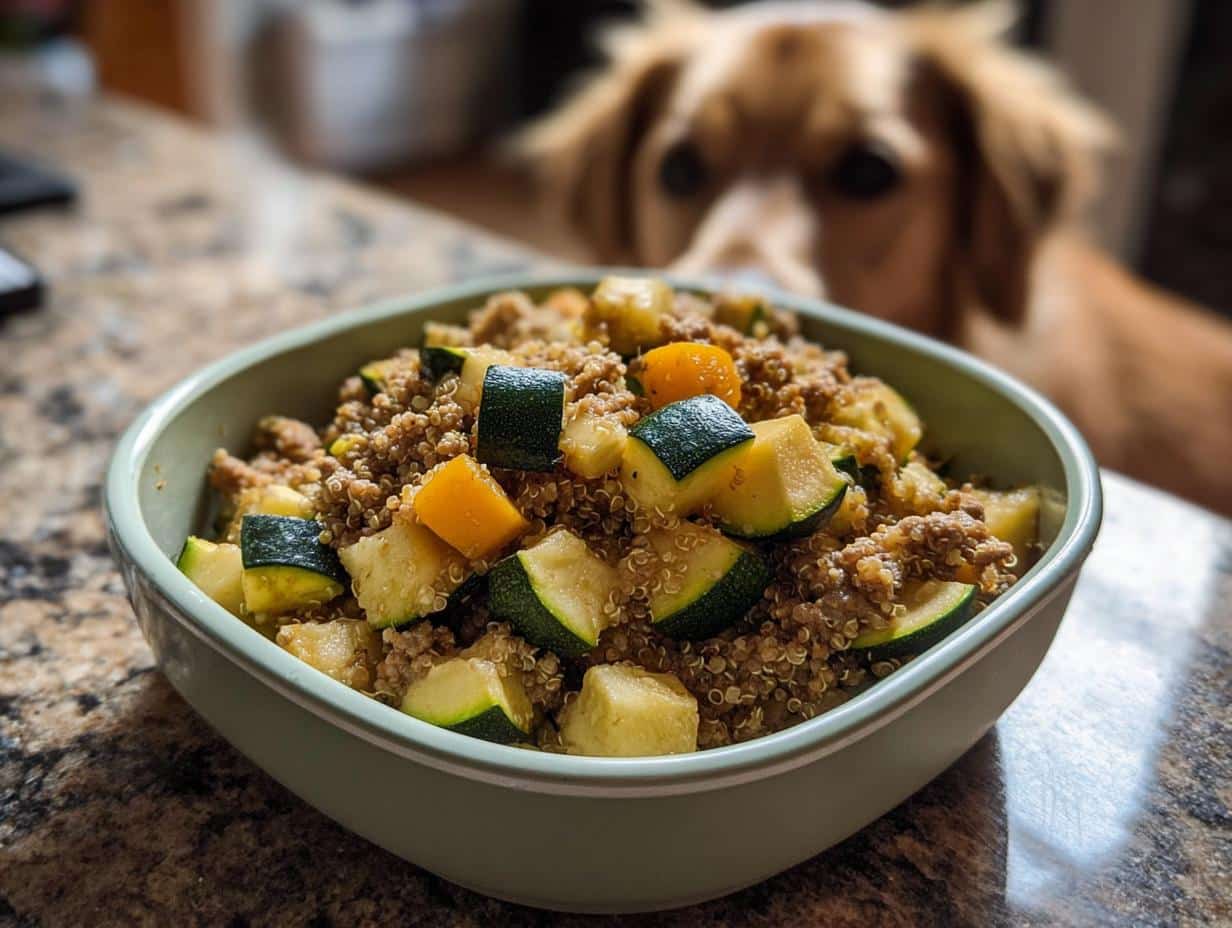
Can you feel that holiday energy slacking off in your pup? Maybe they need a little extra something to keep up with all the excitement! That’s why I am so thrilled to share my absolute favorite boost for my own fuzzy friend: the Sardine Quinoa Stamina Bowl. Forget those sugary junk treats meant for humans; this recipe is packed with natural power. It’s simple, nutrient-dense, and honestly, the best way to fuel an active dog using ingredients you can actually pronounce.
I’m big on clean eating for myself, and I realized years ago that my dog deserves the same quality care. When I started focusing on whole, real foods—even for his snacks—the difference in his energy and coat was incredible. This bowl isn’t fancy; it’s just pure, wholesome goodness tossed together in about 40 minutes flat. Trust me, once you see how much joy that little bowl brings, you’ll be making this all the time, not just during the holidays!
Who Needs the Sardine Quinoa Stamina Bowl?
Okay, so who is this recipe really for? If you look at the ingredients, it’s obvious this isn’t just another filler snack. This is definitely for the owners of dogs that are always on the go—maybe you hike every weekend, or maybe your pup just has boundless puppy energy!
But listen, even if your dog is a total couch potato, these healthy fats are amazing for their coat and skin health. I often use this as a super-boost topper for their regular kibble when they seem a little sluggish. It’s truly a versatile option for anyone avoiding synthetic fillers and looking for clean fuel. If you’re curious about making more whole-food meals, you should check out some other great homemade dog food options while you’re here!
Tone and Style for Making Your Christmas Cookies for Dogs
When we talk about what goes into our furry best friends’ mouths, you need reliability! So, the tone here is super friendly and encouraging—I’m right there with you—but I’m also firm on the nutrition. We are skipping all the scary chemicals and weird fillers.
I promise to keep the instructions straightforward, just like I do with my own clean-living plans. No fancy culinary terms to trip you up! We want this to be easy, fun, and totally safe. You can browse some other great holiday ideas on Pinterest while you’re reading up on the cookie steps!
My Journey to Creating the Perfect Christmas Cookies for Dogs
Every December, I look around at all the baking chaos—the sugar, the sprinkles, the amazing smells—and I always feel a little guilty watching my dog, Gus, stare longingly at the counter. For years, I tried to sneak him tiny bits of everything, which I know now was probably not the best idea!
But I refused to buy those brightly colored, mystery-ingredient dog biscuits from the pet store during the holidays. I wanted him to feel included in the seasonal joy! So, I started tinkering. It took quite a few batches—and a few too many tasting sessions (by me, for quality control, of course!)—to land on a recipe that was perfectly safe, totally healthy, and still packed with the PB goodness he loves.
The first time I gave him one of these real, homemade Christmas cookies for dogs, he just looked at it, sniffed deeply, and then gobbled it down in one happy crunch. That moment—that pure, unadulterated, healthy joy—is why I share these recipes. It connects us to our pets without compromising our clean-living standards. You just can’t beat that feeling!
Essential Ingredients for Healthy Christmas Cookies for Dogs
Okay, now for the good stuff—what actually goes inside these crunchy little holiday gems for your pup! Seriously, you can relax here because the ingredient list for the base is super short and uses things I always have on hand. It’s all about simplicity and avoiding anything that might make your dog feel bloated or grumpy.
If you feel like you need an extra boost of ideas for treats using peanut butter specifically, I have a whole collection of easy peanut butter dog treats you can check out!
The biggest thing I need you to watch out for is the peanut butter. I cannot stress this enough: MAKE SURE it is xylitol-free. That stuff is an absolute hidden danger for dogs, so always double-check the label. We want happy tummies here, not vet visits!
Dog Cookie Base Ingredients
This is the hearty part that gives your dog wonderful fuel. It should be just enough to make a stiff dough that’s ready to roll out:
- 2 cups whole wheat flour (or oat flour if you prefer!)
- 2 tsp baking powder
- 1/2 cup unsweetened applesauce
- 1/2 cup natural peanut butter (xylitol-free, please!)
- 1 large egg
Optional Yogurt Icing Components
I love adding a little pop of color and fun with the yogurt icing, especially for festive gifting, but honestly, your dog won’t complain if you skip it for a crunchier cookie. If you skip this, just let them cool completely before putting them in the jar!
- 1/2 cup plain, unsweetened yogurt (Greek style works perfectly, it’s thicker!)
- 1 tbsp water (just to get that perfect drizzle consistency)
Step-by-Step Instructions for Making Christmas Cookies for Dogs
This is the fun part, where we actually make magic happen! Honestly, if you can mix a bowl of popcorn, you can nail these homemade dog treats. The whole thing comes together super fast. We’ll get the oven hot first so everything flows smoothly.
Remember, this recipe is designed to be simple, so don’t overthink the process; just enjoy creating something delicious and safe for your pup!
Mixing the Christmas Cookies for Dogs Dough
First things first, let’s get that oven warmed up to 350\u00b0F (175\u00b0C). While it’s heating, grab your baking sheets and line them with parchment paper. This step saves you scrubbing later, and trust me, anything to save time in the kitchen is a win in my book!
In your big mixing bowl, whisk those dry items together—the flour and the baking powder. Just a quick whisk until they are talking to each other nicely. Next, you’ll introduce the wet ingredients: the applesauce, the peanut butter, and one egg. Mix it all up, either with a sturdy spoon or your hands, until a stiff dough starts to form. It should look like a real, solid dough ball.
Now, here’s my pro-tip for consistency: if it looks too crumbly and won’t hold together, add water just a teaspoon at a time until it cooperates. If you accidentally make it too sticky (it happens!), just dust in a tiny bit more flour. You want it firm enough to roll without making a huge, sticky mess on your counter.
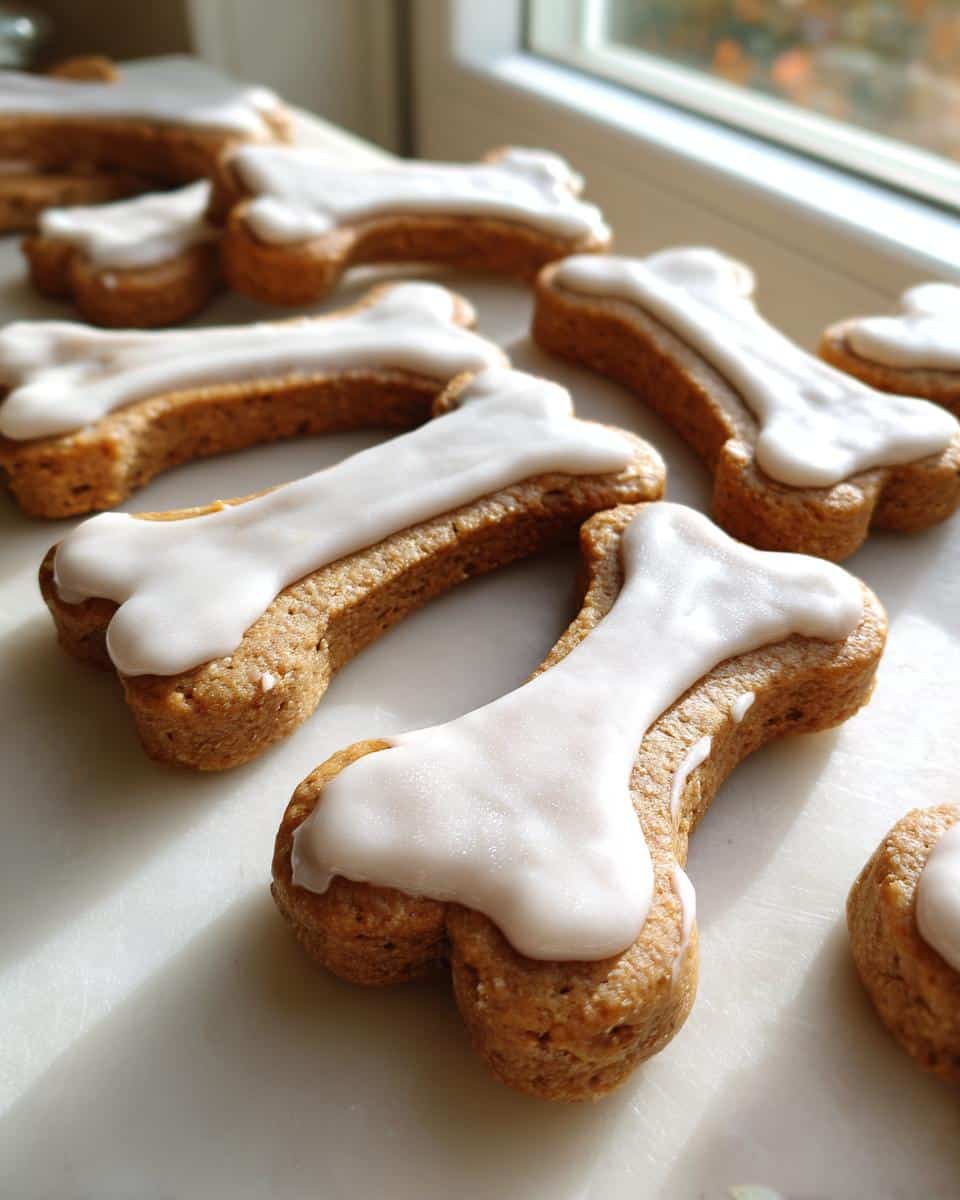
Cutting and Baking Your Dog Treats
Time to roll it out! Dust your counter lightly with flour—just a whisper—and then roll that dough down to about 1/4 inch thick. This thickness gives you a nice, satisfying crunch once they bake up. Then, grab your dog-themed cookie cutters—I use a little bone shape every year!—and cut out as many wonderful shapes as you can get.
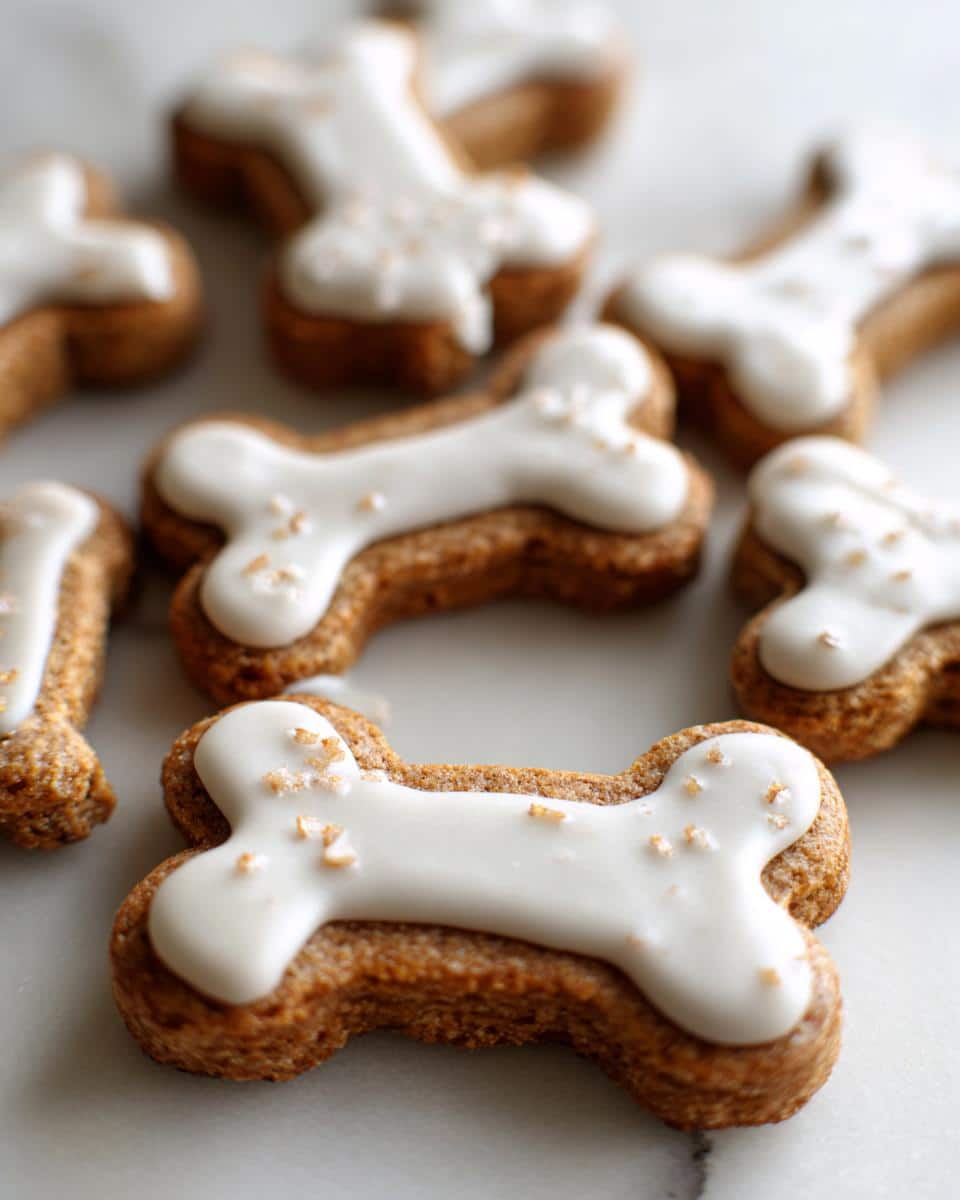
Lay those cutouts onto your prepared sheets. Pop them into that preheated oven for about 20 to 25 minutes. You aren’t looking for dark brown here; just wait until the edges start looking *lightly* golden and the cookies feel firm when you gently tap them. Pull them out and let them cool completely on a wire rack. This part is crucial!
I know it’s tempting to rush and ice them right away, but wait! If you try to touch the icing when they are even slightly warm, you’ll end up with a smeary, sticky disaster, and you’ll waste that beautiful yogurt blend we made. Patience, my friend; it pays off!
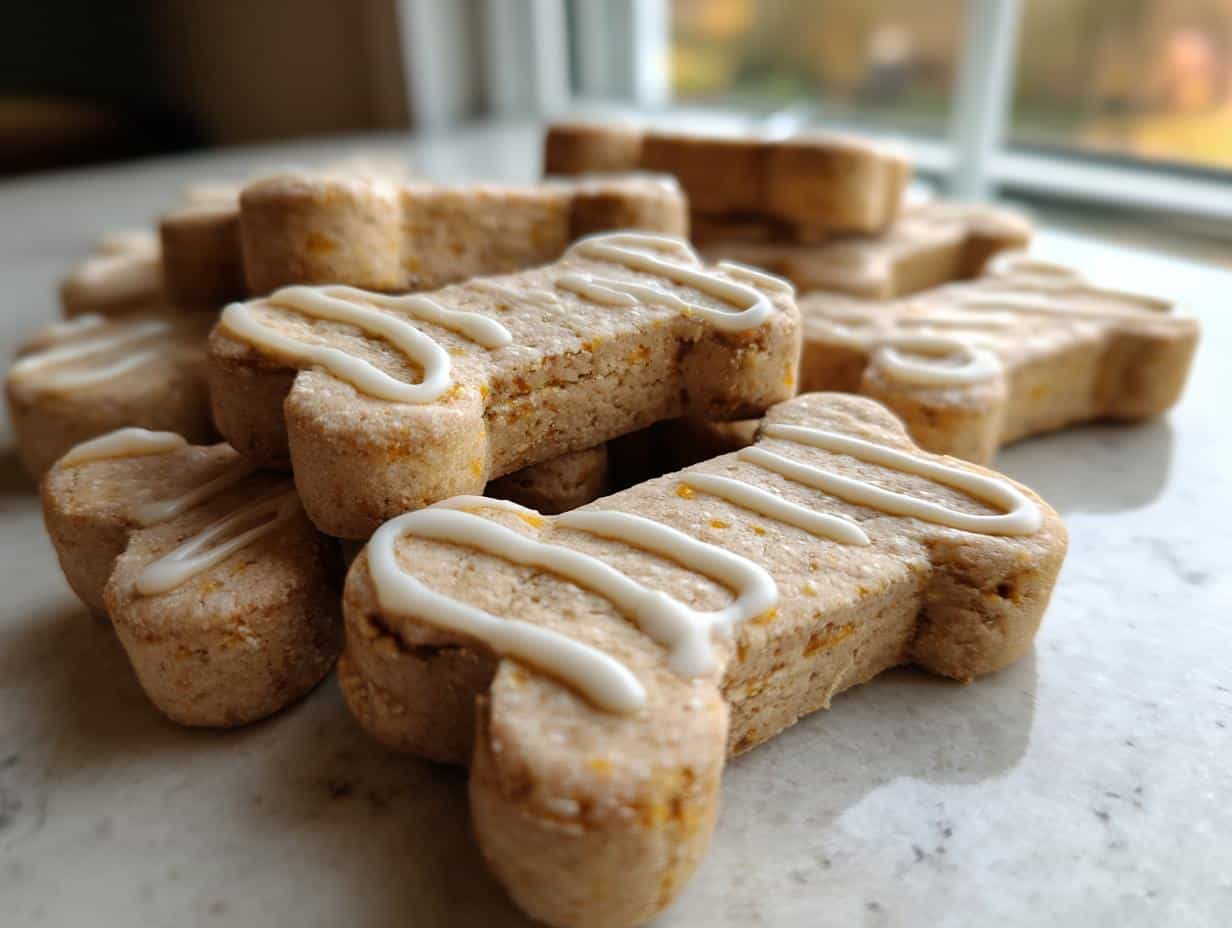
Applying the Optional Icing
Once those treats are totally cool—I mean room temperature cool—it’s time for the optional decoration! Mix your plain yogurt with that tablespoon of water. If it looks thick, add another tiny splash of water until it’s smooth enough to drizzle easily off a spoon. You don’t want it runny, just spreadable.
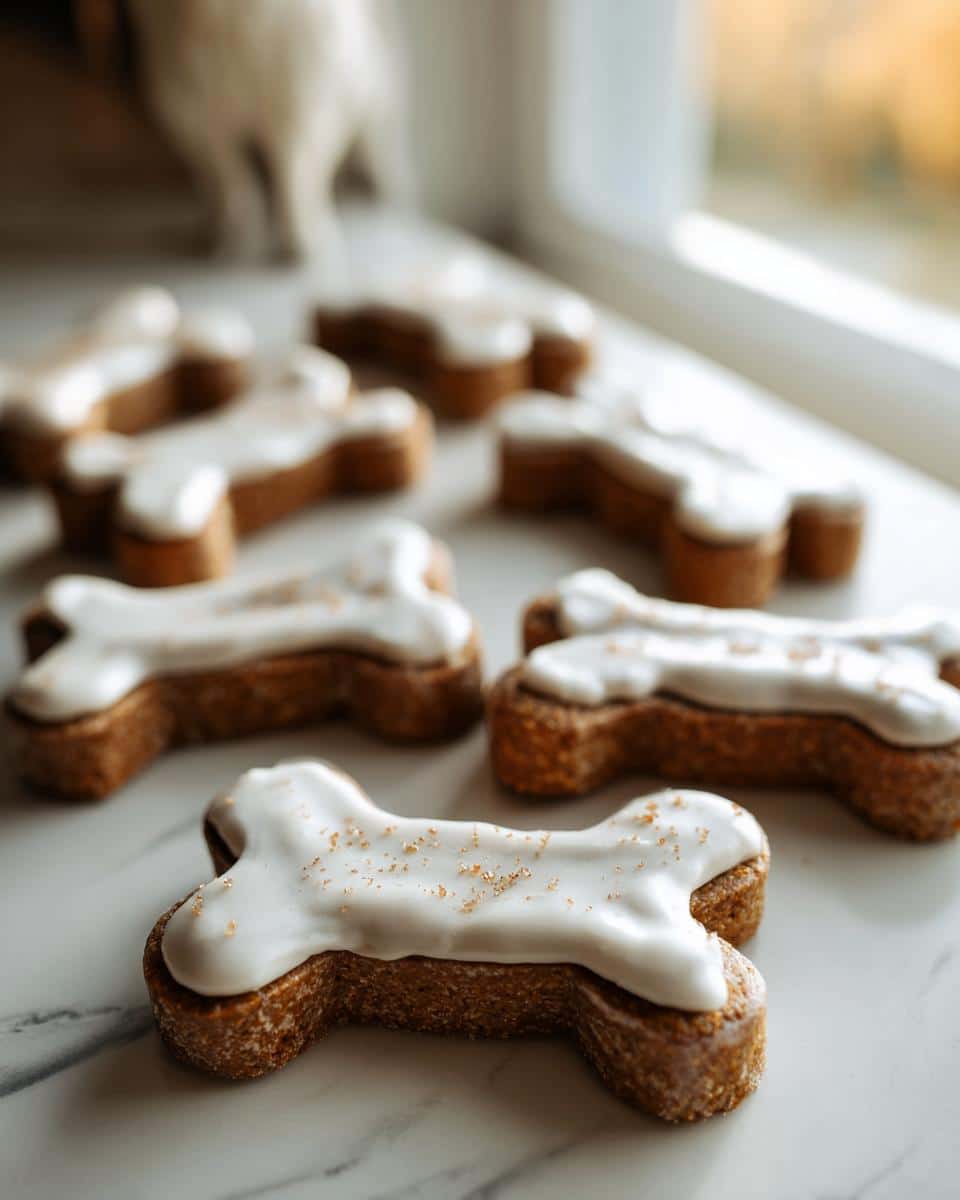
Spread a very thin layer over the tops of the cookies. Seriously, thin layers look neater and dry faster. Once iced, you must let them sit out until that yogurt layer dries and sets up before you stack them in a container. That usually takes an hour or so, depending on how humid your kitchen is. If you’re in a hurry, pop them in the fridge for 20 minutes to speed up the setting time!
Expert Tips for Perfect Christmas Cookies for Dogs
Even with a simple recipe like this, a few little tricks can take your Christmas cookies for dogs from good to absolutely amazing in your dog’s eyes. These are the things I learned after my first few experimental batches that really made a difference in both texture and peace of mind!
First up: texture control! If you like a softer biscuit, don’t over-bake. Pull them out right when the edges firm up—that residual heat a minute or two later will finish the job. If your dog loves a super hard, crunchy snap, let them bake that full 25 minutes. It really comes down to what your pup prefers to gnaw on!
Second, and I know I sound like a broken record, but please, check that peanut butter label one last time before you scoop. Xylitol is *always* worth double-checking. Think of it as your holiday non-negotiable. A quick scan of the ingredients list is such a tiny step that gives huge peace of mind.
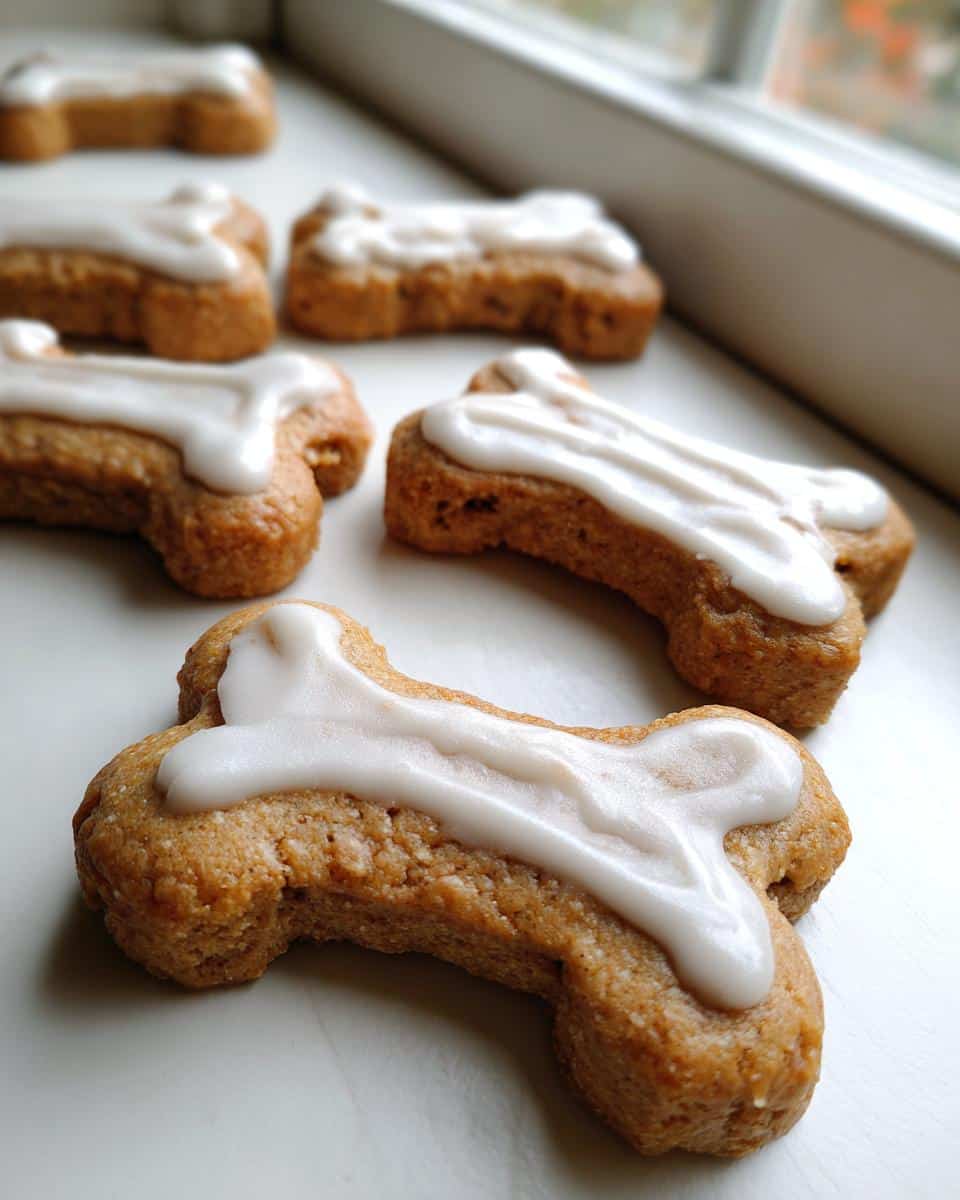
Finally, when storing them, make sure they are bone dry before sealing the container, especially if you skipped the yogurt icing. Moisture equals mold when dealing with homemade goods. I always pop the finished, cooled cookies onto a cooling rack set on the counter overnight before packing them up for gifting or storing them in the fridge. They stay perfectly fresh that way!
Dog Health Benefits of These Christmas Cookies for Dogs
When I created these healthy homemade dog food recipes, my main goal wasn’t just making something festive; it was about avoiding the stuff that makes dogs feel sluggish.
Think about what you are feeding them! The whole wheat flour we use gives a nice bit of dietary fiber, which is fantastic for keeping their digestive system running smoothly—no more holiday tummy troubles here.
And that awesome, creamy peanut butter? It brings healthy fats that are great for glossy coats and sustained energy, provided, of course, you made sure it was xylitol-free. The biggest win, though, is what we leave out: zero refined sugars or artificial colors that commercial brands cram in there. These treats are pure, intentional fuel, ensuring your dog gets all the holiday cheer without any of the junk!
Storing Your Homemade Christmas Cookies for Dogs
I get asked all the time how long these crunchy little delights last, especially when I bake a huge batch for neighbors or for gifting. The secret to keeping these Christmas cookies for dogs fresh and firm is all about airtight storage. Since we aren’t using any weird preservatives, we have to rely on the fridge for anything longer than a couple of days.
If you made them plain—no yogurt icing—they are pretty sturdy! You can keep them in a truly airtight container right on the counter for up to four days. Just make sure they are completely cool before you seal that jar, or you’ll trap steam and end up with soft cookies, which nobody wants!
For longer storage, or if you decided to go heavy on that yogurt icing, the refrigerator is your best friend. Store the iced or un-iced cookies in a sealed container in the fridge, and they should stay perfect for a whole week. That’s plenty of time for your pup to enjoy them throughout the festive season!
Now, if you’re thinking ahead—and I always am because who has time to bake every week?—you can absolutely freeze these treats. Just pop them into a heavy-duty freezer bag or an airtight container. They freeze beautifully for up to three months! When you want to serve some, just take out what you need and let them thaw on the counter for about an hour. They taste just as fresh as the day you baked them. It’s such a relief knowing you have healthy, homemade snacks ready to go anytime!
Frequently Asked Questions About Christmas Cookies for Dogs
It’s natural to have questions when you’re whipping up special snacks for your best friend, especially around the holidays! I’ve gathered up the biggest queries I get about these easy dog cookies so you can bake them with total confidence.
Can I substitute the whole wheat flour in these dog cookies?
Yes, absolutely! While whole wheat flour gives us that lovely fiber and structure, I know some pups have sensitivities. The recipe notes suggest oat flour as a fantastic swap. Oat flour is generally super gentle on sensitive tummies, and it binds just as well. Just make sure you are using 100% oat flour (you can blend rolled oats until fine) and not instant oats, which can have added fillers.
How long can I keep the Christmas Cookies for Dogs fresh?
Since these are made with real, simple ingredients, they don’t have the longevity of the store-bought kind. If you leave these peanut butter dog biscuits icing-free on the counter in an airtight jar, they are safe for about four days. However, for the best texture and longevity, I always recommend moving them to the refrigerator where they last a whole week. If you want to keep a big holiday batch on hand, pop them into a freezer bag; they freeze perfectly for up to three months!
Are these dog treats safe for puppies?
This is a smart question! While the ingredients themselves aren’t inherently toxic, puppies under six months sometimes have very delicate digestive systems that don’t handle dense biscuits or new fibers very well. I recommend using these mainly for adult dogs. If you have a very young puppy, I’d suggest a much softer, simpler treat until their stomachs mature a bit more. Always introduce any new food slowly!
By HI, I’M EMILIA, THE FOUNDER OF MELTITCLEAN.COM – YOUR DIGITAL SPACE FOR NATURAL WEIGHT LOSS, REAL WELLNESS HABITS, AND CLEAN-LIVING INSPIRATION THAT ACTUALLY FITS YOUR LIFE.
Share Your Festive Dog Treat Creations
Okay, now that you’ve baked up a storm of delicious, safe Christmas cookies for dogs, I really, truly want to see them! Whether you stuck to the classic bone shape or got super creative with reindeer antlers, the joy of sharing these healthy snacks is my favorite part.
Please, don’t be shy! Snap a picture of your batch—maybe even a candid shot of your wonderful dog enjoying one—and share it out on social media. Tag us so I can see who I’m baking for!
More importantly, come back here and leave a comment below. Tell me what you thought! Did your dog devour the whole batch in under five minutes? Did they prefer the cookies plain or iced? Your feedback helps me and everyone else feel confident about making this recipe again next year. Happy holidays and happy treating!
By HI, I’M EMILIA, THE FOUNDER OF MELTITCLEAN.COM – YOUR DIGITAL SPACE FOR NATURAL WEIGHT LOSS, REAL WELLNESS HABITS, AND CLEAN-LIVING INSPIRATION THAT ACTUALLY FITS YOUR LIFE.
For years, I struggled with the ups and downs of dieting. I tried everything — juice cleanses, low-carb crazes, fitness challenges — but I always ended up back where I started: tired, bloated, and frustrated. I didn’t just want to “lose weight” — I wanted energy, mental clarity, glowing skin, and confidence without sacrificing my joy or sanity.
After years of experimenting, learning, and unlearning, I discovered a simple truth: your body is already powerful — it just needs support, not restriction. That’s when I created Melt It Clean — a site dedicated to real transformation through clean, intentional, and nourishing daily habits that anyone can follow.
My goal was simple: build a place where people could feel informed, supported, and empowered without being overwhelmed by wellness fads.

Christmas Cookies for Dogs
Ingredients
Equipment
Method
- Preheat your oven to 350°F (175°C). Line baking sheets with parchment paper.
- In a large bowl, whisk together the flour and baking powder.
- Add the applesauce, peanut butter, and egg to the dry ingredients. Mix until a stiff dough forms. If the dough is too dry, add a teaspoon of water at a time.
- Lightly flour a clean surface. Roll the dough out to about 1/4 inch thickness.
- Use cookie cutters to cut out shapes. Place the cutouts onto the prepared baking sheets.
- Bake for 20 to 25 minutes, or until the edges are lightly golden brown and the cookies are firm.
- Let the cookies cool completely on a wire rack before icing or storing.
- To make the icing, mix the yogurt and water until smooth. Spread a thin layer over the cooled cookies. Allow the icing to set before serving to your dog.