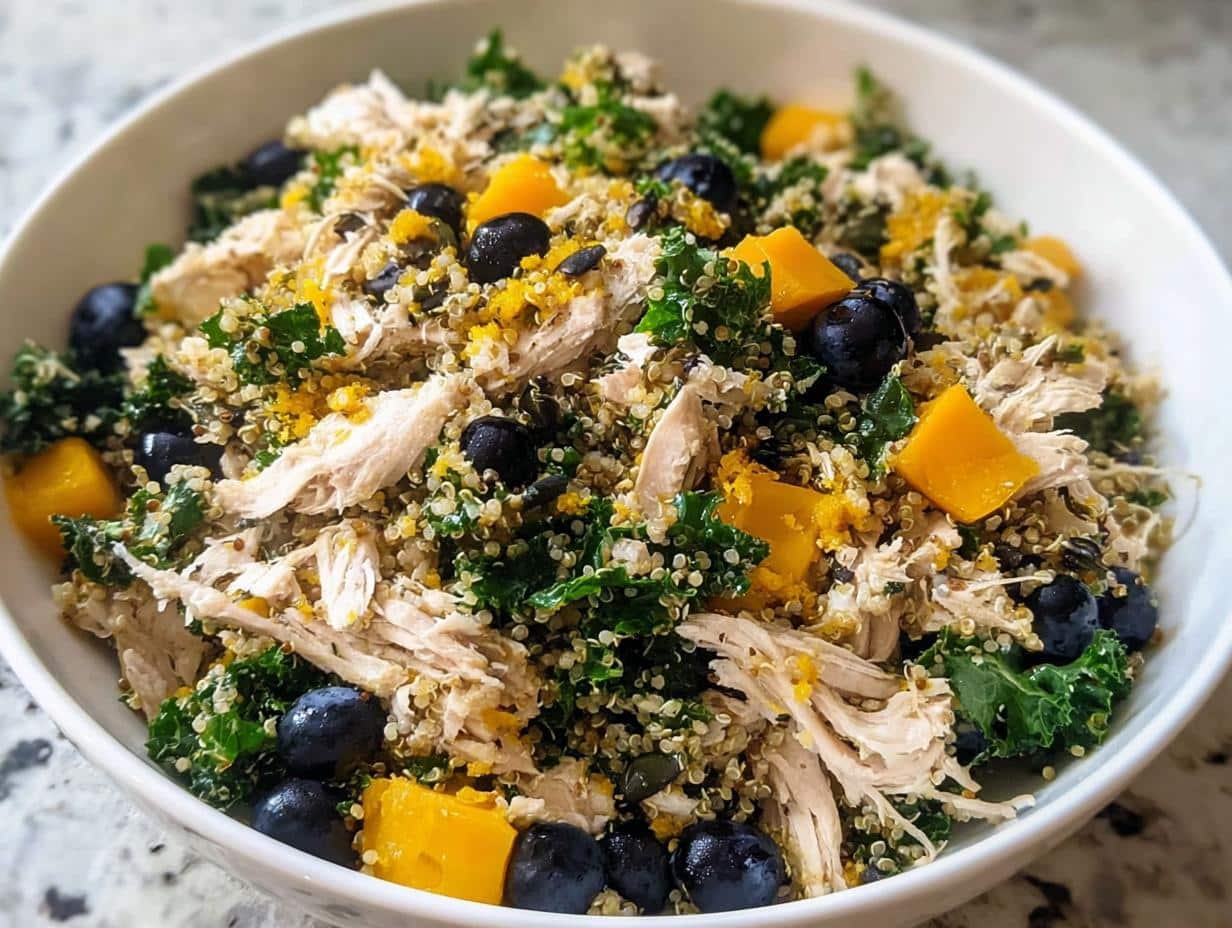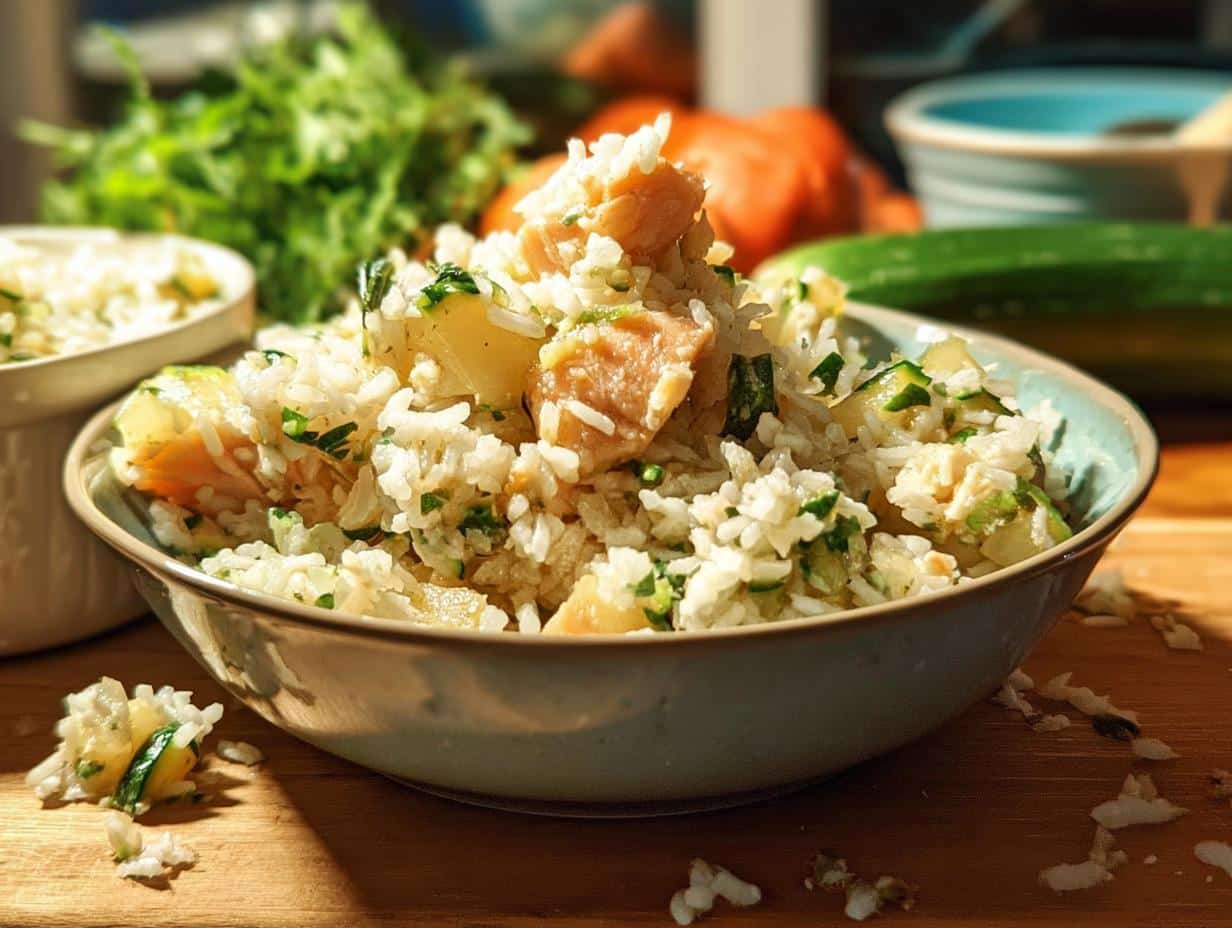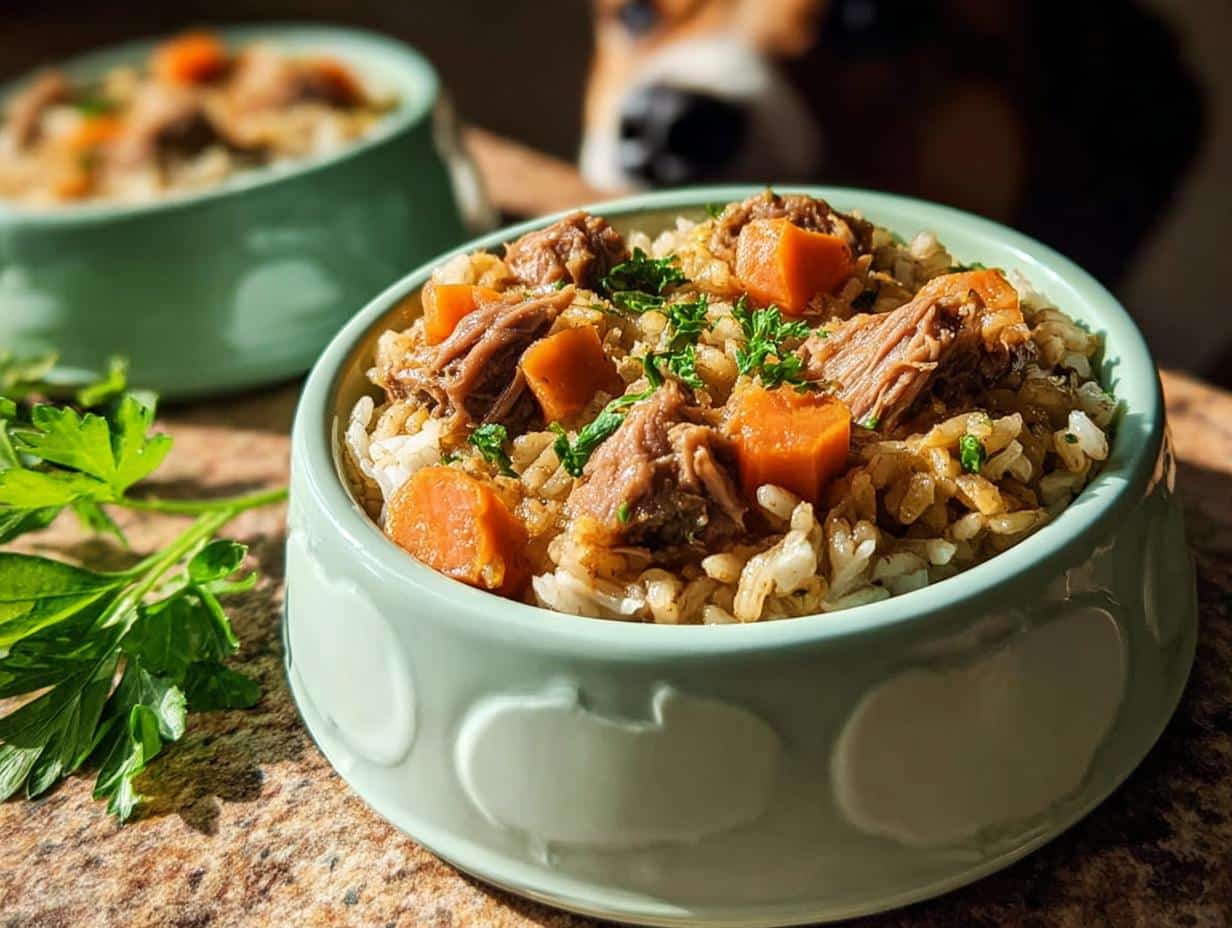
Oh, if you’re anything like me, you look at your furry best friend and just have to give them the absolute best, right? That’s why I got so obsessed with finding reliable, simple homemade meals. Store-bought fresh food plans? They can take a major bite out of the budget! This whole DIY Farmer’s Dog approach I landed on is a total game-changer because it uses things right from the regular grocery aisle to build incredible nourishment. Finding a truly dependable recipe was half the battle, especially when I first started vetting ingredients for complete balance. Once I nailed down this flavorful [Whitefish Brown Rice Meal] base, I knew I had to share!
This recipe is my answer for anyone wanting 100% transparency in their dog’s bowl without needing a chemistry degree. Think of it as the foundational meal you can trust, made easily in under an hour. Check out the full rundown on simple DIY recipes here!
Who Needs This DIY Farmer’s Dog Recipe?
Listen, this recipe isn’t just for folks who bake elaborate sourdoughs! You’re the perfect fit if you look at ingredient labels and just want more control. Are you trying to save a little cash compared to those pricey subscription boxes? This is your budget-friendly DIY Farmer’s Dog alternative.
It’s also great if you just want to add a nutritional boost to whatever your pup currently eats. Want to know exactly what’s in the bowl? If you said yes, then welcome aboard! Small dogs or big dogs, this base recipe works for everyone, providing that beautiful transparency we crave.
The Tone and Style of Your DIY Farmer’s Dog Meal Prep
When we’re making food for our best friends, I want you to feel totally confident. So, the style here is super educational, but please, no fancy chef terms! This DIY Farmer’s Dog food should feel practical, like throwing together a big pot of chili, not performing surgery.
My goal is for you to feel reassured. We focus on clarity, strong instructions, and making sure every dog parent realizes they absolutely have the skills to nail this!
My Journey to Perfecting the DIY Farmer’s Dog Base Recipe
You know, I used to grab that big bag of kibble every month without even thinking. Then Buster, my terrier mix—the fluffiest, pickiest boy you’ve ever met—started getting these itchy hot spots. The vet said allergies, but I couldn’t pin down the trigger!
I remember staring at the back of the dog food bag, realizing how many things I couldn’t even pronounce. That felt like such a failure of trust. I thought, if I wouldn’t eat that mystery powder, why should he? That was my turning point to learn about real, whole nutrition.
It took a few messy, slightly confusing batches of experimentation, but once I settled on this super clean, easy-to-follow base—my DIY Farmer’s Dog blueprint—Buster cleared right up. Seeing him vibrant and happy again proved that complete ingredient transparency is everything when it comes to our pets.
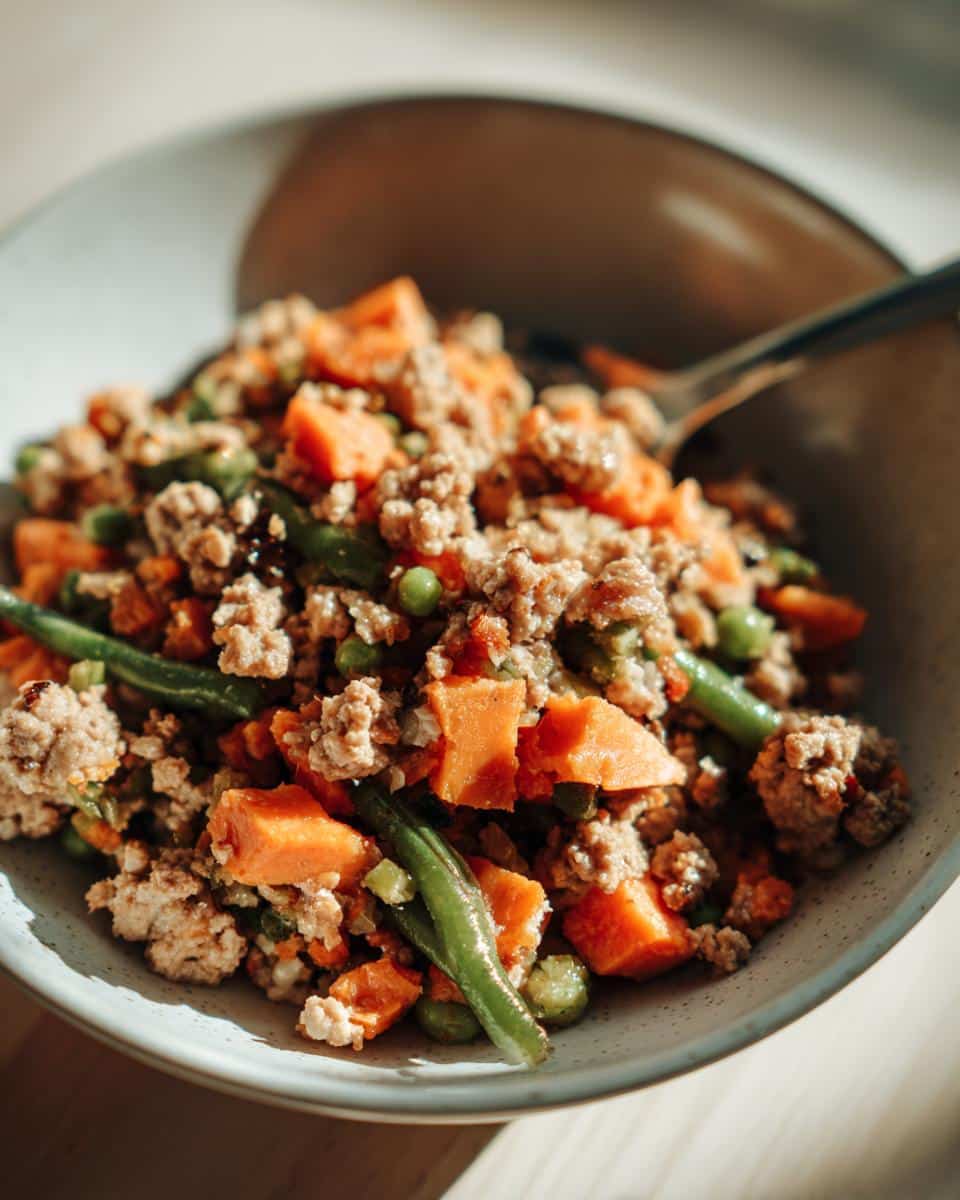
Essential Ingredients for Your DIY Farmer’s Dog Recipe
Okay, this is where we build the trust factor! If you’re replicating the success seen in other balanced foods, you absolutely need clean, specific components. I’ve broken down the list exactly as I shop for it. Don’t fudge these details—the little precision steps are what make this DIY Farmer’s Dog meal shine over just throwing random leftovers in a bowl.
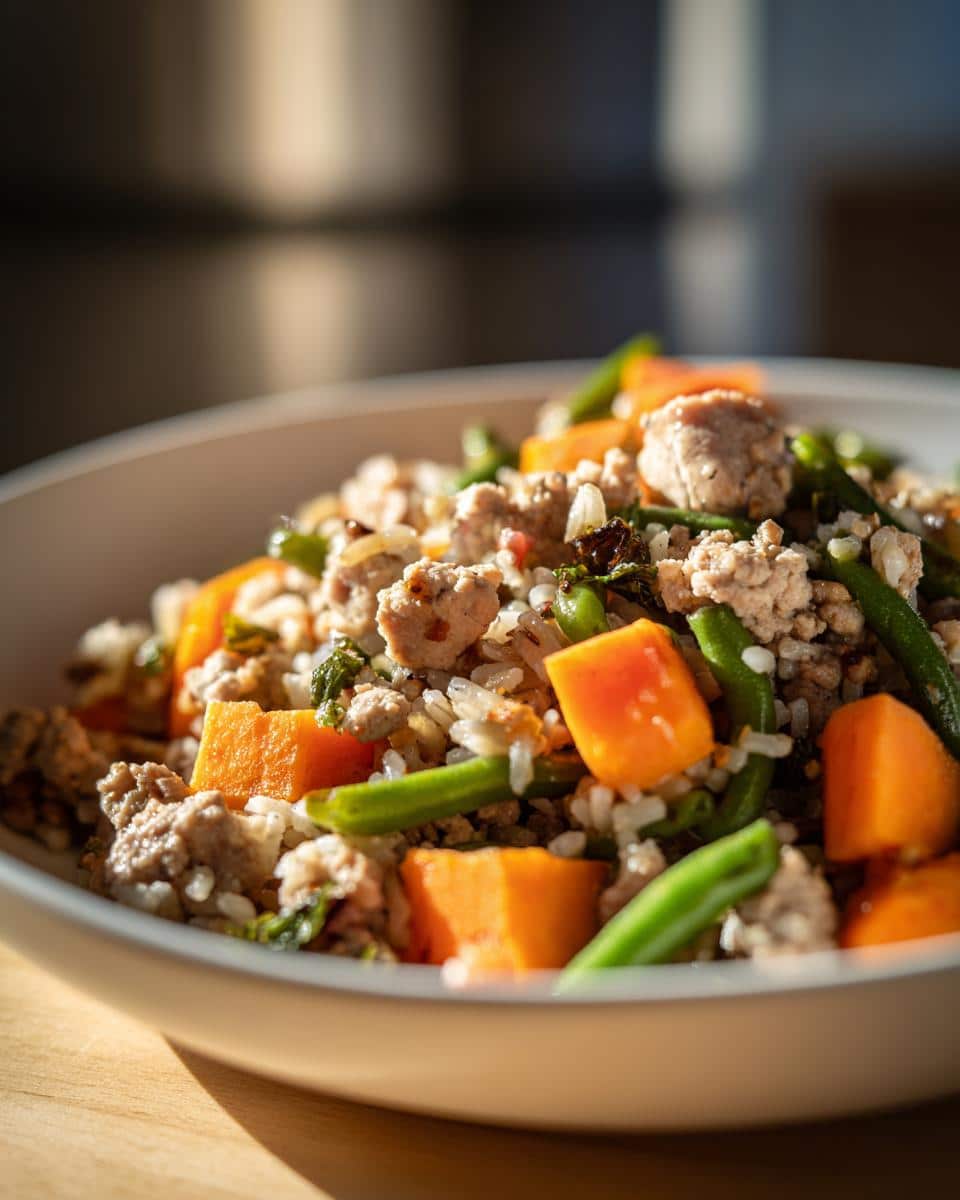
Meat and Grains for the DIY Farmer’s Dog Base
- 1 lb Ground turkey or lean ground beef (Make sure it’s 85% lean or higher, that excess grease isn’t good for anyone!)
- 1 cup Brown rice (And this needs to be uncooked when measuring, remember we are adding water later!)
Vegetables to Balance Your DIY Farmer’s Dog Meal
We need those good vitamins, but they need to be prepped right so they break down nicely during cooking.
- 1 cup Carrots (Make sure these are diced.)
- 1 cup Green beans (Fresh or frozen works, just chop them if they’re whole.)
- 1/2 cup Sweet potato (Don’t forget to peel this guy and dice it small.)
Key Supplements for This DIY Farmer’s Dog Formula
These might seem small, but they are crucial for hitting those nutritional marks that complete the formula.
- 1 tsp Fish oil (This is our power-up for those necessary Omega-3s.)
- 1 tsp Vegetable glycerin (I list this as optional, but it can help bind things just a tiny bit if you’re worried about texture!)
Step-by-Step Instructions for Making DIY Farmer’s Dog Food
Alright, let’s get cooking! This whole process flies by, especially since we are making a big batch that lasts all week. Since this yields about 7 days’ worth of food, make sure your large pot is handy. If you are used to following quick cooking methods, you’ve got this!
Preparing Grains and Cooking the Meat for DIY Farmer’s Dog
First thing’s first: get that brown rice going according to the package—don’t rush it, you need it cooked through! Now, onto the stove. Grab your large pot, toss in your ground turkey or beef, and cook it over medium heat. You have to stand there and break it all up with your spoon until it’s just crumbly, you know, like taco meat. Once it’s totally cooked, drain every last bit of that excess fat off. We want lean goodness here!
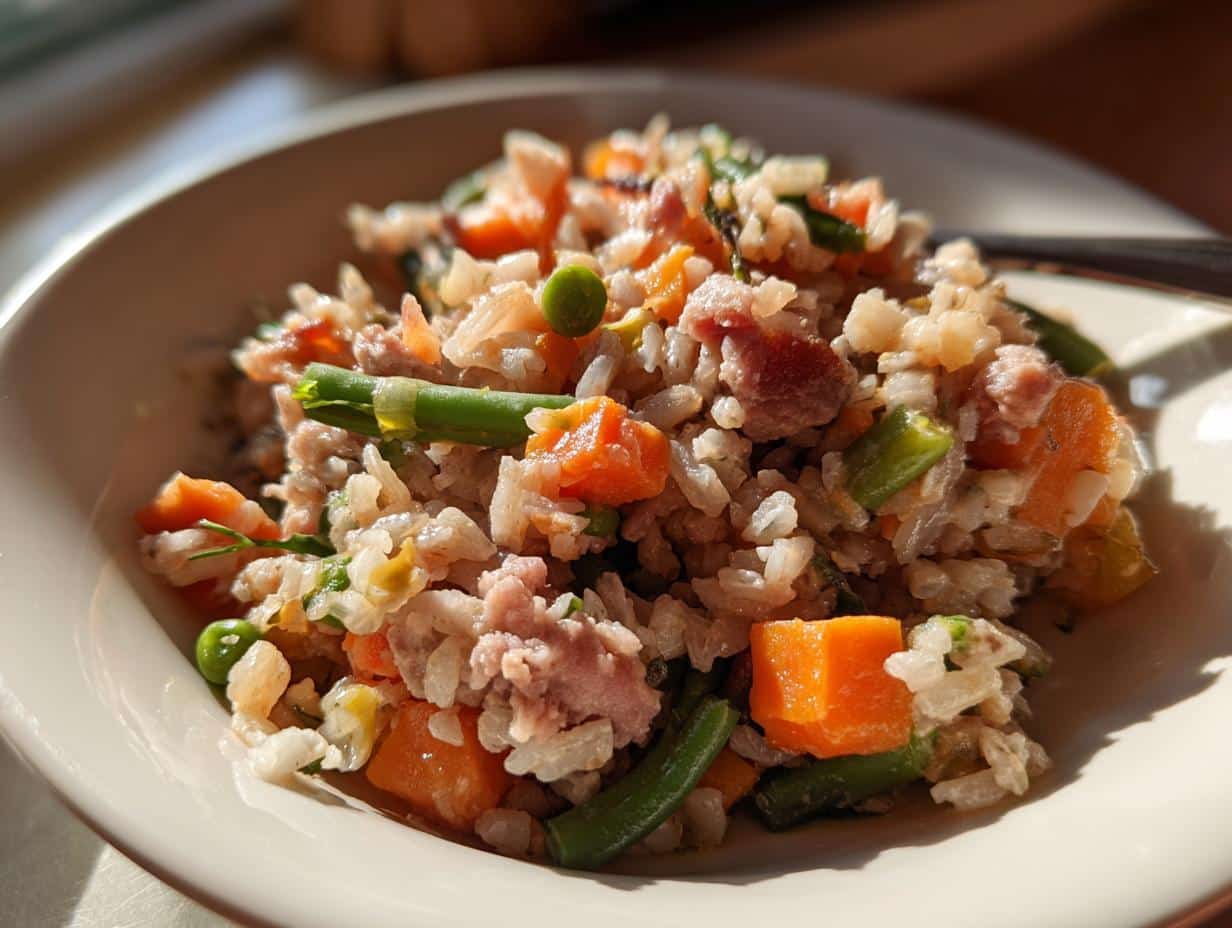
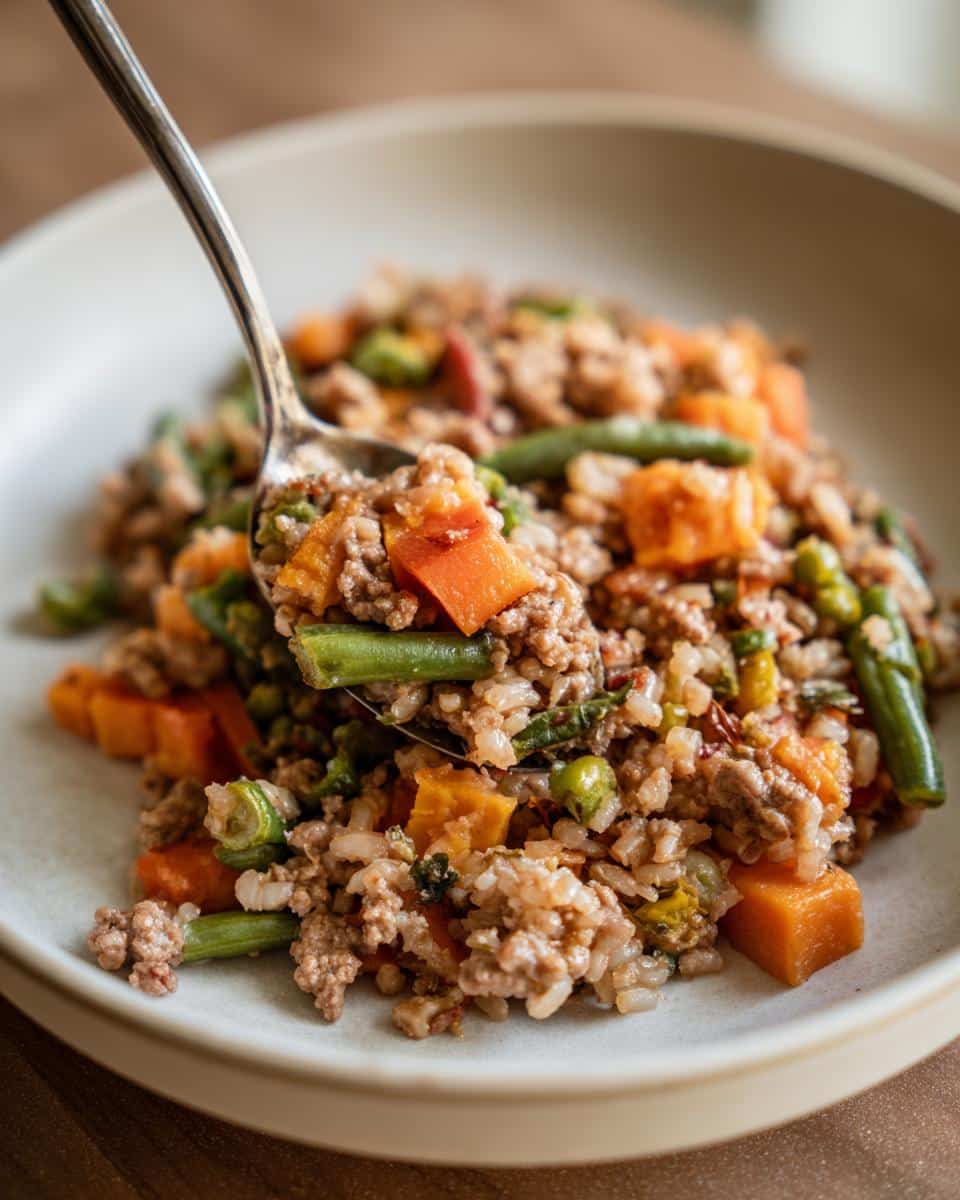
Simmering Vegetables into Your DIY Farmer’s Dog Mixture
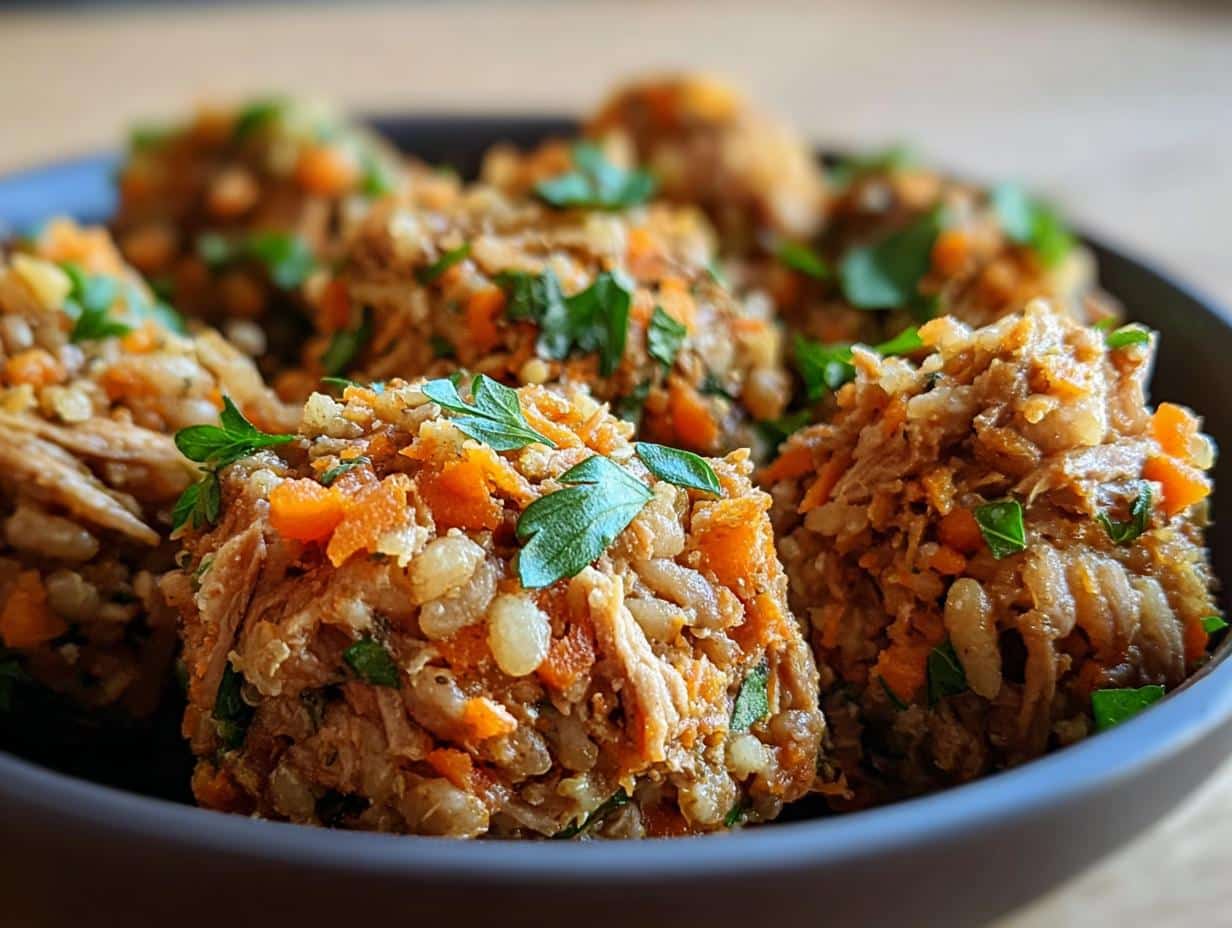
Time for the color! Toss those diced carrots, chopped green beans, and sweet potatoes right into that pot with the cooked meat. Add about half a cup of water—just enough to stop things from sticking and create some steam. Now, turn the heat down low and let it simmer. You need to keep it covered for about 15 to 20 minutes. This is key! We want those veggies spoon-tender so they are easy for your pup to digest.
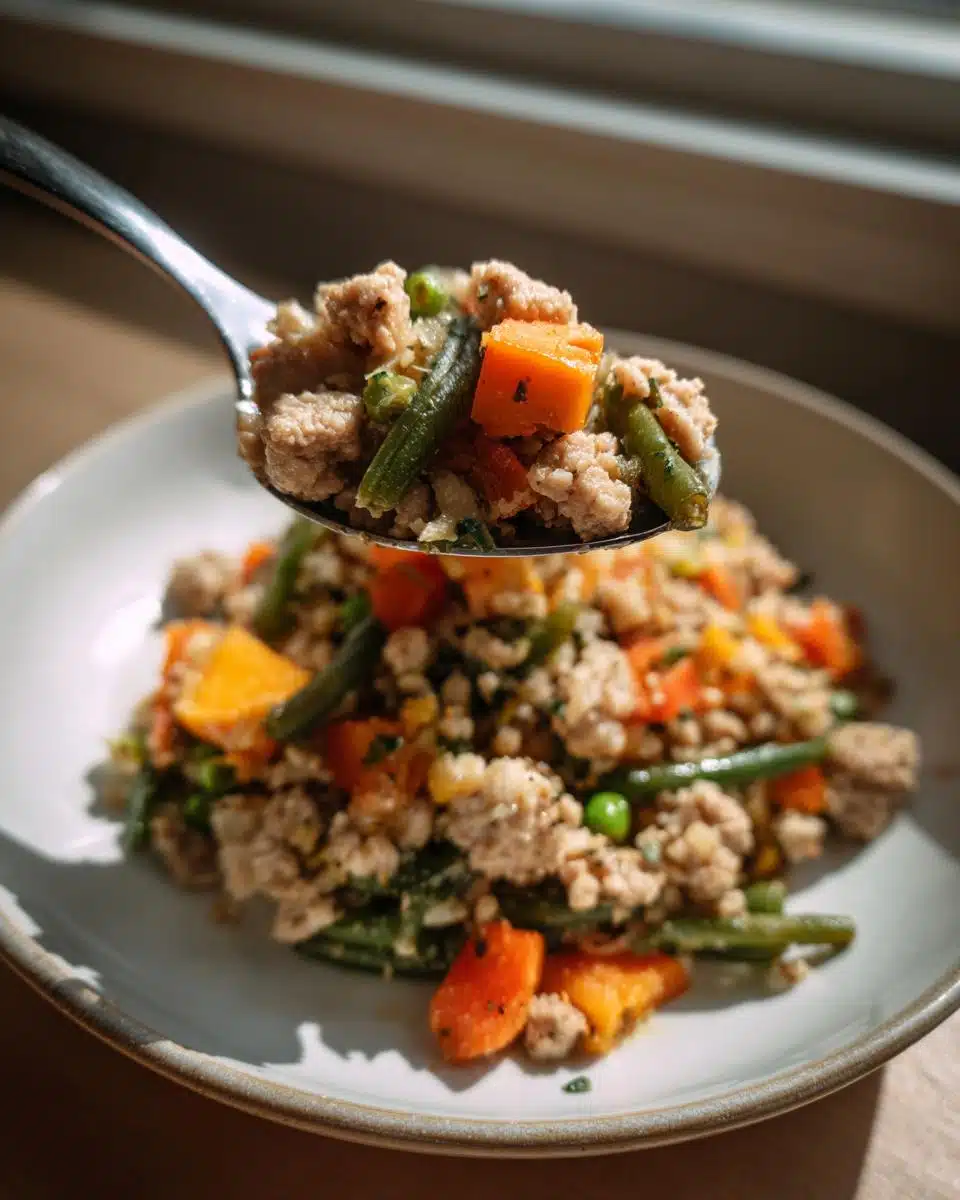
Final Mixing and Cooling of the DIY Farmer’s Dog Meal
Once the veggies are soft, stir in your cooked rice, the fish oil, and any vegetable glycerin you decided to use. Mix it all up until it looks perfectly homogenous—like a healthy, happy hash. Now, this is super important: you MUST take it off the heat and let the entire mixture cool down completely. Seriously, cool it to room temperature before you even think about portioning it into containers for the fridge or freezer. Nobody likes warm dog food!
Tips for Success When Making DIY Farmer’s Dog Meals
Listen, preparing food like this—even though it’s just for our pups—means we need to treat it with respect, just like any good clean-eating plan for us folks. My biggest tip for making this DIY Farmer’s Dog recipe work long-term is knowing your dog’s needs. This recipe makes about seven days’ worth, but you have to adjust how much you serve daily based on whether you have a tiny Chihuahua or a giant lab!
Go ahead and divide up the entire cooled batch into individual containers right away. That way, you’re not digging through the main tub every mealtime. It just takes seconds and makes weekday feeding so much smoother.
Also, I cannot stress this enough: talk to your vet before you switch completely! I learned so much when I started asking my vet about balancing deficiencies. Commercial food has required additives for a reason, and while this recipe is a fantastic, clean base, you might need a specific, vetted supplement powder to make it truly complete for daily feeding over months and years. That’s the trustworthiness part of the DIY Farmer’s Dog movement.
When you add the fish oil, stir it in really thoroughly. Since it’s an oil, if you just pour it on top, one serving might get all the good stuff and another gets none! Mix it well so every single bite gets that healthy dose of Omega-3s.
Storage and Serving Suggestions for Your DIY Farmer’s Dog Food
So, you’ve made this huge, beautiful batch of goodness! Now, let’s talk about keeping it fresh. Remember, this recipe is designed to give you about 7 days’ worth of meals, which is fantastic because it cuts down on your cooking frequency. That’s the beauty of batch cooking for your DIY Farmer’s Dog prep!
For short-term storage, you want an airtight container snugly tucked away in the refrigerator. Try to use it all within about five days, tops. Even though it’s homemade and full of healthy stuff, it just doesn’t have the same preservatives commercially prepared food does. That’s why we keep it small batch!
What if you cook a batch and realize you won’t get to it all in a week? Don’t stress! Freezing is your best friend here. I often scoop my cooled mixture into small, single-serving containers—like Tupperware or even freezer-safe Ziploc bags—before they go into the deep freeze. This way, you can just thaw one serving over the counter the night before you need it. Super easy!
When it comes to serving sizes, this is where the veterinarian consultation we talked about earlier comes back into play. This recipe is a great base, but you have to tailor the actual amount you scoop into the bowl to your dog’s weight and energy level. Never just guess! If your pup is super active, they might need a bit more of this hearty meal than a couch potato.
If you’re looking for other simple cooking methods that save on time, you might want to check out some ideas for slow cooker dog food recipes, too. Sometimes just switching up the appliance makes meal prep feel less like a chore!
Understanding the Estimated Nutrition in This DIY Farmer’s Dog Recipe
Now, I know what you’re thinking: how does this homemade goodness stack up against the bag? Transparency is key when you’re feeding your pet, and even though these are just estimates, giving you this breakdown feels essential for the whole DIY Farmer’s Dog approach.
When we look at the major macros for a standard serving of this recipe, it gives us a really solid foundation. But please, please take these numbers as starting points, not gospel truth! Your dog’s needs shift based on age, activity level, and breed, so this isn’t a substitute for talking to your vet about specific balances.
Here is what my estimates average out to per serving:
- Calories: Around 300 calories—a good energy kick!
- Protein: About 25 grams, which comes straight from that quality ground meat.
- Fat: Just around 10 grams. We drained off the excess, so it’s balanced lean.
- Carbohydrates: Around 35 grams, mostly from the brown rice and sweet potato adding slow-release energy.
We also get good fiber (about 4 grams) and decent amounts of vitamins! Remember, this meal is meant to be nourishing and clean, using whole ingredients because we trust less and feed better when we know exactly what’s making up that final count.
Frequently Asked Questions About DIY Farmer’s Dog Recipes
I get so many questions flooding in once people see how simple this recipe is! It’s natural to wonder about swapping ingredients or long-term feeding. Remember, we are aiming for clean, reliable meals, so tweaking is fine, but keep balance in mind. If you’re diving deep into DIY dog food creation, safety and nutrition are number one!
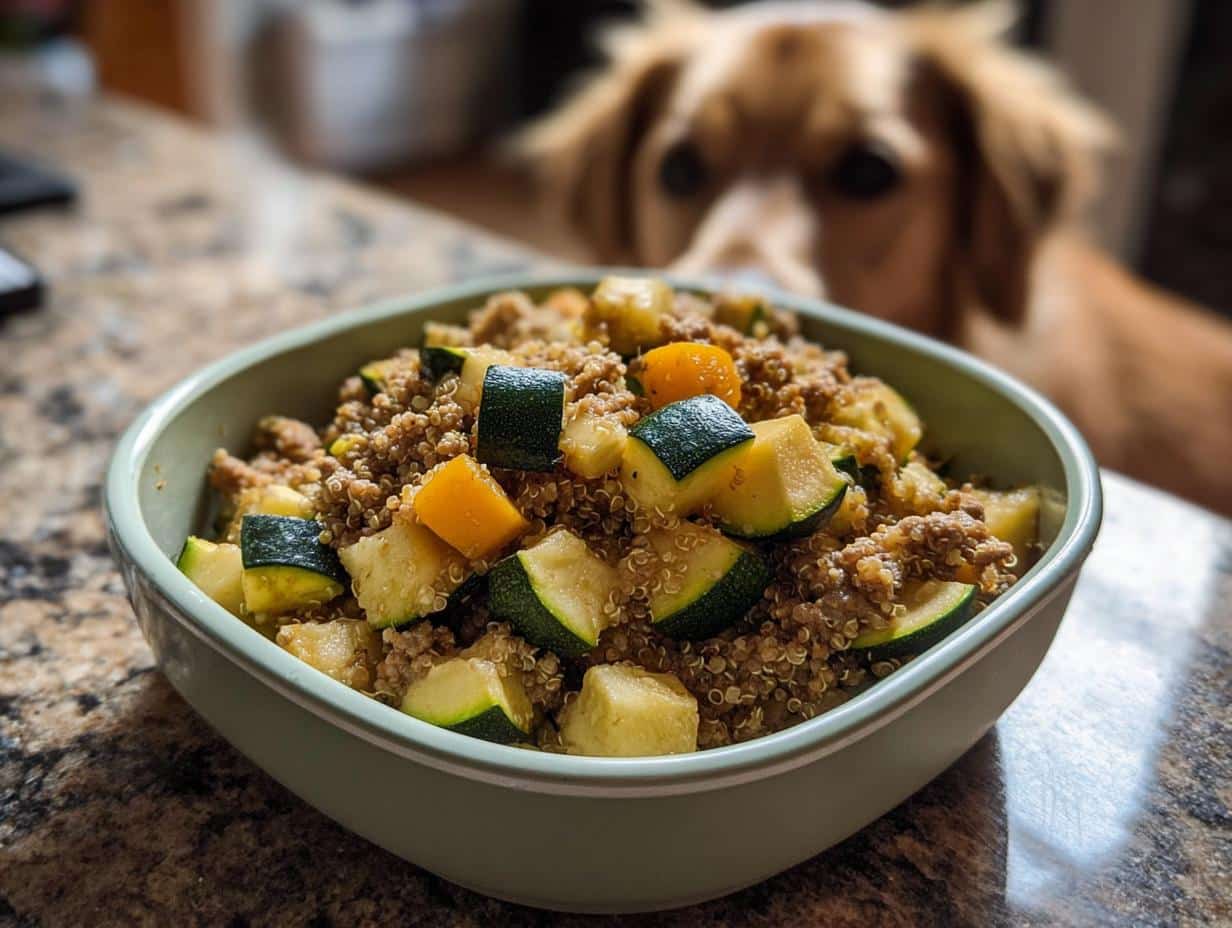
Can I substitute the brown rice in this DIY Farmer’s Dog meal?
Oh, absolutely! Brown rice is great because it’s an easy, slow adjuster of energy, but if your pup can’t have rice, you have options. You can swap it out for an equal amount of cooked barley or even quinoa. If you want to go totally grain-free for your DIY Farmer’s Dog version, you can replace that 1 cup of rice with about 1 cup of cooked lentils or maybe a bit more sweet potato, but be mindful of the carb ratio shifting!
Is this DIY Farmer’s Dog recipe nutritionally complete for long-term feeding?
This is the most important question, honestly! No, I have to be straight with you—this mixture is a fantastic, whole-food base, but for long-term, daily feeding, it’s likely missing a few key trace minerals and vitamins that commercial foods include. I rely on this recipe for supplemental meals, not necessarily every single meal forever. You really must chat with your veterinarian about adding a balanced, canine-specific vitamin/mineral mix to make sure your DIY Farmer’s Dog preparation is 100% complete and balanced over the long haul.
How do I adjust portions if I have a small dog versus a large dog?
Since this whole batch yields about 7 days of food, the adjustment is based on daily caloric needs. You’ll need to figure out how much food your dog should eat daily—usually based on their ideal weight—and then divide that total amount by seven. If you have a tiny 15-pound dog, you’ll scoop out way less than someone with a 90-pound furry giant! It’s just simple math applied to the total volume you created. Just make sure you are scaling proportionally across all ingredient groups when you double or halve the recipe.
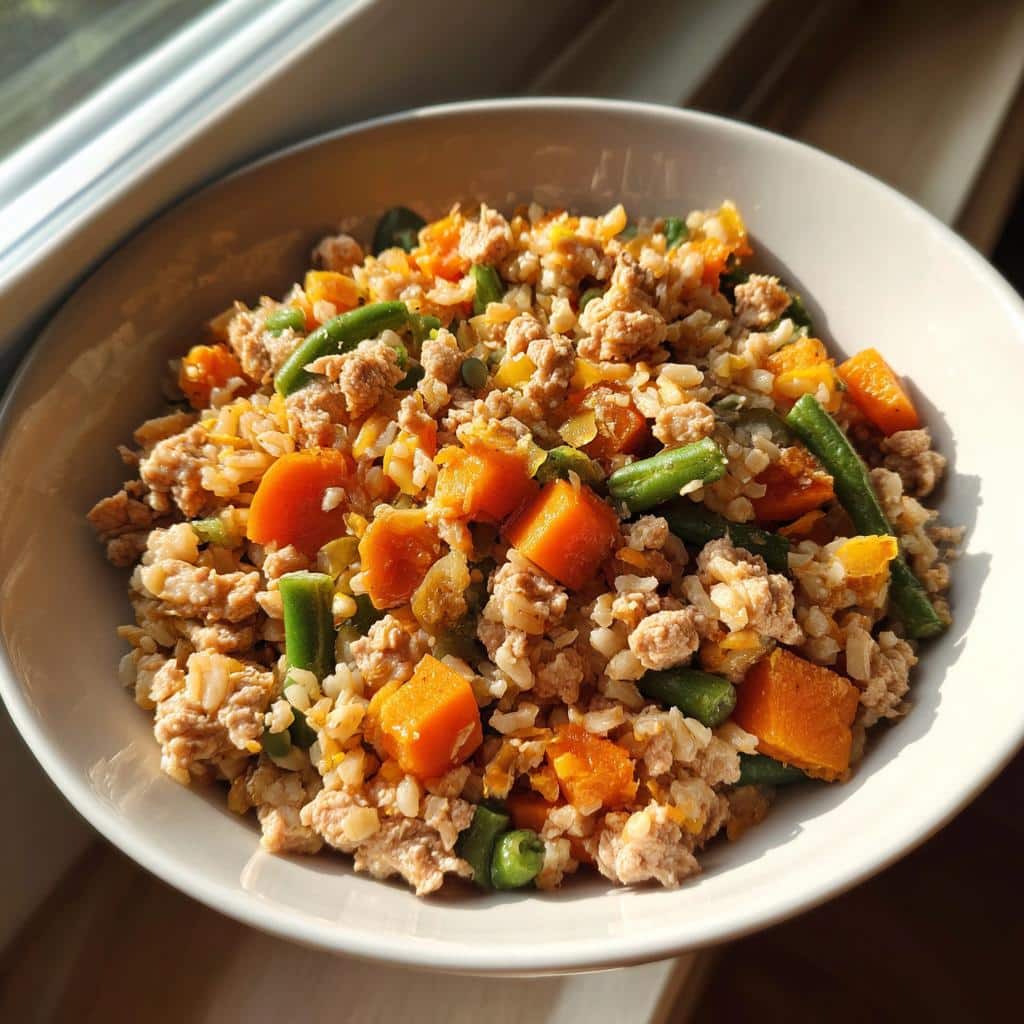
Share Your DIY Farmer’s Dog Creations
Whew! You’ve done the work, and now you have a big, beautiful batch of high-quality, clean food ready for weeks of happy mealtimes. I genuinely hope seeing the real ingredients—the carrots and the rice and the good turkey—brings you that same peace of mind it brings me.
Now that you’ve mixed up this foundational DIY Farmer’s Dog meal, I really, *really* want to hear about it! Did your dog go absolutely wild for the fish oil boost? Did you find a different veggie that worked perfectly for your pup?
Please take a moment to leave a star rating right here on the recipe page. It helps other pet parents see that making dog food doesn’t have to be complicated or stressful. And if you have any questions about storage, portioning, or what you might try next time, drop them in the comments below. I try to pop in and answer everything I can!
Let’s keep this community going strong—sharing real wisdom for our best furry friends!
Author Bio
Hi, I’m EMILIA, the founder of MeltItClean.com – your digital space for natural weight loss, real wellness habits, and clean-living inspiration that actually fits your life.
For years, I struggled with the ups and downs of dieting. I tried everything — juice cleanses, low-carb crazes, fitness challenges — but I always ended up back where I started: tired, bloated, and frustrated. I didn’t just want to “lose weight” — I wanted energy, mental clarity, glowing skin, and confidence without sacrificing my joy or sanity.
After years of experimenting, learning, and unlearning, I discovered a simple truth: your body is already powerful — it just needs support, not restriction. That’s when I created Melt It Clean — a site dedicated to real transformation through clean, intentional, and nourishing daily habits that anyone can follow.
My goal was simple: build a place where people could feel informed, supported, and empowered without being overwhelmed by wellness fads.
Target Audience
You’re here if you’re looking for real, sustainable change in your health journey—the kind that sticks past that initial burst of motivation. If you’re tired of the quick fixes and restrictive diets that leave you feeling deprived or bloated, this is your spot. We focus on building habits that are easy to maintain, whether you’re trying to shed a few pounds or completely overhaul your routine for long-term wellness.
Tone and Style
My tone is definitely friendly and super conversational—think of me as that knowledgeable friend who has been through the dieting trenches and figured out what truly works. It’s encouraging, practical, and definitely educational, but never judgmental or overwhelming. We keep things light, focusing on nourishing your body and building confidence without the stress of perfection.
Personal Story
When I first started trying to “get healthy,” I swear I spent more time reading labels and researching crazy supplements than actually enjoying my food! I remember one New Year’s, I attempted a cleanse that left me so weak I couldn’t even walk up the stairs without getting winded. It felt like I was constantly fighting my own body, forcing restrictions that just weren’t sustainable.
That moment—staring at an empty fridge surrounded by wilted kale—was my wake-up call. I realized wellness wasn’t supposed to be a punishment. It needed to be about support, not restriction. That shift from fighting my body to gently supporting it is what inspired Melt It Clean. It’s about finding joy in simple, intentional habits!
By EMILIA, Founder of MeltItClean.com
DIY Farmer’s Dog Food
Ingredients
Equipment
Method
- Cook the brown rice according to package directions. Set aside.
- In a large pot, cook the ground meat over medium heat, breaking it up as it cooks. Drain off any excess fat.
- Add the diced carrots, green beans, and sweet potato to the pot with the cooked meat. Add about 1/2 cup of water and simmer until the vegetables are tender, about 15 to 20 minutes.
- Stir in the cooked brown rice, fish oil, and vegetable glycerin (if using). Mix everything thoroughly until combined.
- Remove from heat and allow the mixture to cool completely before serving or storing.
- Store leftovers in an airtight container in the refrigerator for up to 5 days, or freeze in individual portions for longer storage.