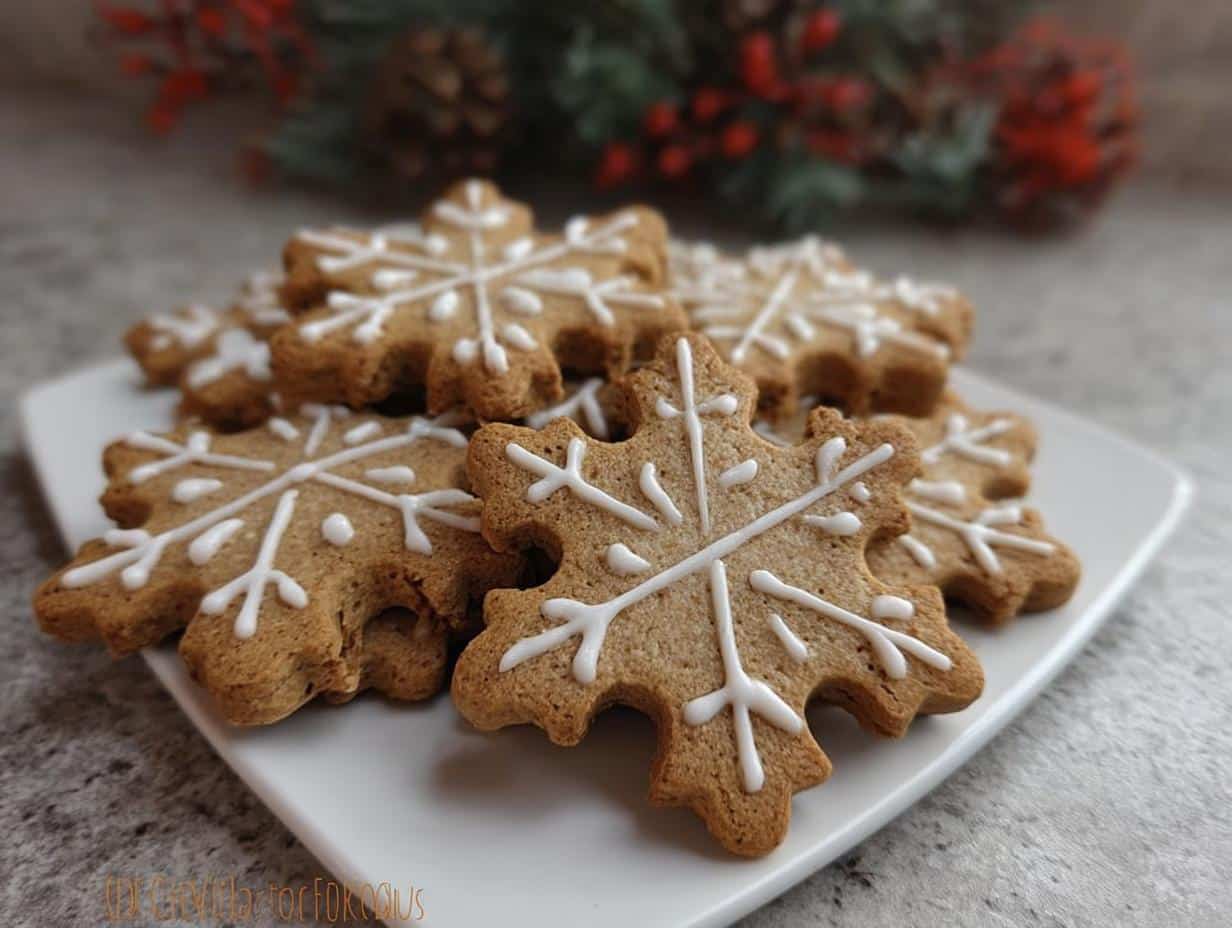
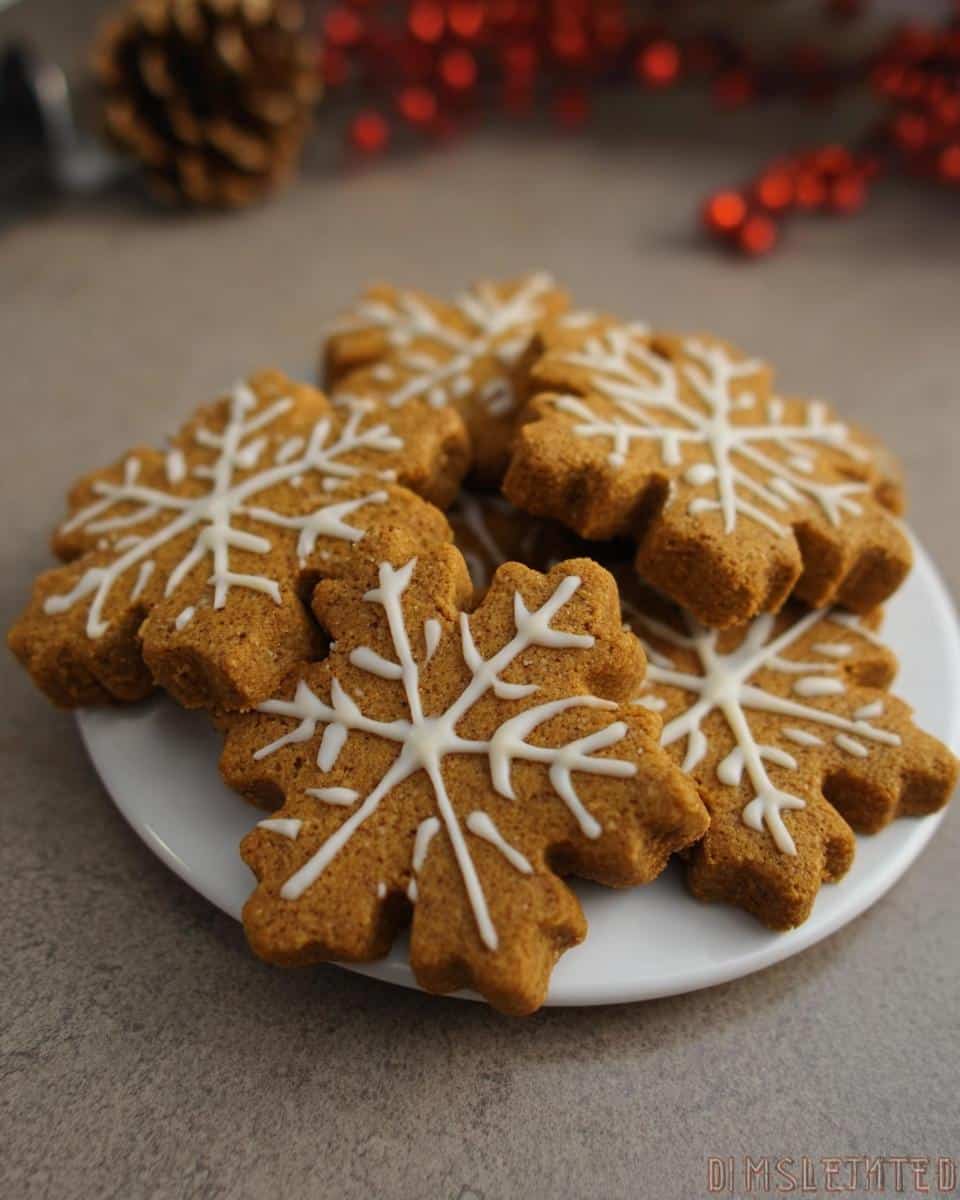
Oh my gosh, can you believe the holidays are sneaking up on us again? I swear, every year I tell myself I’m going to slow down, but then I get caught up making everything perfect—and that absolutely includes my furry family members! If you’re anything like me, you want to spoil your pup but you also want to know exactly what’s going into their system. Forget those weird, dusty bags from the store shelf. We are making homemade Peanut Butter Snowflake Dog Treats!
These little babies are ridiculously easy, shaped like adorable little winter wonders, and packed with that peanut butter goodness dogs go absolutely crazy for. Last year, my little guy Buster pretty much lost his mind when I first presented him with these festive bites. I always use whole grain flour and real pumpkin because, honestly, if I’m going to treat him, I’m using ingredients I trust.
Why You Will Love These Peanut Butter Snowflake Dog Treats
I’m telling you, these are going to be your new holiday staple for your doggos! I’ve made tons of recipes, but these really stand out because they are just so much fun and so simple. You don’t need a fancy bakery setup to make these amazing Peanut Butter Snowflake Dog Treats.
- They are incredibly easy to mix up—seriously, this is a one-bowl situation mostly!
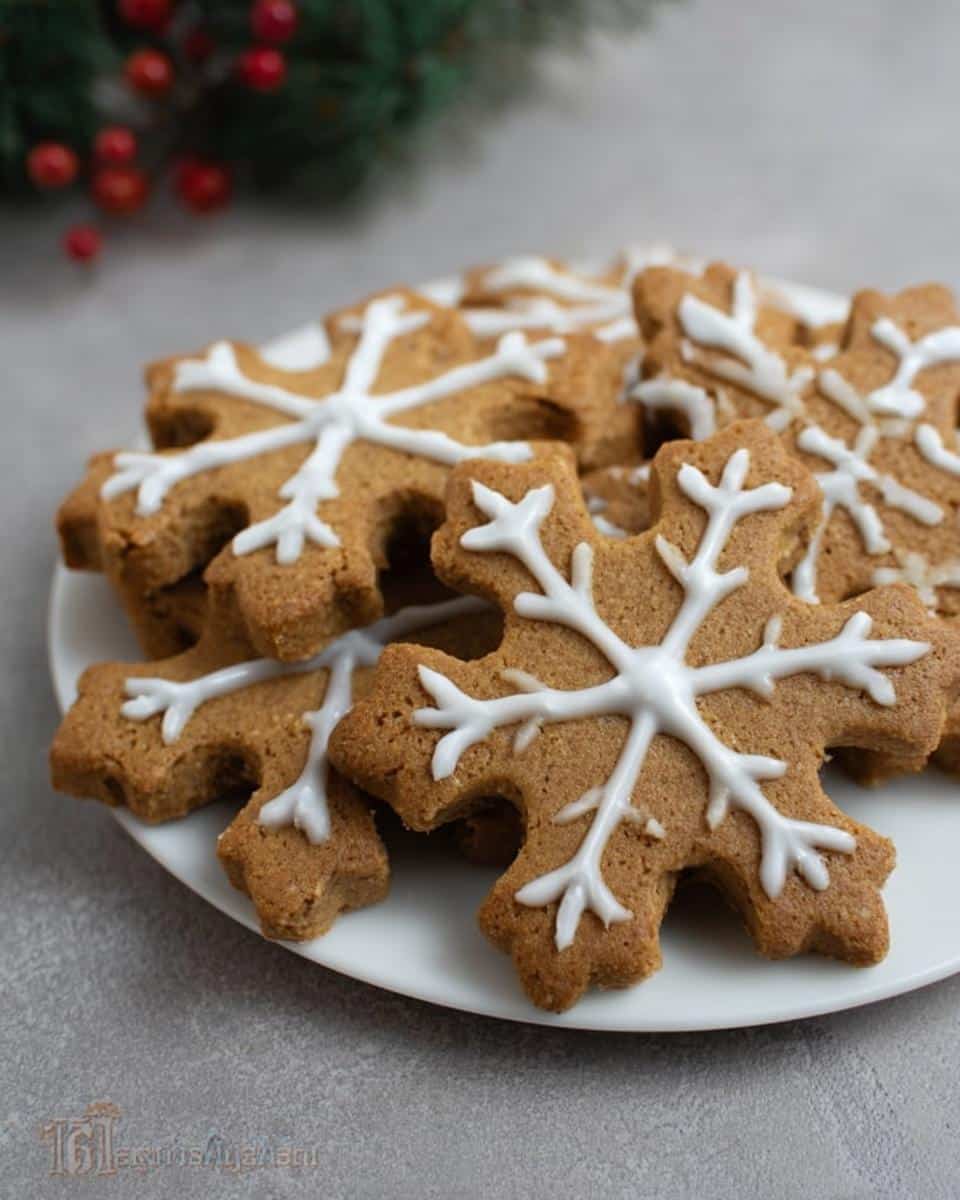
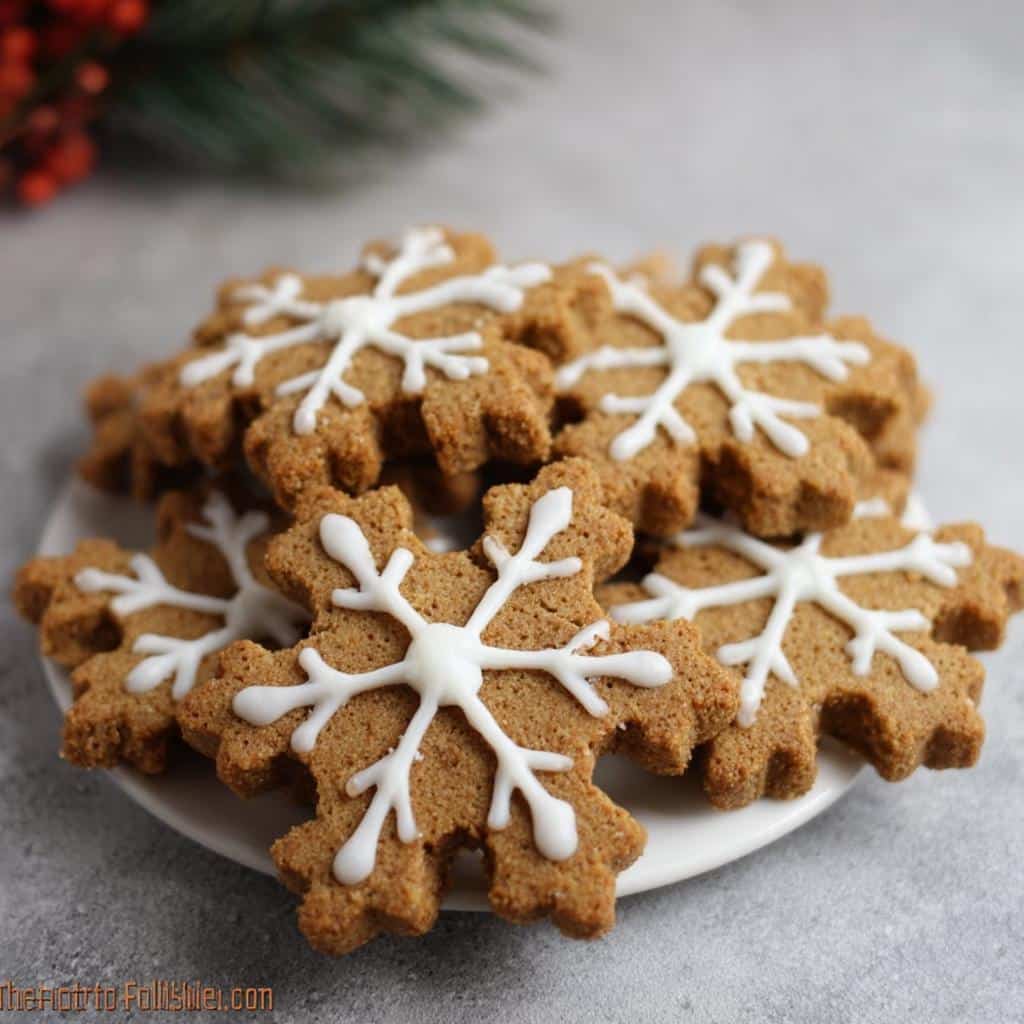
- The final look is just perfect! Who doesn’t love adorable, flaky snowflake-shaped treats packed with peanut flavor?
- You control every ingredient, so you skip all those mystery fillers found in store-bought snacks.
- The combination of pumpkin and peanut butter is a flavor combo that dogs absolutely adore.
- Baking time is quick! You can have a whole batch done in under an hour total, which is great when you’re juggling holiday baking.
- They make fantastic, thoughtful gifts for dog-loving friends during the holidays.
Essential Equipment for Perfect Peanut Butter Snowflake Dog Treats
Okay, before you even think about cracking an egg, you need to make sure your toolkit is ready. This isn’t some gourmet culinary event, but having the right gear makes rolling and decorating these treats so much smoother. Trust me on this one—I learned the hard way that trying to pipe icing with the wrong tip is just asking for frustration!
You don’t need anything too crazy, but these key tools will ensure your Peanut Butter Snowflake Dog Treats look like the beautiful holiday bites they are meant to be.
- A sturdy Cookie Sheet: You need a good flat surface to bake these evenly.
- Your trusty Snowflake Cookie Cutter: This is non-negotiable if you want that perfect festive shape!
- A Double Boiler (or a heat-safe bowl over simmering water): This is essential for gently melting down that carob for the icing without seizing it up.
- A Piping Bag with a #2 Tip: This tiny little tip is what gives you those delicate lines on the snowflake tips. It makes all the difference when you’re decorating those snowflake-shaped treats packed with peanut flavor!
Ingredients Needed for Homemade Peanut Butter Snowflake Dog Treats
When we talk about clean living, that starts right here in the ingredient list! You want maximum peanut flavor for your pup, but you also need the right structure so these treats bake up hard and crunchy—perfect for a dog cookie that lasts. Don’t skimp on the quality here; the better the pumpkin and peanut butter, the happier your dog will be.
I’ve broken this down so it’s super clear. We have the main sturdy dough first, and then the fun stuff for decorating those beautiful Peanut Butter Snowflake Dog Treats.
For the Dog Treats Base
This is the hearty part of the recipe that gives your pup that wonderful nutty bite. Remember, room temperature eggs mix in much better than cold ones, so pull those out early!
- Whole Wheat Flour: 2 1/2 cups. This gives the dough the stability it needs to hold a snowflake shape.
- Eggs: 2, make sure they are at room temperature.
- Pumpkin Puree: 1/2 cup. This adds fantastic moisture and a subtle earthy note that pairs perfectly with the peanut butter.
- Creamy Peanut Butter: 2 tablespoons. Use the good stuff! Avoid any brands with added xylitol (which is toxic to dogs, so always check labels!).
- Salt: 1/2 teaspoon. Just a pinch to balance the overall flavor.
- Cinnamon: 1/2 teaspoon. This keeps the overall flavor profile cozy and wonderful for the holidays.
For the Snowflake Icing Decoration
This is where we get fancy! We’re using carob chips here, not chocolate. Carob is naturally sweet but completely safe for dogs, which is a huge win when you’re making decorative snowflake-shaped treats packed with peanut flavor.
- White Carob Chips: 2 cups. This melts beautifully into a bright white drizzle for your design.
- Vegetable Oil: 1 teaspoon. This small addition is the magic trick that keeps the melted carob smooth and prevents it from becoming too thick to pipe onto your Peanut Butter Snowflake Dog Treats.
Step-by-Step Instructions for Peanut Butter Snowflake Dog Treats
Alright, pulling these together is almost as fun as watching your dog devour them! I always put on some music while making these because rolling and cutting dough always feels more festive when you’re jamming out. Following this order ensures everything is ready exactly when it needs to be. We’re aiming for a really sturdy dough so those Peanut Butter Snowflake Dog Treats don’t smear in the oven!
Preparing the Dough and Cutting the Peanut Butter Snowflake Dog Treats
First things first, let’s get the oven going—that’s step one! Preheat your oven to 350 degrees and make sure you’ve got parchment paper lining your cookie sheet. Don’t skip the parchment; these have moisture from the pumpkin and we want easy cleanup!
In your big bowl, you’re going to whisk together the whole wheat flour, the room-temperature eggs, the pumpkin puree, that creamy peanut butter, salt, and cinnamon. Now, this is important: the recipe calls for adding water *as needed*. You are looking for a dough that is stiff and dry—it should feel firm, almost like Play-Doh, not sticky or wet at all. If you dump too much water in, your snowflakes will spread!
Once you’ve achieved that perfect texture, flour up your counter or cutting board really well. Roll the dough out until it’s about a quarter-inch thick. Then, grab that snowflake cookie cutter and start pressing firmly! Place the cut-outs onto your prepared sheet, leaving a little space between each one.
Baking and Cooling the Treats
Pop that sheet into the preheated oven. We aren’t baking these until they are soft; we want them hard so they last! Bake them for a solid 40 minutes. Seriously, 40 minutes, or until they feel rock hard when you tap them gently. If they seem a little soft when cooling, don’t think twice—slip them back in for another five minutes.
Once they come out, let them cool completely on the sheet for a good ten minutes before moving them to a wire rack. They need to cool down 100% before we even *think* about the icing, or that beautiful carob will just turn into a sticky, melted puddle!
Decorating Your Snowflake-shaped Treats Packed with Peanut Flavor
This part is the payoff! While the treats are cooling, set up your double boiler. Gently melt the white carob chips with the teaspoon of vegetable oil. Stir it until it’s smooth and glossy. Here’s the real pro tip: let that melted carob cool down for a good five to ten minutes before you put it in the piping bag. If it’s too hot, it will run right off the nice grooves of your snowflake-shaped treats packed with peanut flavor.
Fit your piping bag with that tiny #2 tip—it gives the prettiest line work. Pipe a line right down the center of the snowflake, from one point to the one opposite it. Then, add a couple of those little cross-lines at the tips of each point, just like a real snowflake!
Now, patience time! These baked Peanut Butter Snowflake Dog Treats need hours to let that icing dry hard. Seriously, leave them alone overnight if you can. If you have extra icing, just pop it in the fridge; it will firm up again when you remelt it gently.
Tips for Success When Making Peanut Butter Snowflake Dog Treats
Even though this recipe is super straightforward, there are a few little quirks I discovered the hard way that I just have to share with you. That’s why I love talking about these things; we all learn from each other’s kitchen oopsies, right?
Honestly, rolling the dough is where people usually struggle. When I first made these Peanut Butter Snowflake Dog Treats, I must have rushed the water addition. My dough felt great when I mixed it, but as soon as I put it on the counter, it relaxed and became this sticky, pathetic puddle! The snowflakes just melted into each other on the sheet. Don’t do what I did!
You need that dough to be stiff enough to stand up on its own before you even touch the cutter. If your dough relaxes too much while you’re rolling, just pop the whole thing back into the fridge for ten minutes. A cool dough cuts cleaner and keeps its shape beautifully.
Here are a few other bits of wisdom I’ve picked up along the way for perfect, decorative Peanut Butter Snowflake Dog Treats:
- Flour Your Cutter: Before you plunge that snowflake cutter into the dough, dip it lightly in flour. This prevents the intricate points from sticking and ripping when you lift the cut-out.
- The Double Bake: If your treats are thick—say, over a quarter-inch—you might need to bake them a little longer than 40 minutes, or maybe even put them back in for a short second blast after the first round of cooling. You are testing for hardness, not just dryness. They should snap!
- Patience with the Pipe: Seriously, wait for that carob icing to cool down. If it’s too runny, it will lose the crisp edges of your snowflake design. If you see it dripping down the sides, just set the piping bag down for five minutes and let friction do some of the work!
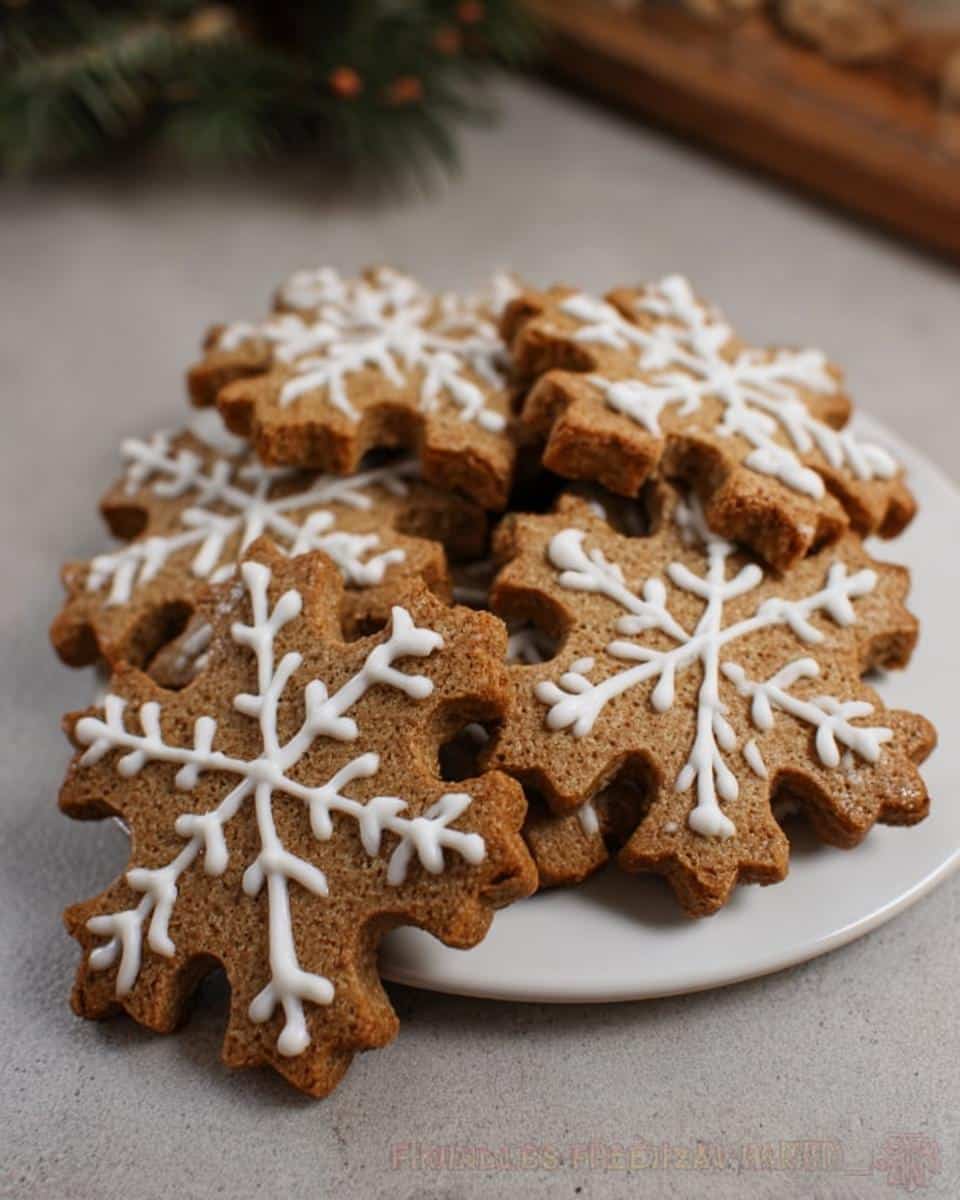
- Handle Gently: Once they are fully cooled and decorated, treat these sweet snowflake-shaped treats packed with peanut flavor like thin cookies. They are sturdy once dry, but can chip if you aren’t careful when stacking them for gifts.
Storage and Serving Suggestions for Peanut Butter Snowflake Dog Treats
Once you’ve gone to all the work making these beautiful, nutty holiday bites, you need to know how to keep them fresh! Because these Peanut Butter Snowflake Dog Treats are baked nice and hard—which is key for shelf stability—they last quite a while, which is great news for busy holiday bakers like us!
The trick to longevity is making sure they are completely, totally cooled, and that carob icing is rock hard before you put them away. If there’s any moisture trapped inside, they can soften, and we definitely don’t want soggy snowflakes!
Storage is simple: Keep the finished, cooled, and decorated treats in a truly airtight container. Think really good Tupperware or a container with a strong seal. Because they are low-moisture, they are shelf-stable, meaning you don’t even need to mess with the fridge unless your kitchen gets super hot and humid. I usually store mine in the pantry, and they easily stay perfect for two to three weeks. Remember, these are special occasion treats, not daily kibble!
When it comes to serving your adorable snowflake-shaped treats packed with peanut flavor, definitely stick to the rule of moderation we mentioned in the notes. One of these big snowflakes might be a fantastic afternoon reward, or you could break one up to serve over several days. They are rich because of the peanut butter and pumpkin, so a little goes a long way for your sweet pup!
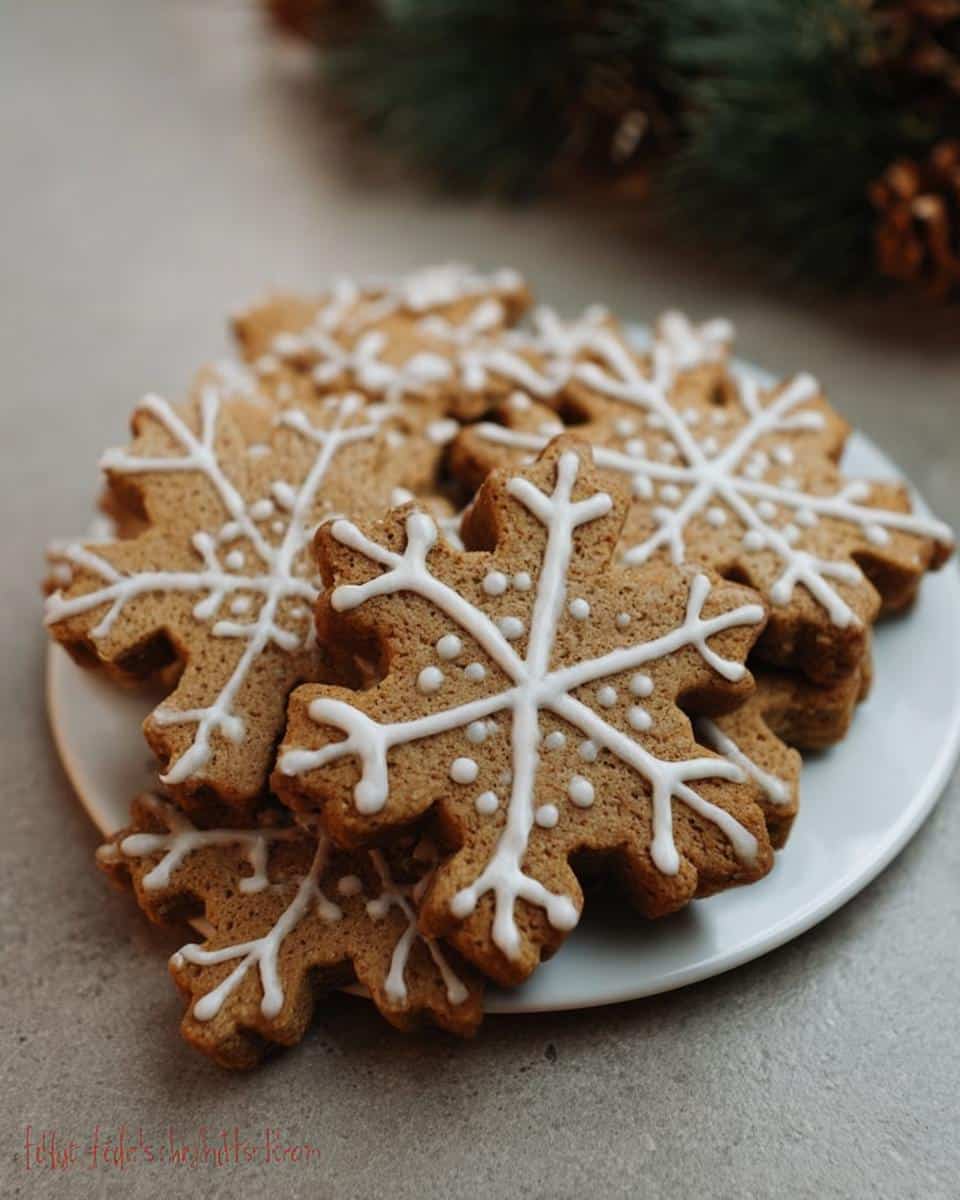
These really shine as special holiday bites. Pull them out on Christmas morning, or tuck one into a stocking. They just scream “I love you, and I took the time to bake something special just for you!” when your dog sees that intricate, decorative finish on their favorite peanut flavor treat.
Frequently Asked Questions About Peanut Butter Snowflake Dog Treats
I know when you’re baking something special for your best fur-friend, you want to make sure you get everything just right! Baking custom Peanut Butter Snowflake Dog Treats definitely brings up a few questions, especially when it comes to ingredients. Here are some of the things I hear most often about these festive, nutty holiday bites.
Are these Peanut Butter Snowflake Dog Treats safe for all dogs?
This is a fantastic and super important question! While peanuts themselves aren’t usually the issue for dogs, allergies certainly happen, just like with people. Since these Peanut Butter Snowflake Dog Treats rely heavily on creamy peanut butter for that signature nutty holiday bite, you absolutely must ensure your dog tolerates peanuts well before serving them a whole snowflake! If your pup has a known allergy or sensitive stomach, you might want to stick solely to wheat and pumpkin, or substitute almond butter if your vet approves (but then you lose the exact recipe flavor, so be careful!). Always introduce new foods slowly.
Can I use a different shape instead of a snowflake?
Are you kidding me? Of course, you can! The snowflake cutter is just for looks because I get completely obsessed with festive shapes every winter. Seriously—use whatever cutter you have on hand! A simple circle, a dog bone, a star, or even just rolling them into little balls works perfectly fine. The dough is sturdy enough to handle any cutter you throw at it. If you use a smaller cutter, just keep an eye on the baking time; smaller Peanut Butter Snowflake Dog Treats might cook a little faster.
How long do these homemade treats last?
This is one of the best parts! Because we bake them until they are nice and hard—we are looking for snap, not chewiness—these Peanut Butter Snowflake Dog Treats last a really good amount of time, provided you store them correctly. Remember what I said about that cool, dry pantry storage? As long as you place them in a completely airtight container, they should stay perfectly fresh and crunchy for two to three weeks. If your kitchen is tropical warm, the fridge might be a safer bet, but honestly, my pantry works just fine for these low-moisture cookies!
Nutritional Information For Peanut Butter Snowflake Dog Treats
Okay, full transparency time here, and this is something I learned when I first started trying to figure out clean living for myself: tracking every single micro and macro nutrient for homemade items is tricky business! When you are making something like these wonderful Peanut Butter Snowflake Dog Treats, the final nutritional breakdown can shift depending on the brand of peanut butter you grab or even the type of whole wheat flour you end up using.
Because of that little bit of natural variation, I made a choice when creating my recipes: I stick to using whole, real food ingredients that I know support my dog’s energy and health, but I don’t publish exact calorie counts or protein percentages. It just wouldn’t be accurate enough for me to stake my reputation on, and I really want to be honest with you!
So, here is the deal: Consider this ingredient list, full of pumpkin and creamy peanut butter, as providing wonderful foundational nutrition—fiber from the pumpkin, protein from the nuts—but understand that any stated nutrition panel would truly just be an estimate. These are treats, meant to bring joy in the form of Snowflake-shaped treats packed with peanut flavor, not a replacement for a balanced meal. If you need exact figures for a specific dietary reason, you’d need to input the specific brand labels you used into a tracking app, but for feeding your happy pup, just know you are using quality components!
Share Your Peanut Butter Snowflake Dog Treats Creations
Honestly, watching you all bake for your furry best friends is my absolute favorite part of running MeltItClean.com! These Peanut Butter Snowflake Dog Treats are just too cute not to share when they come out of your ovens.
When you’ve finished icing those perfect snowflake-shaped treats packed with peanut flavor, I really want to see them! Did your dog Buster-equivalent lose his mind over them? Did you try a new decorating trick? Seriously, don’t keep the joy to yourself!
Head over to our social channels and tag us in your photos. Seeing those adorable peanut butter creations makes all the kneading and piping worth it. And hey, hearing how much your dogs loved those nutty holiday bites gives me the inspiration to dream up the next amazing, clean treat.
If you made a batch, please leave your stars right below this section! A quick rating tells me if the baking time was spot-on for your oven or if the icing set just right. Happy baking, and tell your pups I said hello!
By EMILIA, founder of MeltItClean.com
Hi, I’m EMILIA, the founder of MeltItClean.com – your digital space for natural weight loss, real wellness habits, and clean-living inspiration that actually fits your life.
For years, I struggled with the ups and downs of dieting. I tried everything — juice cleanses, low-carb crazes, fitness challenges — but I always ended up back where I started: tired, bloated, and frustrated. I didn’t just want to “lose weight” — I wanted energy, mental clarity, glowing skin, and confidence without sacrificing my joy or sanity.
After years of experimenting, learning, and unlearning, I discovered a simple truth: your body is already powerful — it just needs support, not restriction. That’s when I created Melt It Clean — a site dedicated to real transformation through clean, intentional, and nourishing daily habits that anyone can follow. My goal was simple: build a place where people could feel informed, supported, and empowered without being overwhelmed by wellness fads. You can find more about my journey over on my About Me page!
Peanut Butter Snowflake Dog Treats
Ingredients
Equipment
Method
- Preheat your oven to 350 degrees. Line a cookie sheet with parchment paper.
- Combine the flour, eggs, pumpkin, peanut butter, salt, and cinnamon in a bowl. Whisk these ingredients together.
- Add water as needed to make the dough workable. The dough should be stiff and dry.
- Roll the dough out on a floured cutting board.
- Cut out the treats using the snowflake cookie cutter.
- Bake at 350 degrees for 40 minutes, or until the treats are hard.
- Combine the white carob chips and vegetable oil in a double boiler until they just melt.
- Allow the mixture to cool slightly before spooning it into a piping bag fitted with a #2 tip.
- Pipe lines from one tip of the treat to the opposite tip. Add a few short lines at the very tip of each snowflake.
- Let the icing dry completely. Store any extra icing in the refrigerator until you are ready to use it.